VTech Telecommunications 80-8181-01 Video Baby Monitor - Parent Unit User Manual users manual
VTech Telecommunications Ltd Video Baby Monitor - Parent Unit users manual
UserManual.wiki
>
VTech Telecommunications
>
80 8181 01 User Manual
users manual
Navigation menu
Upload a User Manual
Namespaces
Wiki Guide
HTML
PDF
Info
Views
User Manual
Discussion / Help
Navigation
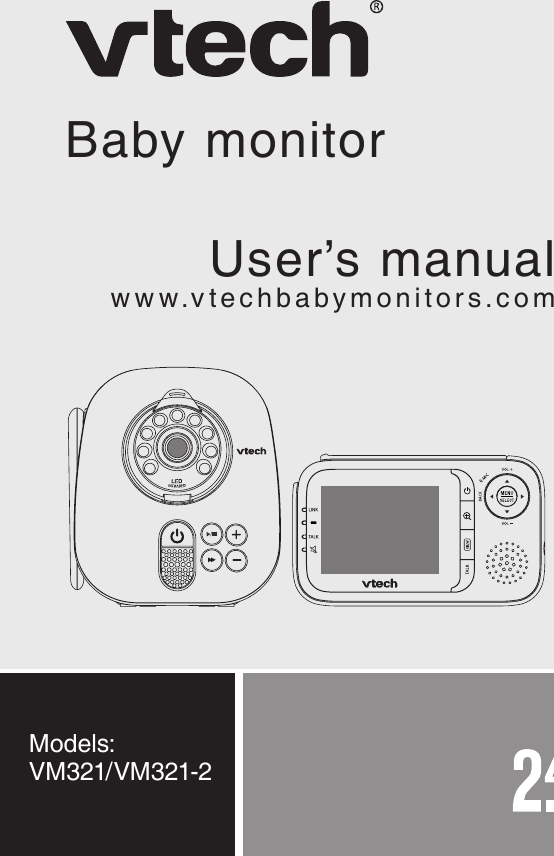


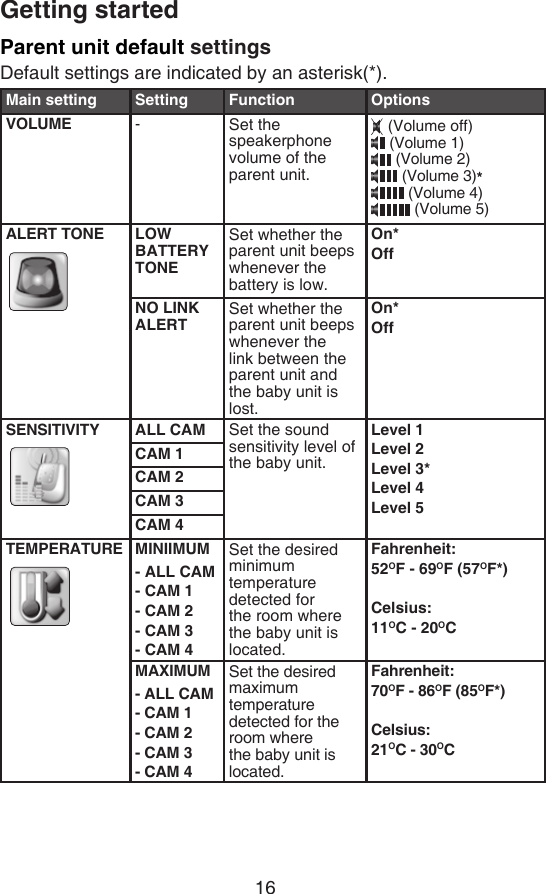
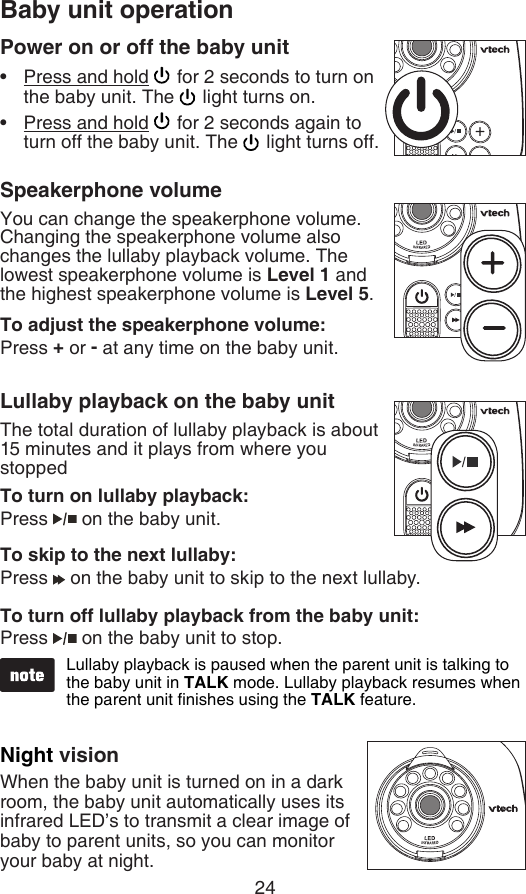
![Parent unit settings22Any new baby unit paired to an occupied baby unit slot will unpair the current baby unit.LCD brightnessYou can change the brightness of the parent unit screen.To set the brightness of the parent unit screen:Press MENU/SELECT when the parent unit is not in use.Press /VOL+ or /VOL- to choose LCD BRIGHTNESS, then press MENU/SELECT.Press /VOL+ or /VOL- to scroll through the choices, the brightness of the parent unit screen changes as you scroll through the choices.Press MENU/SELECT to conrm your selection.Pair/UnpairYou can pair a maximum of four baby units to your parent unit.To pair a baby unit:Press MENU/SELECT when the parent unit is not in use.Press /VOL+ or /VOL- to choose PAIR/UNPAIR, then press MENU/SELECT.Press MENU/SELECT again to choose PAIR CAM.Press /VOL+ or /VOL- to choose the desired baby unit slot, then press MENU/SELECT. The screen displays Please press both [ ] and [+] key on CAM side until POWER indicator ashes Red and White light alternately. Then press and hold and + for 5 seconds on the new baby unit at the same time. on the new baby unit ashes red and white alternately.When pairing is successful, the screen displays the newly paired baby unit. The light on the new baby unit turns red when it is powered by battery or turns white when it is powered by AC power.1.2.3.4.1.2.3.4.5.](https://usermanual.wiki/VTech-Telecommunications/80-8181-01/User-Guide-1484629-Page-29.png)
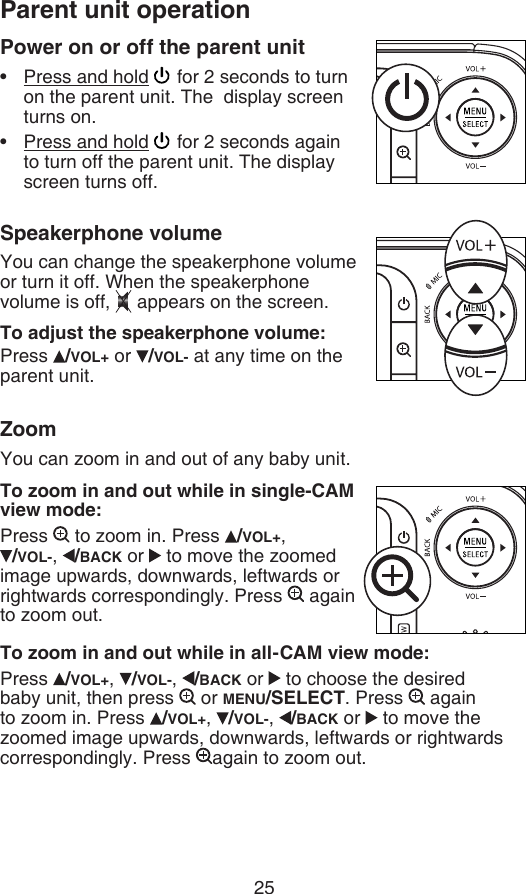
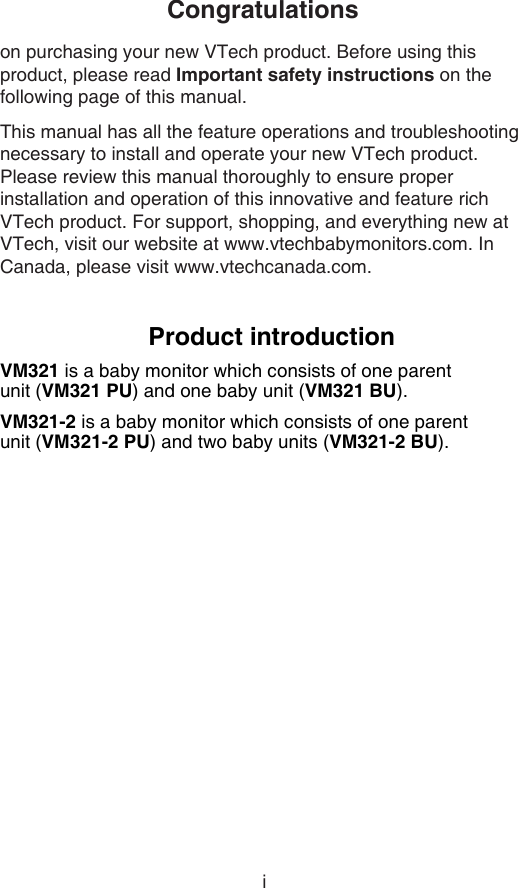
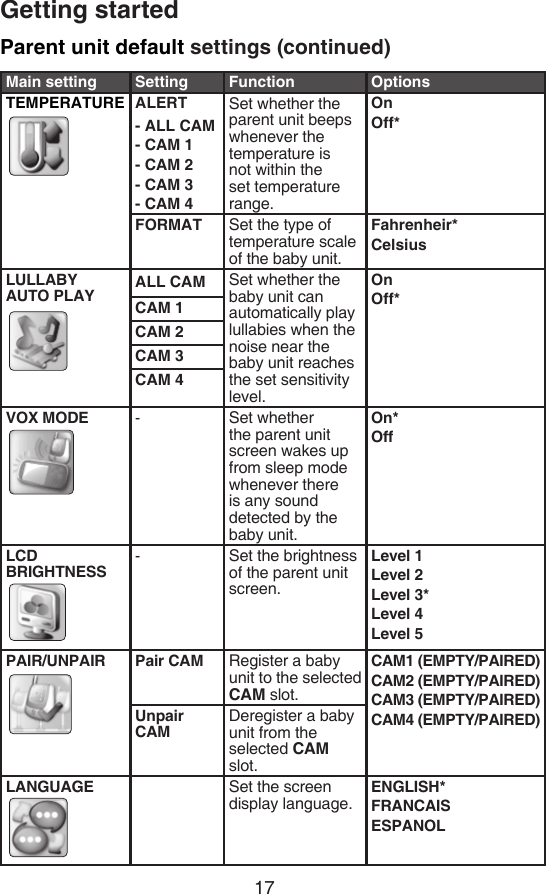
![29AppendixExpand your baby monitor systemThe baby units and parent unit provided with your baby monitor system are already paired. This baby monitor system accommodates up to four baby units.Add or replace a baby unit (optional)You can add or replace baby units (VM301, purchased separately) to your baby monitor system. Each baby unit must be paired to the parent unit before use. You need to power on the baby unit (pages 7, 9 and 25) and the parent unit (pages 8, 11 and 25) before pairing.To add or replace a baby unit:Press MENU/SELECT when the parent unit is not in use.Press /VOL+ or /VOL- to choose PAIR/UNPAIR, then press MENU/SELECT.Press MENU/SELECT again to choose PAIR CAM.Press /VOL+ or /VOL- to choose the desired baby unit slot, then press MENU/SELECT. The screen displays Please press both [ ] and [+] key on CAM side until POWER indicator ashes Red and White light alternately. Then press and hold and + for 5 seconds on the new baby unit at the same time. on the new baby unit ashes red and white alternately.When pairing is successful, the screen displays the newly paired baby unit in single-view mode. The light on the new baby unit turns red when it is powered by battery or turns white when it is powered by AC power.If pairing fails, the screen displays Pairing failed. Try the pairing process again.1.2.3.4.5.Any new baby unit paired to an occupied baby unit slot will unpair the current baby unit.](https://usermanual.wiki/VTech-Telecommunications/80-8181-01/User-Guide-1484629-Page-36.png)
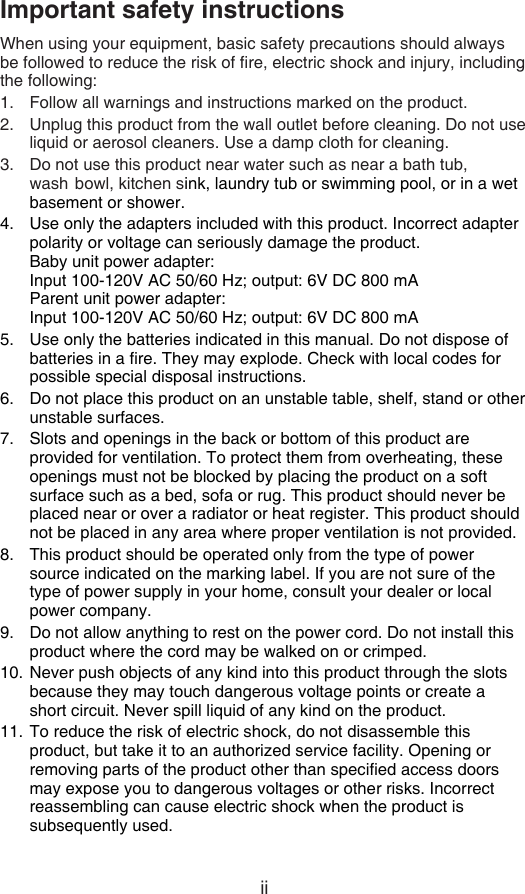
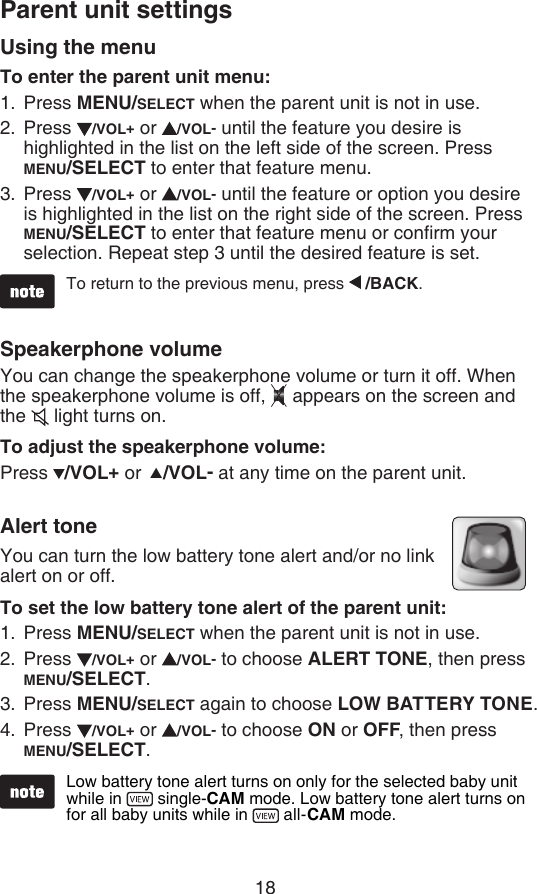
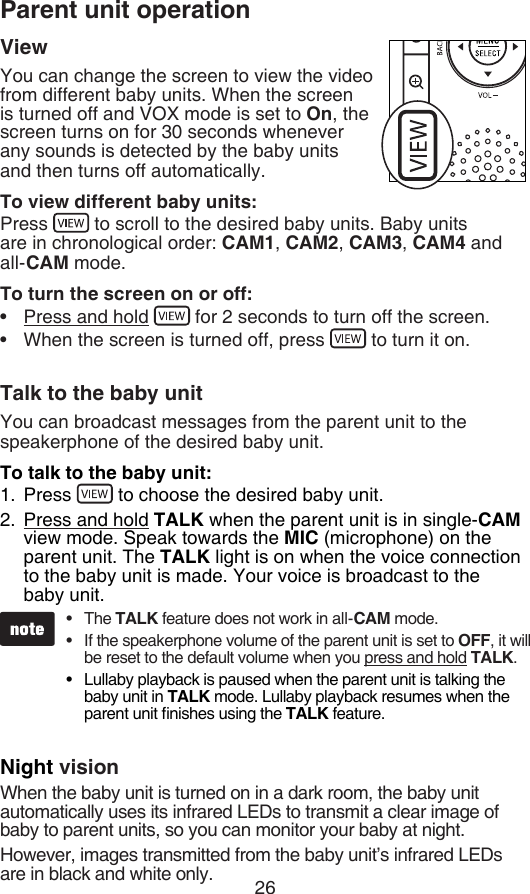
![30AppendixRemove a baby unitIf you want to remove a baby unit, you need to power on the baby unit (pages 7, 9 and 25) and the parent unit (pages 8, 11 and 25) before unpairing.To remove a baby unit:Press MENU/SELECT when the parent unit is not in use.Press /VOL+ or /VOL- to choose PAIR/UNPAIR, then press MENU/SELECT.Press /VOL+ or /VOL- to choose UNPAIR CAM, then press MENU/SELECT.Press /VOL+ or /VOL- to choose the desired baby unit, then press MENU/SELECT.Press [zoom] and then press MENU/SELECT to conrm your selection.When unpairing is successful, the screen displays the next paired baby unit or returns to the previous baby unit viewing screen. If all baby units are unpaired, the screen displays No CAM paired.If unpairing fails, you need to reset the baby monitor and then try the unpairing process again.To reset:Power off the baby unit and the parent unit.Unplug the power and/or batteries from the baby unit and the parent unit, then plug them back in.Power on the baby unit and the parent unit.1.2.3.4.5.6.1.2.3.](https://usermanual.wiki/VTech-Telecommunications/80-8181-01/User-Guide-1484629-Page-37.png)