VTech Telecommunications 80-9678-00 4-Line Small Business System, Deskset User Manual
VTech Telecommunications Ltd 4-Line Small Business System, Deskset
UserManual.wiki
>
VTech Telecommunications
>
80 9678 00 User Manual
User Manual
Navigation menu
Upload a User Manual
Namespaces
Wiki Guide
HTML
PDF
Info
Views
User Manual
Discussion / Help
Navigation
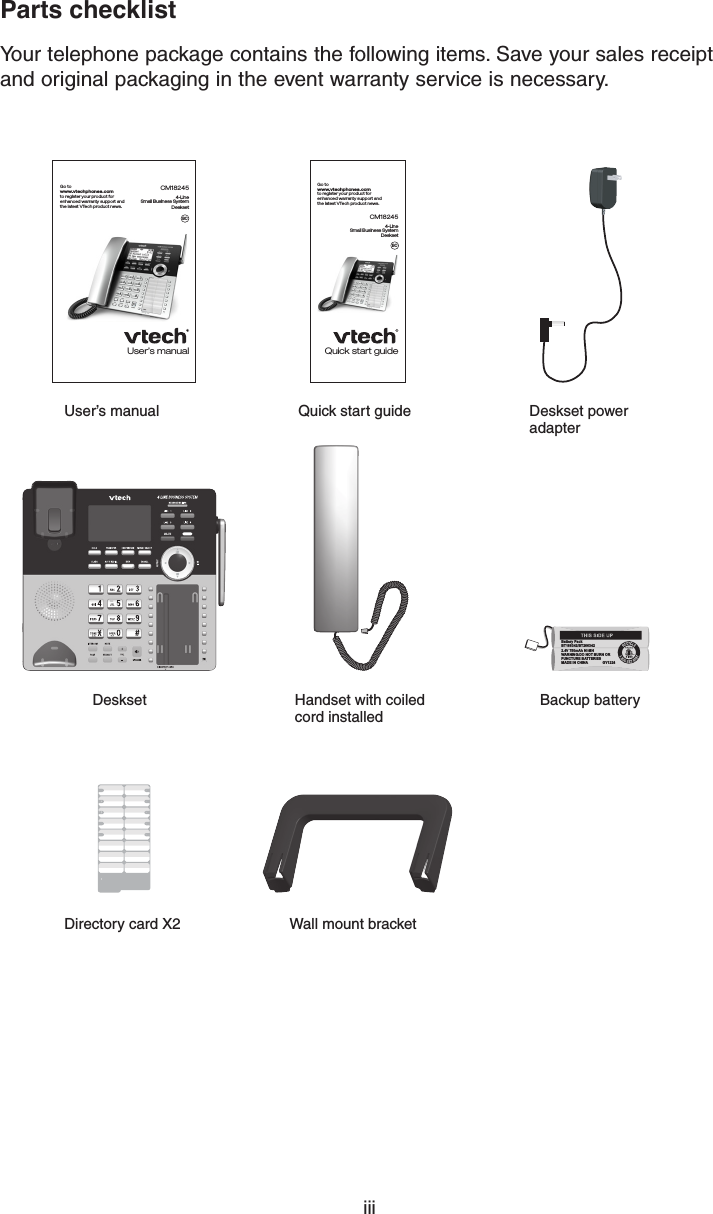


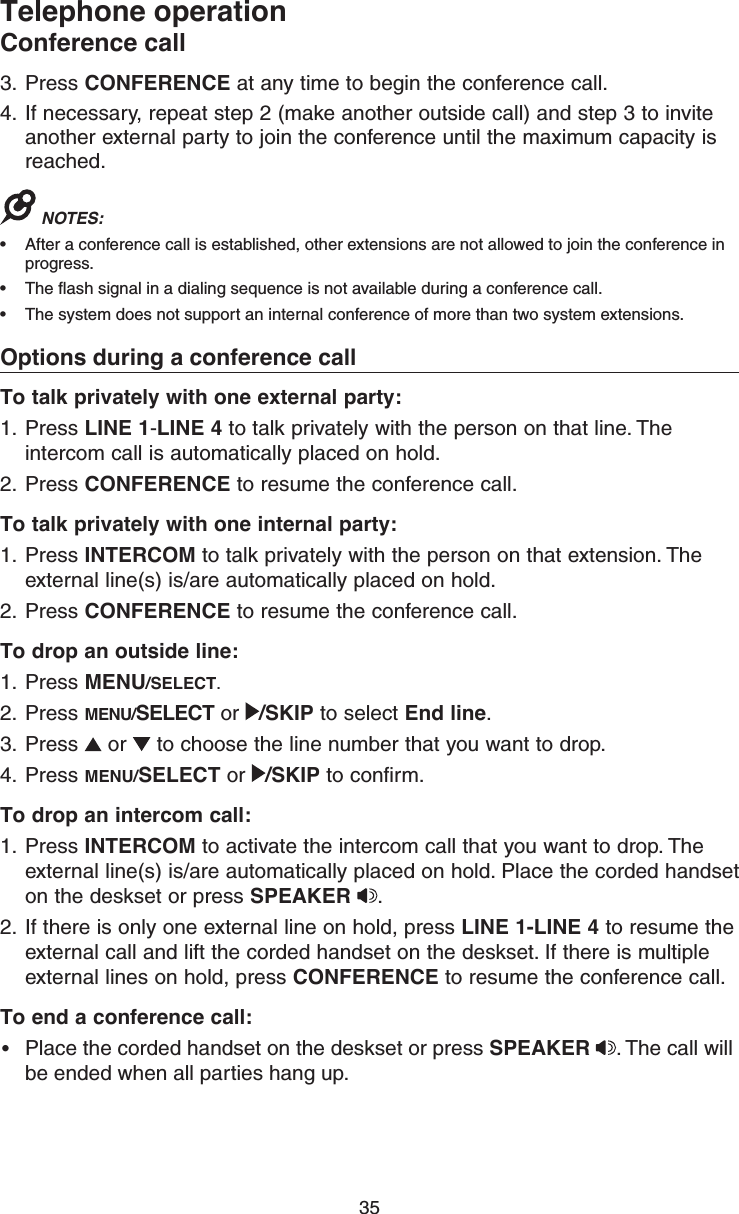
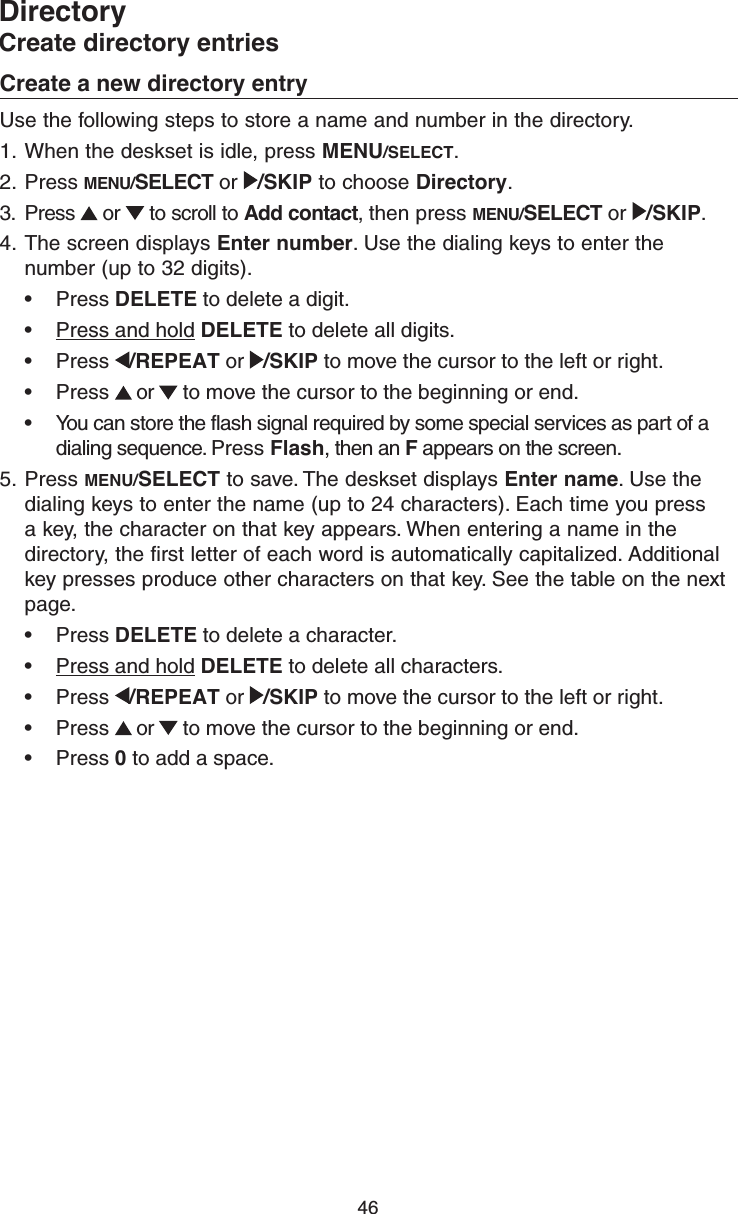
![40Telephone operationPagingYou can directly broadcast your voice to the speakerphone of the console, any deskset and handset. The extension(s) you called can respond by pressing the PAGE key to begin a two-way communication.Make a paging call to an extension1. Press PAGE on the deskset when it is idle.2. Press or to scroll to a desired extension, then press MENU/SELECT or /SKIP. The screen displays Paging..., then Press and hold [PAGE] to talk.3. Press and hold the PAGE key until the deskset displays Paging... 4. Speak towards the deskset while continuing to hold down the PAGE key. Your voice is broadcast to the desired extension.5. Release the PAGE key after speaking. The destination party can reply.NOTES: • Before the paging call is answered, you can cancel the paging by pressing CANCEL.• You cannot page an extension that is on a call.• If all four telephone lines are in use, the paging feature is not available.Set and edit a group for paging callUse the group setting if you want to broadcast your voice to a group of extensions. When you page a group, only the selected extensions hear your voice. You can create up to three paging groups.1. Press PAGE on the deskset when it is idle.2. Press or to scroll to Group, press MENU/SELECT or /SKIP.3. Press or to scroll to Define groups, press MENU/SELECT or /SKIP.4. Press or to scroll to a desired group, press MENU/SELECT or /SKIP.5. The registered extensions (apart from cordless headset and speakerphone) display. Use the dial pad to press an extension number if you want to add it to the group.• To remove an extension number, press the same number again.6. Press MENU/SELECT or /SKIP to save the setting and return to the previous menu. To exit without making changes, press CANCEL or /REPEAT.NOTE: Each group can contain a maximum of four other system extensions.](https://usermanual.wiki/VTech-Telecommunications/80-9678-00/User-Guide-2573311-Page-47.png)
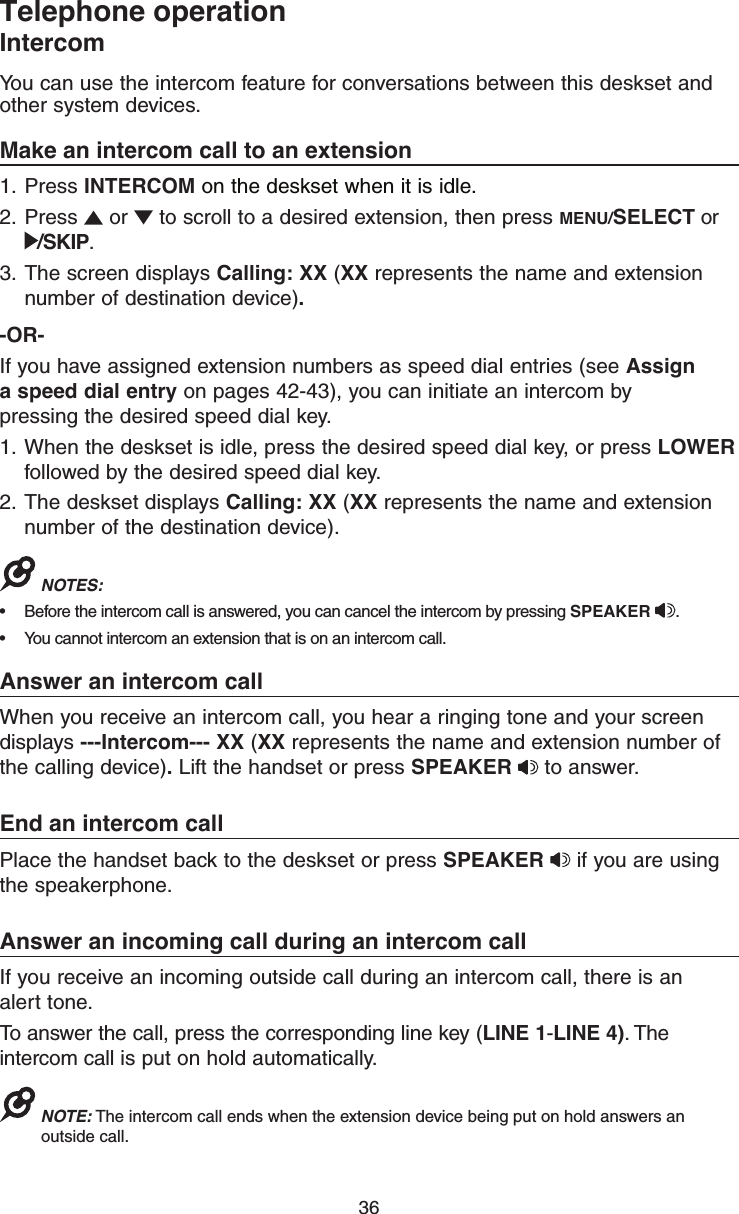
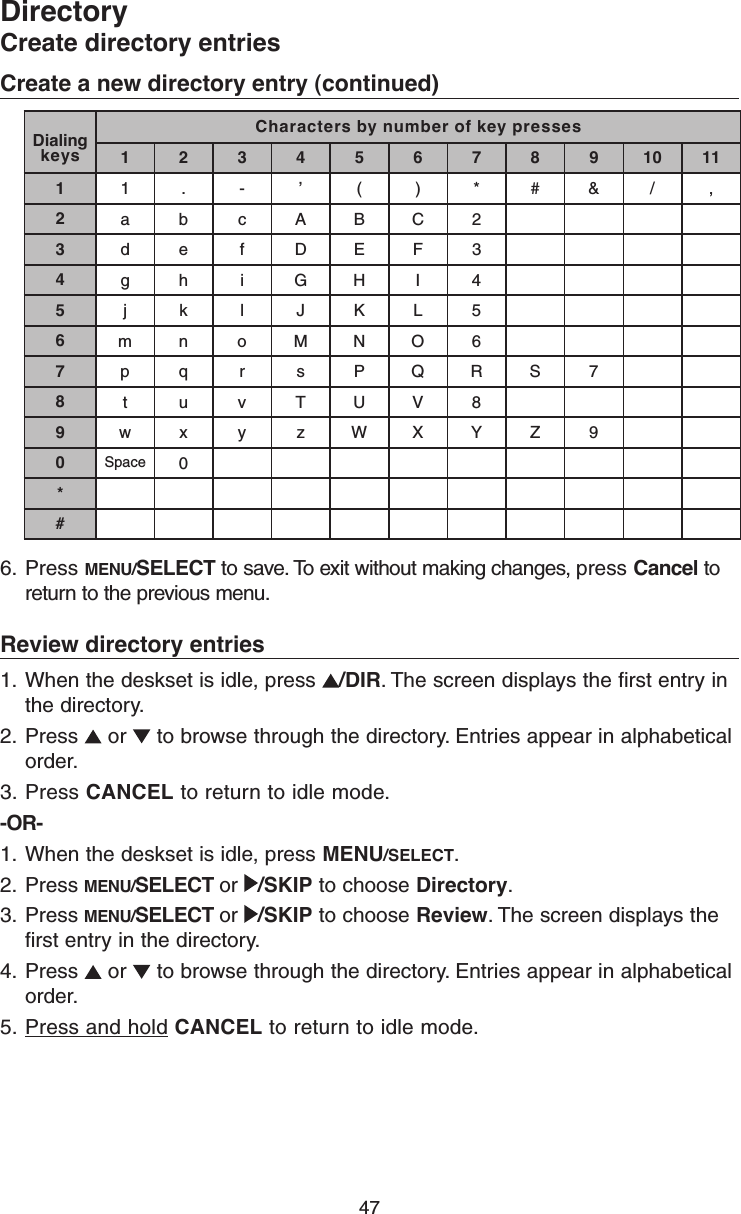
![41Telephone operationPagingMake a paging call to multiple extensions1. Press PAGE on the deskset when it is idle.2. Press or to scroll to Group or All, press MENU/SELECT or /SKIP.• If you choose Group, press or to scroll to a desired group of extensions. Then, press MENU/SELECT or /SKIP.The screen displays Paging..., then Press and hold [PAGE] to talk.3. Press and hold the PAGE key until the deskset displays Paging...4. Speak towards the deskset speakerphone while continuing to hold down the PAGE key. Your voice is broadcast to the desired extension.5. Release the PAGE key after speaking. Any destination party can reply.NOTES: • Paging all extensions will create a paging call that only involves the console and the first other four system devices.• If any of the console and the first other four system devices is busy, it will not receive the paging call.End a paging callPress CANCEL to end the paging call.Delete the group settings1. Press PAGE on the deskset when it is idle.2. Press or to scroll to Group, press MENU/SELECT or /SKIP.3. Press or to scroll to Clear groups, press MENU/SELECT or /SKIP.4. Press or to scroll to Yes or No.5. Press MENU/SELECT or /SKIP to confirm your choice. To exit without making changes, press CANCEL or /REPEAT.](https://usermanual.wiki/VTech-Telecommunications/80-9678-00/User-Guide-2573311-Page-48.png)

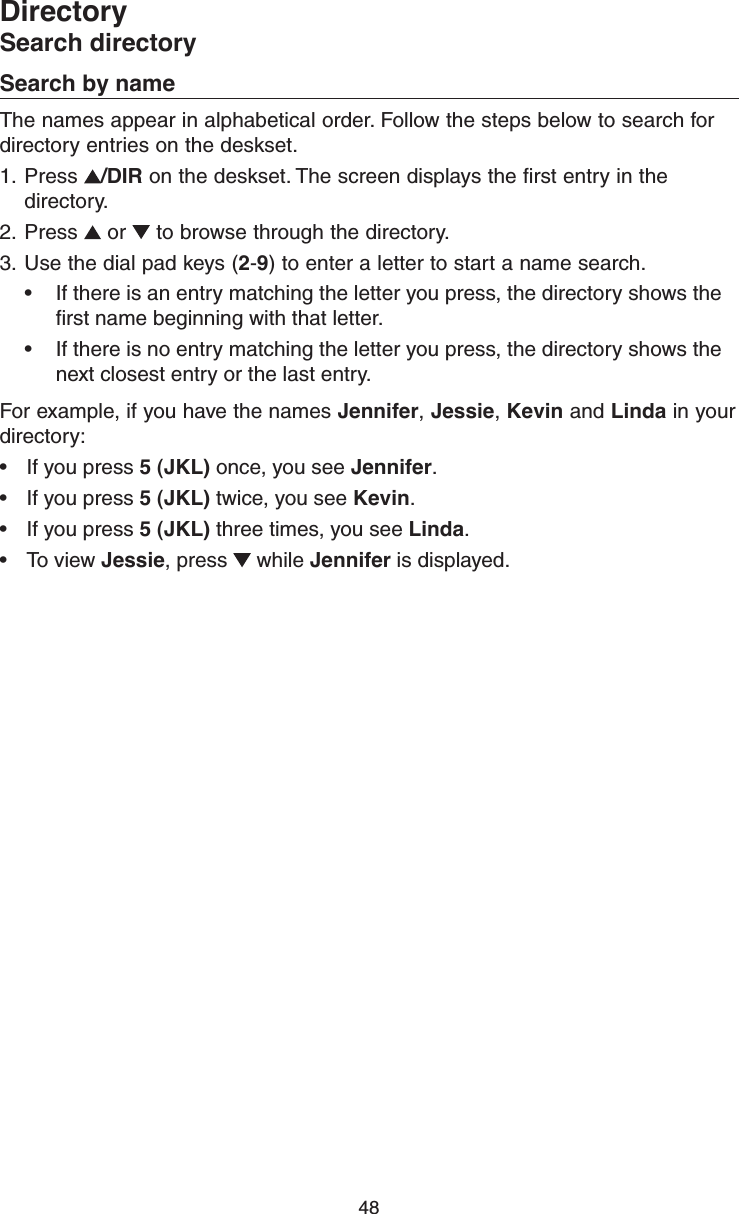
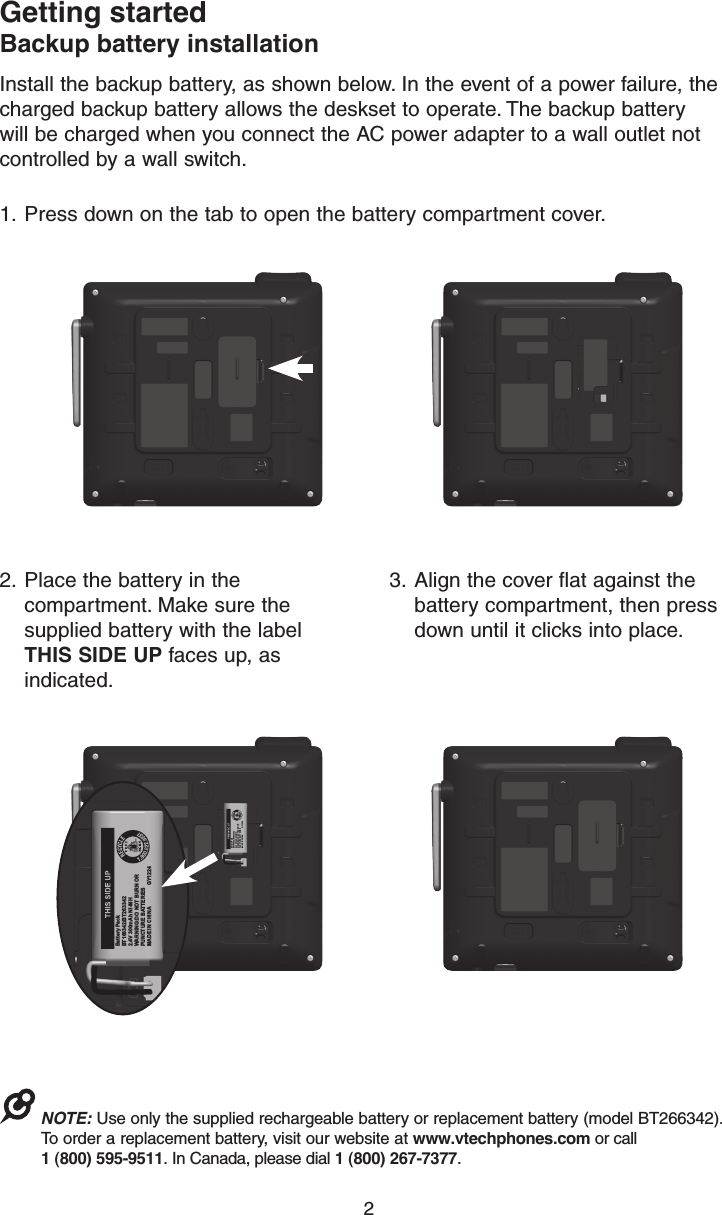
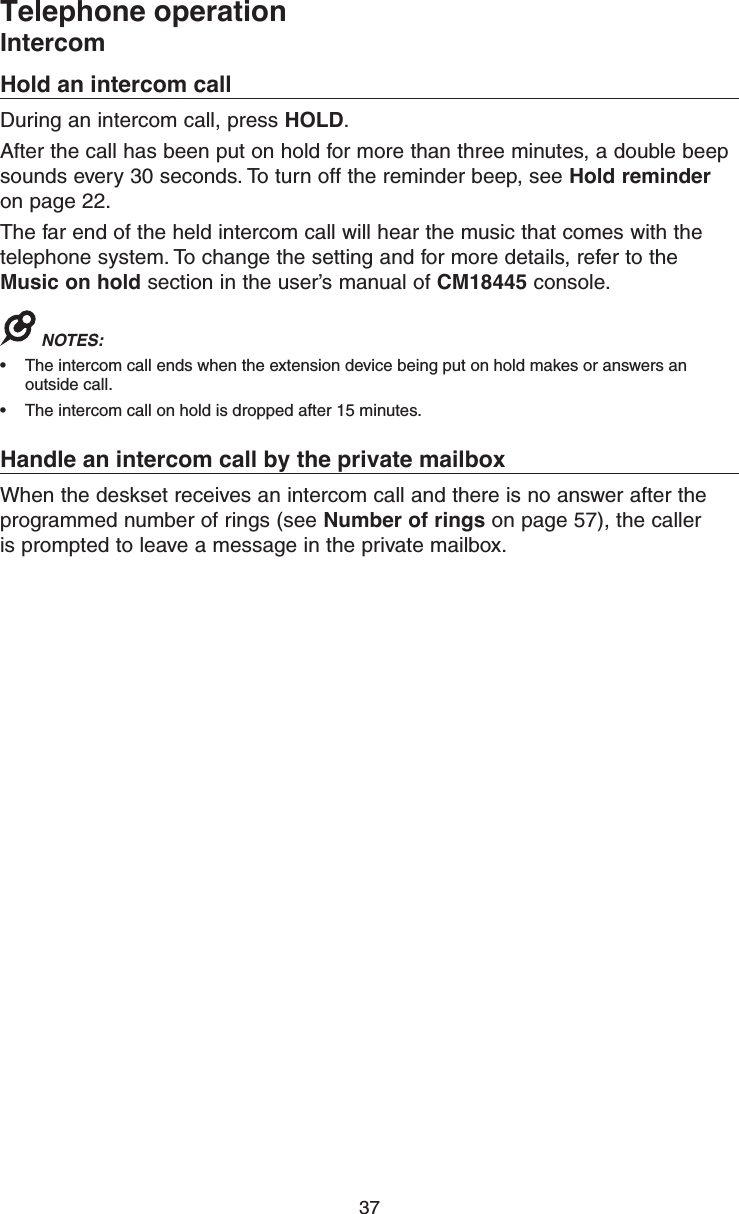
![50Call historyAbout the caller IDThis telephone supports caller ID services that most telephone service providers offer. Caller ID allows you to see the name, number, date and time of calls. Depending on your service subscription, you might see the caller’s number, or the caller’s name and number from the telephone service provider after the first or second ring. Caller ID information might not be available for every incoming call. Callers may intentionally block their names and/or telephone numbers.This product can provide information only if both you and the caller are in areas offering caller ID service and if both telephone service providers use compatible equipment. Information about caller ID with call waitingCaller ID with call waiting lets you see the name and telephone number of the caller before answering the telephone, and while on another call. The time and date, along with the call information, are from the telephone service provider.It might be necessary to change telephone service to use this feature. Contact your telephone service provider if:• You have both caller ID and call waiting, but as separate services (you might need to combine these services).• You only have caller ID service, or only call waiting service.• You do not subscribe to caller ID or call waiting services.There are fees for caller ID services. In addition, services may not be available in all areas.NOTE: You can use this product with regular caller ID service, or you can use this product’s other features without subscribing to caller ID or combined caller ID with call waiting service. CHRISTINE SMITH 8005959511 11:00pm 12/21 new [SELECT] to add](https://usermanual.wiki/VTech-Telecommunications/80-9678-00/User-Guide-2573311-Page-57.png)
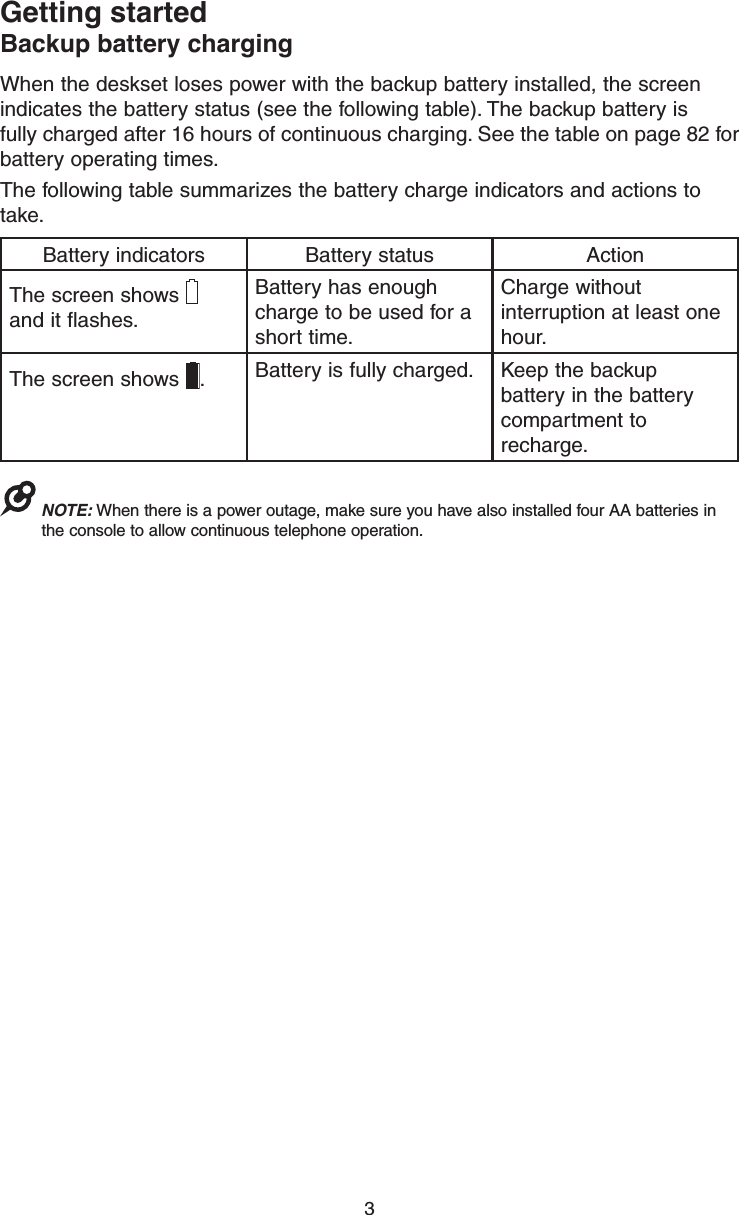
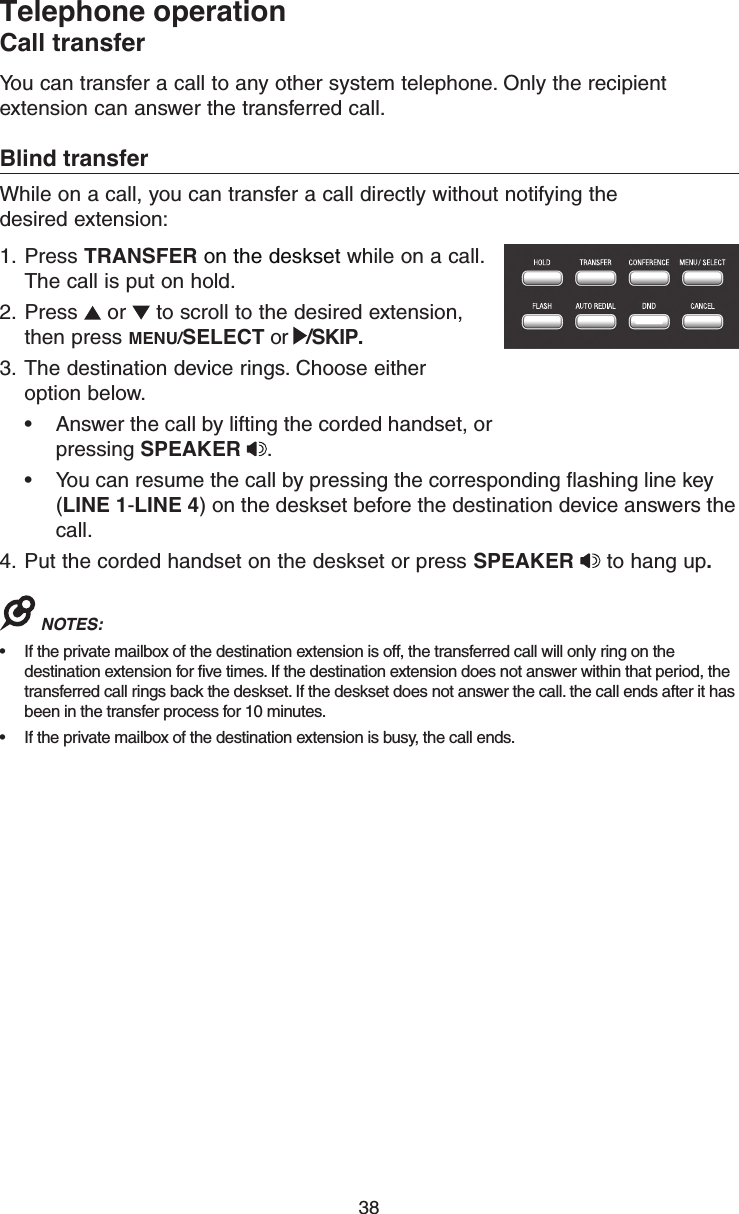
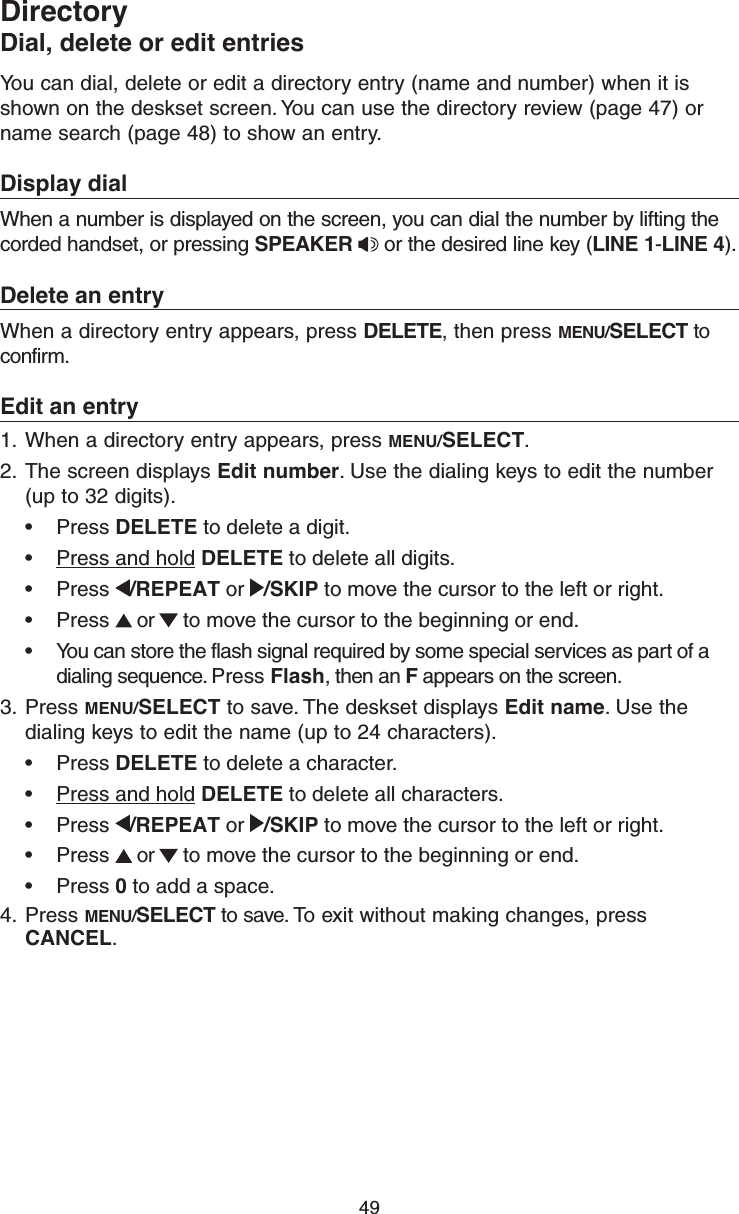
![51How the caller ID information (call log) worksThe telephone stores caller ID information for the last 50 incoming calls in the deskset. Entries are stored in reverse chronological order. The telephone deletes the oldest entry when the log is full to make room for new calls.Each extension has independent caller ID information. Deleting the caller ID information on any one extension does not affect the caller ID information on other extensions.If you answer a call before the information appears on the screen, it does not show in the caller ID information.Review the caller ID information to determine who called, to easily return the call, or to copy the caller’s name and number into your directory.The time and date of the call and the caller’s name and telephone number are included in the display.Caller ID information appears on the screen as the telephone rings, or until the caller hangs up, or until the call has been answered at another extension, or until the call ends.Call historyCaller ID informationIf you subscribe to caller ID service, this phone automatically resets the time and date using the caller ID information from the first incoming call after initial setup, or each time the power resumes after a power outage.NOTES:• The caller ID information might not be available for every incoming call. Callers might intentionally block their names and/or telephone numbers.• Each entry can store up to 24 digits for the telephone number and 16 characters for the name. CHRISTINE SMITH 8005959511 11:00pm 12/21 new [SELECT] to addAppears when there are new or missed calls.Caller’s nameCaller’s numberTime and date of call](https://usermanual.wiki/VTech-Telecommunications/80-9678-00/User-Guide-2573311-Page-58.png)
![52Memory matchIf the incoming telephone number is an exact match with a telephone number in your directory, the name that appears on the screen matches the corresponding name in your directory.For example, if Christine Smith calls, her name appears as Chris if this is how you entered it into your directory.NOTE: The number you see on your caller ID is in the format from the telephone service provider. It usually delivers 10-digit telephone numbers (area code plus telephone number). The telephone system ignores the area code when searching for a match and displays the name of the first corresponding number from the directory.Missed (new) calls indicatorWhen there are new or missed calls and you try to review the caller ID log by pressing /CID, the screen shows XX Missed call(s).All new or missed entries are counted as missed calls. Each time you review a call history entry with the icon new, the missed calls message goes away.Review the caller ID information1. When the deskset is idle, press /CID. The deskset displays XX Missed calls.2. Press or to review the caller ID information. The caller ID entries are stored in reverse chronological order starting with the most recent entry.3. To exit without making changes, press CANCEL.-OR-1. When the deskset is idle, press MENU/SELECT.2. Press or to scroll to Call history, then press MENU/SELECT or /SKIP. The deskset displays XX Missed calls.3. Press or to review the caller ID information. The caller ID entries are stored in reverse chronological order starting with the most recent entry.4. To exit without making changes, press CANCEL twice.Call historyCaller ID operation Call History XXX Missed calls Press [DELETE] to delete all CHRIS 8005959511 11:00pm 12/21 new [SELECT] to add](https://usermanual.wiki/VTech-Telecommunications/80-9678-00/User-Guide-2573311-Page-59.png)
![53View dialing optionsAlthough the incoming call history entries have 10 digits (the area code plus the seven-digit number), in some areas, you may need to dial the seven digits only, 1 plus the seven digits, or 1 plus the area code plus the seven digits. You can change and store the number of digits that you dial in the call history. While reviewing the call history, press # (pound key) repeatedly on the deskset to show different dialing options for local and long distance numbers before dialing or saving the telephone number in the directory.Dial a call history entry1. When in the caller ID history, press or to browse the number you wish to call. 2. Lift the handset or press SPEAKER . -OR- To override automatic line selection, press the desired line key (LINE 1- LINE 4), then lift the handset to call.Call historyCaller ID operation180059595115959511159595118005959511Press # CHRIS 8005959511 11:00pm 12/21 new [SELECT] to add](https://usermanual.wiki/VTech-Telecommunications/80-9678-00/User-Guide-2573311-Page-60.png)