Veho Global Group VXS003VM Waterproof Bluetooth Speaker User Manual Vecto Mini Manual PRINT 141029
Veho Global Group Waterproof Bluetooth Speaker Vecto Mini Manual PRINT 141029
User Manual

Ligue o alto-falante e, em seguida, localize o alto-falante
Bluetooth pede um uso código de conexão 0000 ou 1234.
Uma vez conectado, o LED azul pisca lentamente.
uso código de conexión 0000 o 1234. Una vez conectado, el
LED parpadea lentamente azul.
Включите громкоговоритель и найдите динамик
на вашем устройстве Bluetooth и подключить. Если
устройство Bluetooth запрашивает код подключения
использования 0000 или 1234. После подключения
светодиод будет медленно мигать синим.
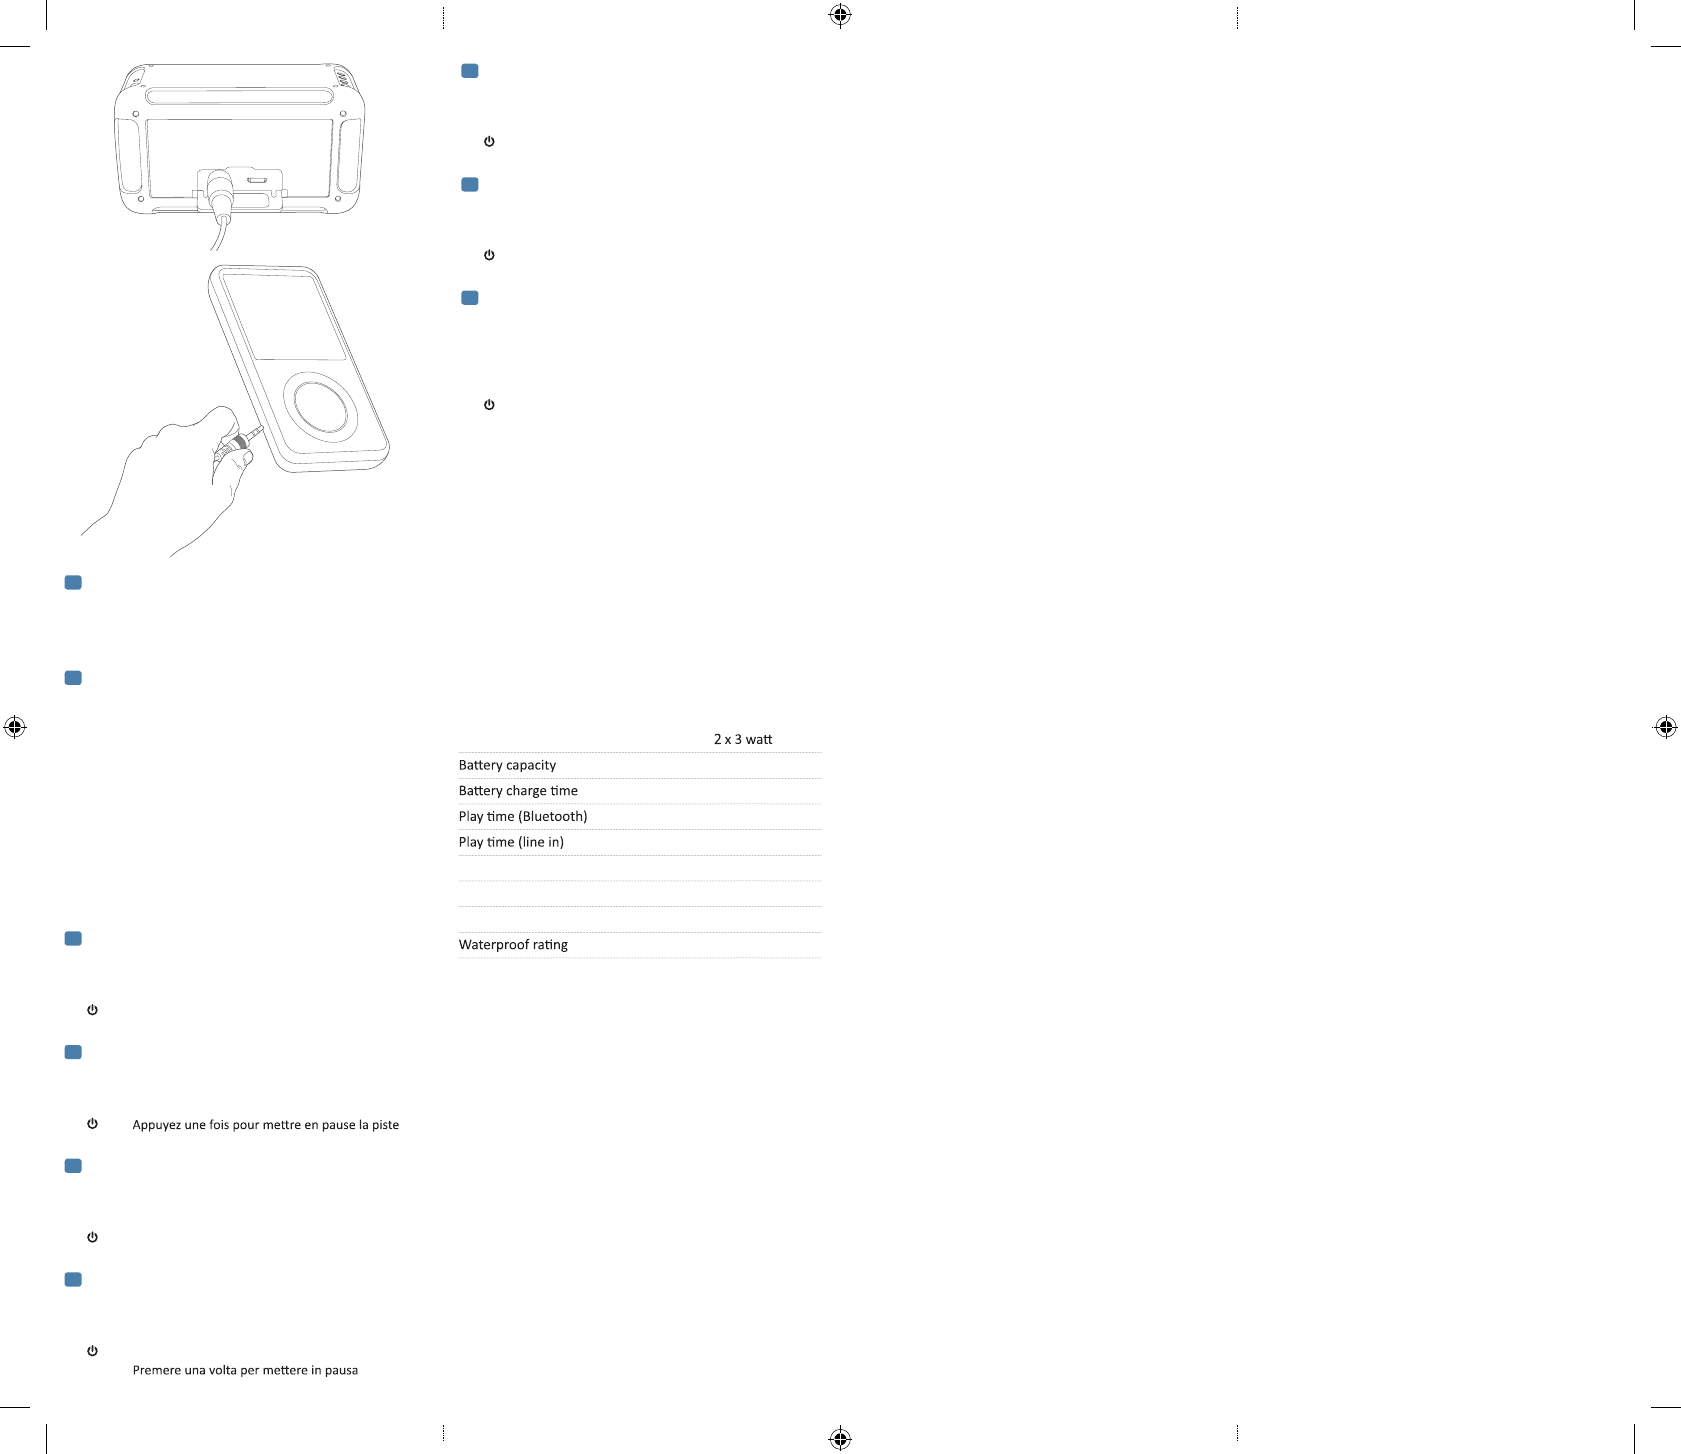
5. Playing music via the line in cable
Turn the speaker on and connect the line in cable to the
speaker and to audio source. Please note only the volume
controls work when connected via line in, you cannot skip
or pause tracks.
Allumer le haut-parleur et connecter la câble de ligne
dans du haut-parleur et de la source audio. S’il vous plaît
noter que les commandes de volume de travail lorsqu’il est
en pause pistes.
Schalten Sie die Lautsprecher auf und verbinden Sie die
Leitung in-Kabel an den Lautsprecher und Audio-Quelle.
wenn über die Leitung in verbunden ist, kann man nicht
überspringen oder anhalten Spuren.
l’altoparlante e di sorgente audio. Si prega di notare che
solo i controlli del volume funzionano quando collegato
pausa i brani.
Ligue o alto-falante e ligar a linha de cabo para o orador e
para fonte de áudio. Por favor, note apenas os controles de
volume funciona quando conectado através da linha, você
não pode pular ou pausar músicas.
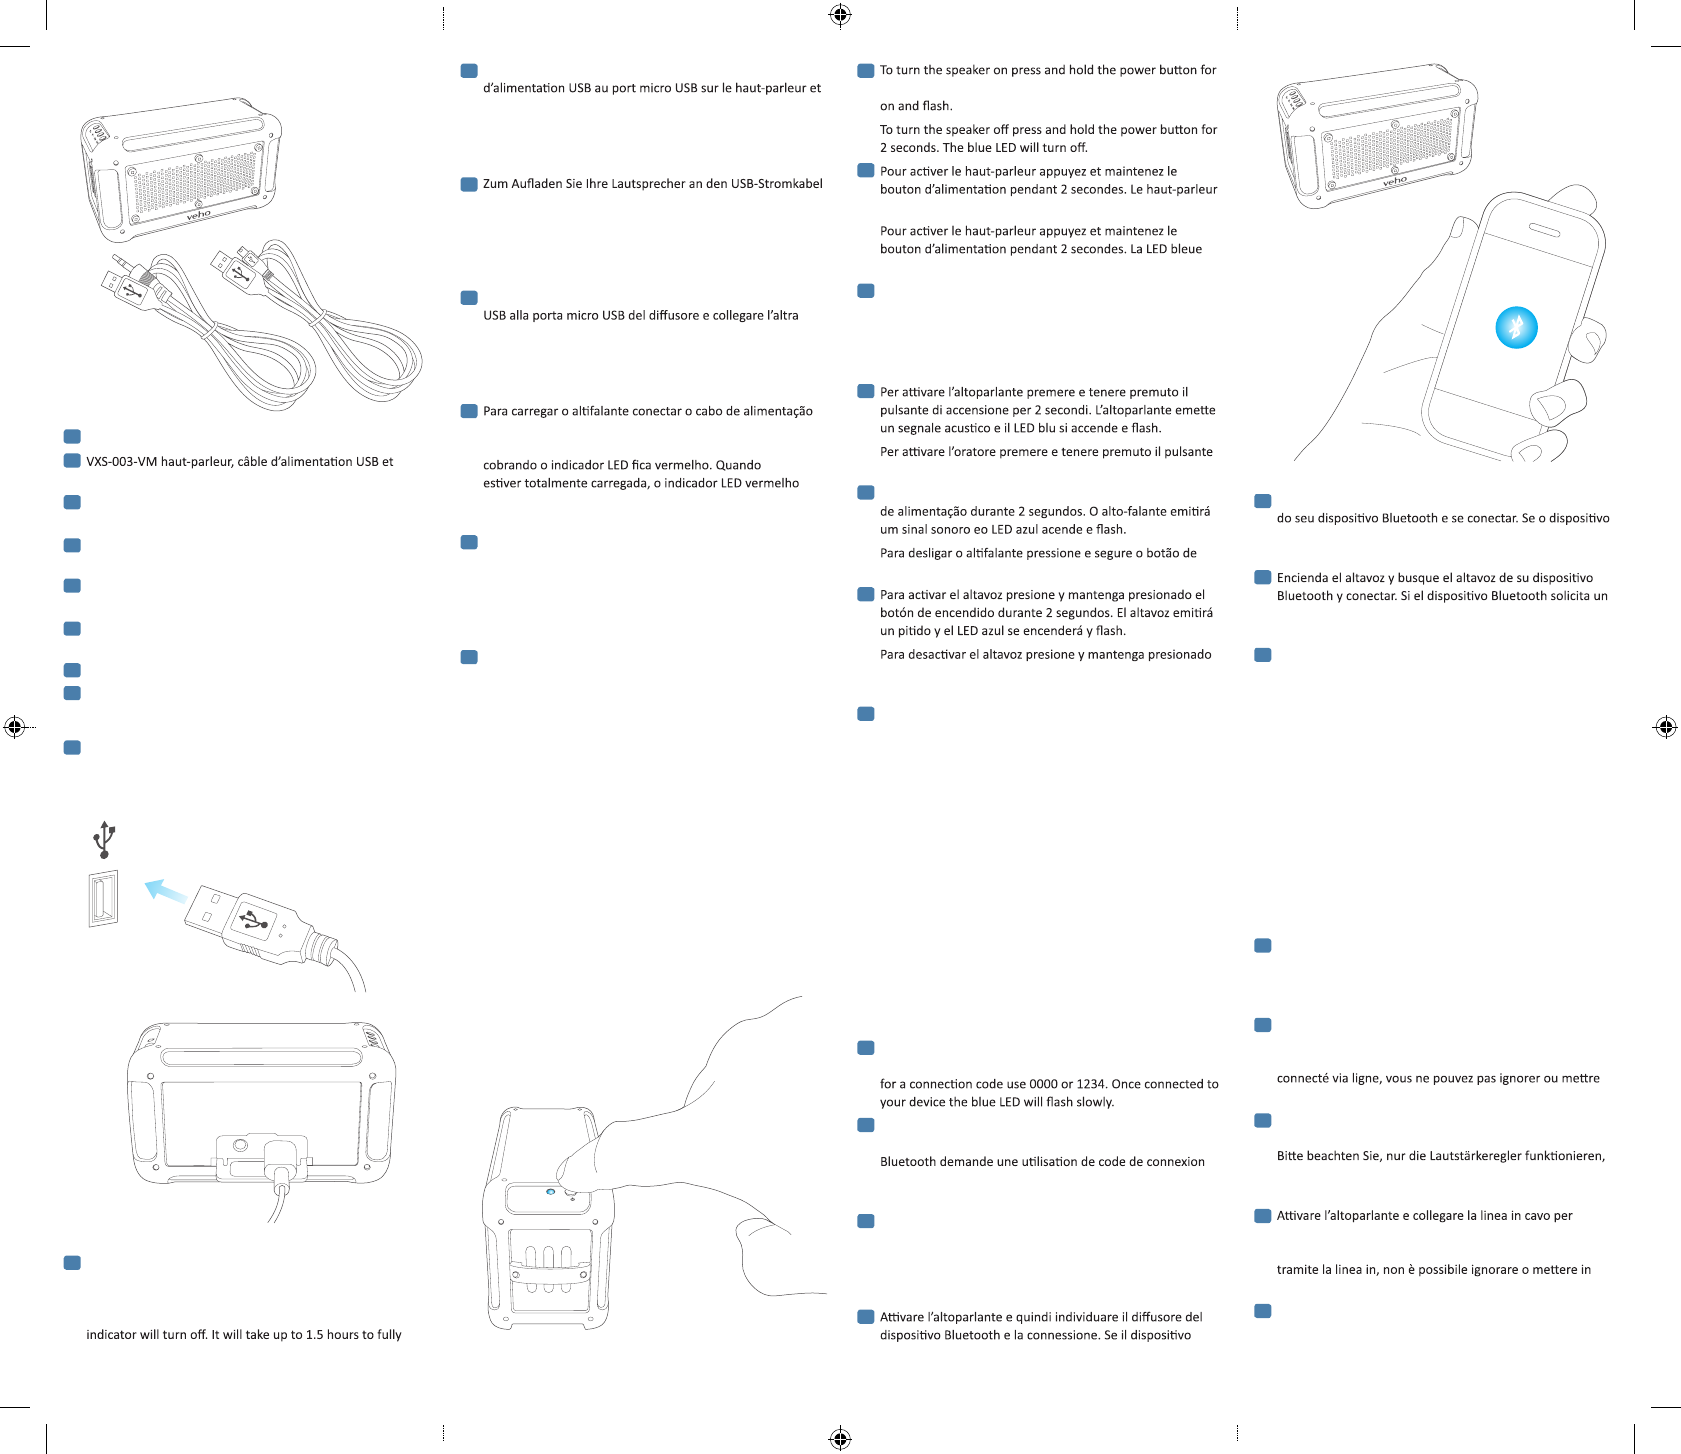
1. What’s in the box
VXS-003-VM speaker, USB charging cable, line in cable.
câble de ligne.
VXS-003-VM-Lautsprecher, USB-Stromkabel und Line-In-
Kabel.
VXS-003-VM altoparlante, cavo di alimentazione USB e la
linea in cavo.
Falante VXS-003-VM, cabo de alimentação USB e linha de
cabo.
Altavoz VXS-003-VM, cable de alimentación USB y la línea
de cable.
VXS-003-VМ спикер, зарядки USB кабель, линия в кабеле.
VXS-003-VM スピーカー
USB電源ケーブル
ライン入力端子ケーブル
VXS-003-VM扬声器, USB充电线,3.5mm音频线.
2. Charging the speaker
To charge your speaker connect the USB power cable to
the micro USB port on the speaker and connect the other
end to your computer’s USB port. Whilst charging the LED
indicator will turn red. When fully charged the red LED
charge the speaker.
Pour recharger votre haut-parleur brancher le câble
branchez l’autre extrémité au port USB de votre ordinateur.
Pendant la charge le voyant devient rouge. En pleine charge
l’indicateur LED rouge s’éteint. L’orateur prendra 1.5 heures
pour charger complètement.
an den Micro-USB-Anschluss auf den Lautsprecher und das
andere Ende an den USB-Port Ihres Computers. Während
die LED-Ladeanzeige leuchtet rot. Voll aufgeladen leuchtet
die rote LED-Anzeige erlischt. Der Referent wird 1.5
Stunden vollständig aufgeladen.
Per caricare l’altoparlante collegare il cavo di alimentazione
estremità alla porta USB del computer. Mentre si carica
l’indicatore LED diventa rosso. Quando è completamente
carica l’indicatore LED rosso si spegne. L’oratore vorranno
1.5 ore per caricare completamente.
USB à porta micro USB no alto-falante e conecte a outra
extremidade à porta USB do seu computador. Enquanto
será desligado. O orador terá 1.5 horas para carregar
totalmente.
Para cargar el altavoz, conecte el cable de alimentación USB
al puerto micro USB en el altavoz y conecte el otro extremo
al puerto USB de su ordenador. Mientras carga, el indicador
LED se iluminará en rojo. Cuando esté completamente
cargada el indicador LED rojo se apagará. El altavoz tomará
1.5 horas en cargarse completamente.
Для зарядки акустическая подключите кабель питания
USB к Micro USB порт на динамик и подключите другой
конец к USB-порту компьютера. В то время зарядки
светодиодный индикатор загорится красным. При
полной зарядке красный индикатор индикатор погаснет.
Это займет до 1.5 часов, чтобы полностью зарядить
динамик.
3. Turning the speaker on and off
FR
DE
IT
ES
RUS
PT
ES
PT
ES
2 seconds. The speaker will beep and the blue LED will turn
émet un bip et le voyant bleu s’allume et clignote.
s’éteint.
Um den Lautsprecher einzuschalten, halten Sie die Power-
Taste für 2 Sekunden. Der Lautsprecher piept und die blaue
LED und Blitz.
Um den Lautsprecher auszuschalten drücken und halten Sie
die Power-Taste für 2 Sekunden. Die blaue LED erlischt.
di accensione per 2 secondi. Il LED blu si spegne.
Para desligar o alto-falante na pressione e segure o botão
alimentação durante 2 segundos. O LED azul será desligado.
el botón de encendido durante 2 segundos. El LED azul se
apagará.
Чтобы включить громкоговоритель нажмите и
удерживайте кнопку питания в течение 2 секунд. Спикер
подаст звуковой сигнал и синий светодиод включится и
вспышки.
Чтобы выключить звук нажмите и удерживайте
кнопку питания в течение 2 секунд. Синий светодиод
выключится.
4. Playing music via Bluetooth
Turn the speaker on and then locate the speaker on your
Bluetooth device and connect. If the Bluetooth device asks
Allumez le haut-parleur, puis localisez le haut-parleur de
votre appareil Bluetooth et connecter. Si le périphérique
0000 ou 1234. Une fois connecté, le voyant bleu clignote
lentement.
Schalten Sie die Lautsprecher auf und suchen Sie die
Lautsprecher auf Ihrem Bluetooth-Gerät, und verbinden
dann. Wenn das Bluetooth-Gerät fragt nach einem
Verbindungscode Einsatz 0000 oder 1234. Einmal
verbunden die LED blinkt langsam blau.
Bluetooth richiede un uso codice di connessione 0000 o
1234. Una volta connesso il LED lampeggia lentamente blu.
IT
FR
DE
IT
GB
RUS
RUS
PT
GB
J
CHN
GB
FR
DE
FR
GB
DE
IT
PT
FR
GB
DE
IT
ES
PT
RUS
Vecto Mini Manual.indd 1 26/09/2014 12:00

Specifications
Speaker output
700 mAh
1.5 hours
4 hours
8 hours
Bluetooth range 15 metres
Bluetooth version 3.0
Bluetooth support A2DP, AVRCP
IP64
Encienda el altavoz y conectar la línea en el cable del
altavoz y para fuente de audio. Por favor, tenga en cuenta
sólo los controles de volumen funcionan cuando se conecta
a través de entrada de línea, no se puede saltar o hacer una
pausa en las pistas.
Включите громкоговоритель и подключить
линии в кабель к динамикам и источника звука.
Громкоговорителя будет изменяться в режим MicroSD и
музыка начнет воспроизводиться автоматически.
6. Guide to the controls
V+/ Press once to skip to the next track
Press and hold to increase the volume
V–/ Press once to skip to the previous track
Press and hold to reduce the volume
Press once to play
Press once to pause
V+/ Appuyez une fois pour sauter une piste de l’avant
Appuyez et maintenez pour augmenter le volume
V–/ Appuyez une fois pour sauter une piste de retour
Appuyez et maintenez pour augmenter le volume
Appuyez à nouveau pour reprendre la piste
V+/ Einmal drücken, um zum nächsten Titel zu springen
Drücken und halten, um die Lautstärke zu erhöhen
V–/negnirps uz letiT negirehrov muz mu ,nekcürd lamniE
nregnirrev uz ekrätstuaL eid mu ,netlah dnu nekcürD
Drücken Sie einmal, um zu spielen
Drücken Sie einmal auf Pause
V+/evisseccus aiccart alla erassap rep atlov anu eremerP
Premere e tenere premuto per aumentare il volume
V–/etnedecerp aiccart alla erassap rep atlov anu eremerP
Premere e tenere premuto per ridurre il volume
Premere una volta per giocare
V+/ Pressione uma vez para pular para a próxima faixa
Pressione e segure para aumentar o volume
V–/ Pressione uma vez para pular para a faixa anterior
Pressione e segure para reduzir o volume
Pressione uma vez para jogar
Pressione uma vez para fazer uma pausa
V+/ Pulse una vez para saltar a la pista siguiente
Mantenga pulsado para aumentar el volumen
V–/ Pulse una vez para saltar a la pista anterior
Mantenga pulsado para reducir el volumen
Presione una vez para reproducir
Pulse una vez para hacer una pausa
V+/ умещюуделс к адохереп ялд зар нидо етимжаН
треку
Нажмите и удерживайте для увеличения объема
V–/ умещудыдерп к адохереп ялд зар нидо етимжаН
треку
амеъбо яинешьнему ялд етйавижреду и етимжаН
Нажмите один раз, чтобы играть
Нажмите один раз, чтобы приостановить
ES
RUS
FR
DE
IT
GB
ES
RUS
PT
Vecto Mini Manual.indd 2 26/09/2014 12:00
FCC STATEMENT :
This device complies with Part 15 of the FCC Rules. Operaon
is subject to the following two condions:
(1) This device may not cause harmful interference, and
(2) This device must accept any interference received, including
interference that may cause undesired operaon.
Warning:Changes or modificaons not expressly approved by
the party responsible for compliance could void the user's
authority to operate the equipment.
NOTE: This equipment has been tested and found to comply
with the limits for a Class B digital device, pursuant to Part 15
of the FCC Rules.These limits are designed to provide
reasonable protecon against harmful interference in a
residenal installaon. This equipment generates uses and can
radiate radio frequency energyand, if not installed and used in
accordance with the instrucons, may cause harmful
interference to radio communicaons. However, there is no
guarantee that interference will not occur in a parcular
installaon. If this equipment does cause harmful interference
to radio or television recepon, which can be determined by
turning the equipment off and on, the user is encouraged to try
to correct the interference by one or more of the following
measures:
Reorient or relocate the receiving antenna.
Increase the separaon between the equipment and receiver.
Connect the equipment into an outlet on a circuit different
from that to which the receiver is connected.
Consult the dealer or an experienced radio/TV technician for
help.
RF warning statement:
The device has been evaluated to meet general RF exposure
requirement. The device can be used in portable exposure
condion without restricon.