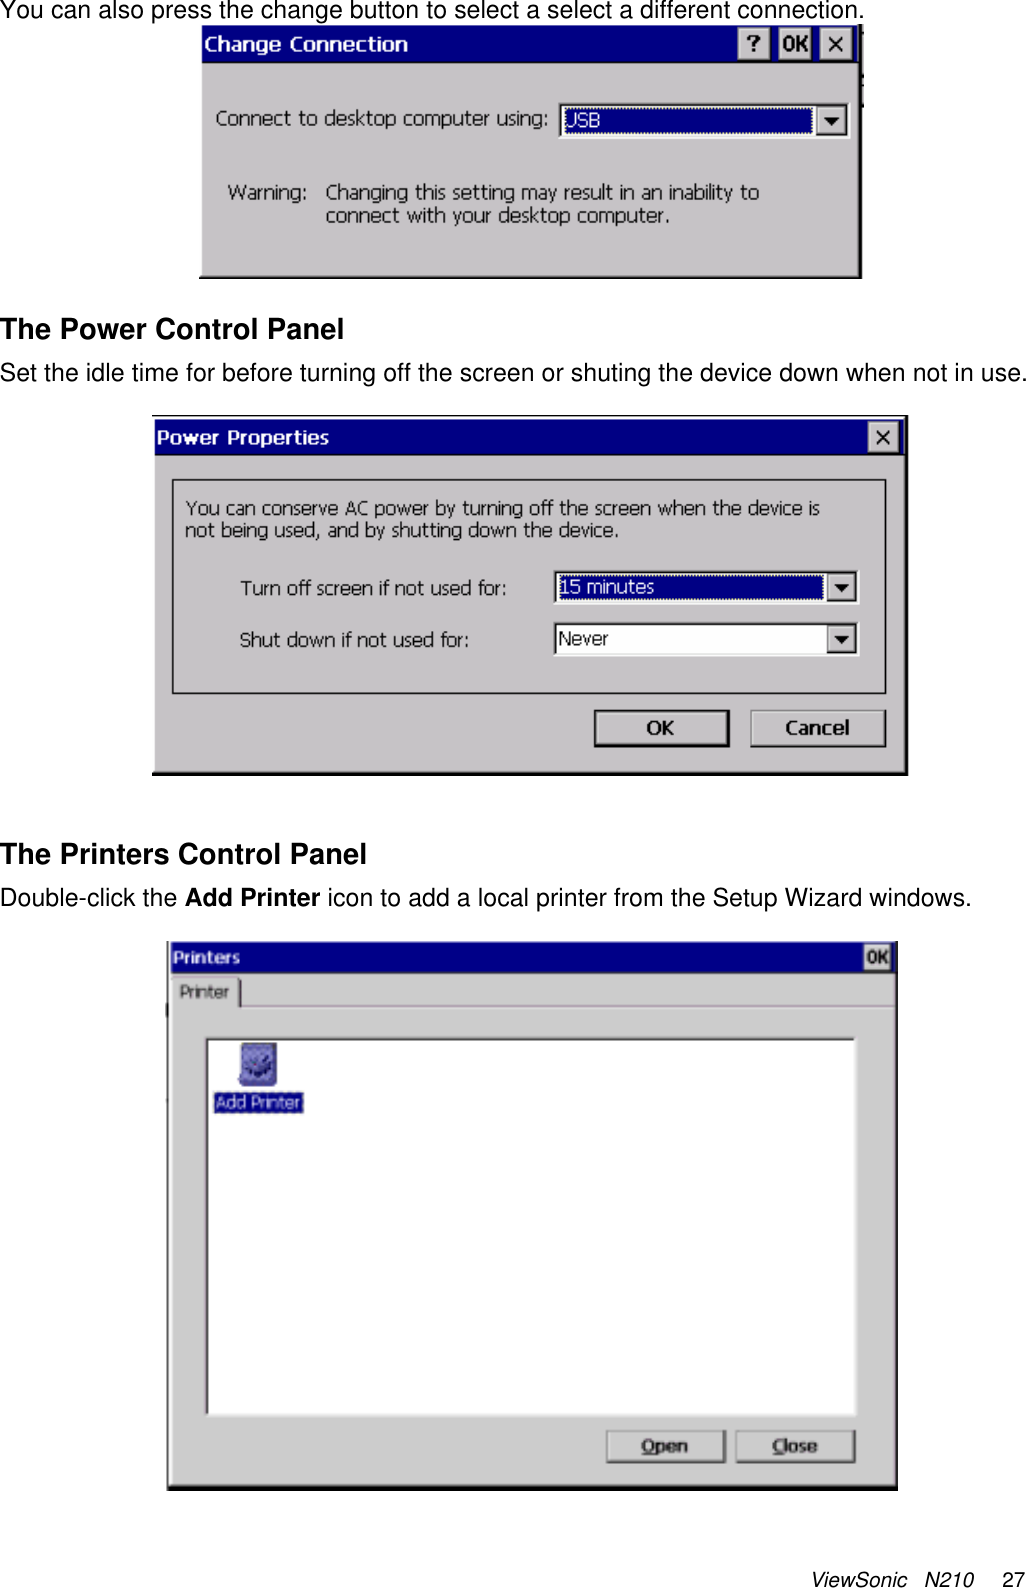
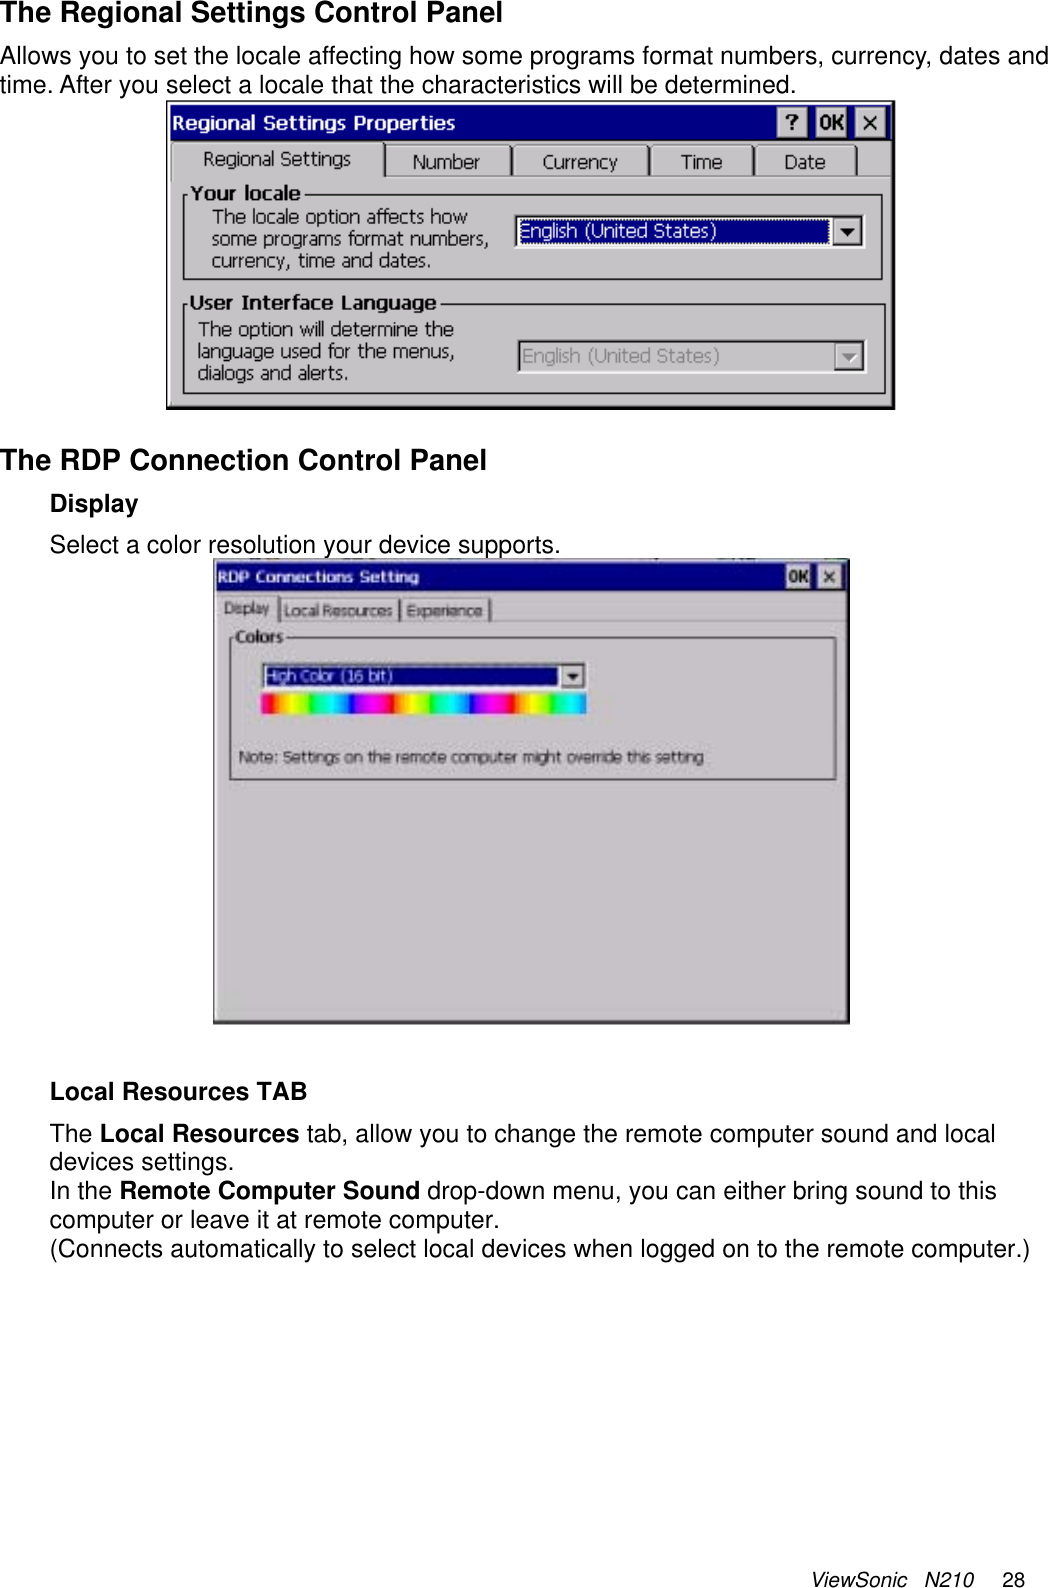
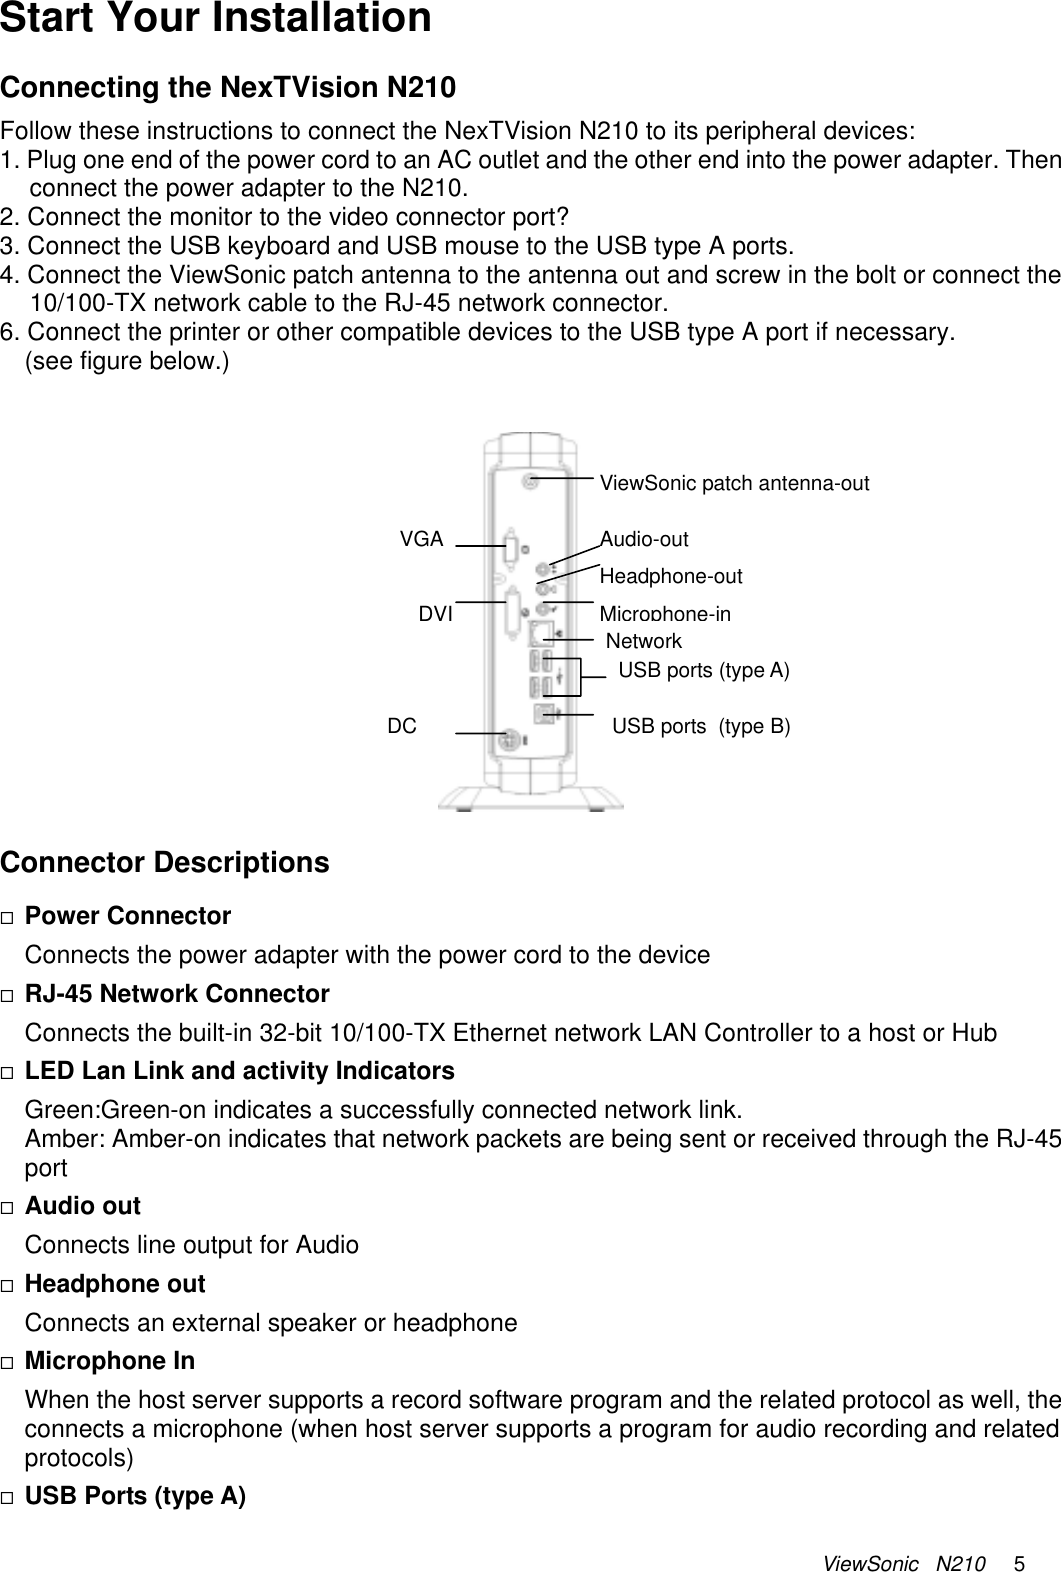
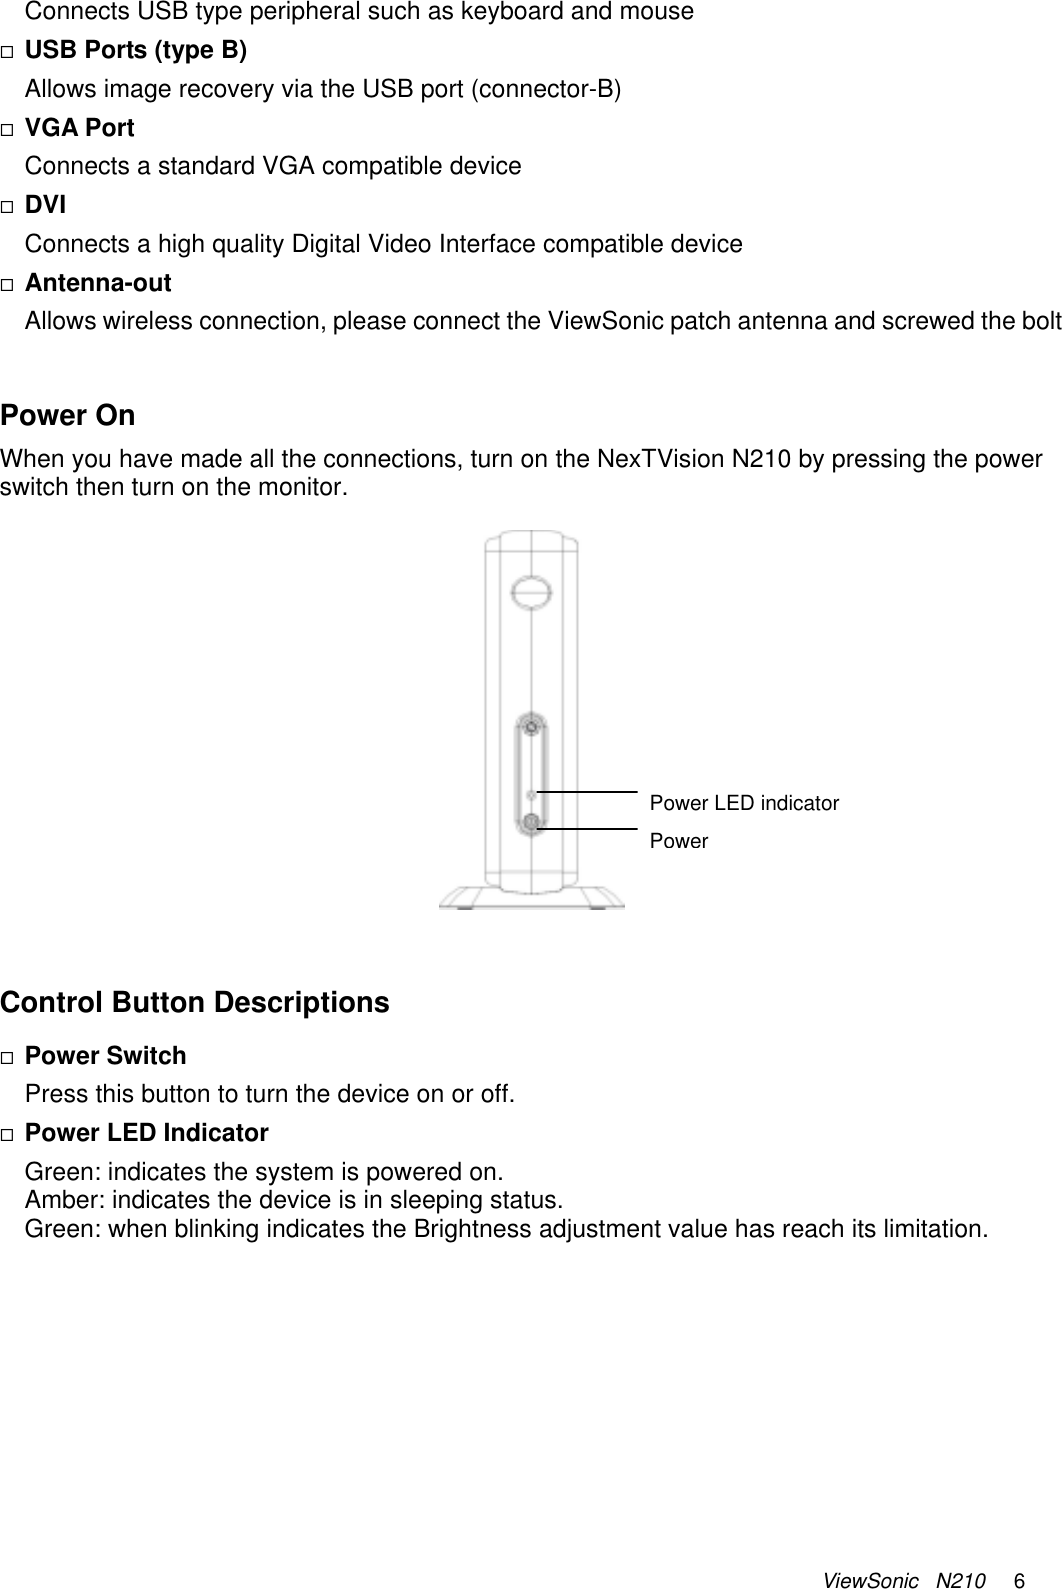
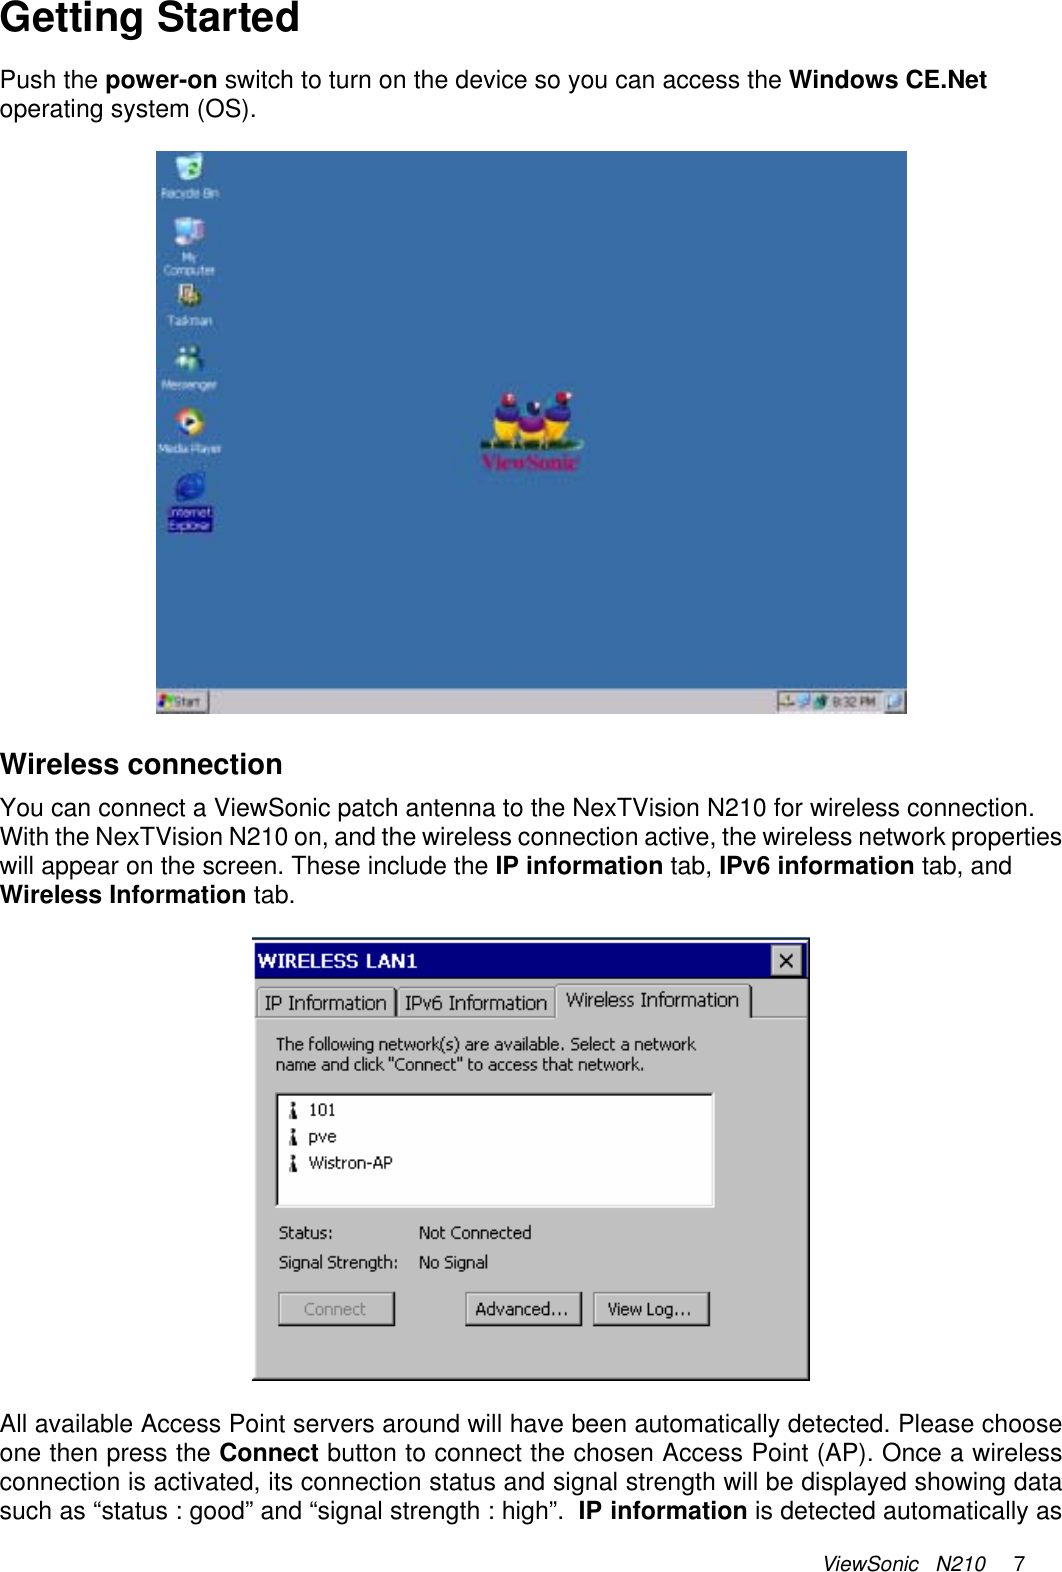
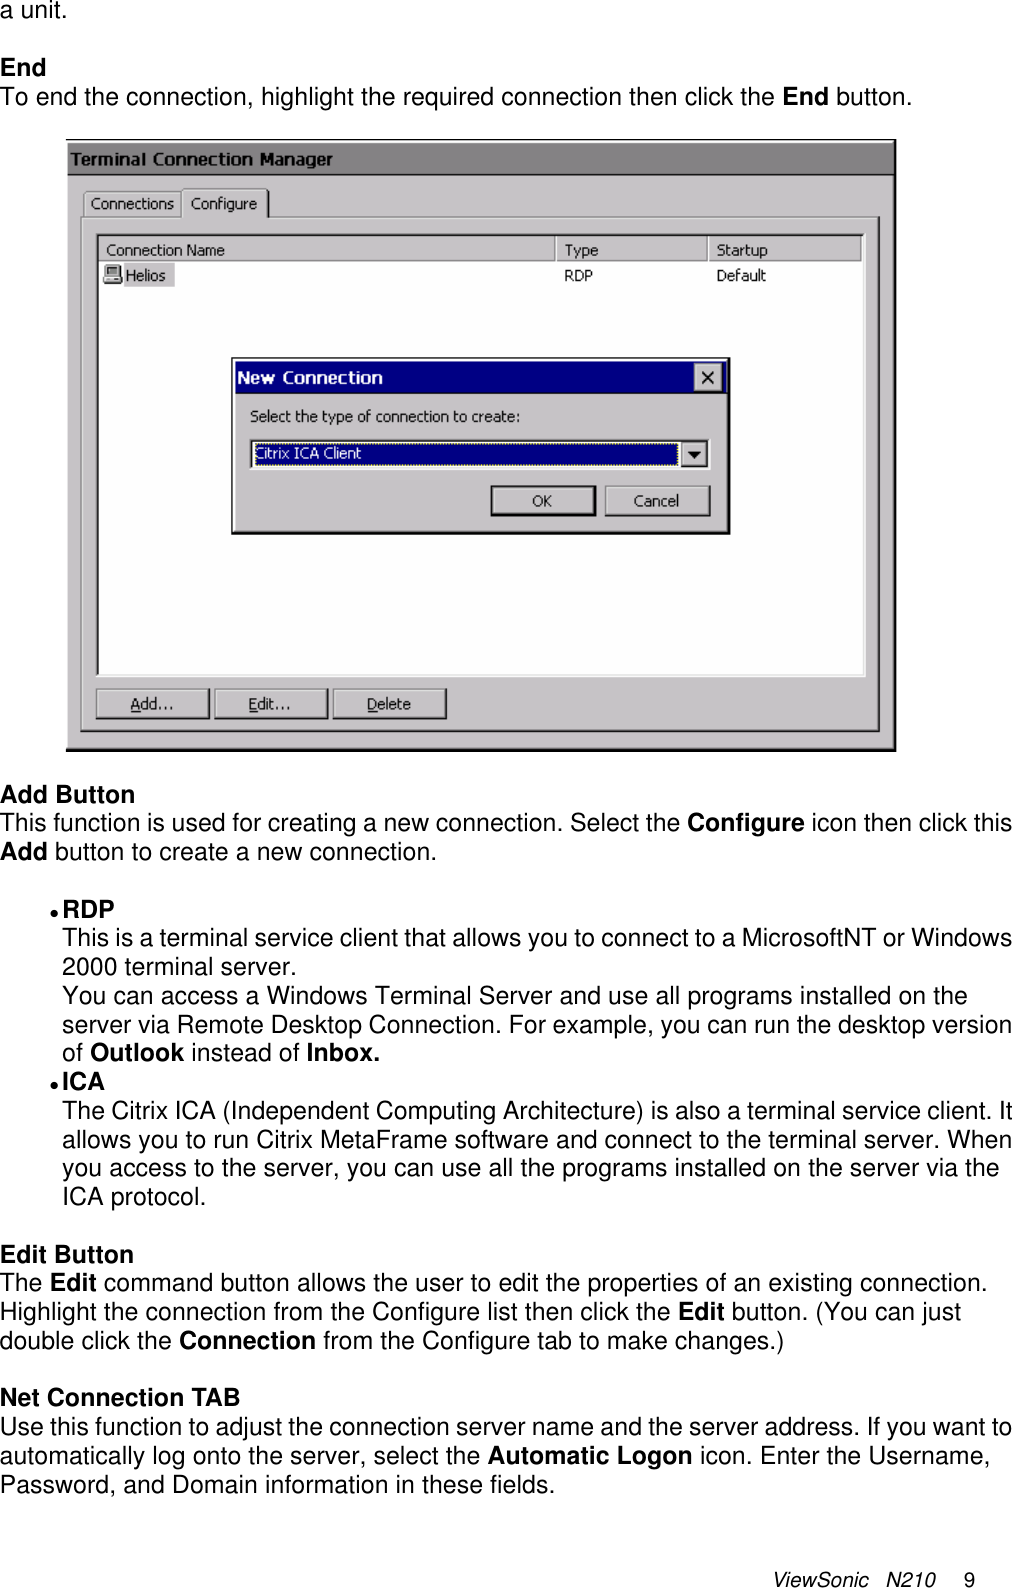
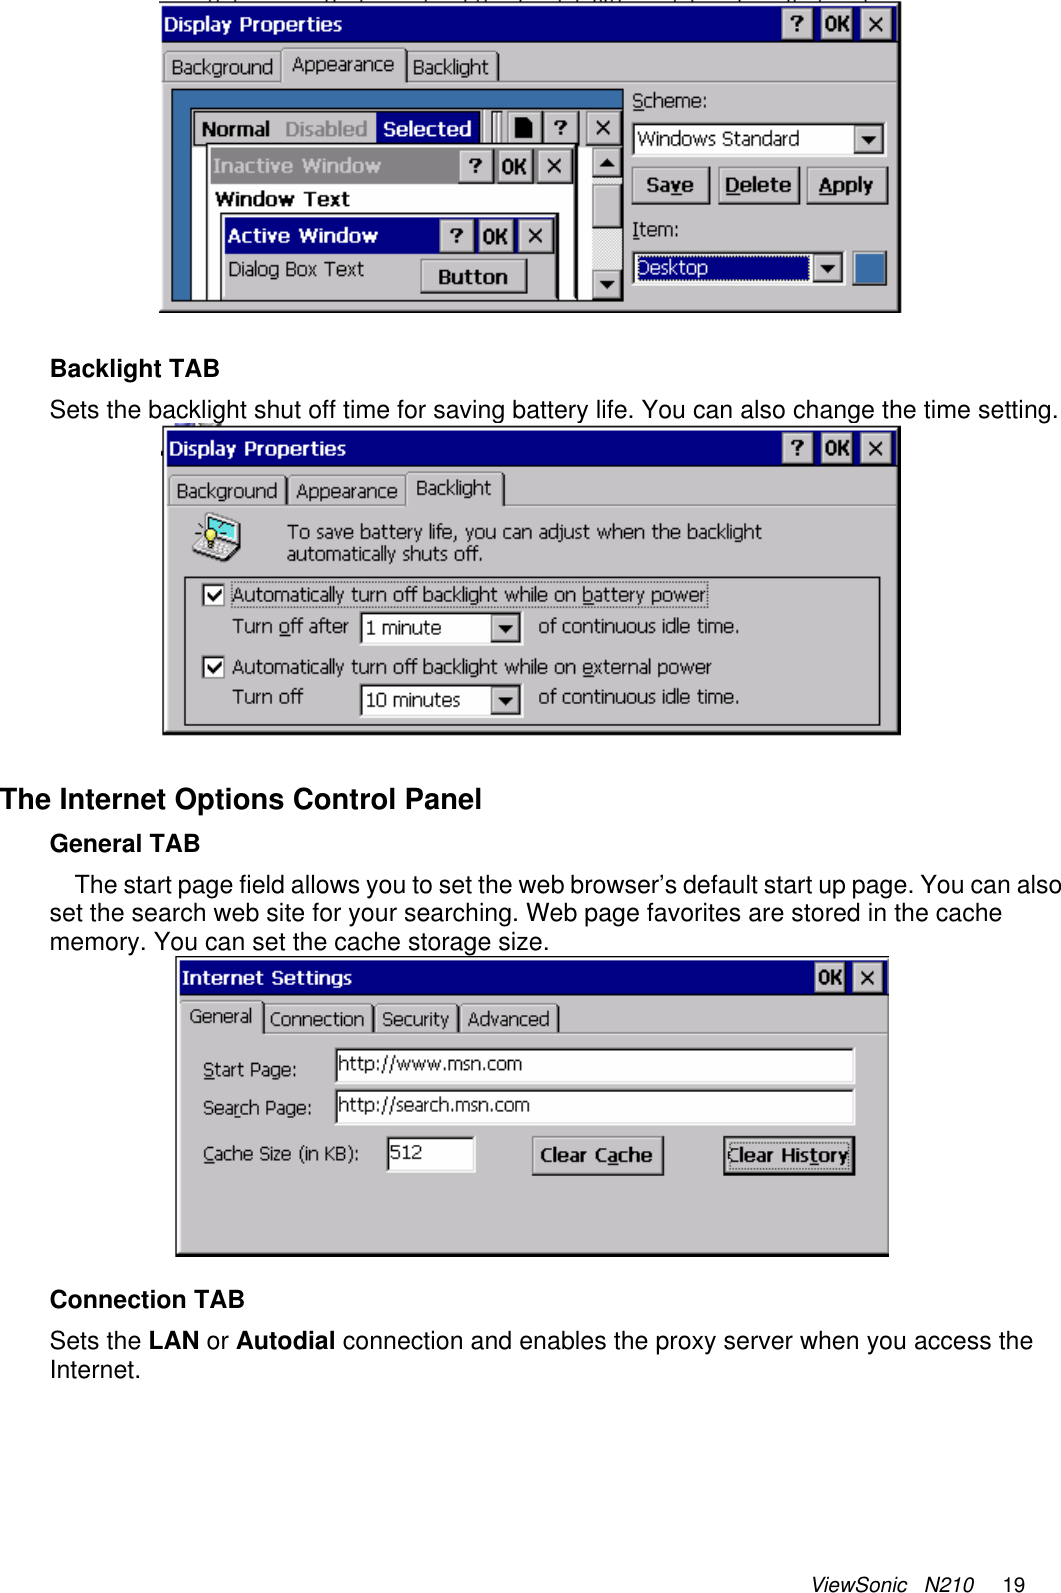
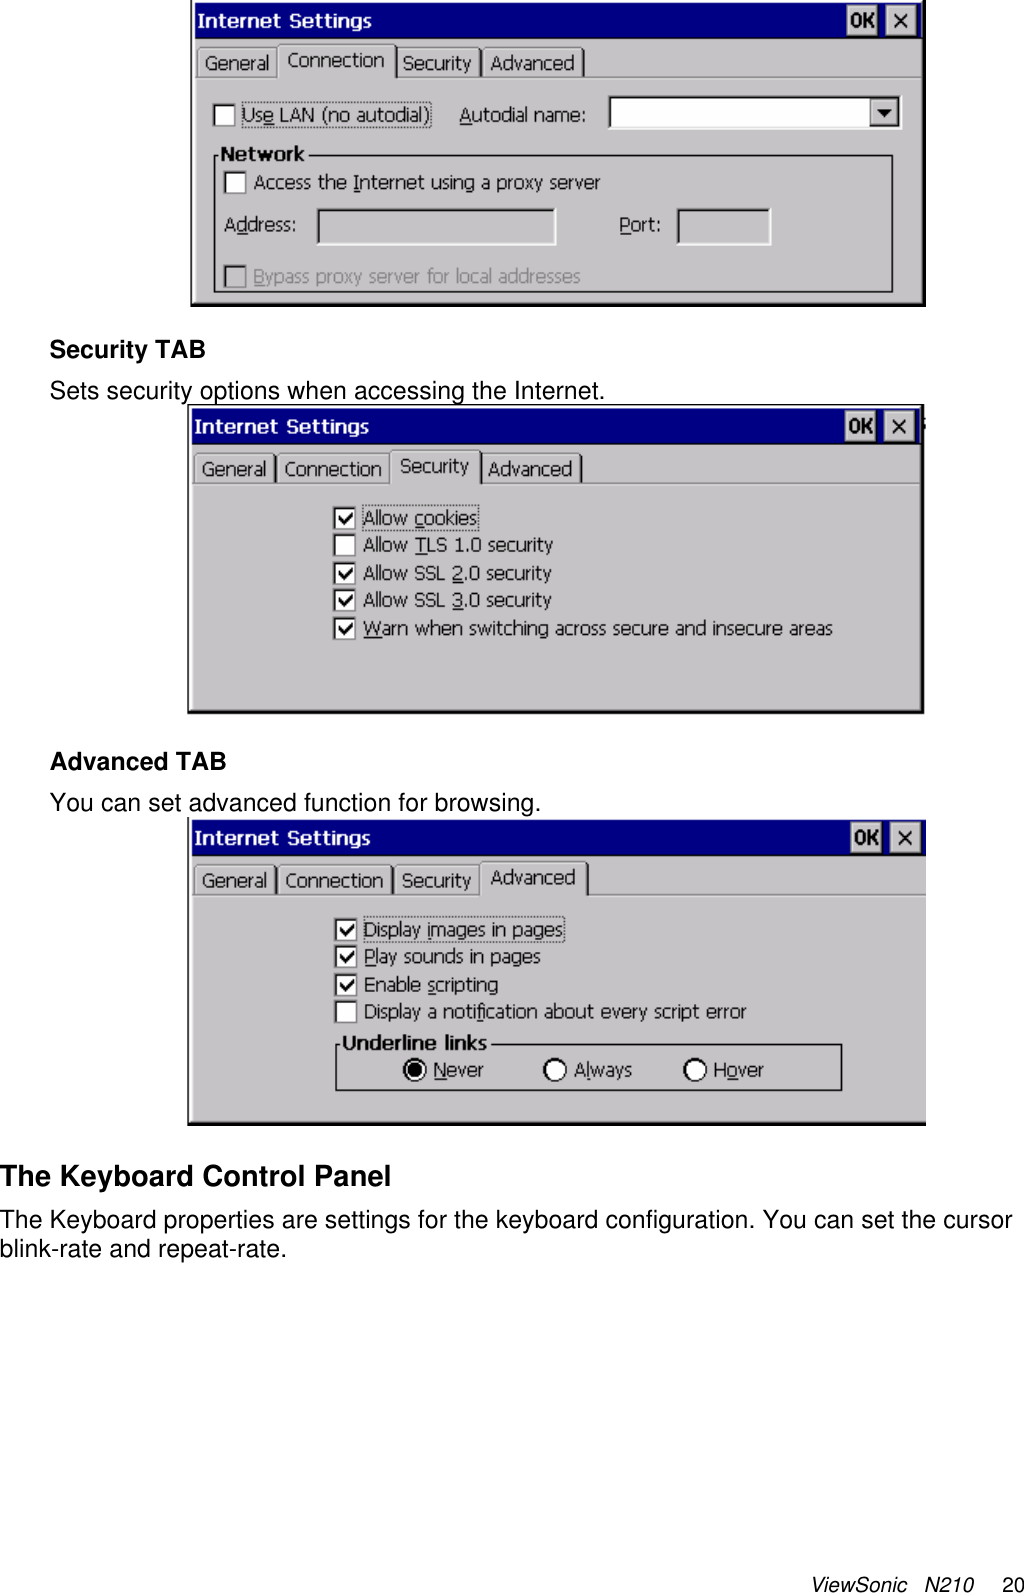
ViewSonic N210 Airsync N210 Media Station User Manual
ViewSonic Corporation Airsync N210 Media Station Users Manual
UserManual.wiki
>
ViewSonic
>
N210 User Manual
Users Manual
Navigation menu
Upload a User Manual
Namespaces
Wiki Guide
HTML
PDF
Info
Views
User Manual
Discussion / Help
Navigation


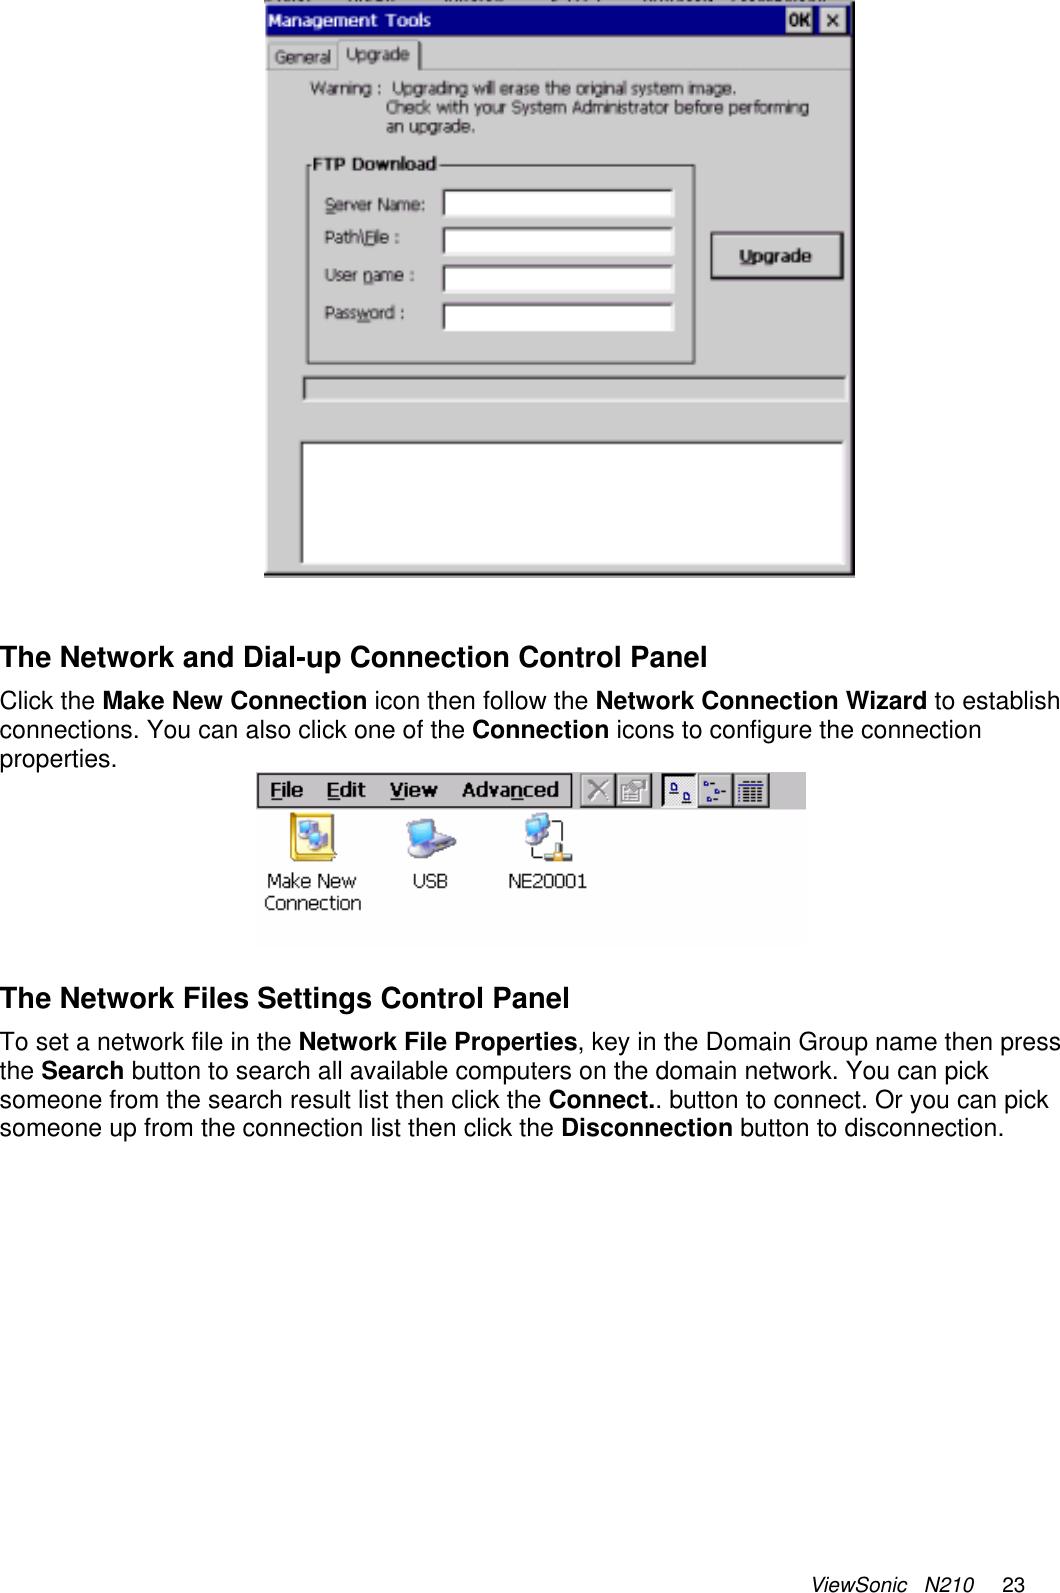
![ViewSonic N210 22 Upgrade TAB Upgrade sets properties for a quick upgrade of Fireware and OS via FTP protocol from your server. Enter the server name, file name, user name and password in the FTP upgrade setting field then press the Upgrade button to upgrade immediately. Make sure the server is ready before attempting an upgrading process. If the connection failed or no designated file is found, the dynamic upgrade will do nothing. When successfully downloaded, the upgrade will prompt you with a Restart dialog box to boot up the new system image [Note:] It is the system administrators responsibility to manage upgrade privileges on the FTP server side. The Default user account will be anonymous if you leave the connection field blank.](https://usermanual.wiki/ViewSonic/N210/User-Guide-349592-Page-23.png)