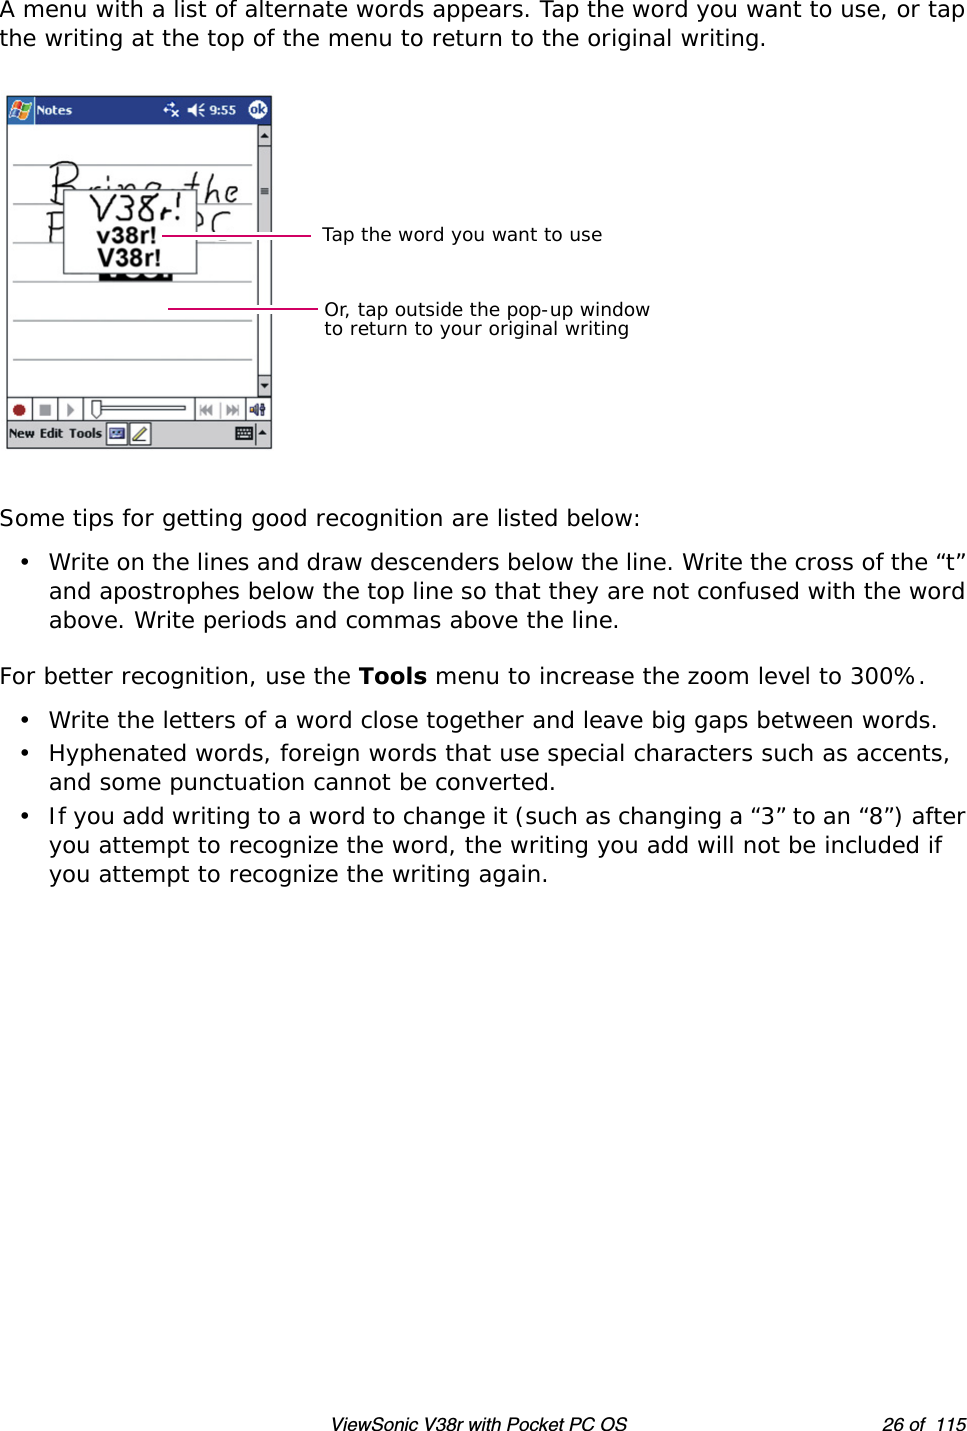
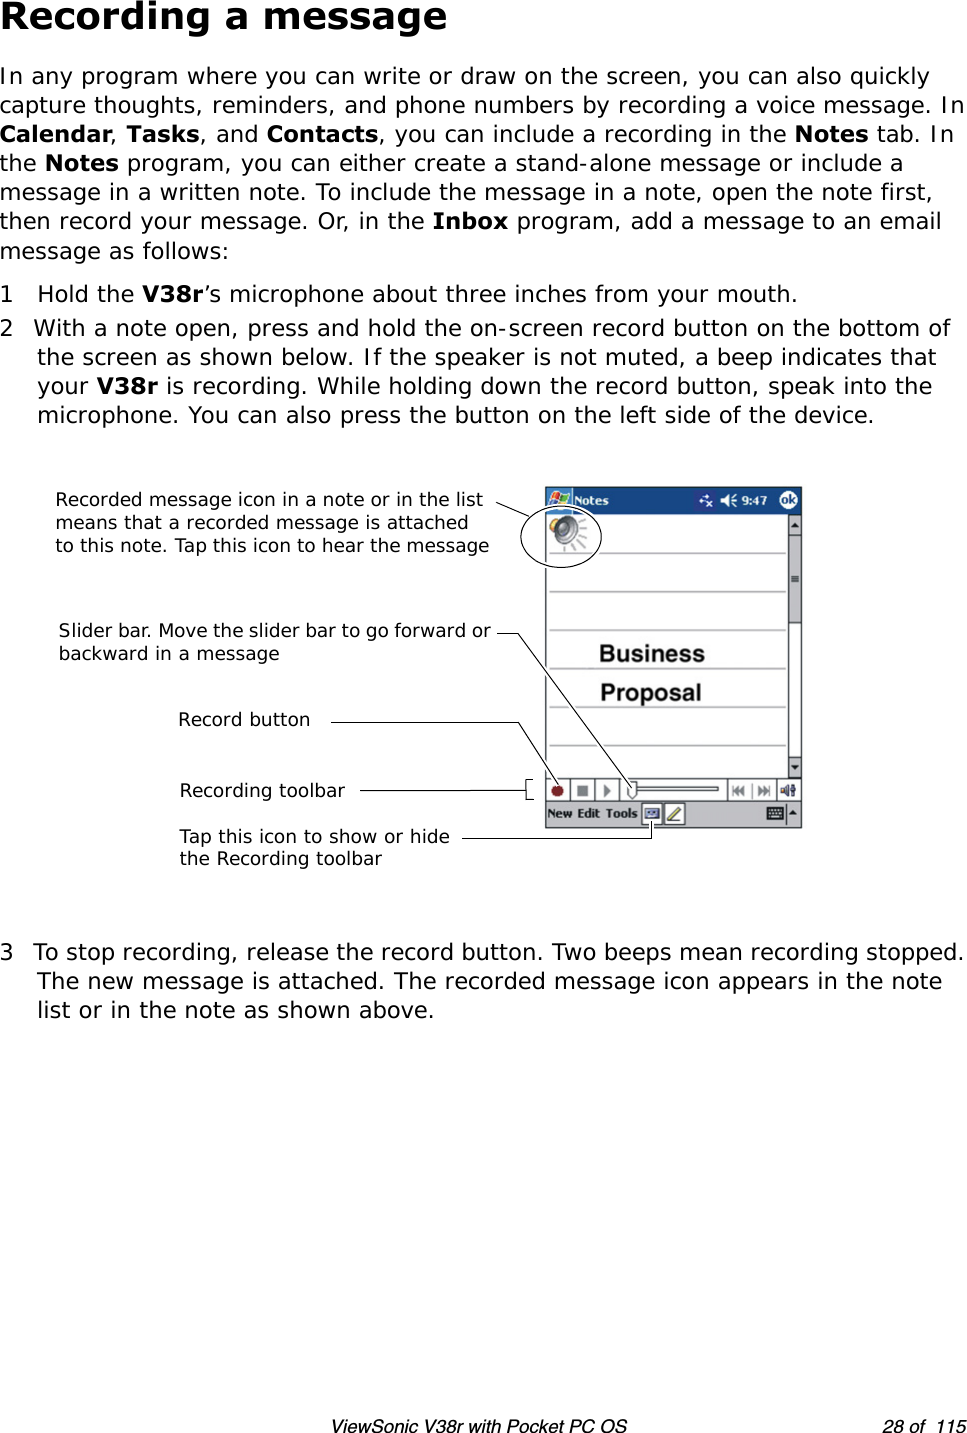
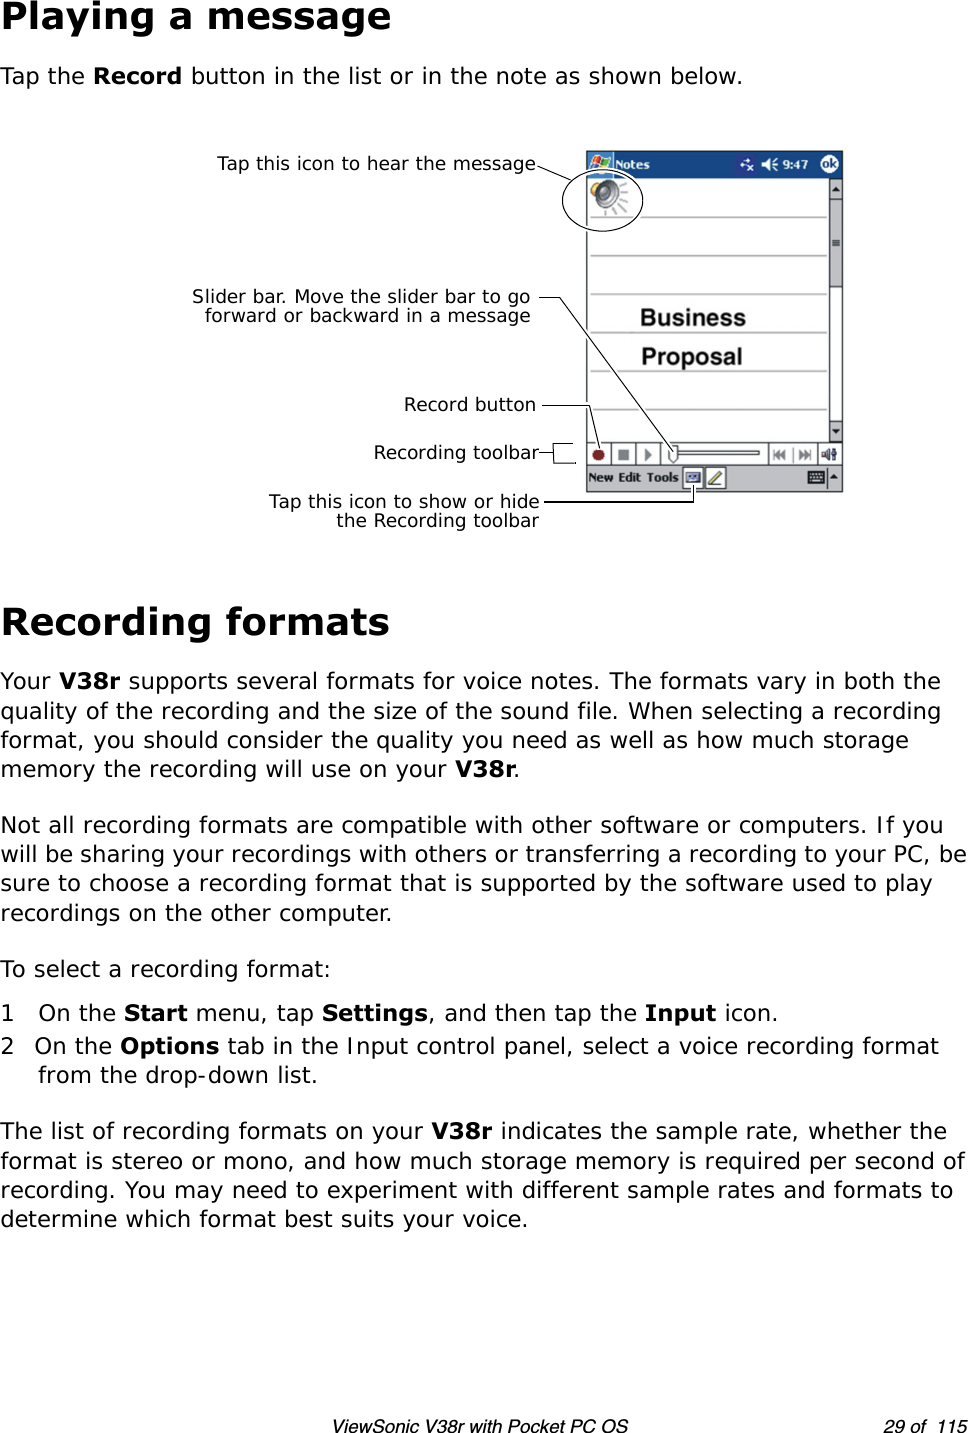
ViewSonic VS10418M Pocket PC (PDA) User Manual V38r UG
ViewSonic Corporation Pocket PC (PDA) V38r UG
UserManual.wiki
>
ViewSonic
>
VS10418M User Manual
Users Manual
Navigation menu
Upload a User Manual
Namespaces
Wiki Guide
HTML
PDF
Info
Views
User Manual
Discussion / Help
Navigation
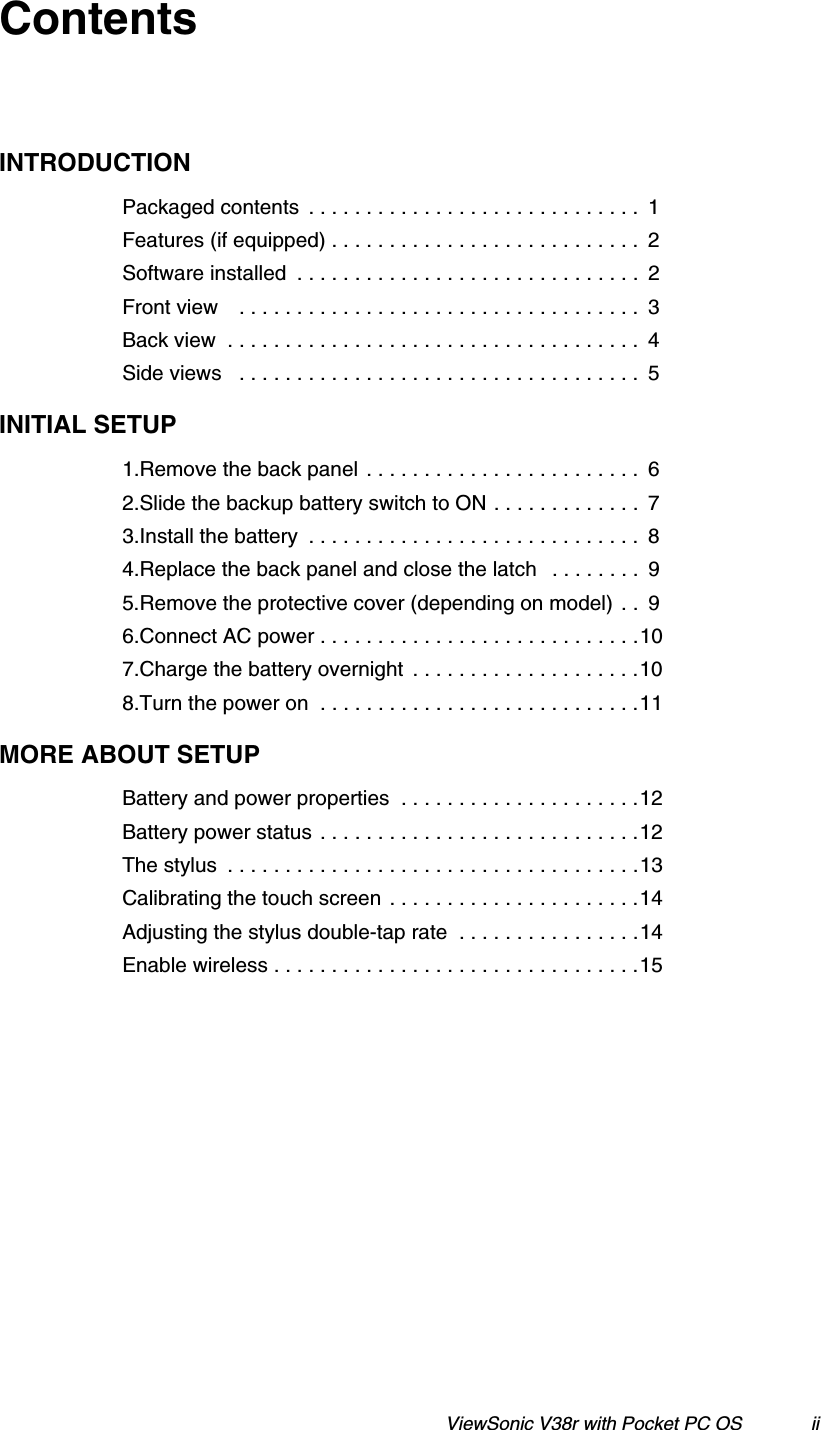

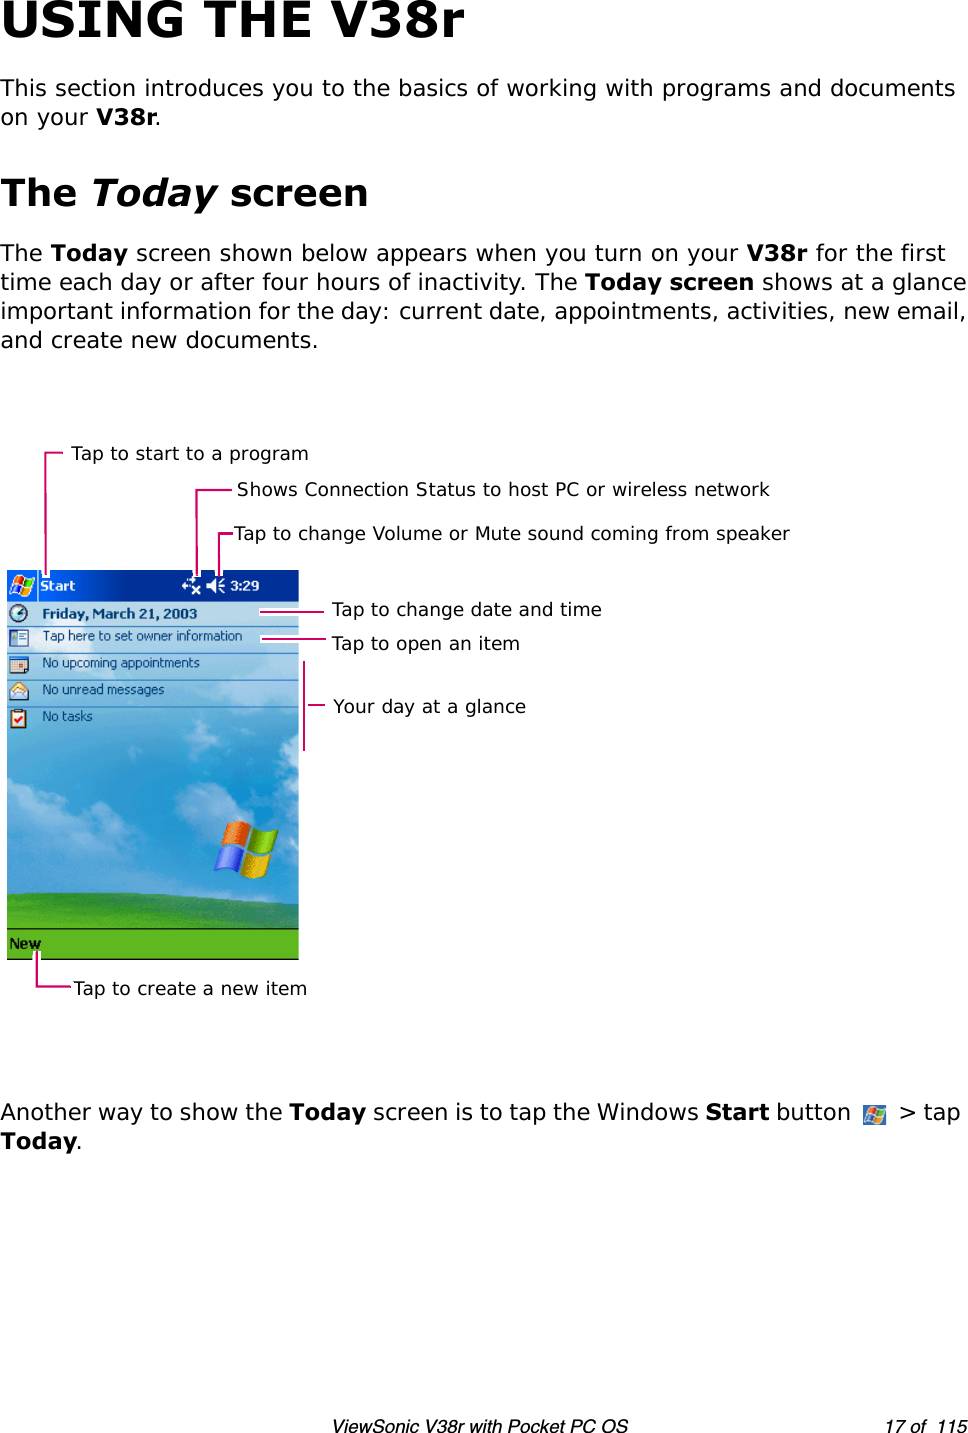
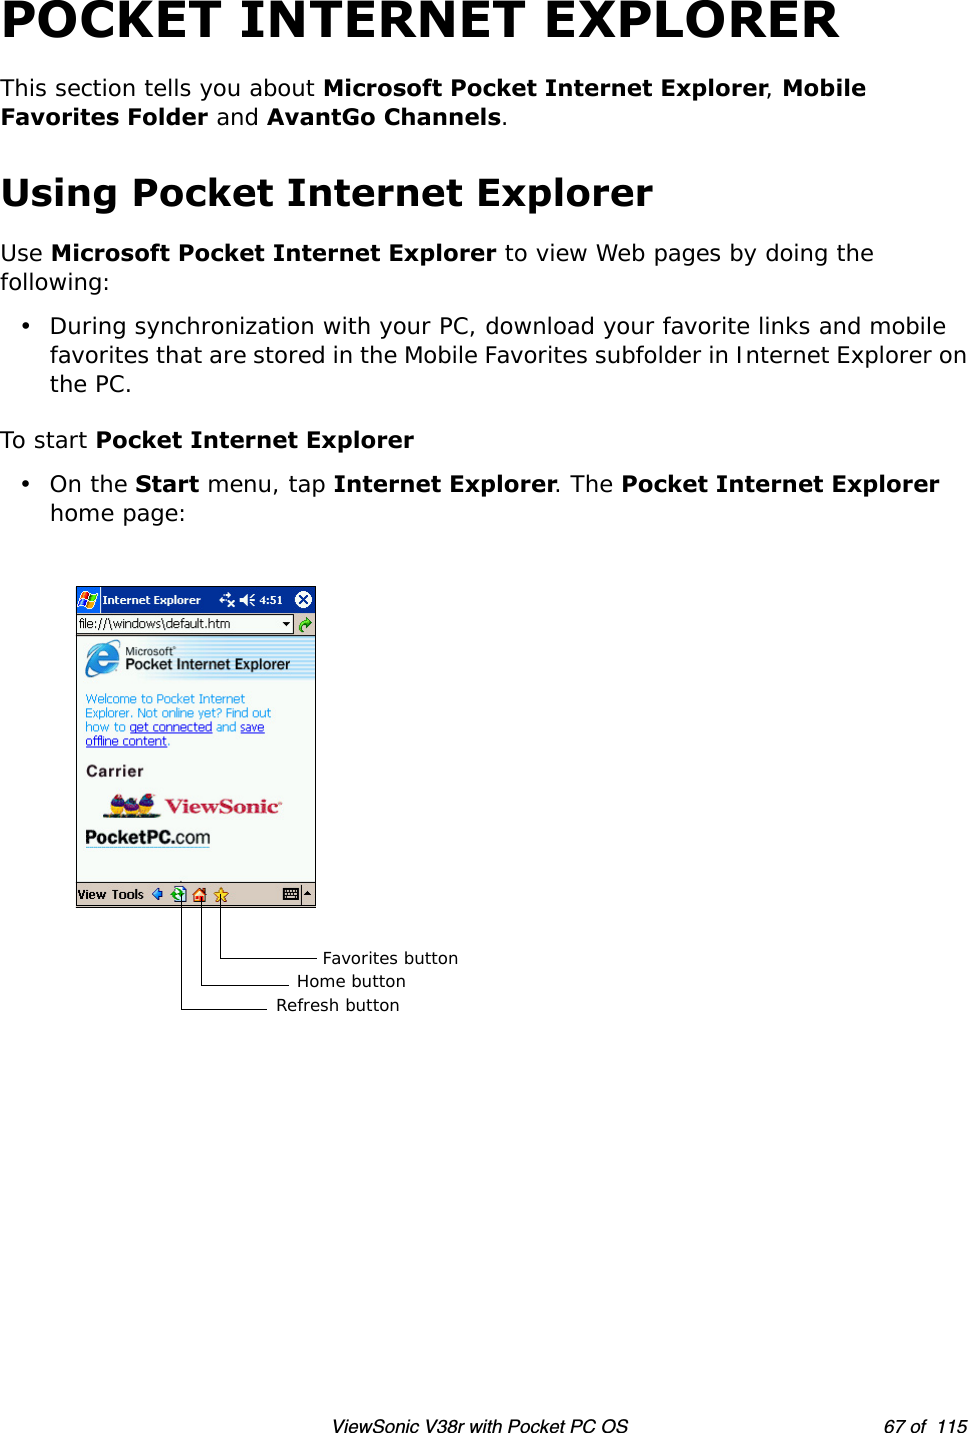
![ViewSonic V38r with Pocket PC OS 15 of 115Enable wirelessConnect the V38r to a network or to the Internet using a wireless connection and a NetworkEncryption key. See your IT administrator for wireless setup information.1Tap Start > Settings > System > the V38r Utility icon []. A window appears showing the ROM version and the device id.2 Tap the box at the bottom of the window saying Wireless Card > tap Yes to enable WLAN. The WLAN LED blinks as it searches. A Connectivity window appears. Wait for the list of wireless APs (Access Point) to appear. A screen like the one shown on the right appears. If you do not see the AP that you want, tap Settings. Select the AP that is available. 3 Enter the web encryption from your Administrator. Tap the Network Key tab. 4 Clear the box next to “The key is provided for me automatically.” Then, enter your network key in the network key field > tap OK at the top of the screen. Wait a few seconds till you see the symbol [ ] at the top of the screen that looks like a beacon to indicate the status. The status bar [ ] also appears at the bottom of the screen.To verify that you are connected properly, tap Start > Programs > the WMAGS46 icon [] > the Wireless Client window appears to show the status of the device. To check the IP Address, tap ADVANCED. A pop-up appears > tap Network Troubleshooting. The IP Address assigned to your device appears > tap OK. You are now connected wirelessly!To check the IP Address, tap ADVANCED. A pop-up appears > tap Network Troubleshooting. The IP Address assigned to your device appears. tap OK.You are now connected wirelessly!](https://usermanual.wiki/ViewSonic/VS10418M/User-Guide-621875-Page-23.png)
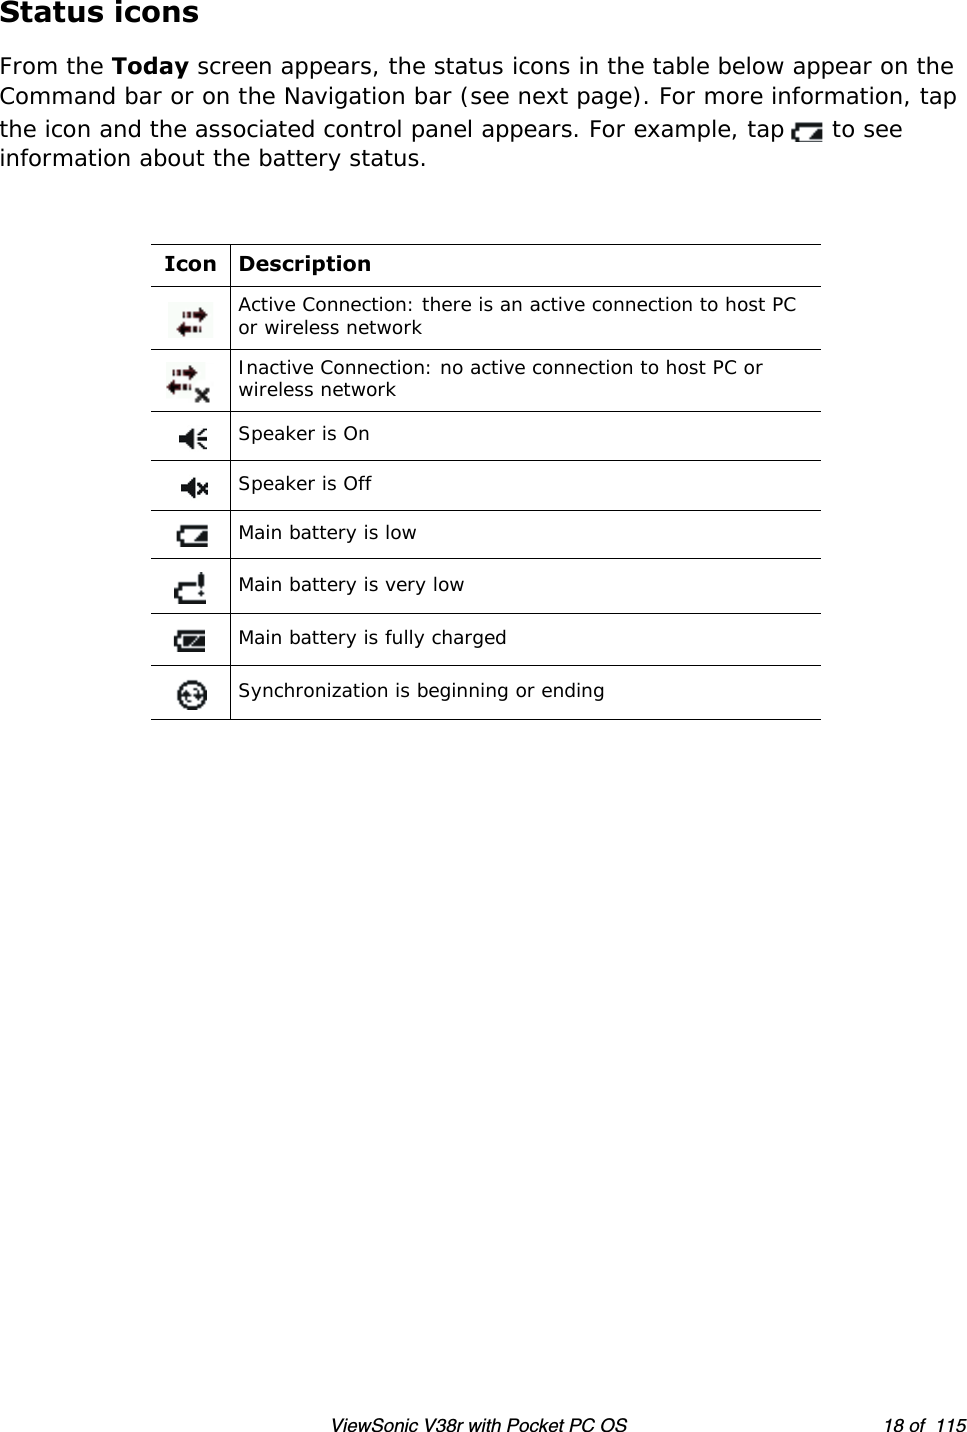


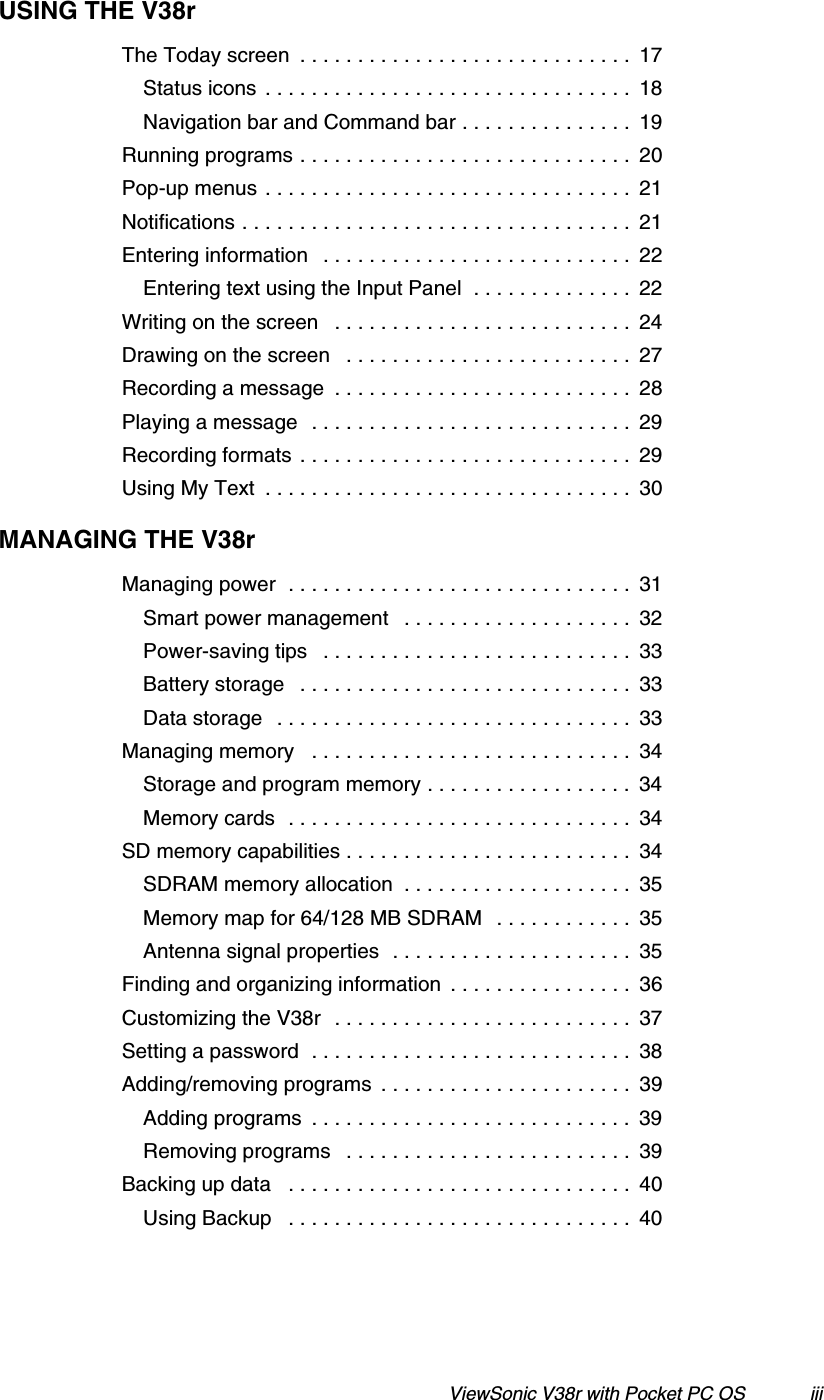
![ViewSonic V38r with Pocket PC OS 32 of 115Smart power managementPower management utilities supplied with your V38r provide options that help prolong the battery’s operating time. To access these utilities tap the Windows Start button [ ], tap Settings > System tab > Advanced Settings (three tabs appear: System, Smart Battery, and Power Manager). For more information, see the tables below. System: The System screen shows system information only but not any control options.Smart BatteryPower Manager: You can also select the events that wake up your V38r from Sleep Mode: for each of the three options below the default setting is “checked.”Option DescriptionAuto (default setting)This mode automatically adjusts the CPU speed according to the need of the current operation.Low Performance This mode prolongs the battery life by minimizing the CPU’s performance.High Performance This mode enhances battery life by improving the CPU’s performance.Superior Performance This mode decreases the battery life, resulting from maximum CPU performance.Option DescriptionApplication Buttons If this option is checked, you can wake up your V38r by pressing one of these four application buttons on the front of your V38r: Note, Calender, Contacts, or Task.Record Button If this option is checked, you can wake up your V38r by pressing the Record button on the V38r.SD/MMC Card Insertion/RemovalIf this option is checked, you can wake up your V38r by inserting or removing an SD card.](https://usermanual.wiki/ViewSonic/VS10418M/User-Guide-621875-Page-40.png)


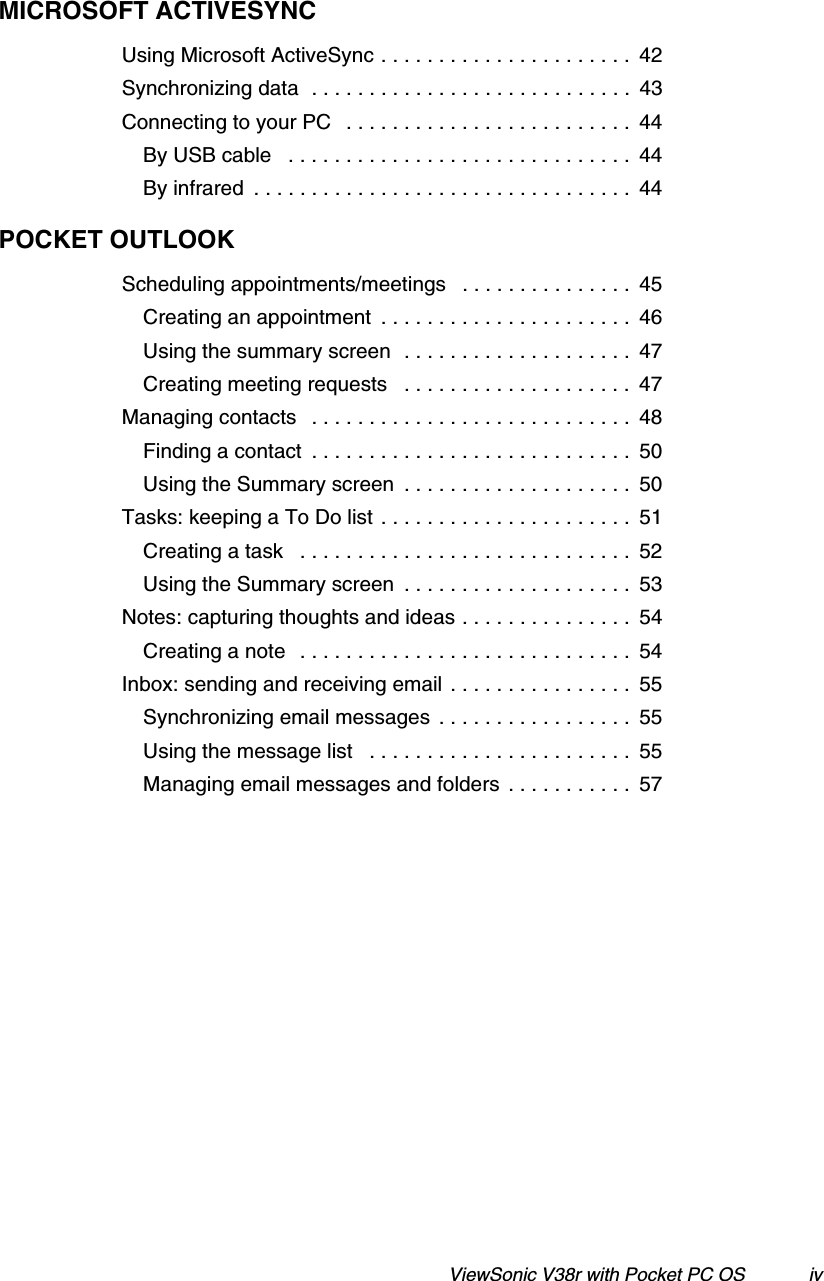
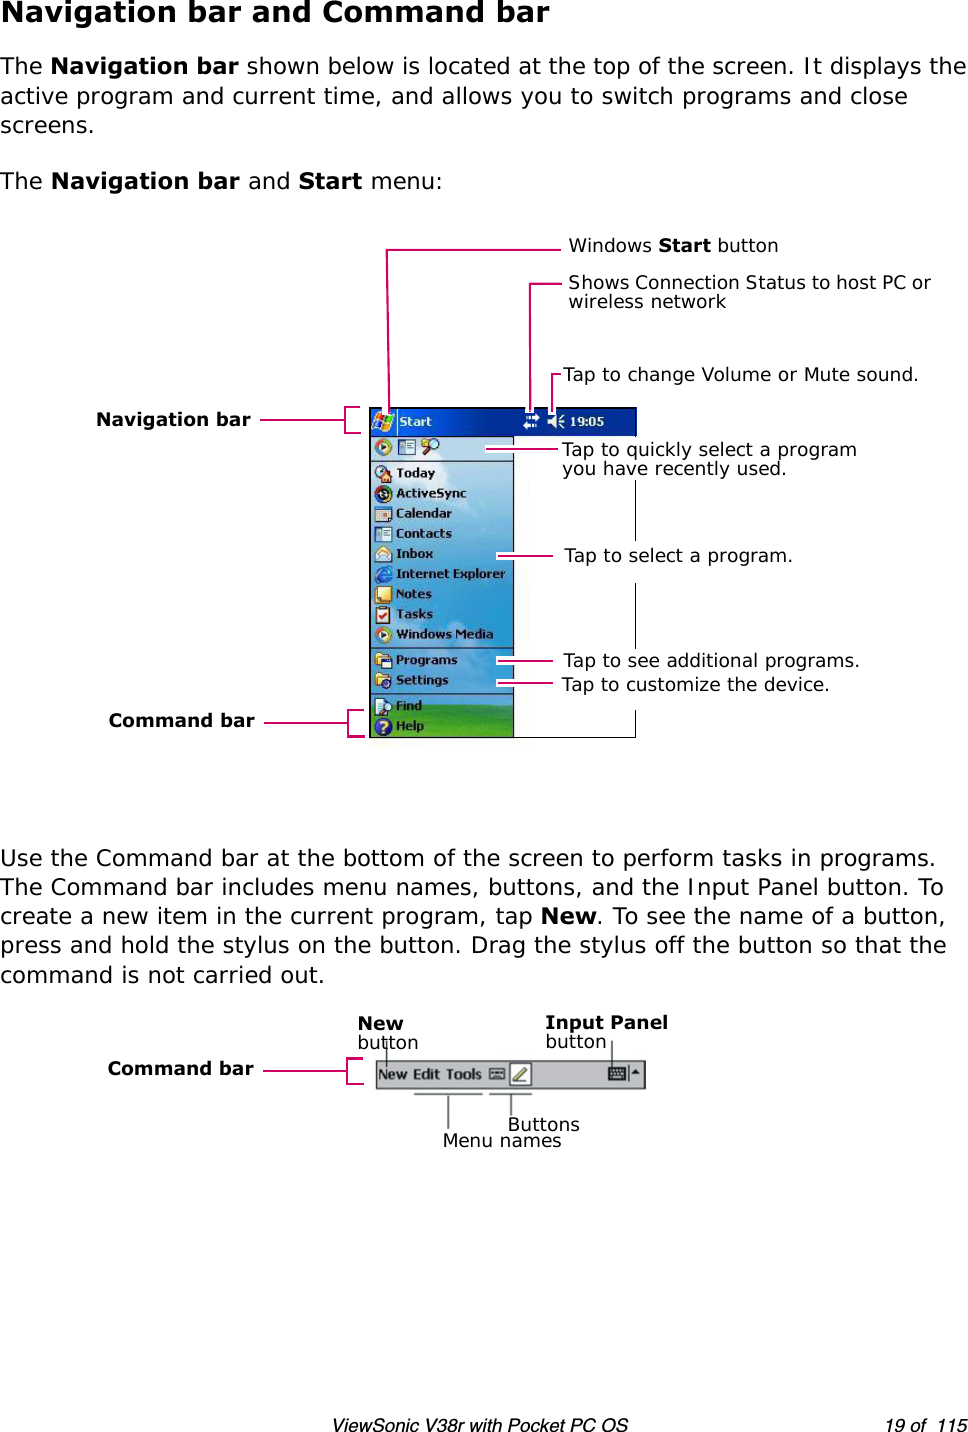
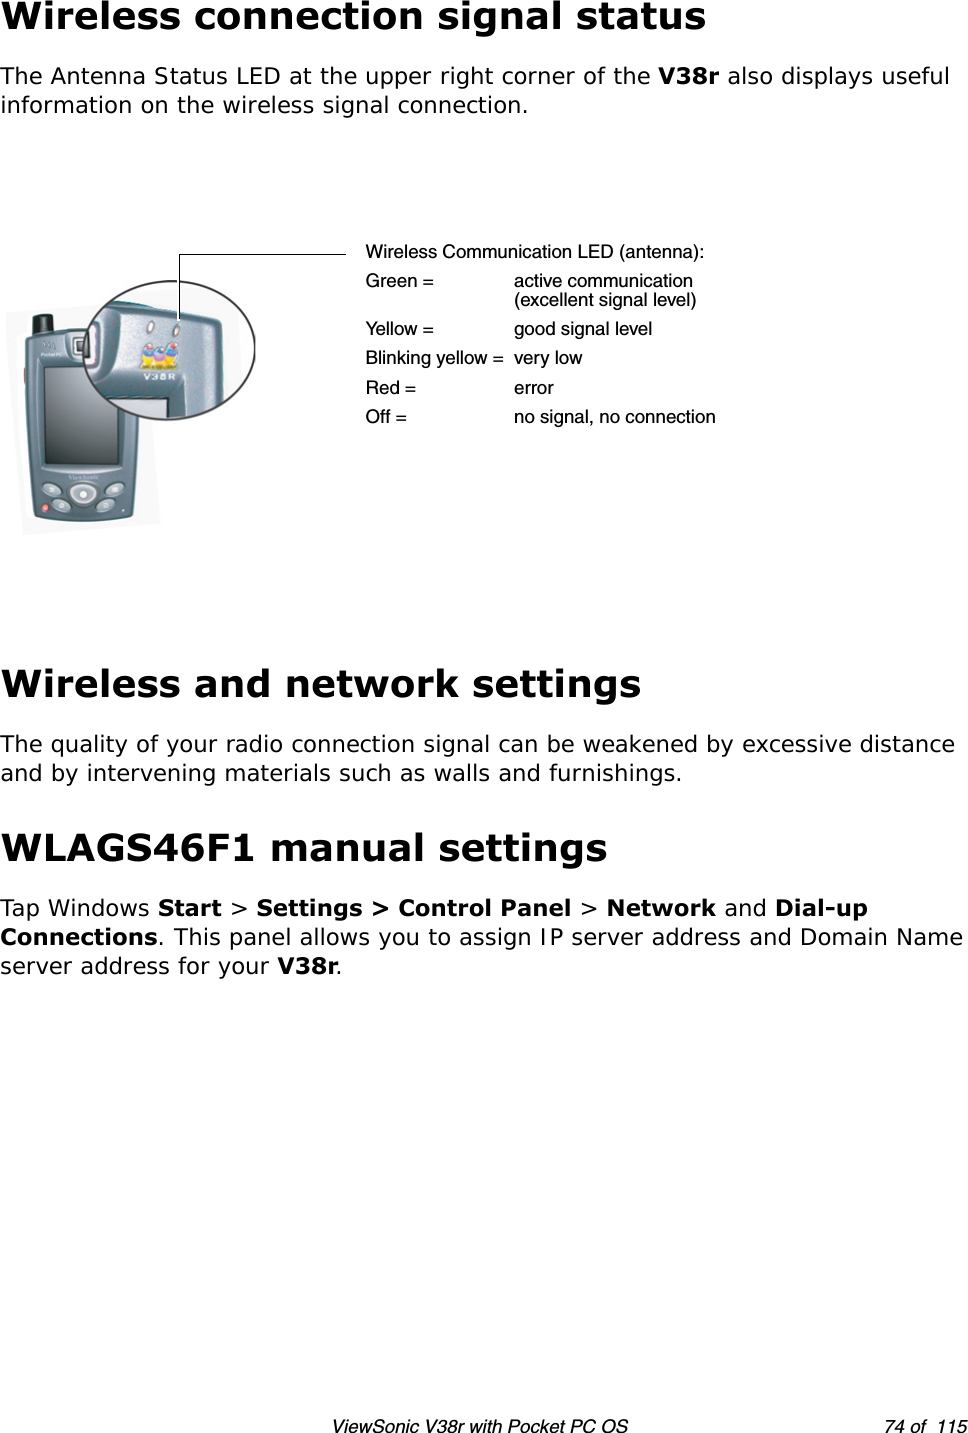
![ViewSonic V38r with Pocket PC OS 73 of 115Wireless connection informationTo enable wireless, tap the Windows Start button > Settings > Control Panel > tap the Wireless LAN On/Off icon with the antennae > check Turn Wi-Fi On > OK double-tap the Nethood icon . The WLAGS46F1 information window opens with the following three tabs: •IP Information Tab - Displays current IP settings•IPv6 Information Tab - Displays additional current settings•Wireless Information Tab - Automatic IP address assignmentThe Wireless Information window lists all Wi-Fi networks available to the V38r, allowing you to choose a connection. It also allows you to alter and control connections to available networks:•Add New - opens the Wireless Network Properties window allowing you to set up a new network and provides settings for network name, encryption type, and authentication options.•Advanced - Allows you to set a hierarchy of connections in order of preference. Should one connection become unavailable, the device automatically cycles down the list to the next connection on the list.•View Log - opens the Wireless Network Log window which displays the success or failure of the most recently made attempts to connect to available networks.IMPORTANT! If you are not thoroughly familiar with network types, you should avoid making changes to your Advanced settings without first seeking assistance from your IT Administrator.Notify me when new wireless networks are availableWLAGS46F1Wireless InformationAdvanced✔OKXView Log...ConnectSignal Strength: HighStatus: Connected to V38rSelect a network and press connect or tap for moreoptions. To add a new network, tap ‘Add New’.Add New...[V38r]Wireless Information TabAdd NewAdvancedView Log](https://usermanual.wiki/ViewSonic/VS10418M/User-Guide-621875-Page-81.png)
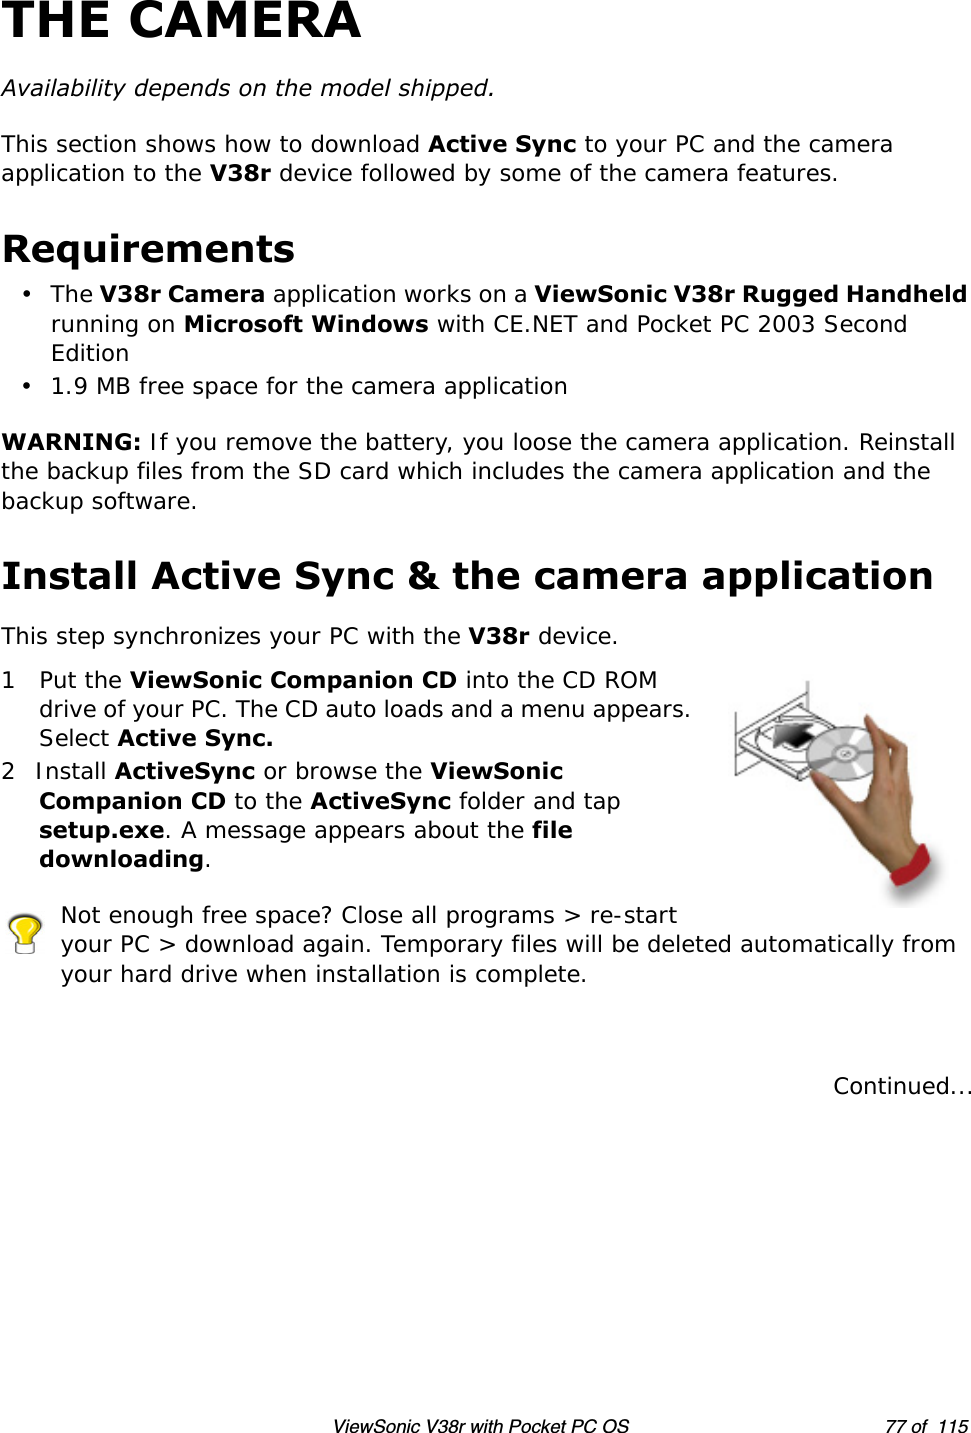
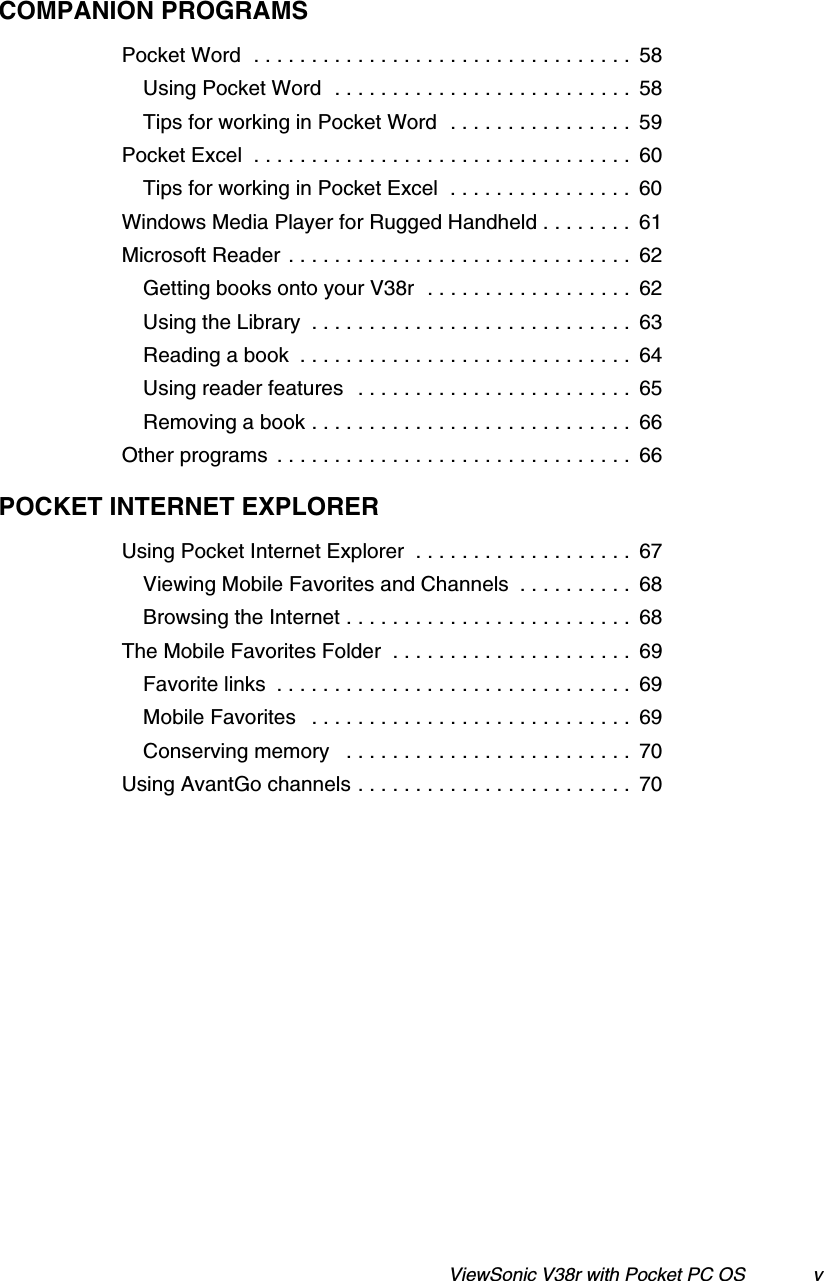
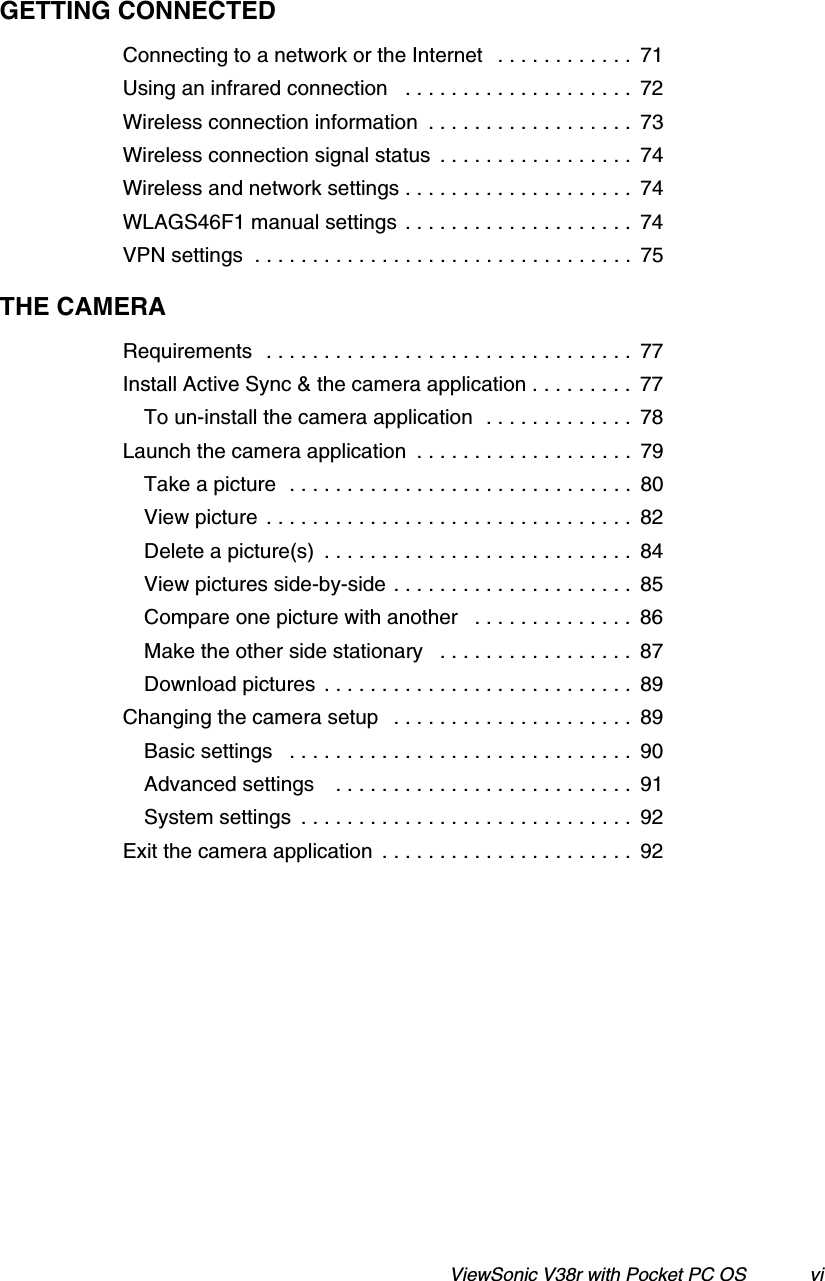
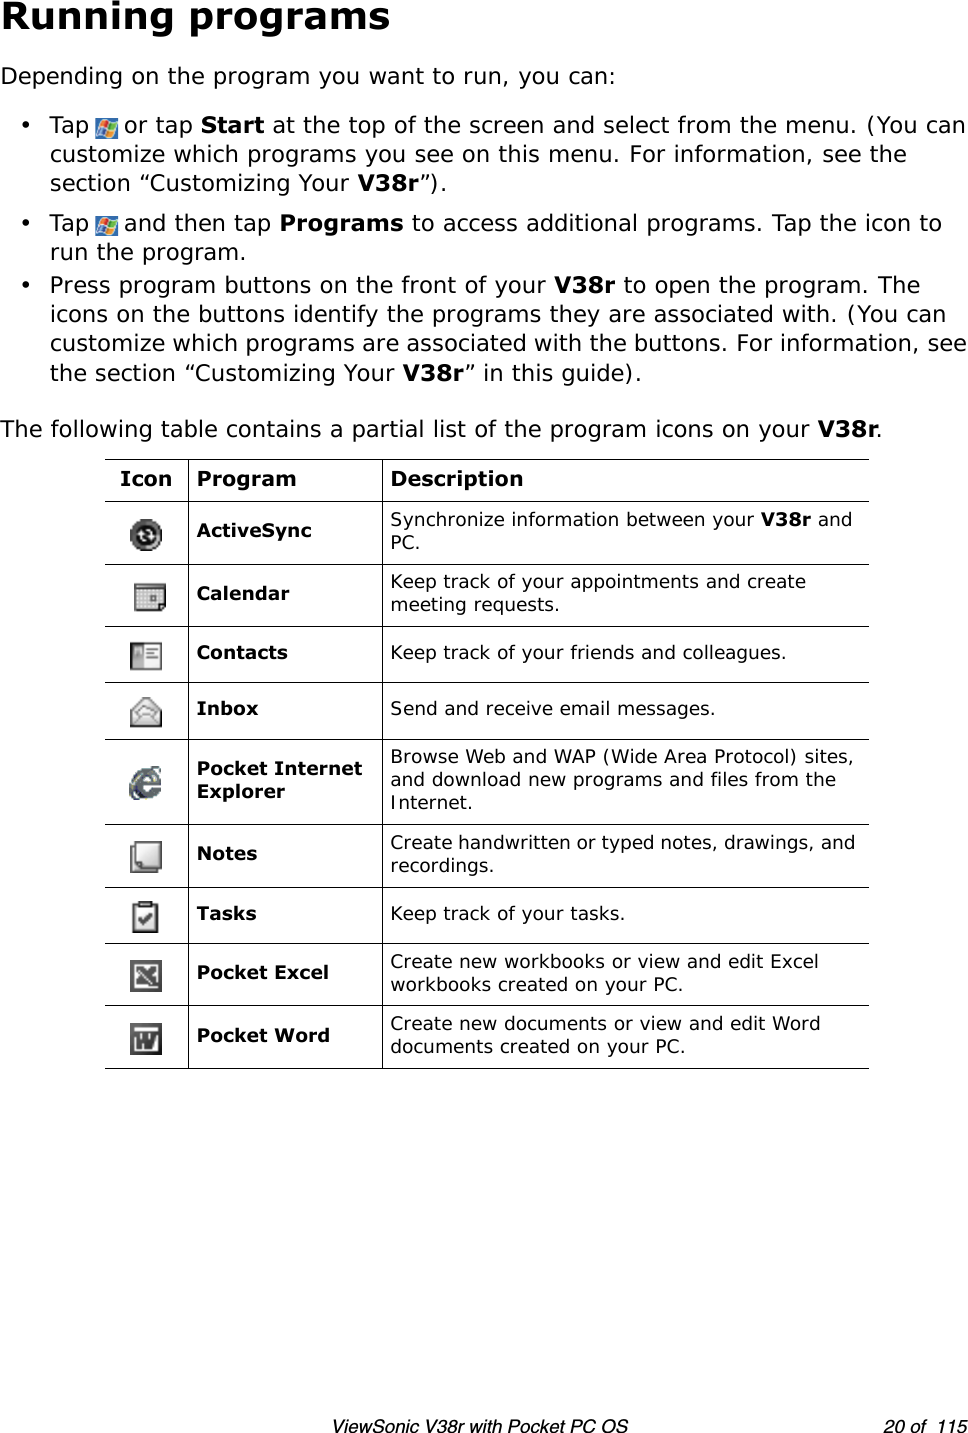
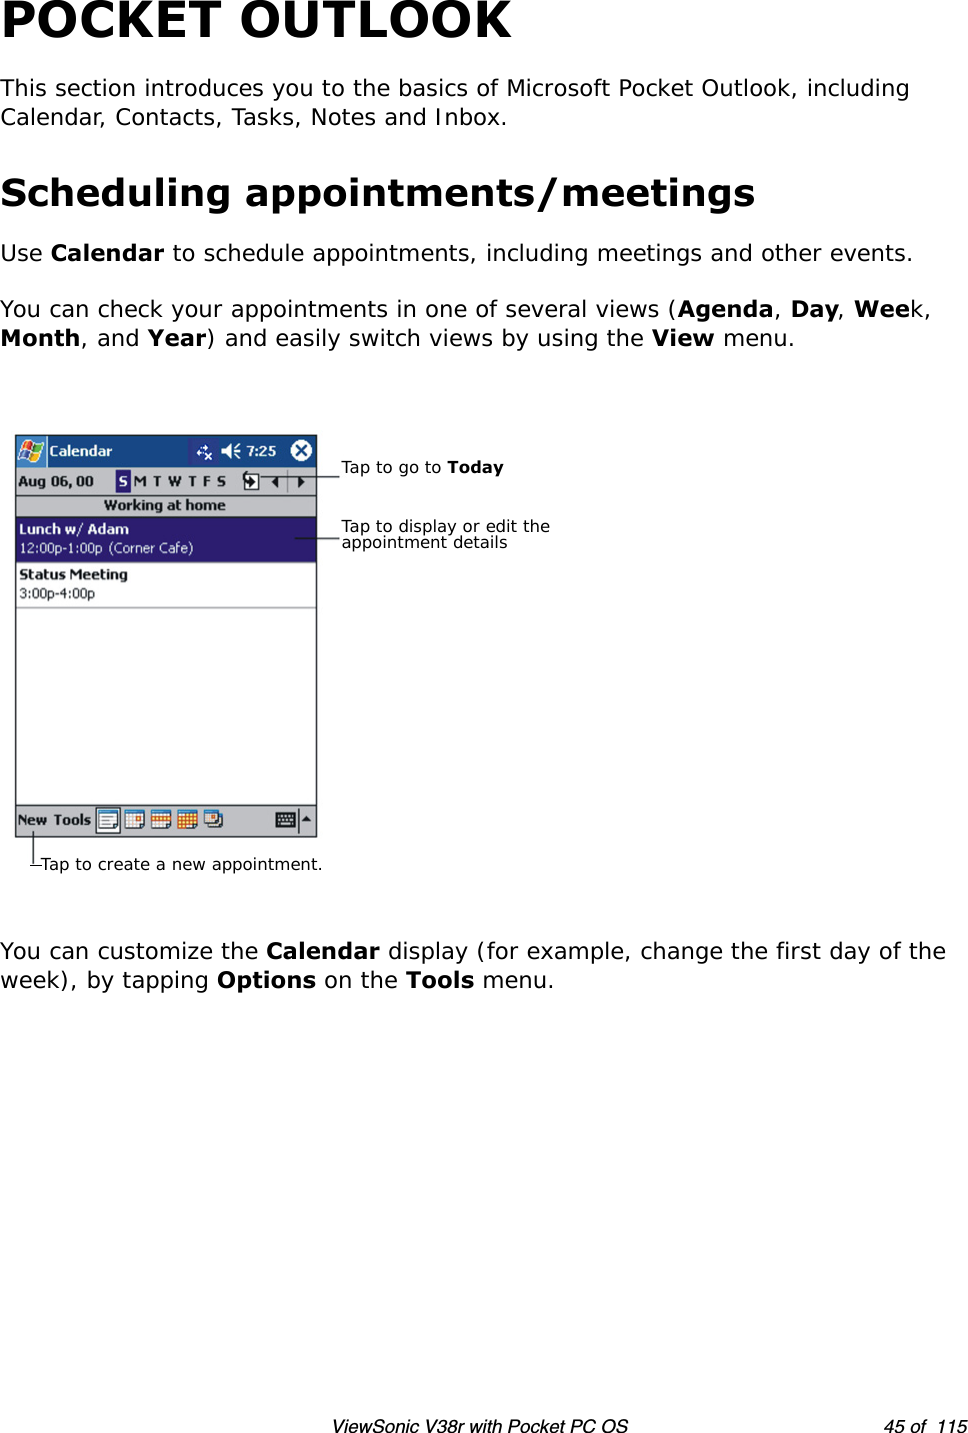
![ViewSonic V38r with Pocket PC OS 80 of 115Take a picturePictures are taken in the camera application only in PORTRAIT mode as shown below. To take a picture, press the Shutter release button on the left side or tap the red dot icon [ ] with the stylus.Press this Shutterrelease button, orTap the red dot with the stylus](https://usermanual.wiki/ViewSonic/VS10418M/User-Guide-621875-Page-88.png)
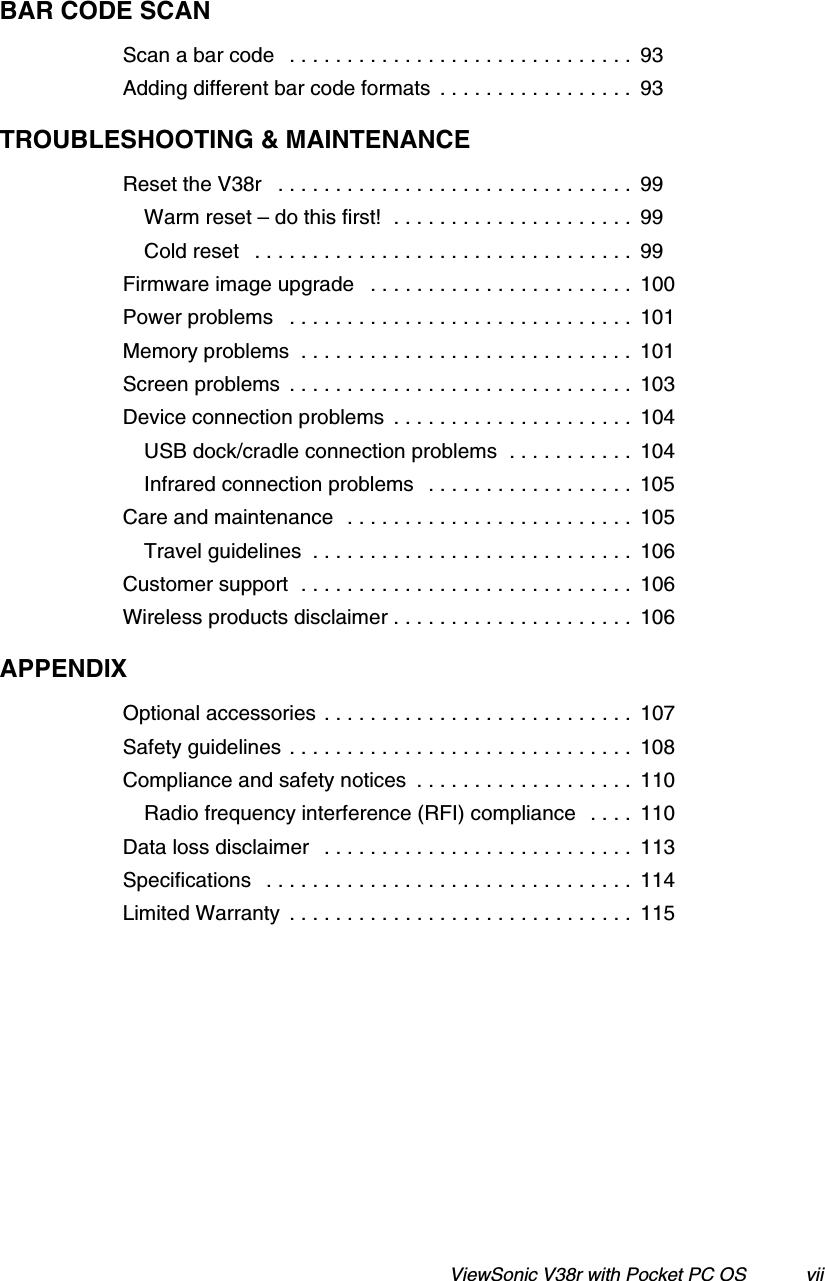
![ViewSonic V38r with Pocket PC OS 82 of 115View pictureTo view pictures, tap the VIEW picture icon [] or the HOME button [ ]. In the camera application, the HOME button changes functions to VIEW picture. The V38r automatically goes to LANDSCAPE mode to view pictures. Images are stored in the device’s memory by default. To change where the images are stored, see the section on Changing the Setup.PORTRAIT modeLANDSCAPE mode(view picture)](https://usermanual.wiki/ViewSonic/VS10418M/User-Guide-621875-Page-90.png)
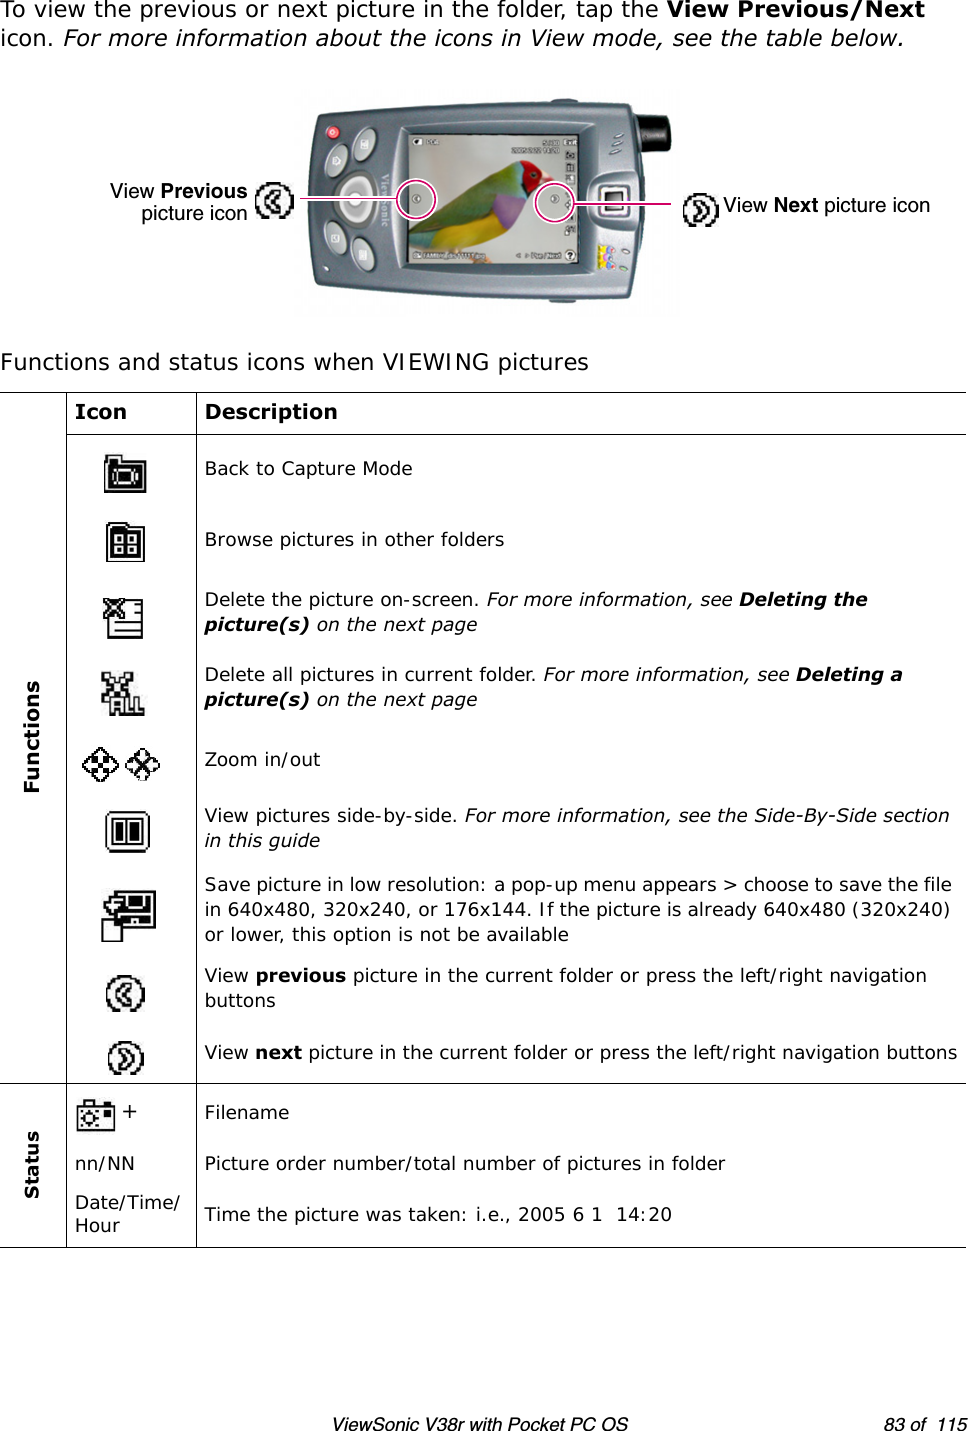
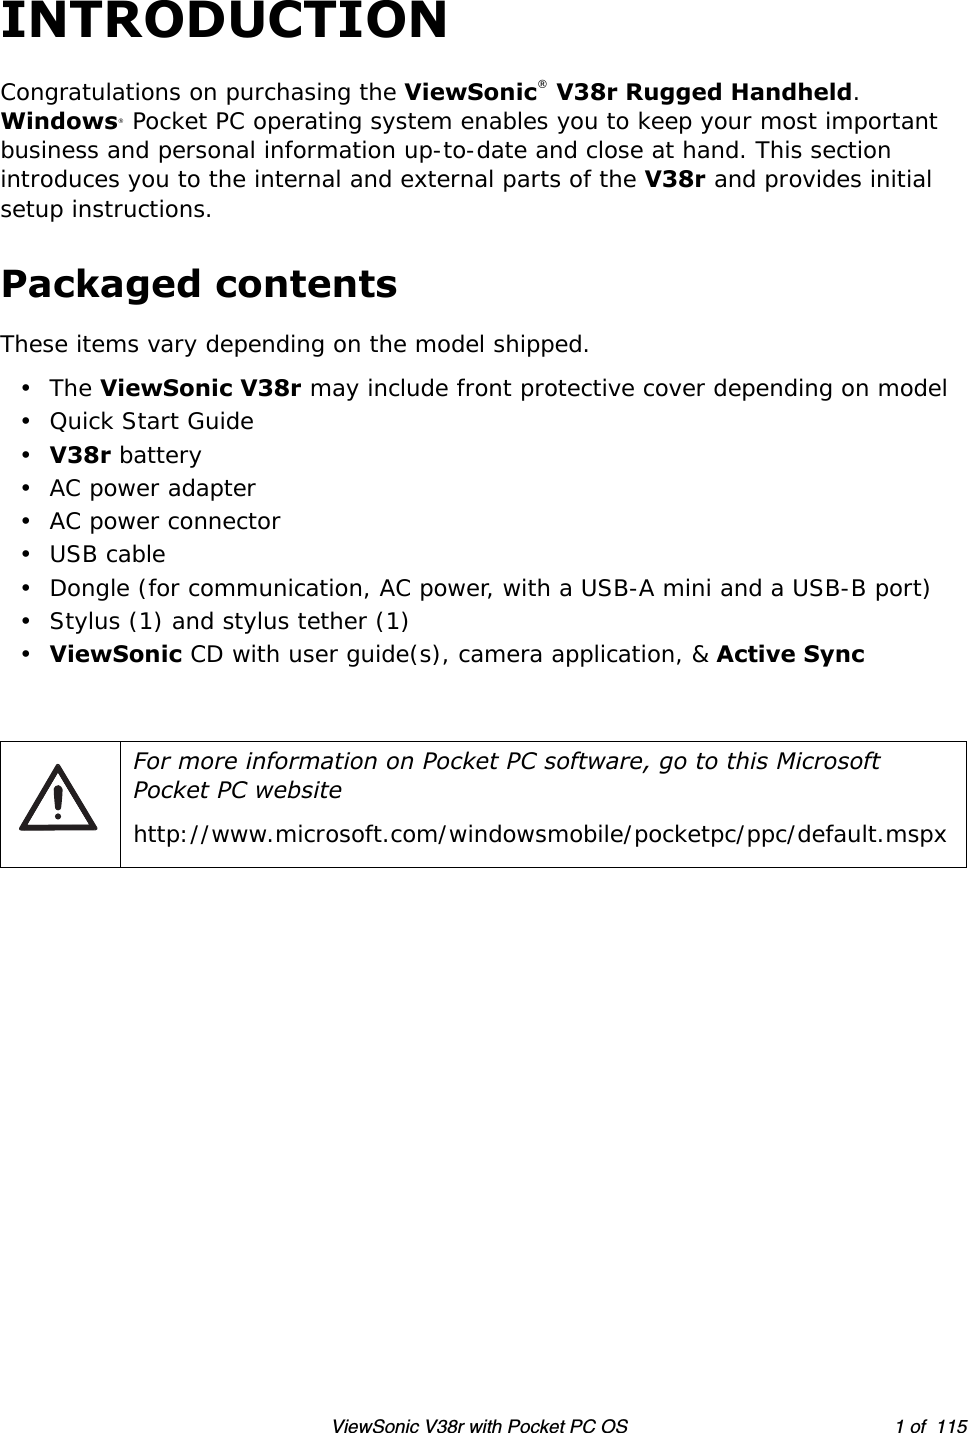
![ViewSonic V38r with Pocket PC OS 84 of 115Delete a picture(s)To delete a picture(s), press the Delete picture button [ ] or icon [ ]. A menu appears for you to make a selection. Delete picture(s) button Delete picture(s) icon](https://usermanual.wiki/ViewSonic/VS10418M/User-Guide-621875-Page-92.png)
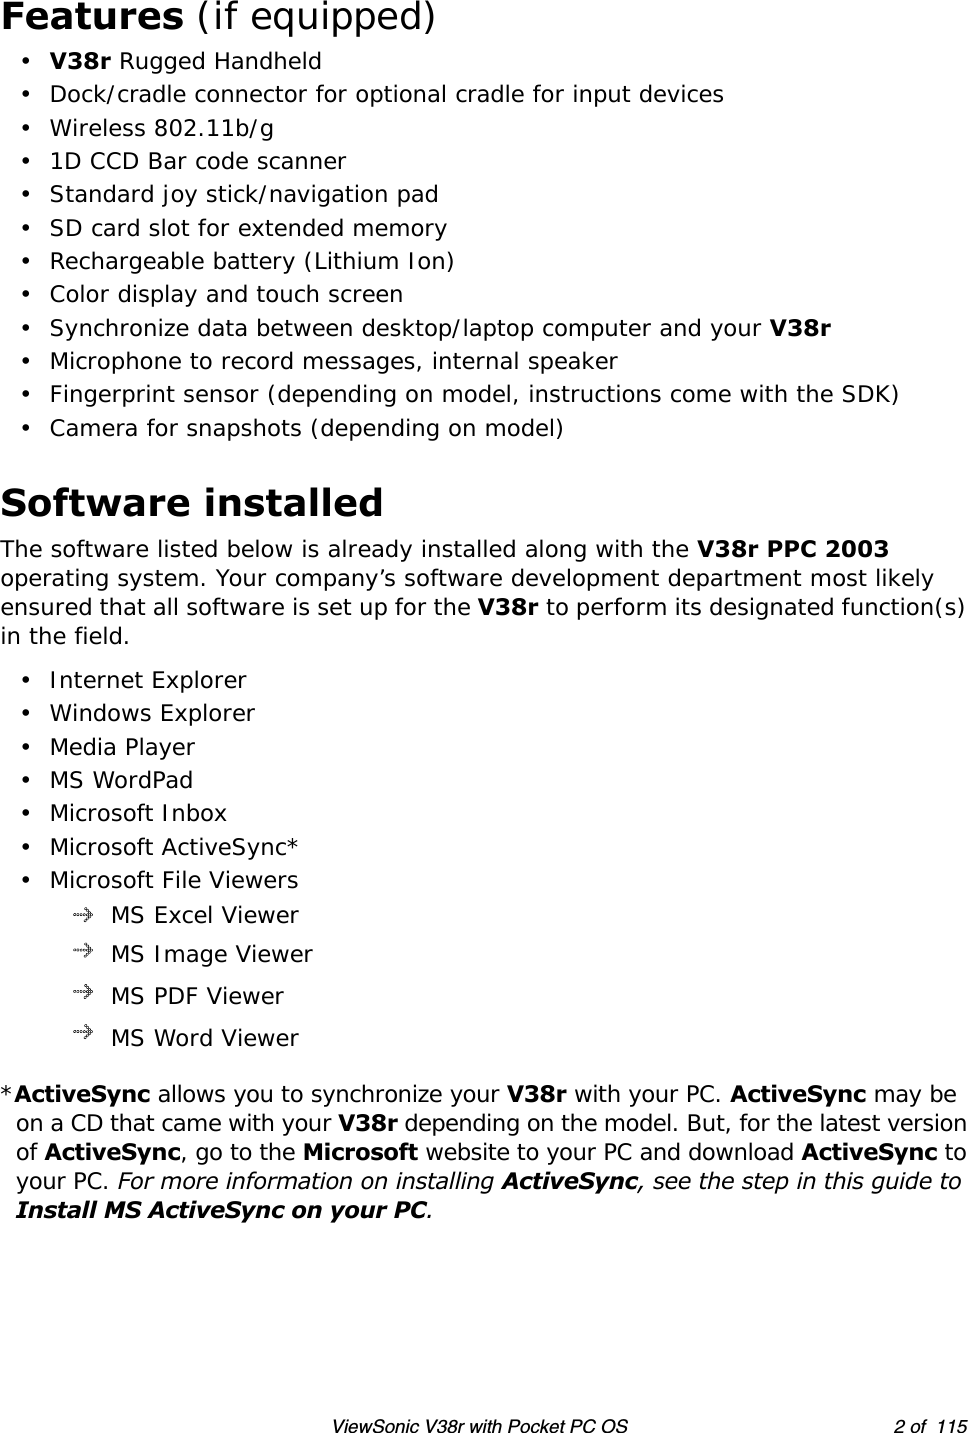
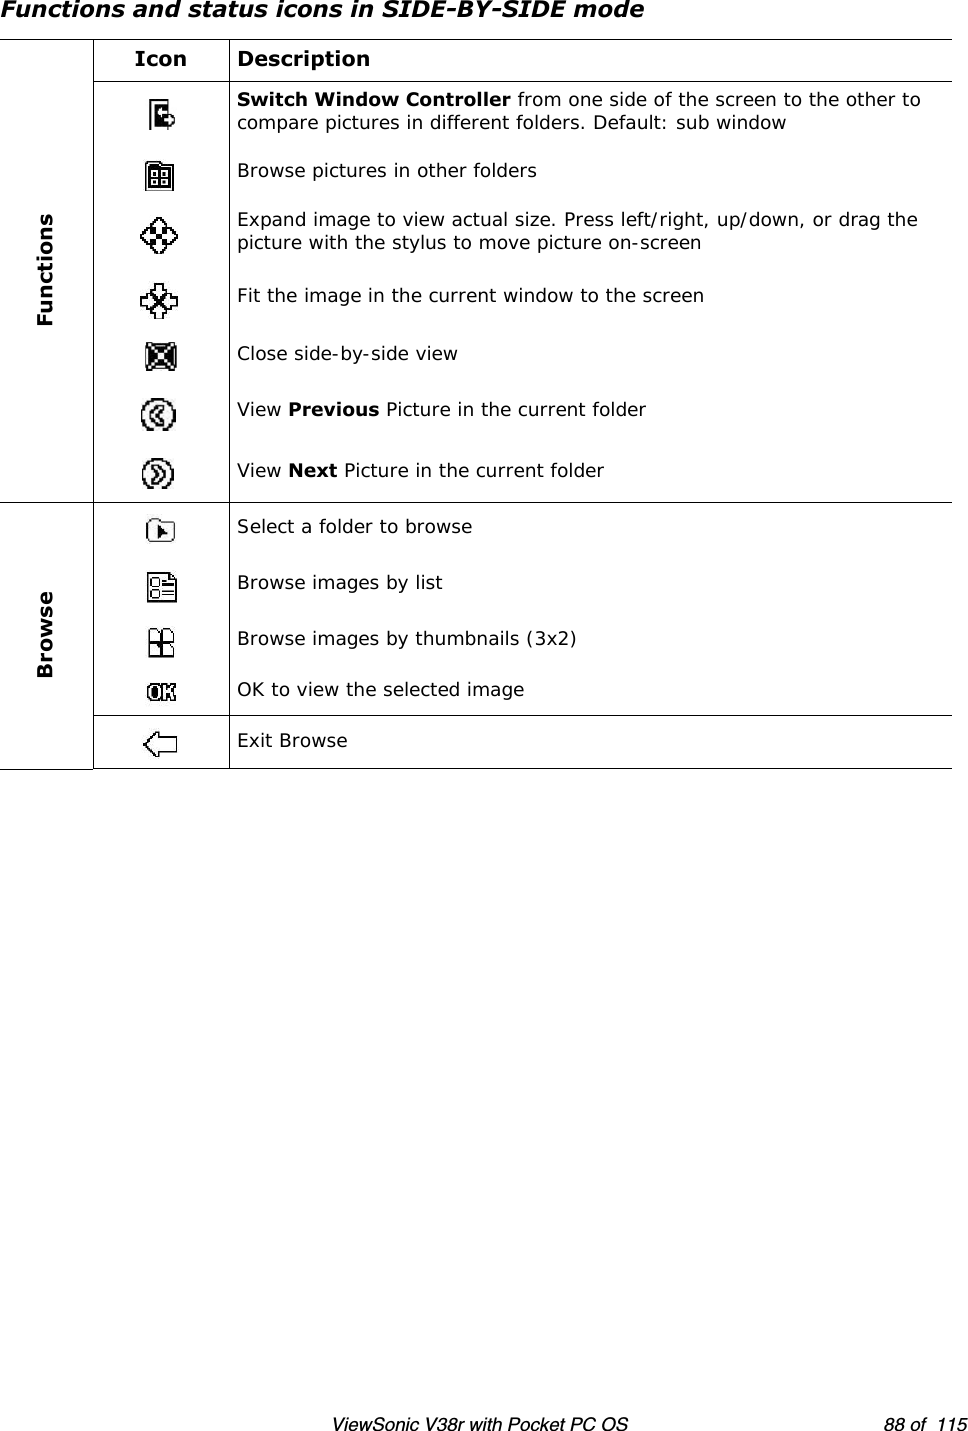
![ViewSonic V38r with Pocket PC OS 85 of 115View pictures side-by-sideTap the Side-by-side icon [ ] to view two pictures on-screen. Side-by-side iconTwo pictures side-by-side](https://usermanual.wiki/ViewSonic/VS10418M/User-Guide-621875-Page-93.png)
![ViewSonic V38r with Pocket PC OS 86 of 115Compare one picture with anotherWith two pictures side-by-side on-screen, you can compare one picture with another. One picture remains stationary and the other goes to the Previous or Next picture in the folder. Tap the Previous/Next picture icon [ ] under the picture on the left side as shown below. The picture changes while the picture on the right side remains stationary.Previous/Next picture icon](https://usermanual.wiki/ViewSonic/VS10418M/User-Guide-621875-Page-94.png)
![ViewSonic V38r with Pocket PC OS 87 of 115Make the other side stationaryTo switch the side that stays stationary, tap the Switch Window Controller icon [ ]. The stationary picture switches over to the other side as shown below. Switch Window Controller iconLEFT side is stationaryRIGHT side is stationary](https://usermanual.wiki/ViewSonic/VS10418M/User-Guide-621875-Page-95.png)
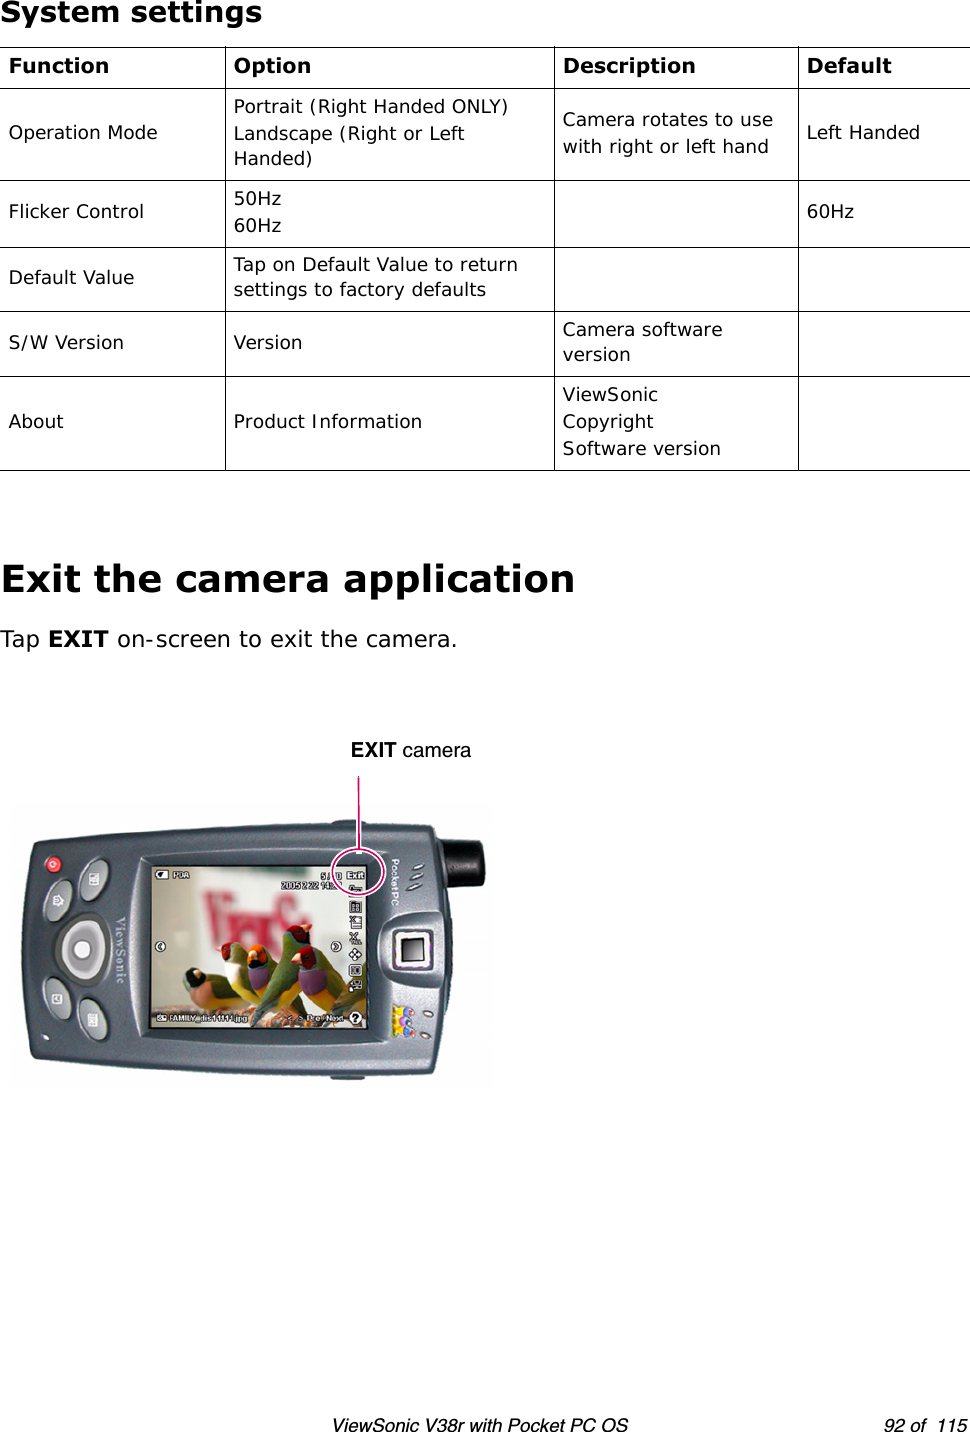
![ViewSonic V38r with Pocket PC OS 89 of 115Download picturesTo download pictures, do one of the following:• Move pictures from the VS Cam folder to the SD memory card, or•In ActiveSync mode, download pictures to a PC folder connected with a USB cable.Changing the camera setupTo change settings, press the Setup icon or the Setup Button as shown on the right. A menu appears where you can select Basic, Advanced, or System settings. The Setup Icon [ ] appears in the Camera application but not in the Bar Code application.SetupbuttonSetupicon](https://usermanual.wiki/ViewSonic/VS10418M/User-Guide-621875-Page-97.png)
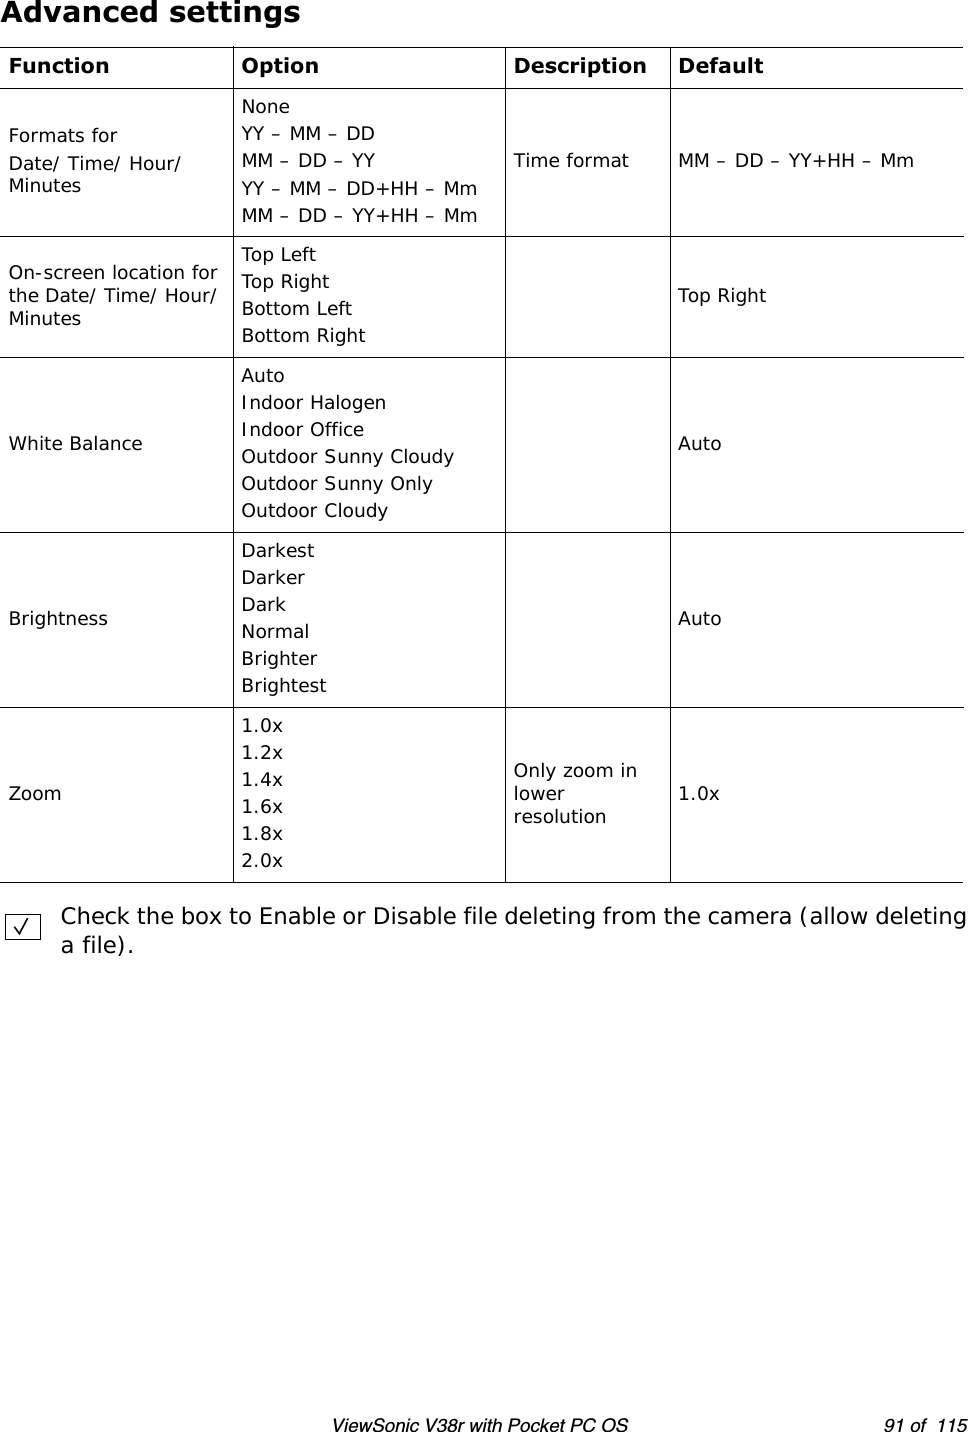
![ViewSonic V38r with Pocket PC OS 90 of 115Basic settingsFunction Option Description DefaultContinuous 1/ 2/ 4/ 6 The number of images taken per snap 1Picture Resolution1024 x 768 XGA640 x 480 VGA320 x 240 QVGA176 x 144 QCIFIn JPEG file format 640 x 480StorageSDDEVICEUSB Memory DeviceSecure Digital Memory CardBuilt-in memoryExternal hard/memory discDevice memoryShutter Sound Check box to Enable/Disable Simulates the sound of pressing a camera’s shutter release to take a picture ONTimer Check box to Enable/DisableWhen Timer is enabled, the Timer icon [ ] appears on-screen: when you press the Snap Picture Button or the on-screen icon, the Timer Icon blinks for 10 seconds and then takes the pictureOFFFlash ON/OFF OFF](https://usermanual.wiki/ViewSonic/VS10418M/User-Guide-621875-Page-98.png)