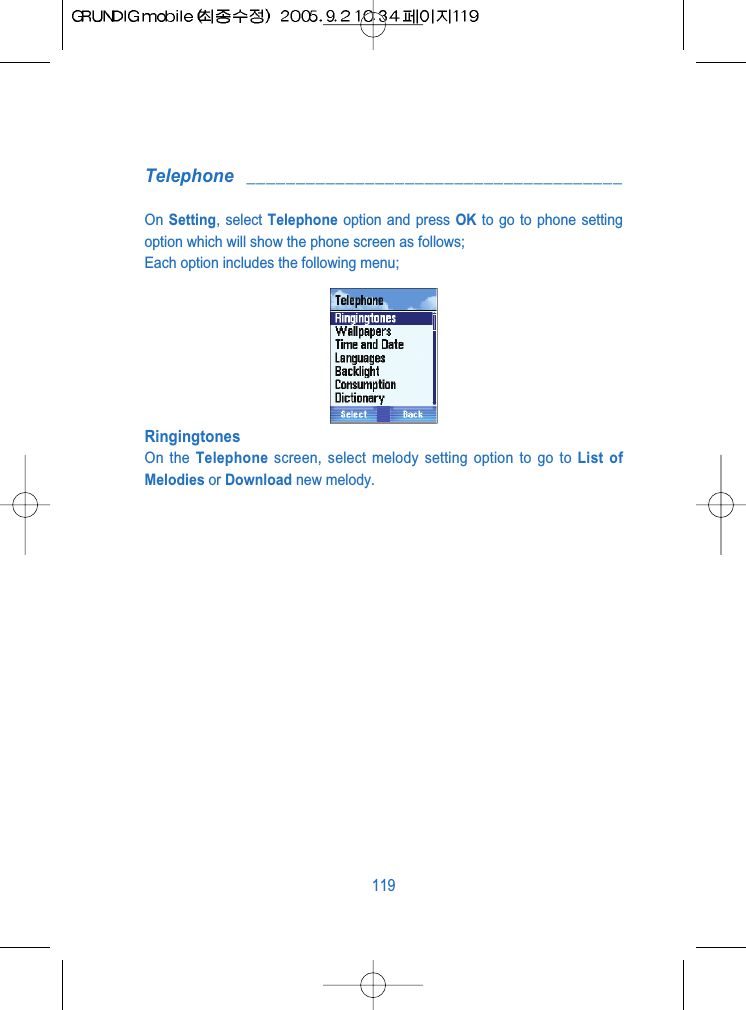
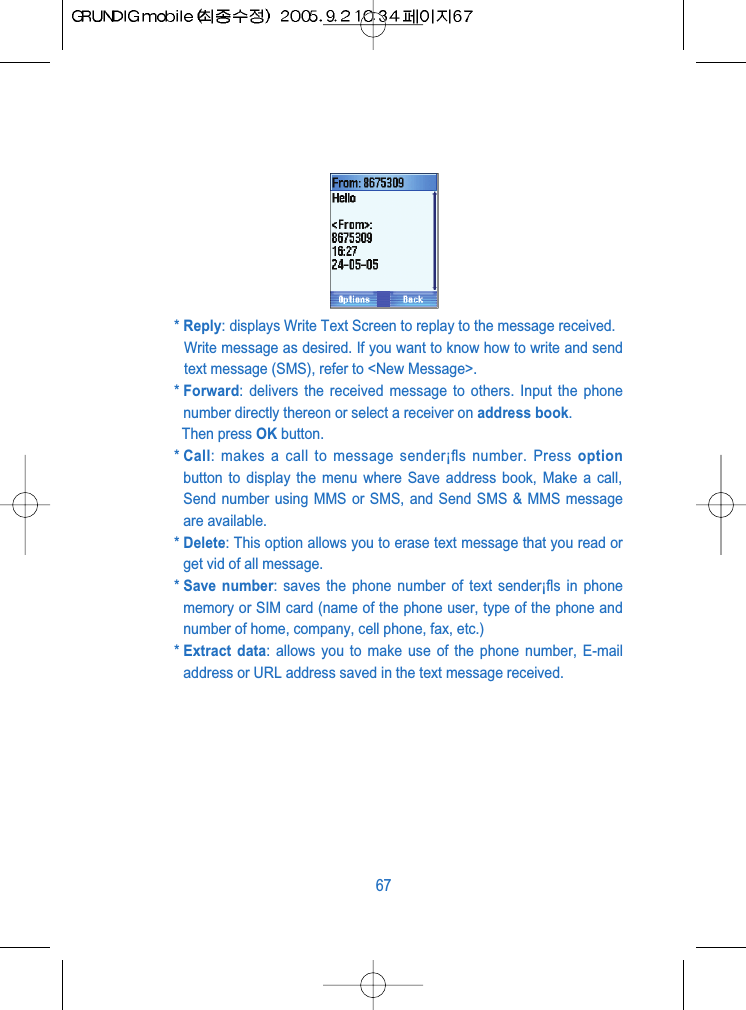
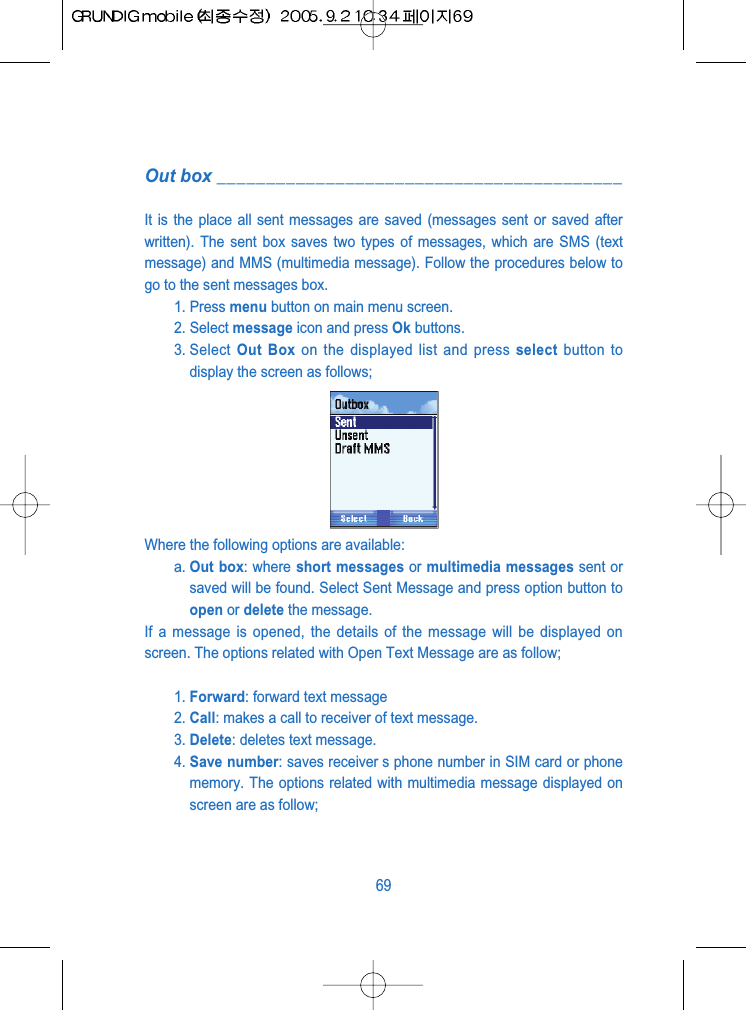
Vitelcom Mobile Technology M342 TRI-BAND GSM 850/1800/1900 MHz MOBILE PHONE User Manual GRUNDIG mobile
Vitelcom Mobile Technology, S.A. TRI-BAND GSM 850/1800/1900 MHz MOBILE PHONE GRUNDIG mobile
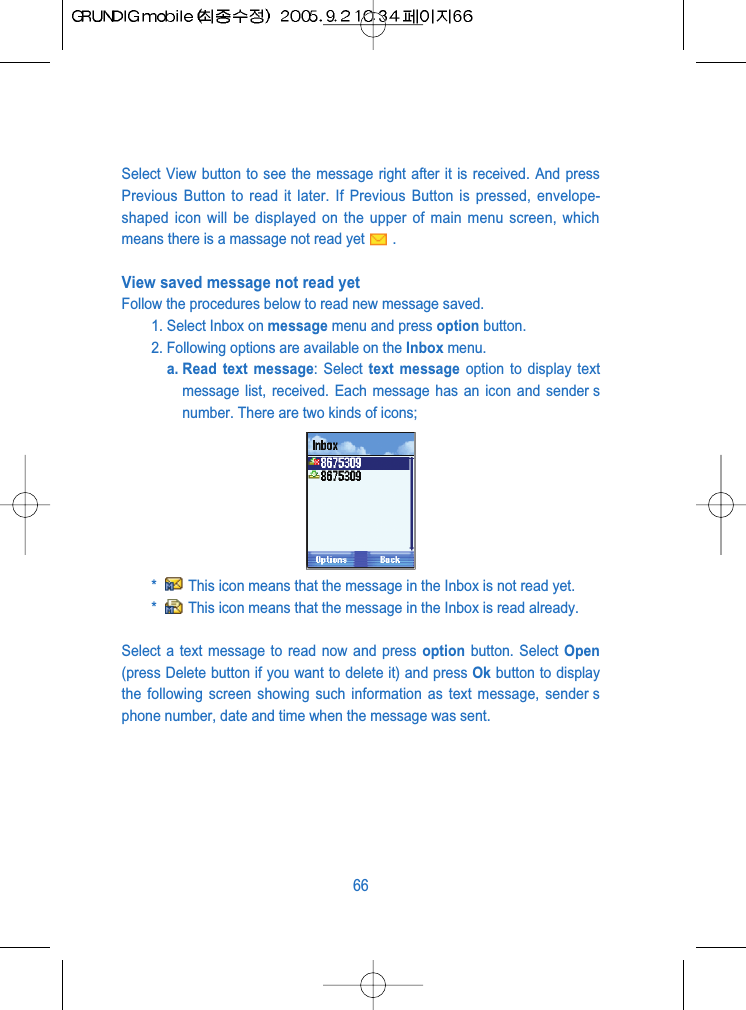
UserManual.wiki
>
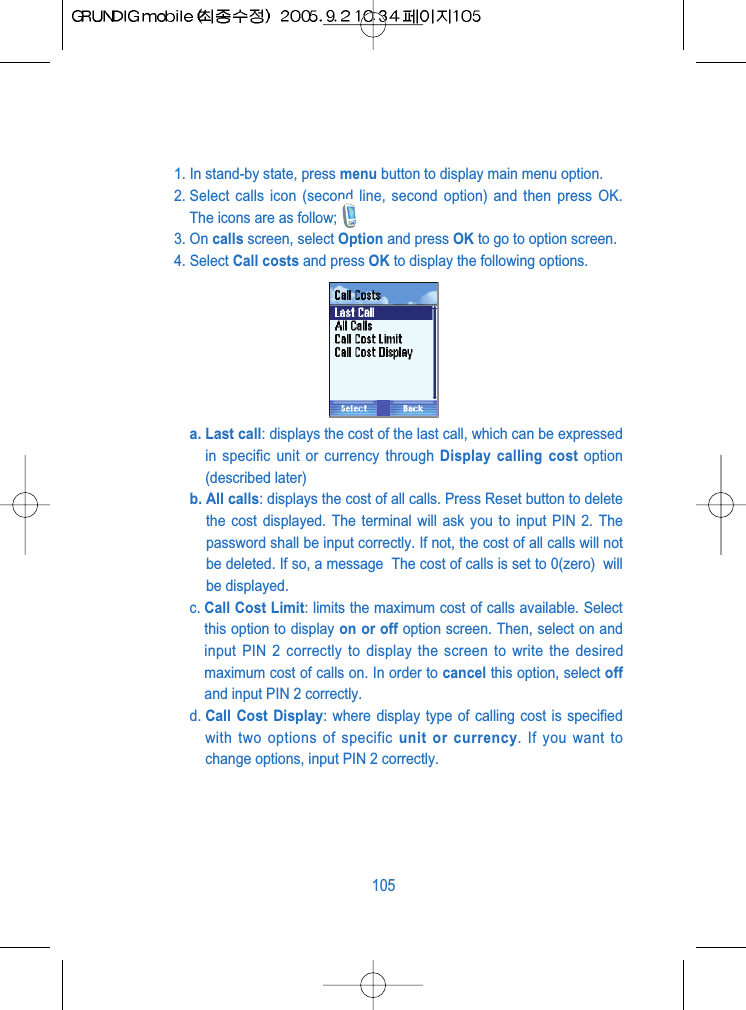
Vitelcom Mobile Technology
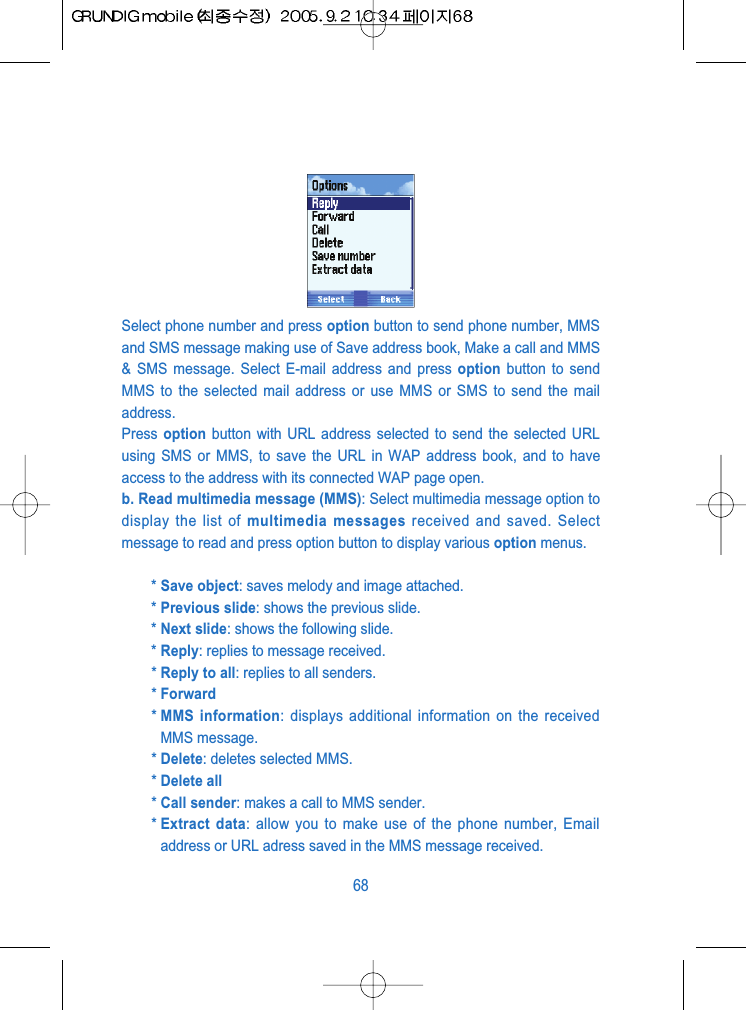
>
M342 User Manual
Users Manual
Navigation menu
Upload a User Manual
Namespaces
Wiki Guide
HTML
PDF
Info
Views
User Manual
Discussion / Help
Navigation


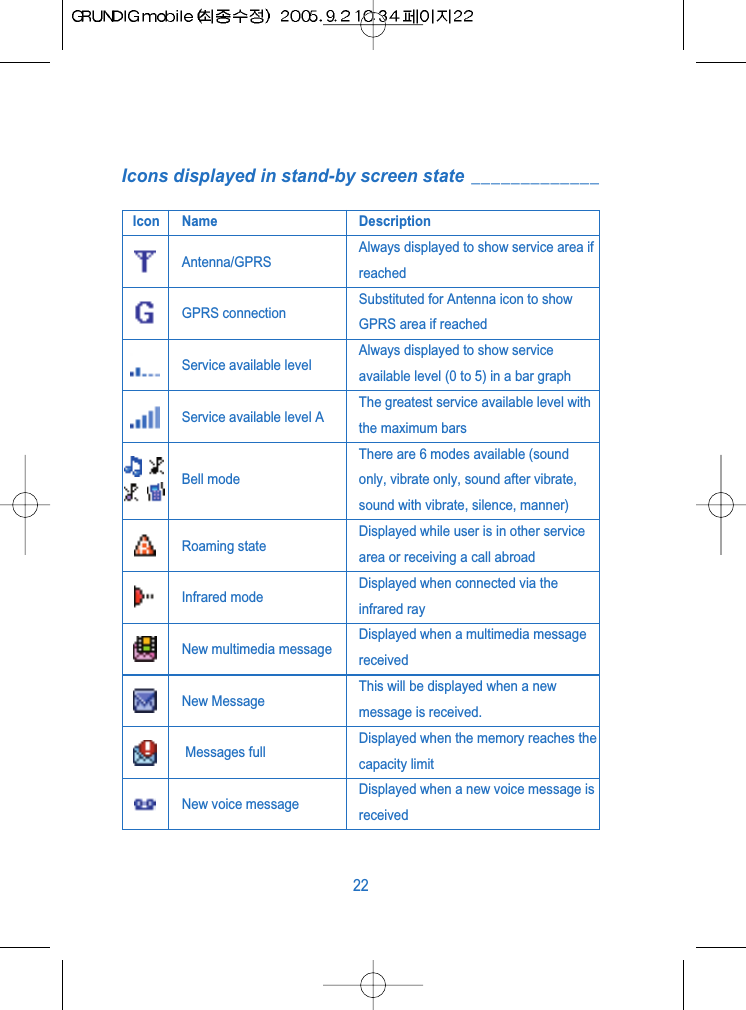

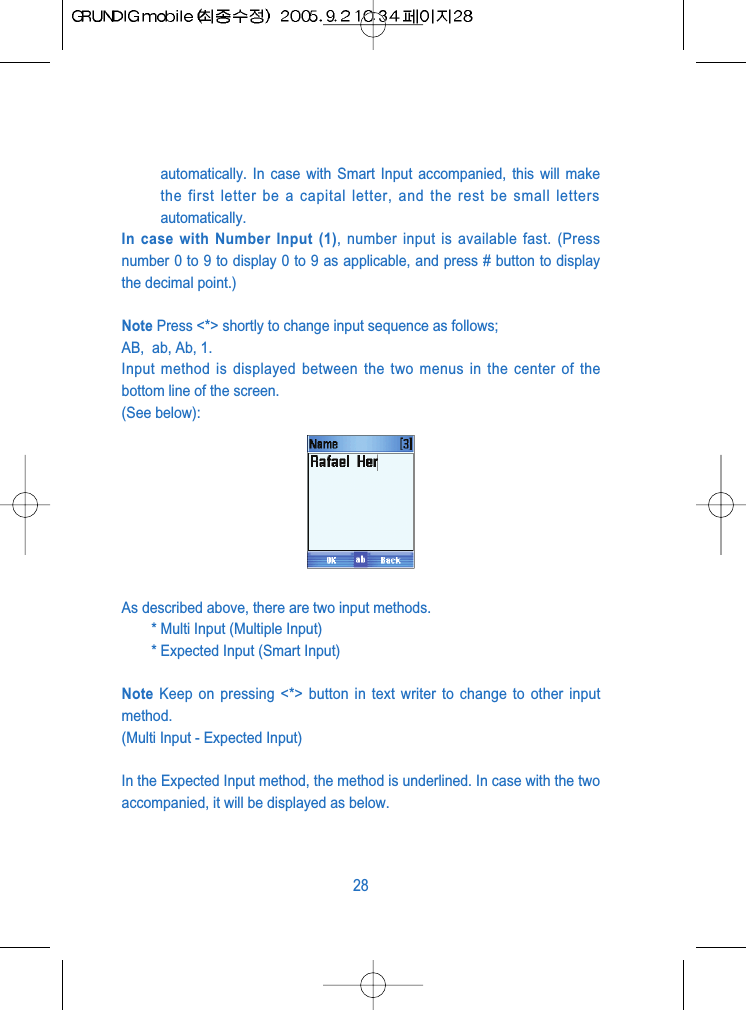
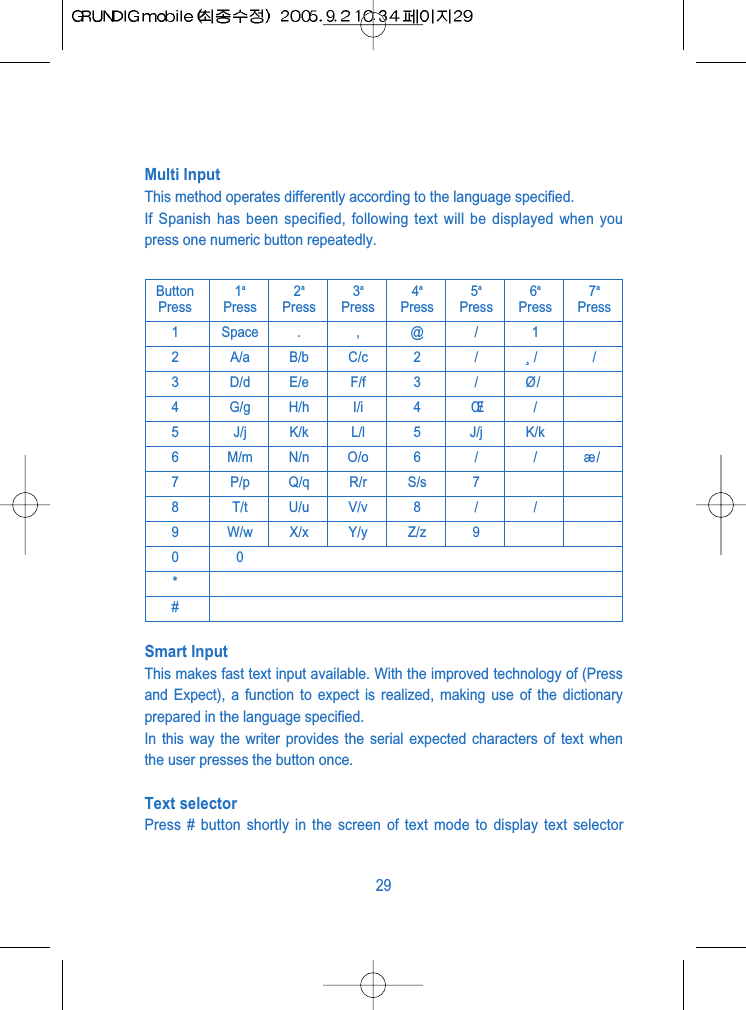
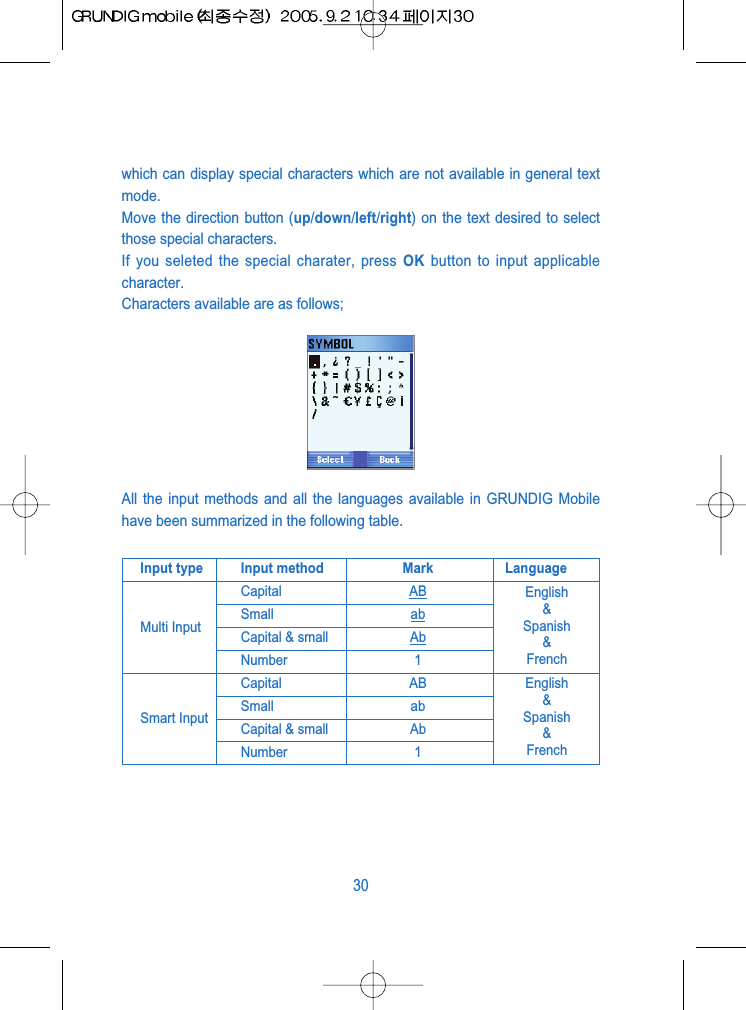
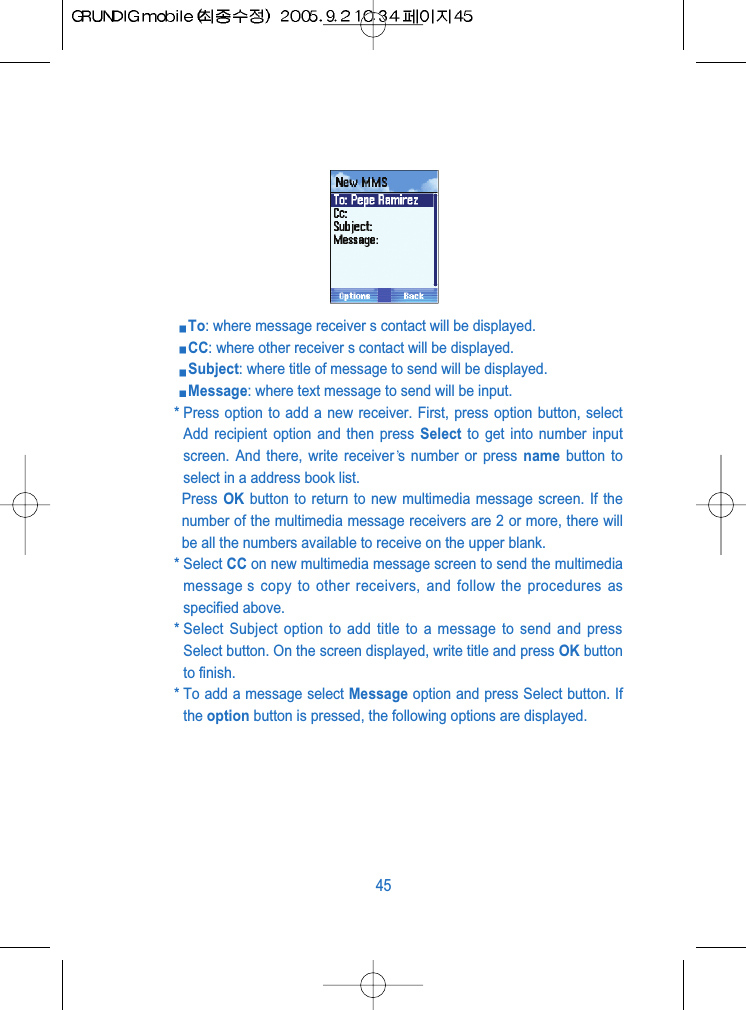


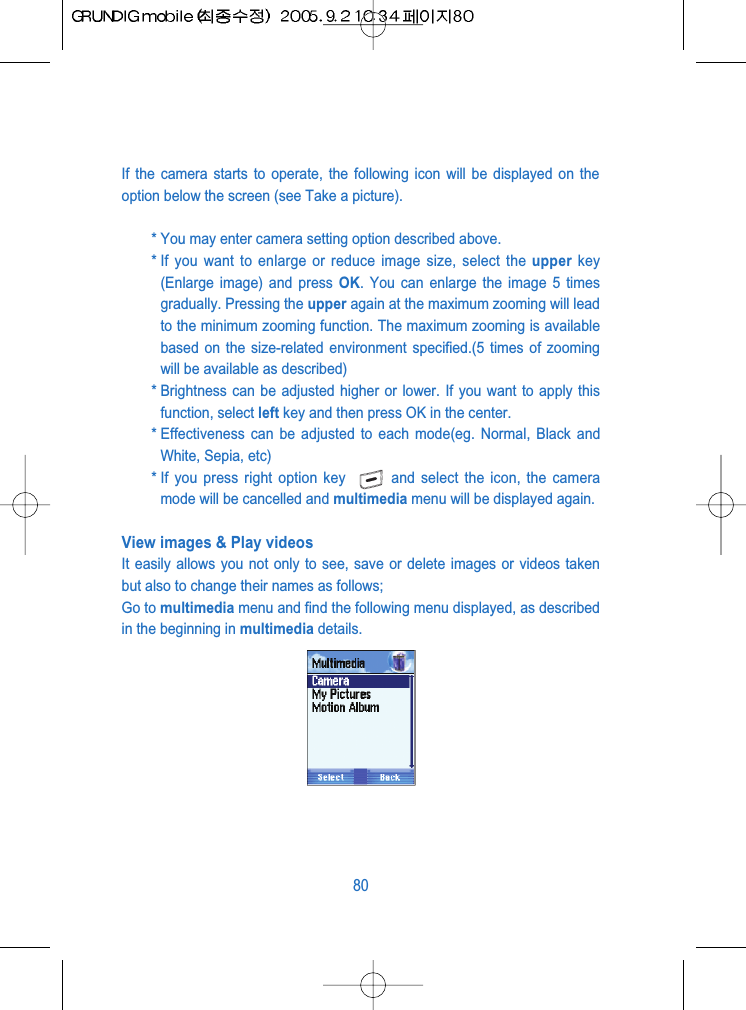


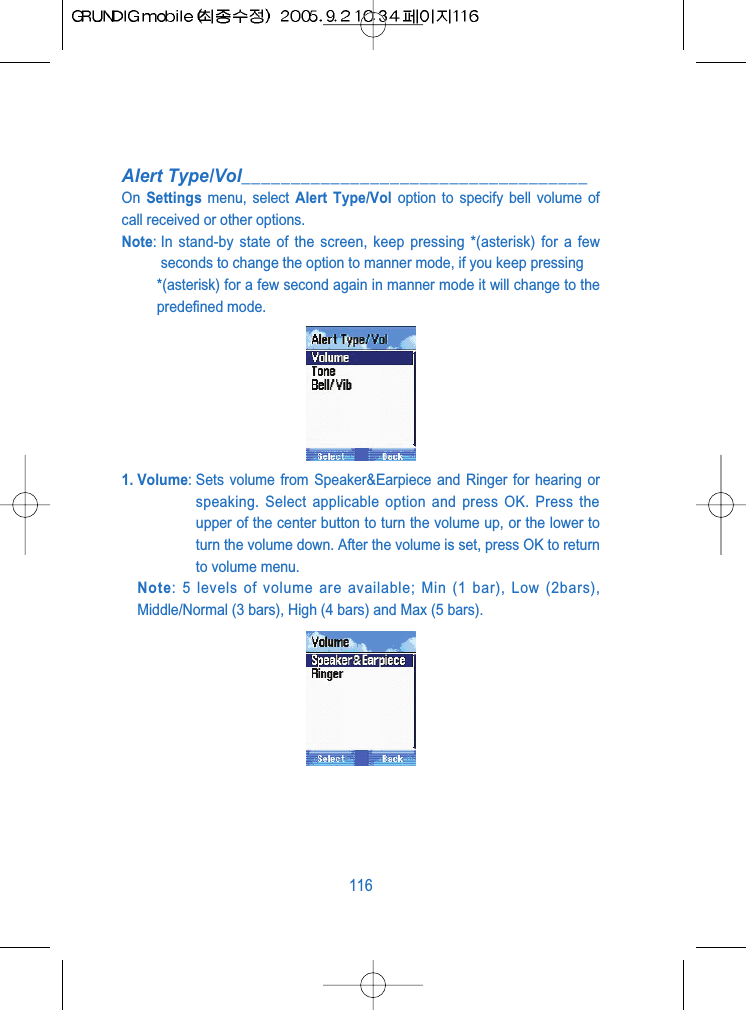
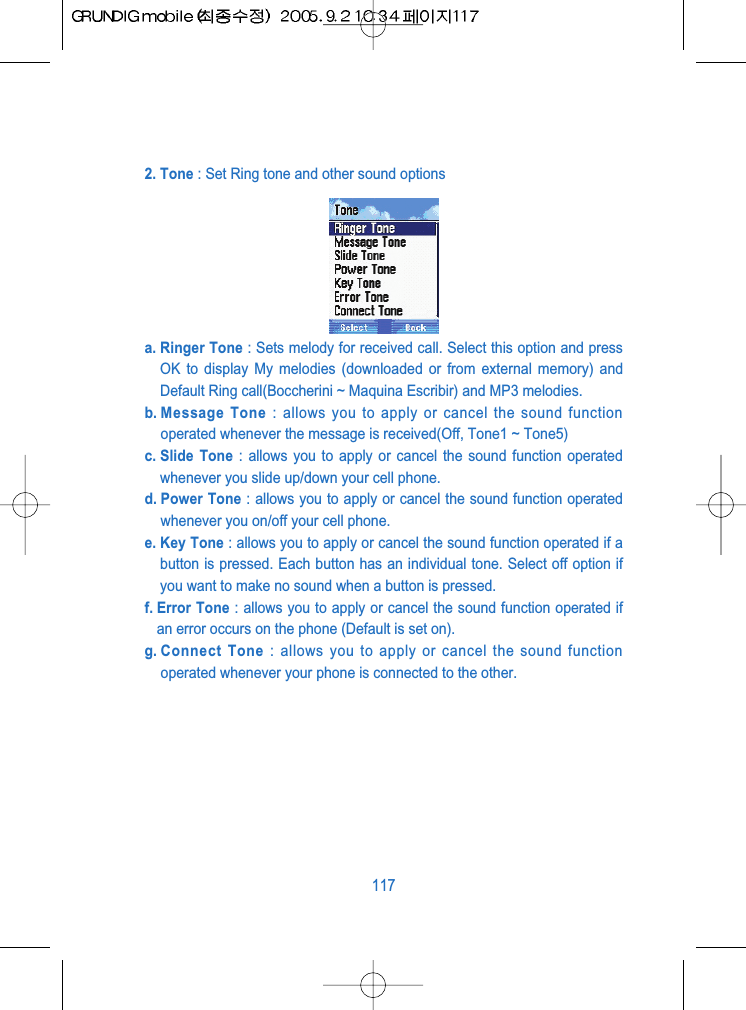
![3. Bell/Vib : Set the sound mode when the phone operates.a. Sound Only : Alerts(Ring) only with sound when you have a call or/andoperates the phone.b. Vibrate Only : Alerts(Ring) only with vibration when you have a callor/and operates the phone.c. Sound After Vib : Alerts(Ring) with sound after the vibration when youhave a call or/and operates the phone.d. Sound with Vib : Alerts(Ring) sound with vibration when you have a callor/and operates the phone.e. Silence : No Alerts(Ring) except LED blinking when you have a callor/and operates the phone [Sound in games, Alarm]f. Manner : No Alerts(Ring) only with vibration when you have a call or/andoperates the phone [sound in games, Alarm]118](https://usermanual.wiki/Vitelcom-Mobile-Technology/M342/User-Guide-591187-Page-109.png)