Vocera Communications T1000 SIP Phone User Manual UserGuide 20081008
Vocera Communications SIP Phone UserGuide 20081008
UserManual.wiki
>
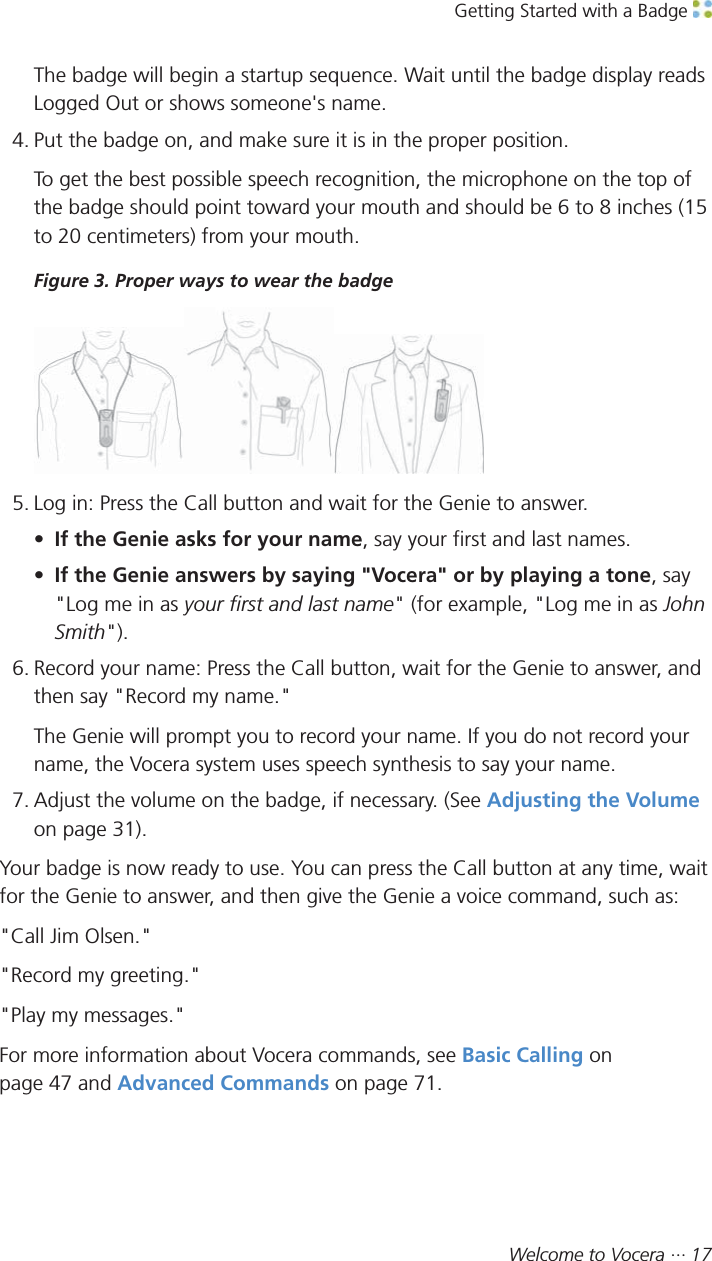
Vocera Communications
>
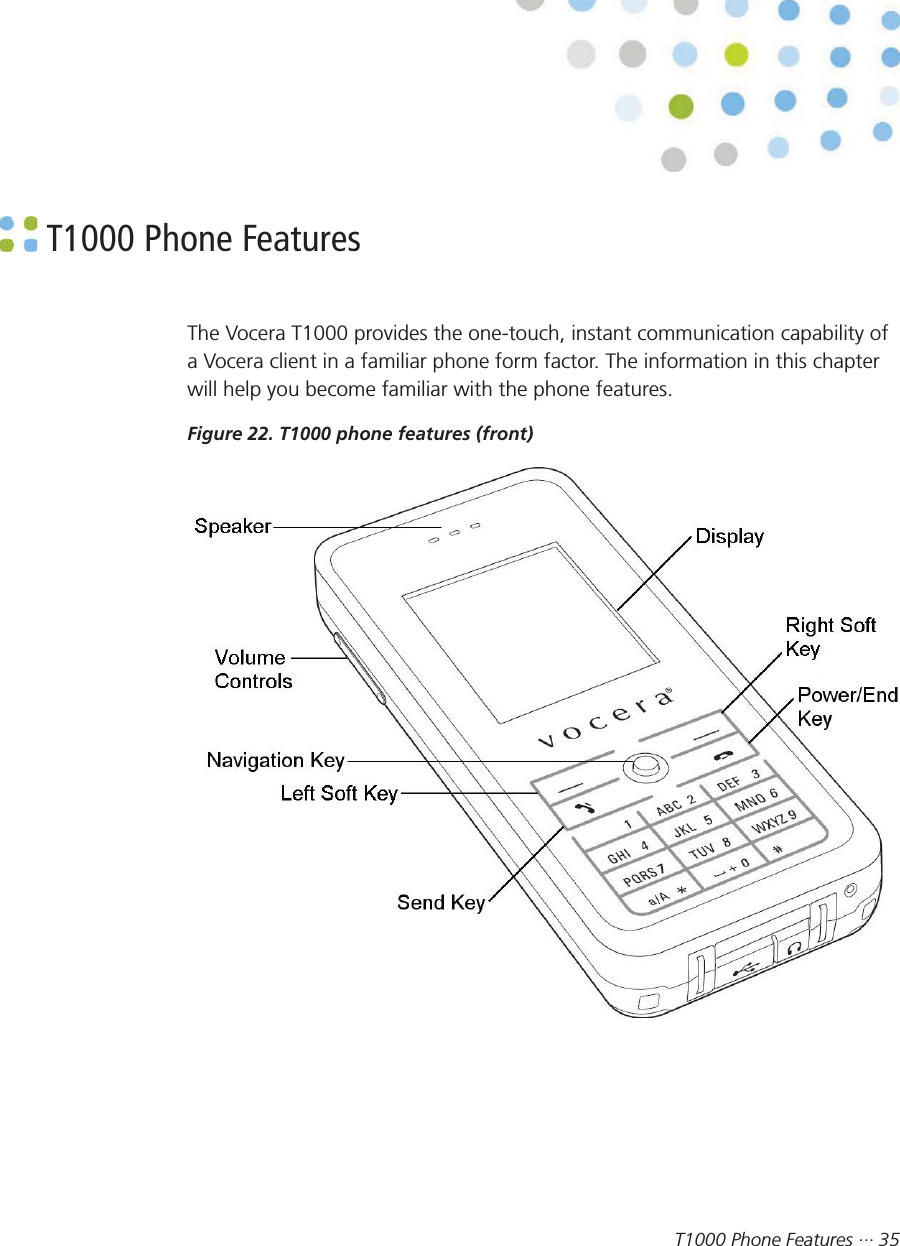
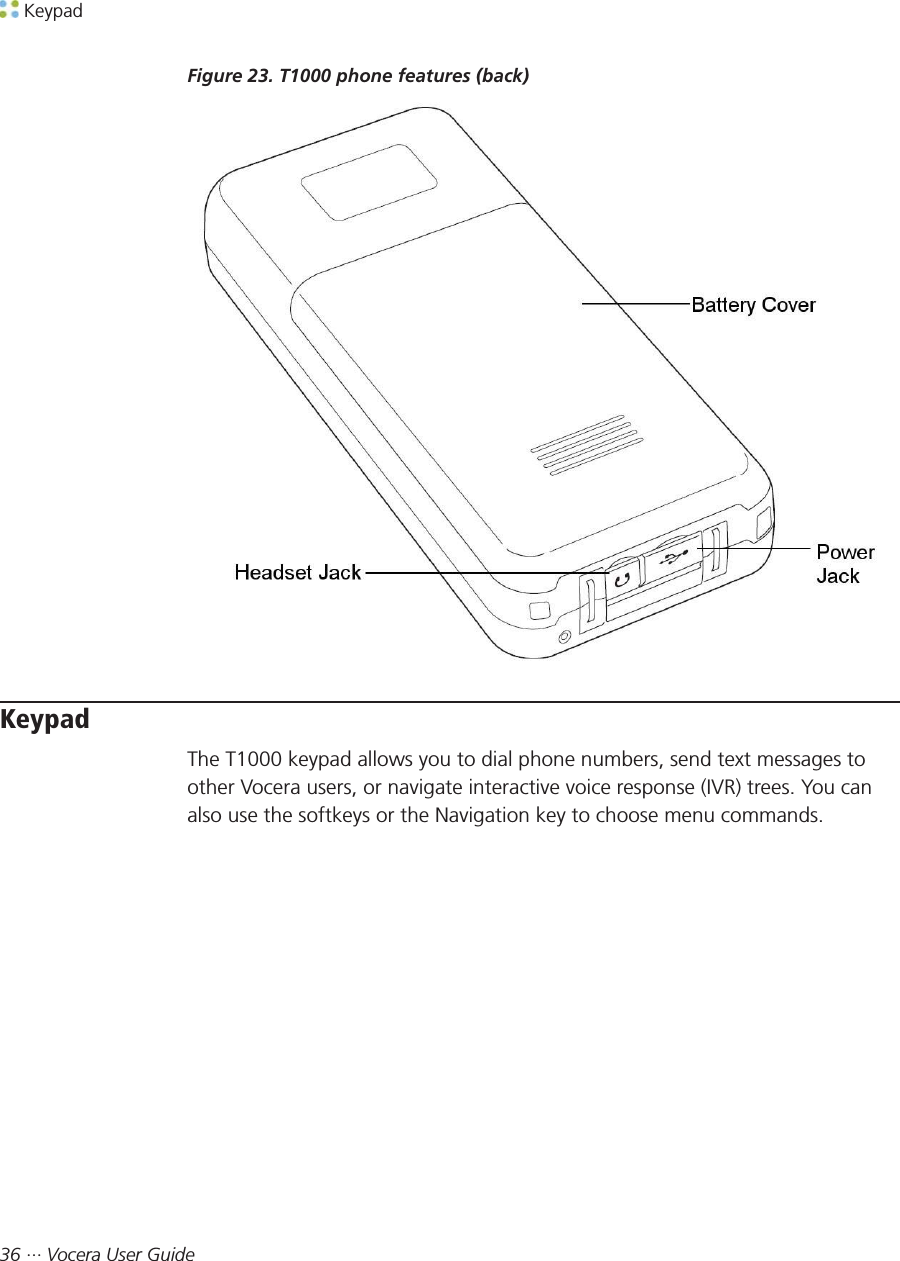
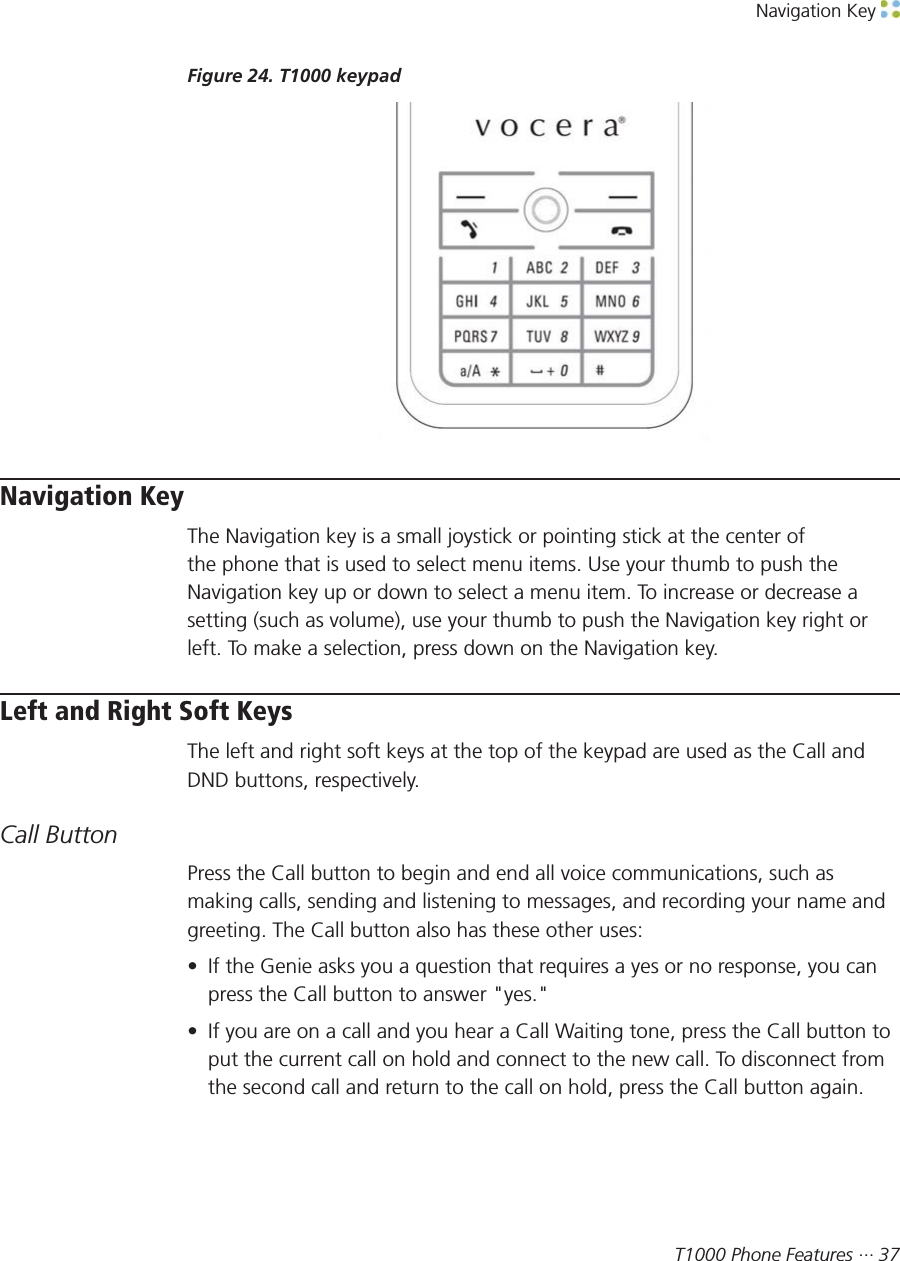
T1000 User Manual
Users Manual
Navigation menu
Upload a User Manual
Namespaces
Wiki Guide
HTML
PDF
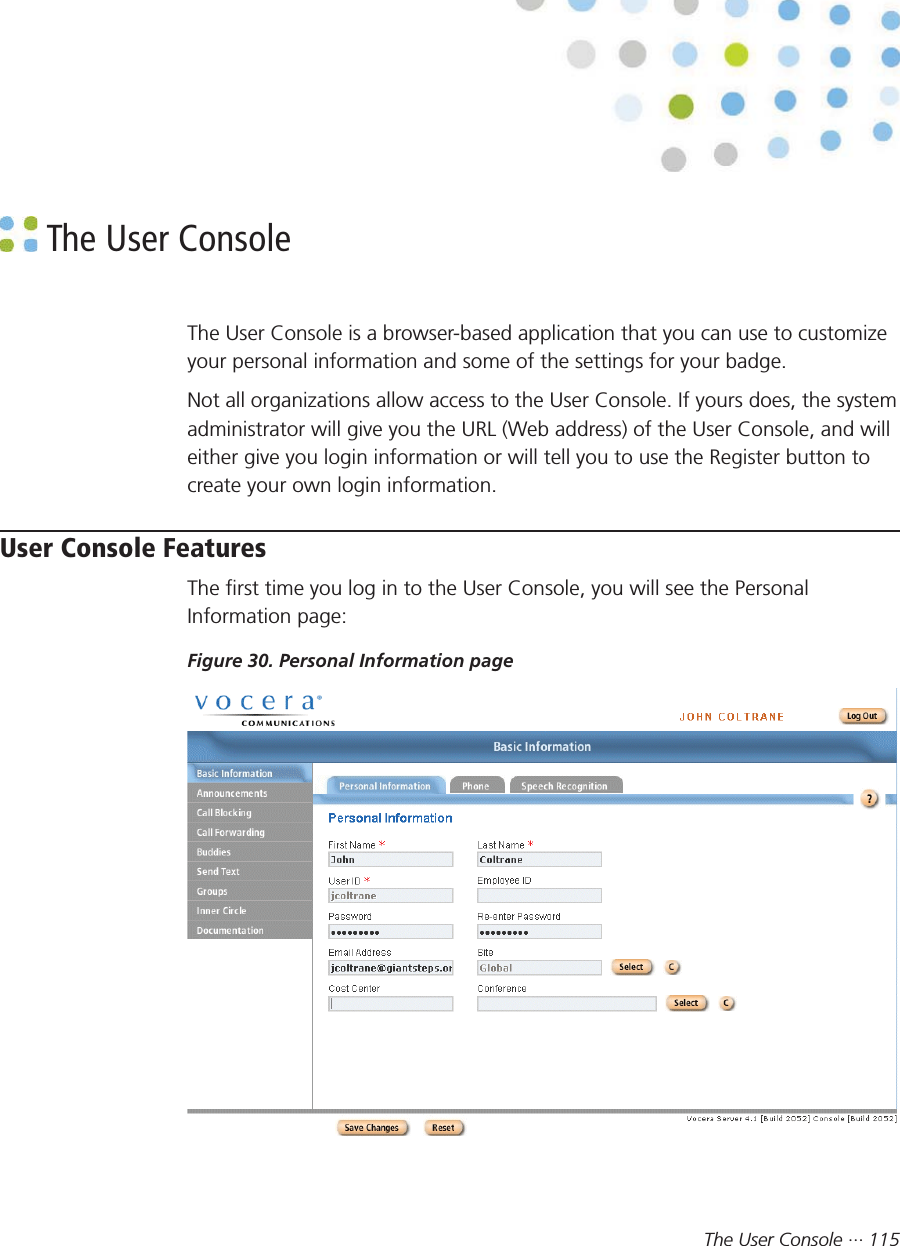
Info
Views
User Manual
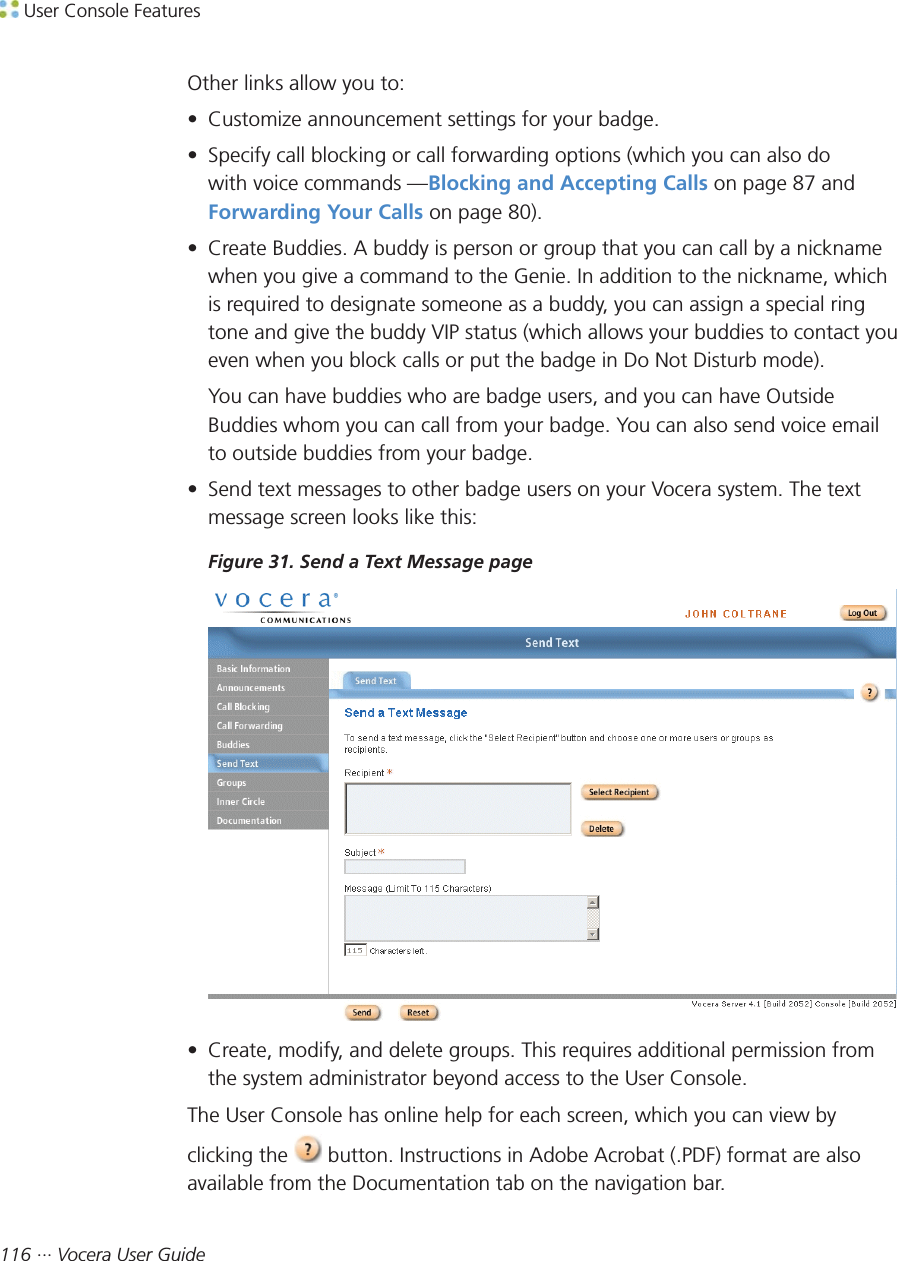
Discussion / Help
Navigation
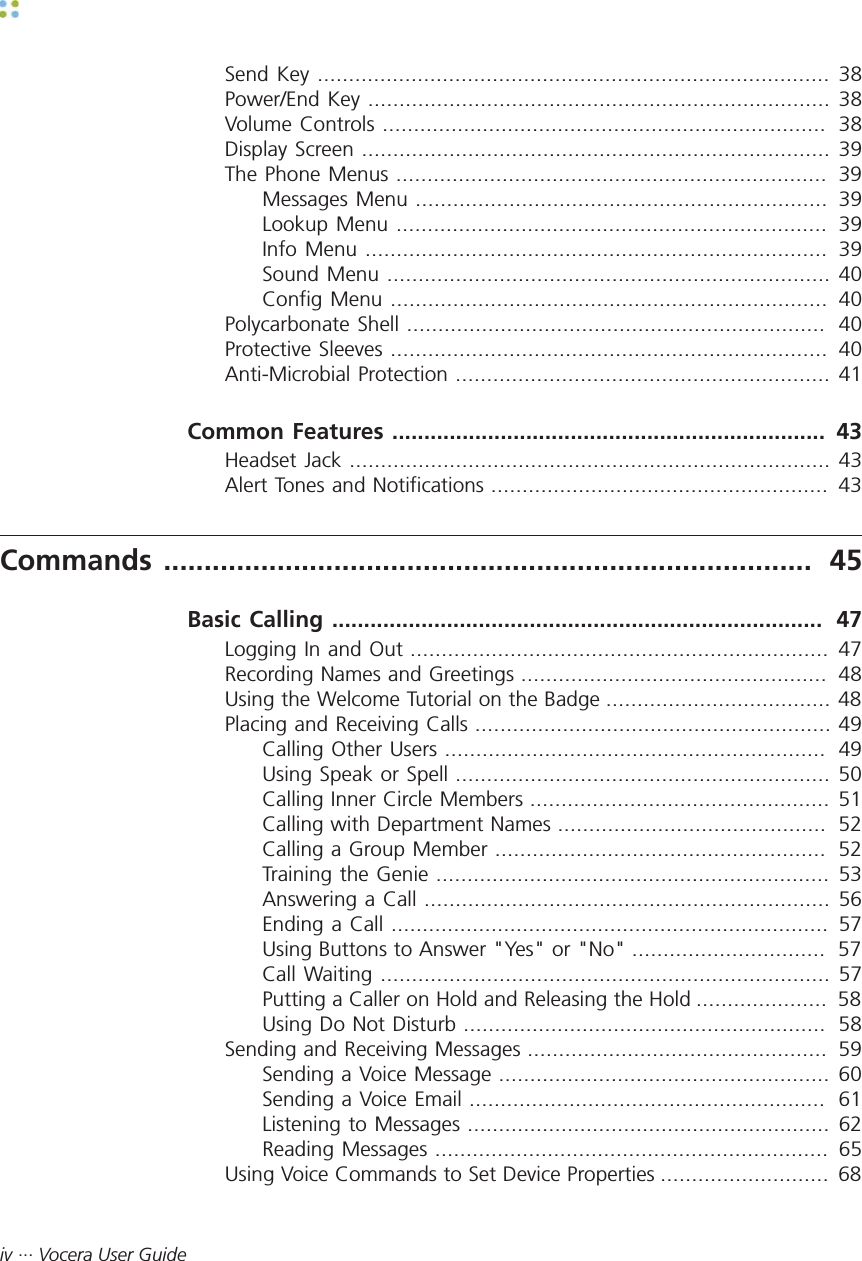

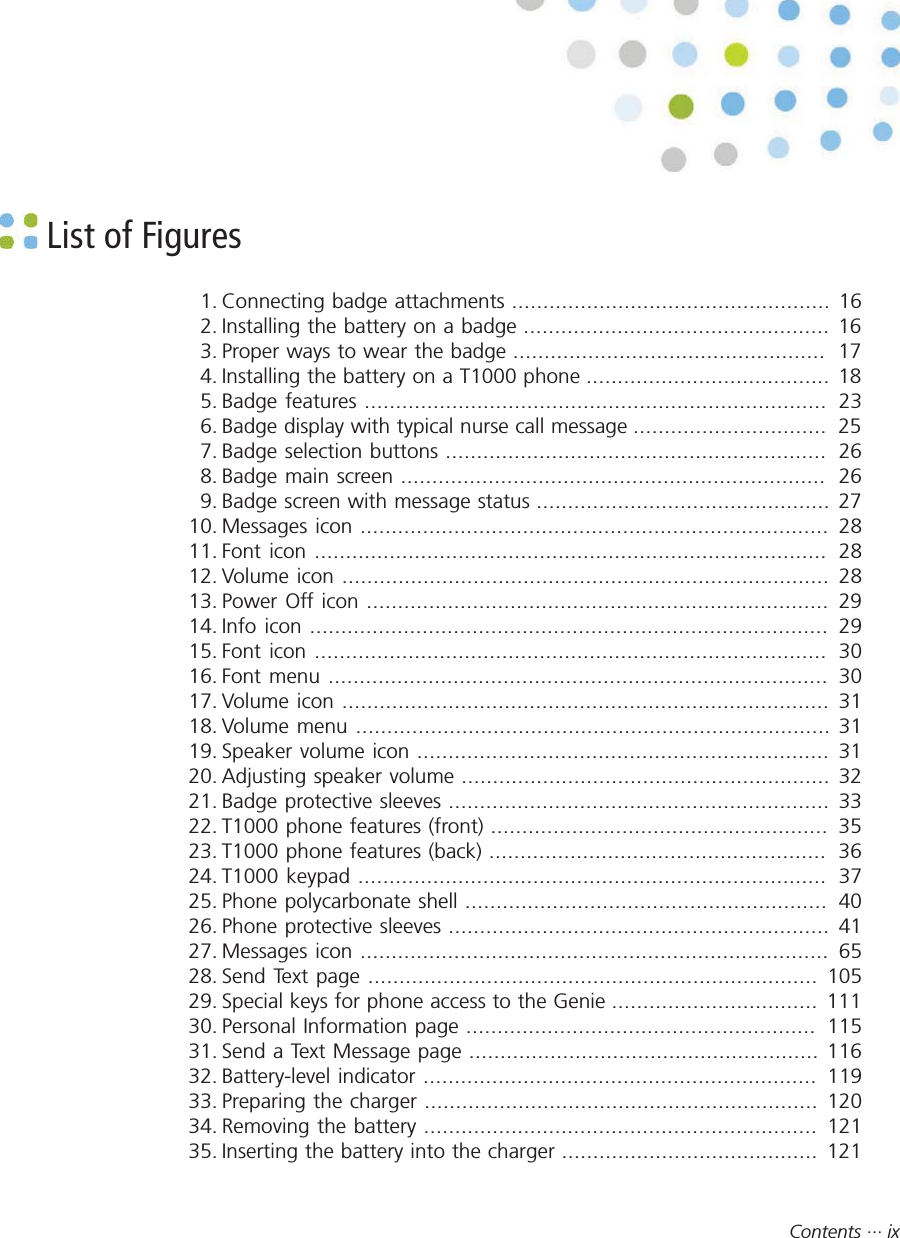

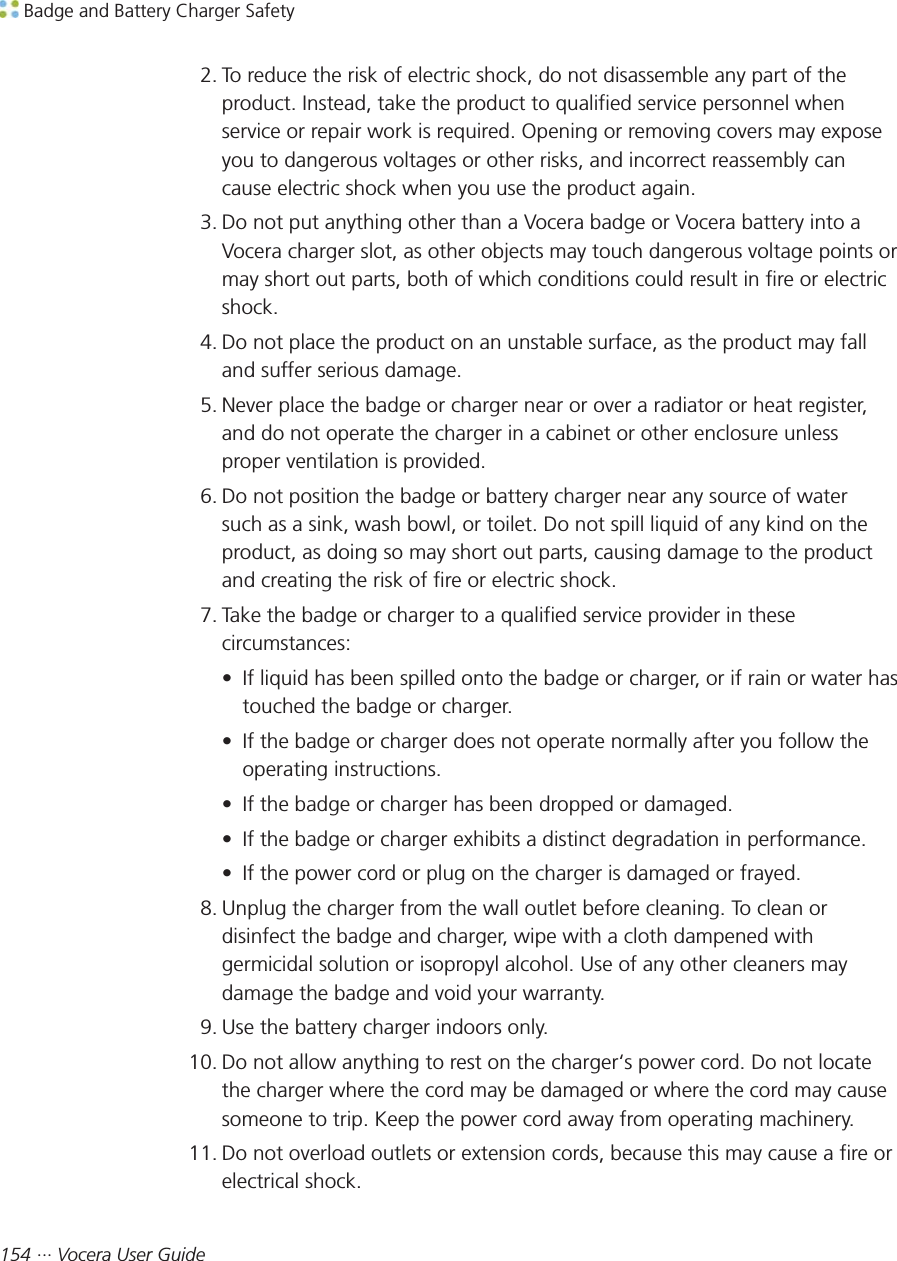
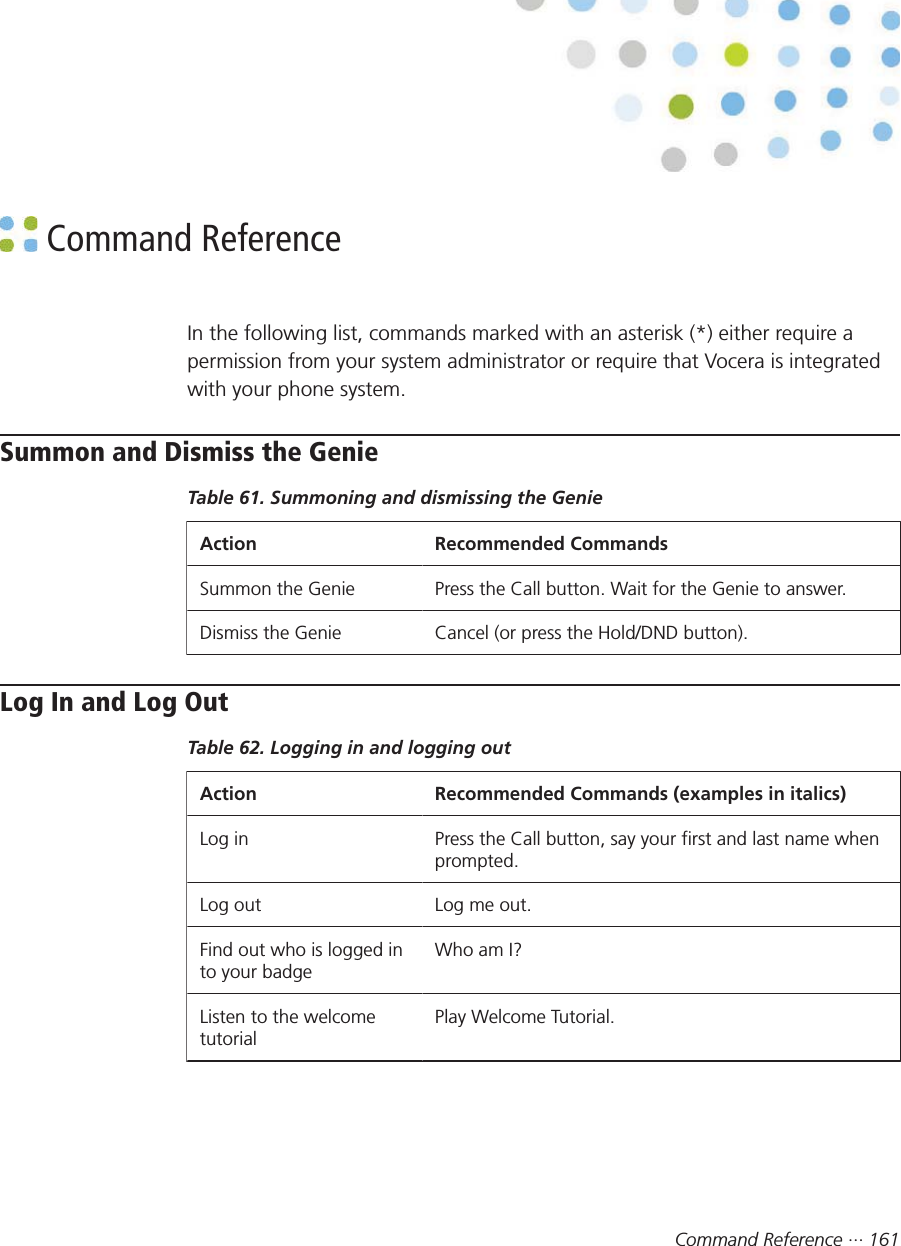
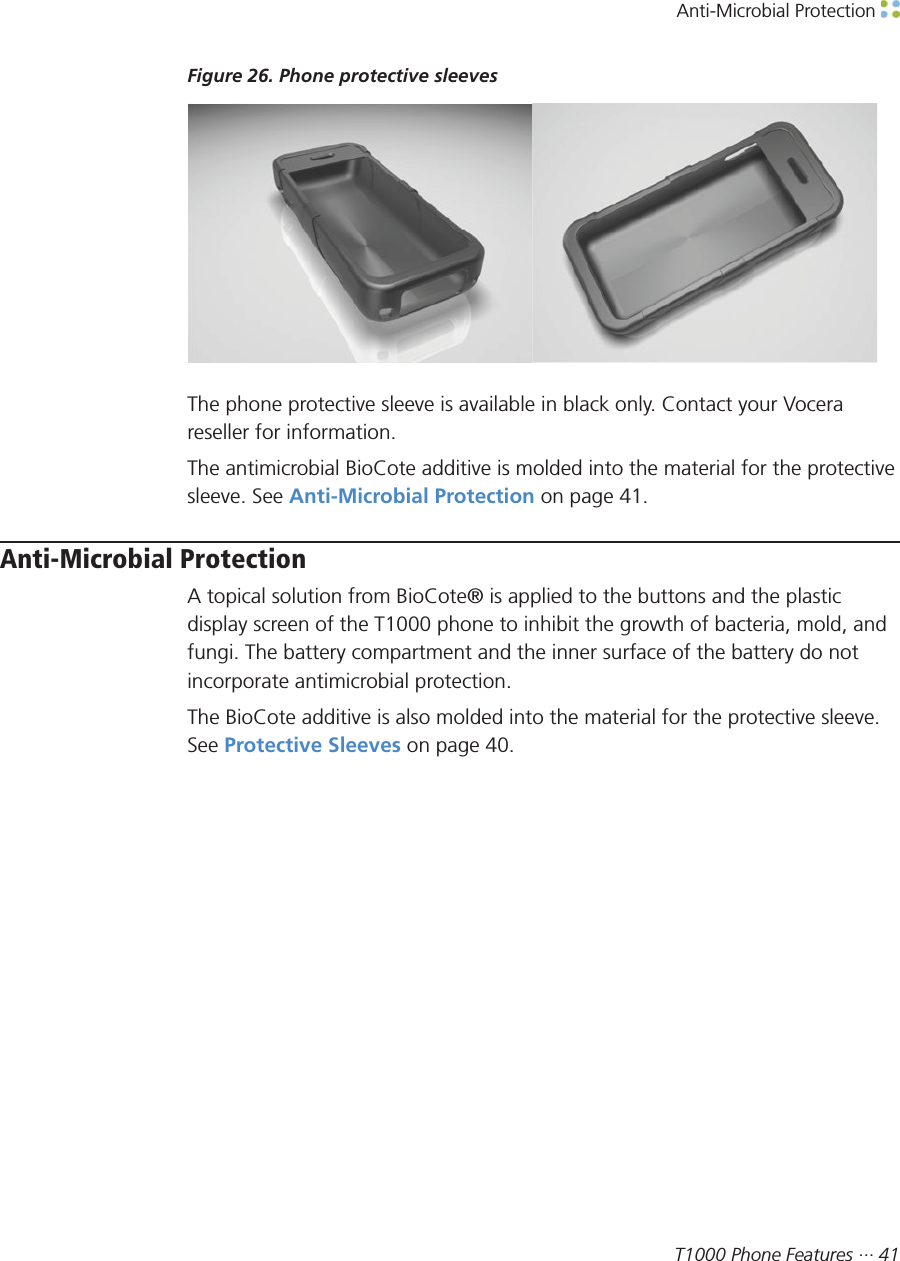
![Sound Menu40 ··· Vocera User GuideSound MenuUse the Sound menu to adjust talk volume, ring volume, or to set the phone tovibrate.Config MenuUse the Config menu to configure your phone. The Config menu has thefollowing selections:•Basic – sets basic phone properties for connecting to the Vocera system.•Advanced – sets advanced phone properties.•Restart Radio – restarts the phone's 802.11 radio with the current settings.•Reset to Defaults – resets phone properties to the default configuration.•Closed Menus – set whether phone menus are open (the default) or closed.•Diagnostics – perform phone diagnostics. [NOT SUPPORTED YET]Polycarbonate ShellThe polycarbonate shell increases the durability of the T1000 phone andprotects it from bumps and scratches. You can charge a phone in thepolycarbonate shell.Figure 25. Phone polycarbonate shellProtective SleevesThe protective sleeve safeguards the phone from everyday wear and tear andhelps to extend its life. You can operate buttons, use the keypad, and view thedisplay screen without removing the sleeve. You can charge a phone with aprotective sleeve.](https://usermanual.wiki/Vocera-Communications/T1000/User-Guide-1026178-Page-40.png)


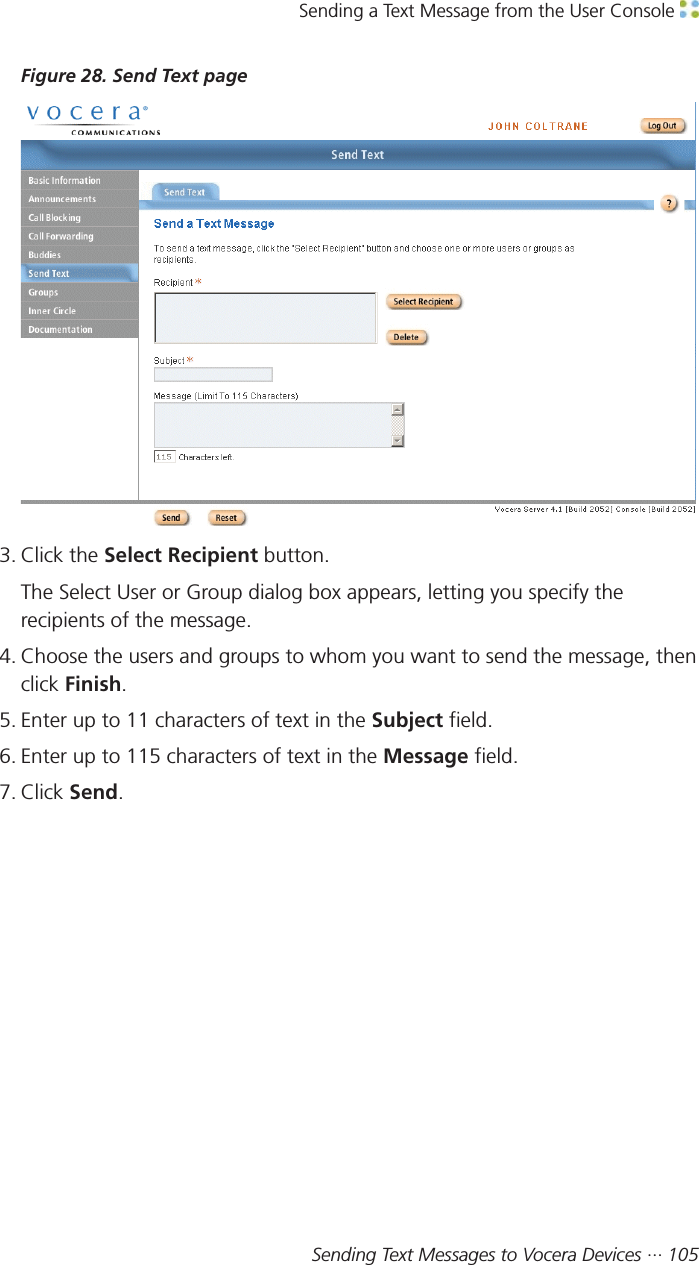
![Sending a Text Message from the User Console104 ··· Vocera User Guide3. In the Subject: field, specify the message recipient using one of thefollowing formats:• The user ID of a Vocera user. For example:Wanda_Gohome• The name of a group, if the group is in the global site. For exampleI C U Nurses• The name of a group and its site, if the group is in any other site. Specifythe group name in square brackets, followed by the site name in curlybraces. For example:[I C U Nurses] {West Wing}4. In the message area, type your message. Be brief, because the messagewill be limited to the first 115 characters, or about 20 words. Additionalcharacters will not be displayed.Note: When the recipient views the list of text messages, the entry for anemail will show the first thirteen characters of the message.5. Send the email message in the usual way.The Vocera server logs in to the Vocera system email account at regularintervals (usually every 30 seconds), downloads all the email in the mailbox, anddistributes each message to the user or group whose user ID or group nameappears on the subject line of the message.Sending a Text Message from the User ConsoleThe User Console is a Vocera utility that runs in a web browser; it is availableto all Vocera users. See The User Console on page 115 for a brief summaryof the User Console, or see the Vocera User Console Guide for a completedescription of its features.You can send messages from the User Console to a user or to a group. If yousend the message to a group, all members of the group receive the message.Recipients can read these short messages on their Vocera device displays.To send a text message from the User Console:1. Launch the User Console as described in The User Console onpage 115.2. Click the Send Text tab on the navigation bar.The Send Text page appears.](https://usermanual.wiki/Vocera-Communications/T1000/User-Guide-1026178-Page-104.png)

![Starting a Genie Session from a Phone Using a Standard Phone to Access the Genie ··· 109Starting a Genie Session from a PhoneIf your user profile is properly enabled and you have the appropriate permission,you can access the Genie from a phone and use many of the same voicecommands that you use from a badge.When you access the Genie from a phone, you are not logged into the Vocerasystem. You are simply establishing an authenticated Genie session. You canaccess the Genie from a phone even when you are currently logged in from abadge.If your Vocera telephony server does not use ISDN signaling protocol, Caller IDis not supported. In that case, you can start a Genie from a phone by calling theGuest Access number of your home site and then pressing star (*).Note: If you try to start a Genie session from a phone when you do not havepermission, the Genie says, "I'm sorry. You need permission to access the Geniefrom a phone. Please see your administrator."To start a Genie session from a phone using Caller ID:1. Using either your desk phone or cell phone, call the Direct Access numberfor your home site.2. You should be automatically authenticated based on your Caller ID. TheGenie says, "Good morning, [FirstName]. [Chime] Vocera."Note: Depending on your Vocera permissions and the phone you used tomake the call, the Genie may prompt for your first and last name, and thenprompt for your phone access password.3. Say any of the supported commands.If the Genie asks you a question that requires a yes or no response, you canpress the 1 key to answer "yes" or the 2 key to answer "no." See PhoneAccess Special Keys on page 111.To start a Genie session from a phone using your name and password:1. Using any phone, call the Guest Access number for your home site.The Genie says, "Good morning. Say the full name of the person or groupyou want to reach or enter an extension."2. Press the star (*) key. This causes the Genie to switch to user access mode.The Genie prompts you to say or spell your first and last name.3. Say or spell your first and last name.](https://usermanual.wiki/Vocera-Communications/T1000/User-Guide-1026178-Page-109.png)