WINIA Electronics 7NFCMW700 Web Monitor User Manual MW 700 NO BRAND

Dongbu Daewoo Electronics Corporation Web Monitor MW 700 NO BRAND
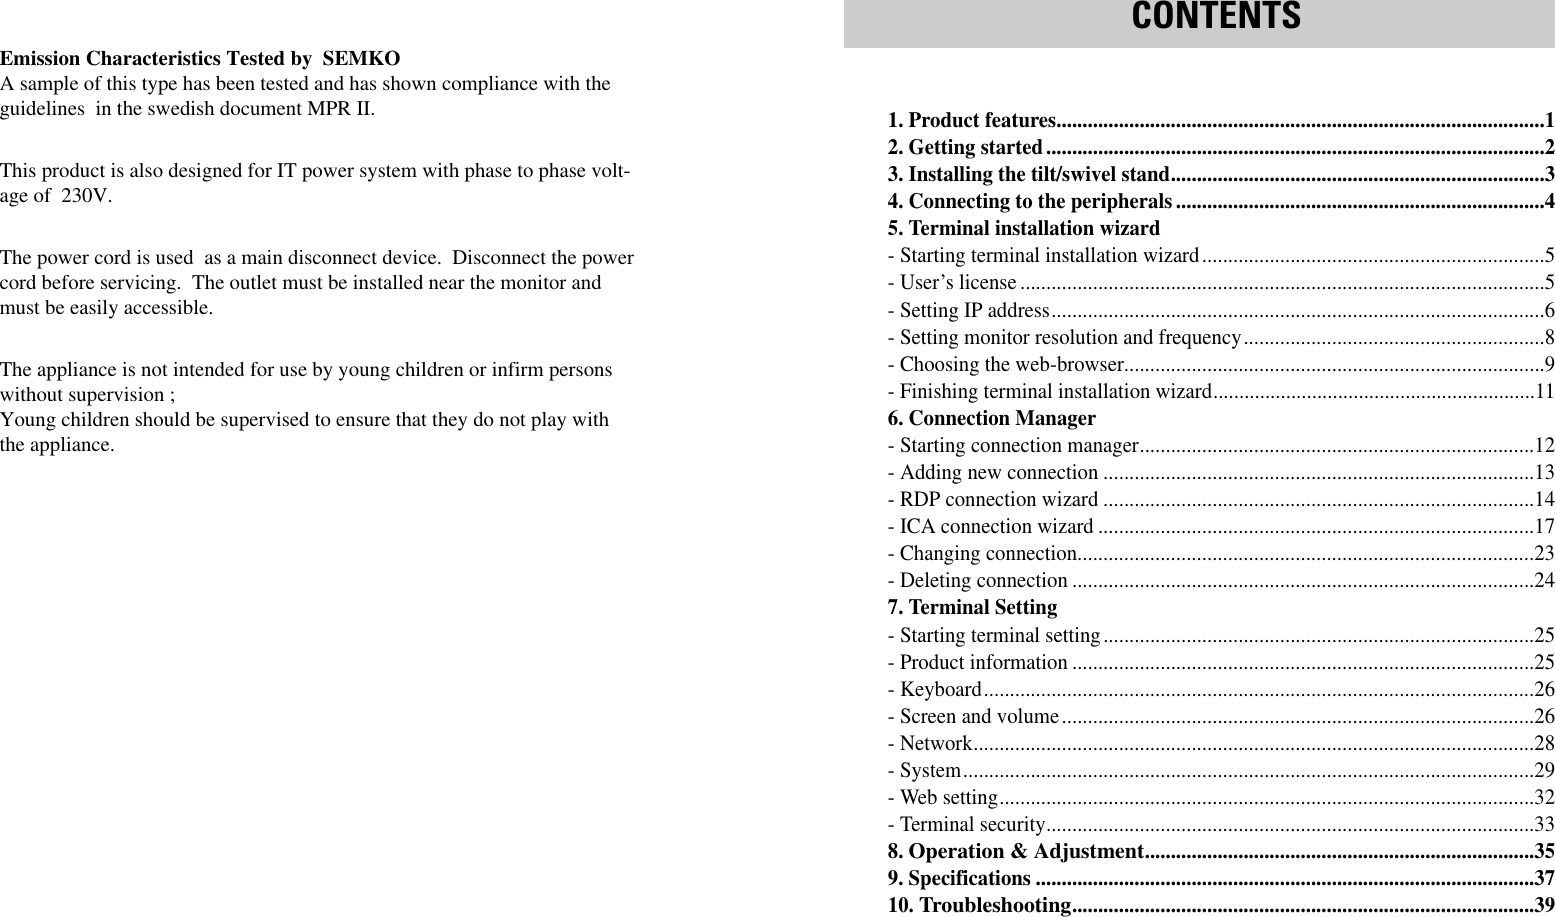
Contents

Users Manual MW700 Web Monitor pages 1 thru 11

USER’S GUIDEUSER’S GUIDEWWeb Monitoreb MonitorModel No : MW-700
1. Read all of these instructions.2. Save these instructions for later use.3. Unplug this monitor from thewall outlet before cleaning.  Do notuse liquid cleaners or aerosol clean-ers. Use a damp cloth for cleaning.4. Do not use attachments not rec-ommended by the monitor manufacturer as theymay cause hazards. 5. Do not use this monitor near water, e.g., near abathtub, washbowl, kitchen sink, or laundry tub,in a wet basement, or near a swimming pool, etc. 6. Do not place this monitor on anunstable cart, stand, or table.  Themonitor may fall, causing seriousinjury to a child or adult, and seri-ous damage to the appliance. 7. Slots and openings in the cabi-net and the back or bottom are pro-vided for ventilation, to ensurereliable operation of the monitor,and to protect it from overheating.These openings must not beblocked or covered. The openings should neverbe blocked by placing the monitor on a bed, sofa,rug, or other similar surface. This monitor shouldnever be placed  near or over a radiator or heatregister. This monitor  should not be placed in abuilt-in installation such as a  bookcase unlessproper ventilation is provided.8. This monitor should be operatedonly from the type of power sourceindicated on the marking label. Ifyou are not sure of the power sup-plied to your home, consult yourmonitor dealer or local power com-pany.9. This monitor is equipped with a3-wire grounding-type plug, Thatis, a plug having a third (ground-ing) pin. This plug will only fit intoa grounding-type power outlet.This is a safety feature.  If you are unable toinsert the plug into the outlet, contact your elec-trician to replace your obsolete outlet.  Do notdefeat the purpose of the grounding-type plug. 10. Do not allow anything to reston the power cord.  Do not locatethis monitor where the cord will beabused by people walking on it. 11. Follow all warnings andinstructions marked on the monitor.  IMPORTANT SAFEGUARDS12. For added protection for thismonitor during a lightning storm,or  when it is left unattended andunused for long periods of time,unplug it from the wall outlet. Thiswill prevent damage to the monitor and/or thecomputer due to lightning and power line surges. 13. Do not overload wall outlets and extensioncords as this can result in fire or electric shock. 14. Never push objects of any kind into this mon-itor through cabinet slots, as they may touch dan-gerous voltage points or short out parts that couldresult in a fire or electric shock. Never spill liq-uid of any kind on the monitor. 15. Do not attempt to service thismonitor yourself, as opening orremoving covers may expose youto dangerous voltages or other haz-ards.  Refer all servicing to quali-fied service personnel. 16. Unplug this monitor from the wall outlet andrefer servicing to qualified service personnelunder  the following conditions: a. When the power cord or plug is damaged orfrayed. b. If liquid has been spilled into the monitor. c. If the monitor has been exposed to rain orwater. d. If the monitor does not operate normally byfollowing the operating instructions.  Adjust onlythose controls that are covered by the operatinginstructions, as improper adjustment of othercontrols may result in damage and will oftenrequire extensive work by a qualified technicianto restore normal operation. e. If the monitor has been dropped or the cabinethas been damaged. f. When the monitor exhibits a distinct change inperformance, this indicates a need for service. 17. When replacement parts arerequired be sure the service techni-cian has used replacement partsspecified by the manufacturer thathave the same characteristics as theoriginal part.  Unauthorized substitutions mayresult in fire, electric shock, or other hazards. 18. Upon completion of any service or repairs tothis monitor, ask the service technician to per-form routine safety checks to determine that themonitor is safe to operate. FEDERAL COMMUNICATIONS COMMISSION RADIO FREQUENCY INTERFERENCE STATEMENTNOTE :  This equipment has been tested and found to comply with the limitsfor a Class B digital device, pursuant to Part 15 of the FCC Rules.  Theselimits are designed to provide reasonable protection against harmful interfer-ence in a residential installation.  This equipment generates, uses and canradiate radio frequency energy and, if not installed and used in accordancewith the instructions, may cause harmful interference to radio communica-tions.  However, there is no guarantee that interference will not occur in aparticular installation.  If this equipment does cause harmful  interference toradio or television reception, which can be determined by  turning the equip-ment off and on, the user is encouraged to try to correct the interference byone or more of the following measures :  - Reorient or relocate the receiving antenna.  - Increase the separation between the equipment and receiver. - Connect the equipment to an outlet on a  circuit different from that to   which the receiver is connected. - Consult the dealer or an experienced radio or TV technician for help. CAUTION : Any changes or modifications not expressly approved by the  party responsible for compliance could void the user’s authorityto operate the equipment. CANADIAN NOTICEAVIS CANADIENThis Class B digital apparatus meets all requirements of the CanadianInterference-Causing Equipment Regulations.  Cet appareil numérique de la Class B respecte toutes les exigences duRèglement sur le matériel brouilleur du Canada.
Bitte lesen Sie alle diese Informationen, bevor Sie das Gerät in Betriebnehmen!  Lesen Sie sich außerdem die Bedienungsanleitung komplett undsorgfältig durch, da nur in diesem Fall eine problemlose Inbetriebnahmeerwartet werden kann. •Achten Sie darauf, daß das Gerät nur in eine 230V Schuko-Steckdoseeingesteckt wird. •Die Steckdose sollte jederzeit frei zugänglich sein um bei einem evtl.auftretenden Notfall das Gerät schnell vom Netz zu trennen. •Achten Sie desweiteren darauf, daß die Netzanschlußleitung nicht mech-anisch beansprucht oder sonstwie beschädigt wird. •Offnen Sie das Gerät niemals!  Im Inneren befinden sich Teile mitgefährlicher Spannung. •Bevor Sie das Gerät reinigen, ziehen Sie bitte den Netzstecker aus derSteckdose.  Säubern Sie dann das Gerät mit einem feuchten (keinesfallstropfnassen) Lappen. •Die in diesem Gerät entstehende Röntgenstrahlung ist ausreichendabgeschirmt (Ortsdosisleistung in 0.1m Abstand weniger als 1.0µ Sv/h).Beschleunigungsspannung maximal 29kV. •Stellen Sie das Gerät an einem ergonomisch günstigen Ort auf und sor-gen Sie dafür, daß der Monitor mit nach ISO 9241 -3, -7, -8 geprüfterPeripherie betrieben wird, da nur unter diesen Umständen ein optimalerergonomischer  Betrieb des Gerätes sichergestellt ist. Falls Sie dennoch Fragen haben, auf die die Bedienungsanleitung keine hin-reichende Antwort geben kann, so kontaktieren Sie  bitte den nächstenFachhändler. Maschinenlärminformationsverordnung 3. GSGV, 18.01 1991:Der arbeitsplatzbezogene Schalldruckpegel  beträgt 70 dB  (A) oderwenigergemäß ISO 7779. WICHTIGE INFORMATIONENDECLARATION OF CONFORMITYWe, Manufacturer / Importer  DAEWOO ELECTRONICS CO.,  Ltd 541, 5-Ga , Namdaemoon-Ro , Jung-Gu , Seoul , Korea  declare under our sole responsibility that the product, Web monitor MW-700to which this declaration relates is in conformity with the following standard(s) or other normative document(s) Safety : EN 60950/1992/A1:1993/A2:1993/ A3:1995/A4:1997EMC : EN 55022/8.1994/A1:1995/A2:1997EN 50082-1/1992EN 61000 -3-2,3/1995following the provisions of 89/336 EEC-EMC Directive and the provisions of 73/23 EEC-Low Voltage Directive.  Handed over  by : S.Lee, Director. Display Business Division  2001, Seoul           Signature:                                                                 S.Lee, Director. Display Business Division.  DAEWOO ELECTRONICS Co., Ltd
1. Product features..............................................................................................12. Getting started................................................................................................23. Installing the tilt/swivel stand........................................................................34. Connecting to the peripherals .......................................................................45. Terminal installation wizard- Starting terminal installation wizard..................................................................5- User’s license .....................................................................................................5- Setting IP address...............................................................................................6- Setting monitor resolution and frequency..........................................................8- Choosing the web-browser.................................................................................9- Finishing terminal installation wizard..............................................................116. Connection Manager- Starting connection manager............................................................................12- Adding new connection ...................................................................................13- RDP connection wizard ...................................................................................14- ICA connection wizard ....................................................................................17- Changing connection........................................................................................23- Deleting connection .........................................................................................247. Terminal Setting- Starting terminal setting...................................................................................25- Product information .........................................................................................25- Keyboard..........................................................................................................26- Screen and volume...........................................................................................26- Network............................................................................................................28- System..............................................................................................................29- Web setting.......................................................................................................32- Terminal security..............................................................................................338. Operation & Adjustment...........................................................................359. Specifications ................................................................................................3710. Troubleshooting.........................................................................................39CONTENTSEmission Characteristics Tested by  SEMKOA sample of this type has been tested and has shown compliance with theguidelines  in the swedish document MPR II.This product is also designed for IT power system with phase to phase volt-age of  230V. The power cord is used  as a main disconnect device.  Disconnect the powercord before servicing.  The outlet must be installed near the monitor andmust be easily accessible.The appliance is not intended for use by young children or infirm personswithout supervision ;Young children should be supervised to ensure that they do not play withthe appliance.
211. PRODUCT FEATURESThis manual explains how to correctly install, operate, and get the bestperformance from your monitor.  Please read this user’s guide carefully beforeinstalling your monitor, then keep it near your monitor for quick reference. First, please check that the contents of the box corresponds with  thefollowing checklist :•Web monitor                                                                                                    •Web monitor stand•Power cord •Keyboard•Mouse•User’s Guide •Warranty Card (optional) If any item is missing or damaged, please contact your dealer.  Please keep thebox and packing materials so that you may properly store or transport yourmonitor.2. GETTING STARTEDThis product is a new type of Thin Client that is used in conjunction withWindows NT4.0 Terminal Server Edition or Windows 2000 server. Installationof application programs, execution, data processing and storage are allimplemented in the server, whereas the terminal is in charge of efficient dataexchange with the server, screen display, and inputs by keyboard and mouse.Each user can execute application programs in a separate and protected realm.Each user can establish his/her own environment. Furthermore, this product isshowing a new direction: it has a built-in web-browser, Windows mediaplayer, and Internet Explorer.1.  Saving work space using All-in one type.2.  Just a few seconds for booting and simplicity for using.3.  Perfect security of data and no more infection from virus hazard due toexecution and management of all programs by server.  4.  No more need to upgrade software and hardware(Reducing maintenance cost up to 40% on the basis of 3 years. ).5.  2 times longer lifecycle compared with PC.6.  Simultaneous support to local and terminal mode. 7.  Powerful network performance by server based computing.8.  Saving up to 60% electricity consumption contrasted with PC.9.  Outstanding performance and customer-attractive design.
434. CONNECTING TO THE PERIPHERALS Speaker port  Microphone portUSB portSerial portPrinter portKeyboard portMouse portEthernet connector3. INSTALLING THE TILT/SWIVEL STANDLatchIf you want to remove the tilt/swivel stand on the monitor, press the latch andpull the tilt/swivel stand toward the back of the monitor.  Lift the stand toseparate.1. Ensure that the power is off to the monitor. 2. Set the monitor face down with the underside facing you.  Please be carefulnot to scratch the monitor screen. 3. Align the four hooks on the stand with the guide holes on the bottomchassis of the monitor.  4. Insert the hooks into the guide holes. 5. Slide the tilt/swivel stand toward the front of the monitor until the latchlocks in position.  6. Turn the monitor and the stand upright.
65The IP address to be used by the terminal is automatically assigned if the automaticIP address setup function is chosen.This step is about specifying the IP address necessary for the use of the terminal.Using Automatic Setup FunctionSetting IP addressAfter Setup, when the power is on, terminal installation wizard begins as follows.Users can set the environment necessary for the use of this terminal from theterminal installation wizard.5. TERMINAL INSTALLATION WIZARDThis step involves the conditions of software license and the user’s agreement.User’s licenseStarting terminal installaion wizardDHCP : Dynamic Host Configuration Protocol
87In this section, the user sets up the resolution and frequency of the monitor connectedto the terminal.Setting monitor resolution and frequencyThis section should be setup properly by asking the Network Manager.Because “Terminal Name” is a proper name to be identified by the network,preferably a meaningful name must be assigned. The user himself/herself types the IP address and relevant information.Assigning the IP addressThis screen is about the method used by the network to identify the name.Ask the Network manager.Ask the Network manager.
109Advanced Setting for the web-browserIn this section, the user chooses the method to indicate hyperlink and the size of thedefault font.Cache and bookmark settingsIn this section, the user can decide whether he/she will use the cache option to speedup the opening of a previously visited page and the bookmark option to facilitateconnection to frequently visited web sites.In this section, the built-in web-browser is set up. To use default setting, please click“No.” To customize setting, please click “Yes.”Setting URL (Uniform Resource Locators)In this section, the home page and default search page of the web-browser arechosen.Choosing the web-browser
1211When the terminal is on, in most cases, connection manager screen such as thefollowing appears. Connection manager largely performs two functions:(1) choosing server/service to be used by “Connections” tab and (2) choosingvarious items regarding connection by “Configure” tab.There are three types of connections.WEB :  Internet connection through the built-in web-browser.RDP (Microsoft Remote Desktop Client Protocol) :                       Connection to terminal server/service through Microsoft’s RDP client.ICA (Citrix Independent Computing Architecture Protocol) :                 Connection to Metaframe through Citrix’s  ICA client.For details on connection, please ask server/service manager or client developercompany.Starting connection managerProxy server settingIn this section, settings for network using proxy server are set.By clicking the “Finish” button, Terminal Installation Wizard ends. To apply thesetting chosen, the terminal must be re-started.Finishing Terminal installation WizardAsk the Network manager.6.CONNECTION MANAGER

Navigation menu