WOOSIM SYSTEMS PORTI-SM40-ABC THERMAL PRINTER User Manual
Woosim System Inc. THERMAL PRINTER
UserManual.wiki
>
WOOSIM SYSTEMS
>
PORTI SM40 ABC User Manual
user manual
Navigation menu
Upload a User Manual
Namespaces
Wiki Guide
HTML
PDF
Info
Views
User Manual
Discussion / Help
Navigation
![http://www.woosim.com 811..33.. SSppeecciiffiiccaattiioonnss.. Item Specifications Print method Direct thermal line printing Characters per line 42cpl (MAX) Character size Eng. : 9×24dots, 12×24dots Kor. : 16×24dots, [24×24dots] Optional Characters Simplified/Traditional Chinese, Arabic, Cyrillic, Russian, Tukish, Greek,Japanese, Persian, Latin9 and Others upon request. Resolution 203dpi, 8dots/mm Print width 2-inch (48mm, 384dots) Print speed 80mm / sec (MAX) Dimension 80.5×113.5×46 mm Weight 300g (Including battery & roll paper) Interface UART(RS-232C or TTL) / Bluetooth Ver 2.1 + EDR Paper roll Thermal roll paper (57mm wide, 40ø) Barcodes 1-dimension : Code128, EAN 128, Code39, I2/5, Code93 UPC, EAN, KAN, JAN, CODABAR 2-dimension : PDF417, QR Code, DATA Matrix Memory MCU : 32bit RISC, FLASH : 4 Mbytes, RAM : 8 Mbytes Receive buffer size 1M bytes MSR ISO 7810 / 7811 / 7812 1&2 or 2&3 Track Reading Smart card reader ISO 7816 Compliant (EMV level 1 Certified) / T=0, T=1 support / 2 SAM (Security Application Module) LCD 128×32 Dots FSTN (Blue LED Backlight) Battery Rechargeable 7.4V DC/ 1,100mAh (Li-ion) Battery duration 1 hour continuous printing Battery charger Input (100~250V AC, 50~60Hz) Output(8.4VDC/0.8A), 4hours full charge time](https://usermanual.wiki/WOOSIM-SYSTEMS/PORTI-SM40-ABC/User-Guide-1237517-Page-8.png)

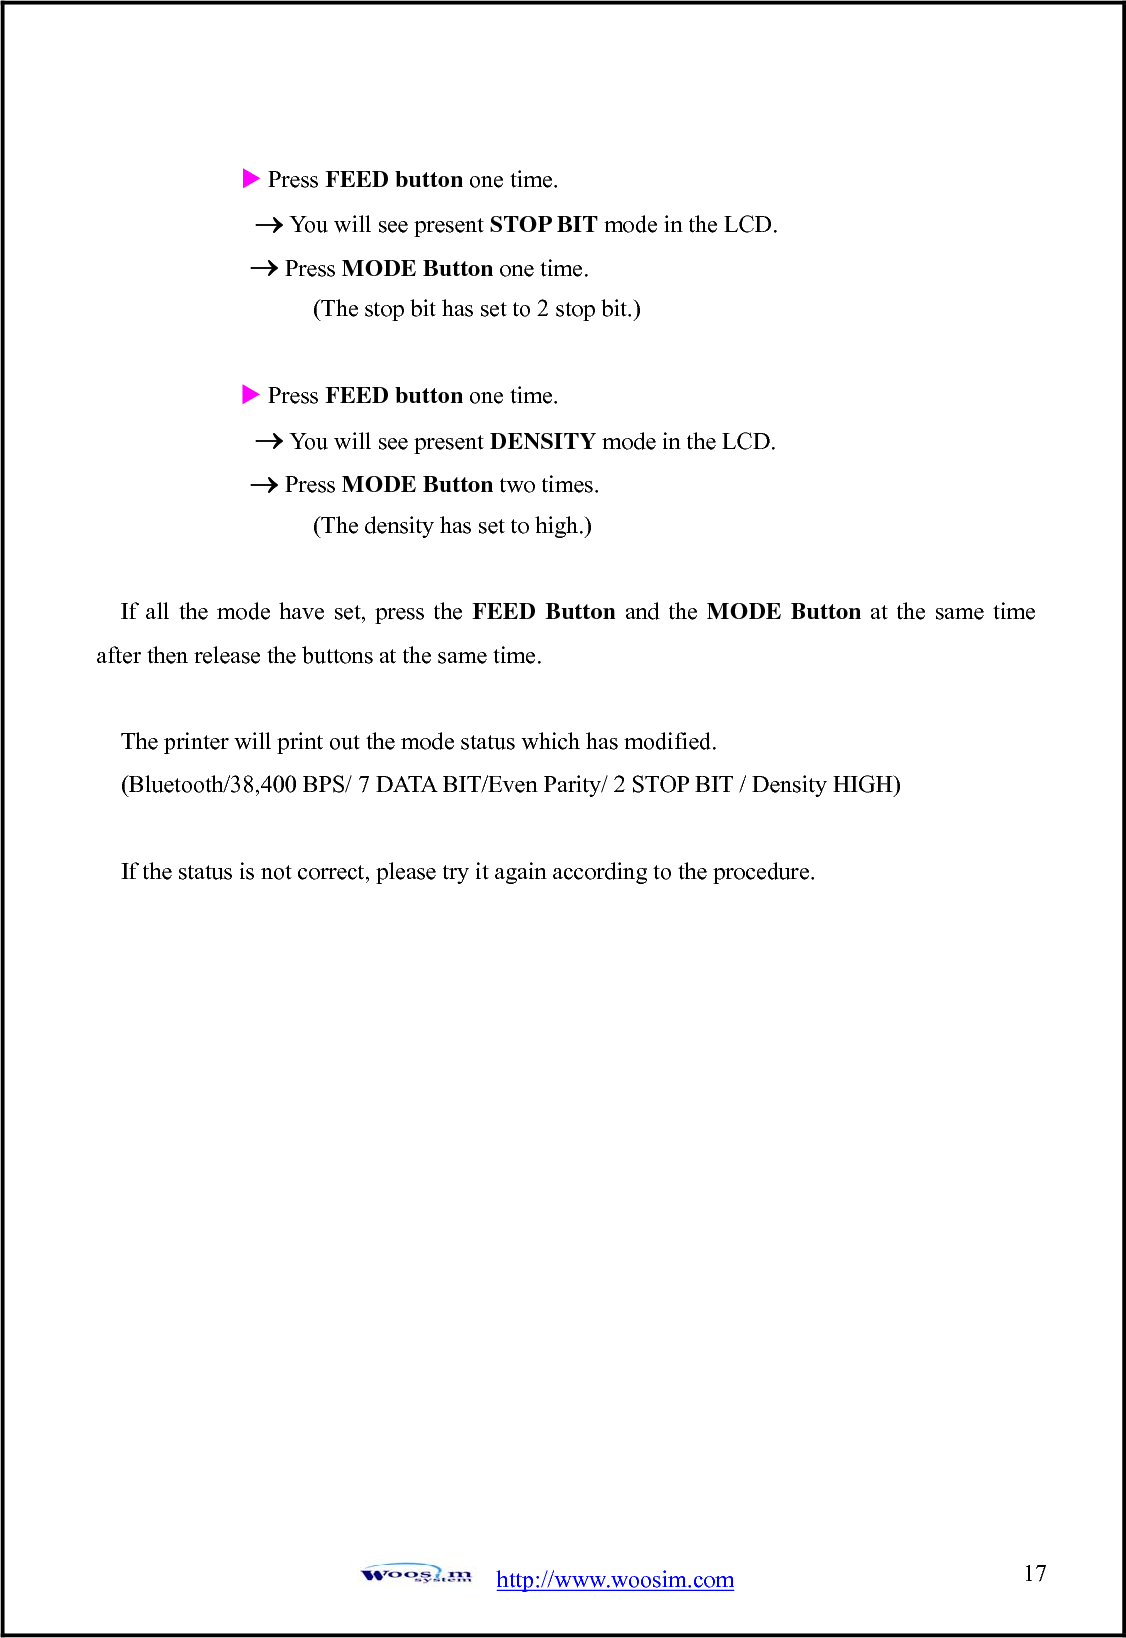
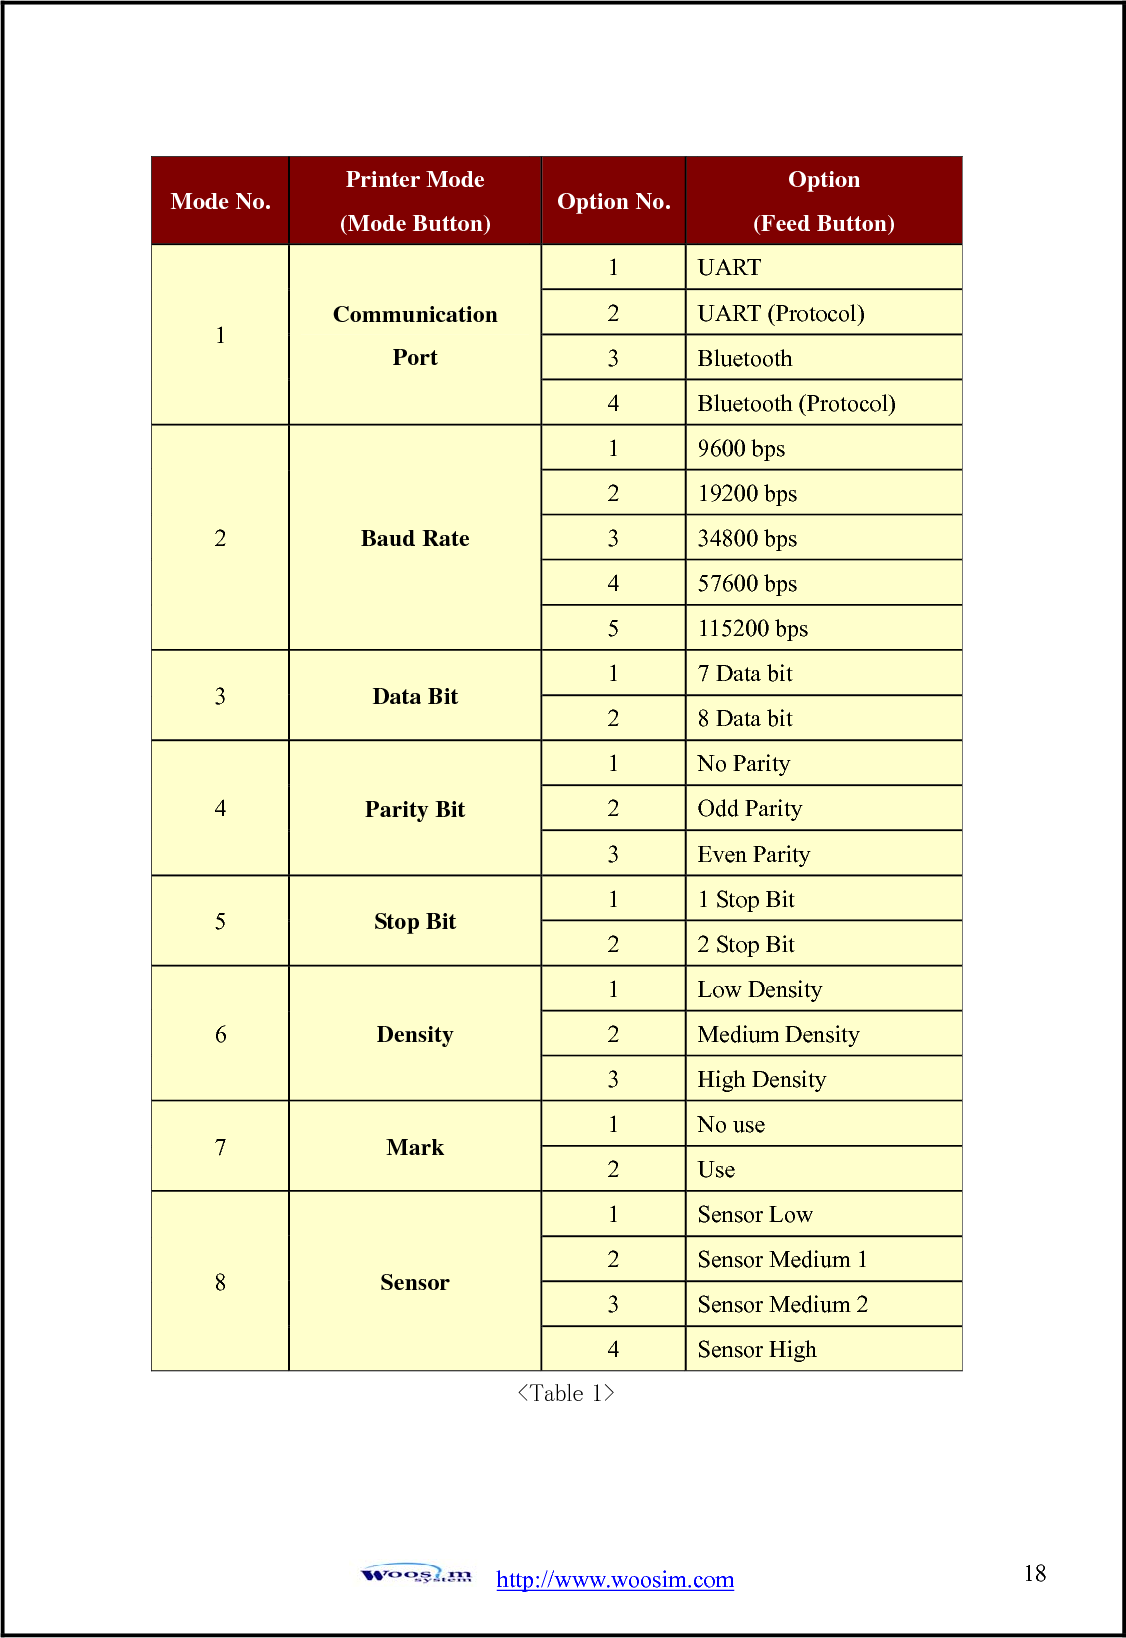
![http://www.woosim.com 1622..55.. SSeett ooppeerraattiioonn mmooddee.. 1. Change the mode and option using the mode Code (Table1). z MODE button : changing Printer MODE status. z FEED button : changing OPTION status. 2. [Example] The defaults of the printer are : UART/ 9600 BPS/8 DATA BIT/ NO Parity/1 STOP BIT/ Density LOW If a user wants to modify the defaults with Bluetooth/38400 BPS/7 DATA BIT/Even Parity/2 STOP BIT/Density HIGH X Press MODE Button until Error Lamp twinkles 5 times. → You will see present COMMUNICATION mode in the LCD. → Press the MODE Button two times. (The interface mode has set to Bluetooth mode.) X Press FEED button one time. → You will see present BAUD RATE mode in the LCD. → Press MODE Button 2 times. (The baud rate has set to 38,400 bps) X Press FEED button one time. → You will see present DATA BIT mode in the LCD. → Press MODE Button one time. (The data bit has set to 7 data bit.) X Press FEED button one time. → You will see present PARITY BIT mode in the LCD. → Press MODE Button 2 times. (The parity bit has set to Even parity bit.)](https://usermanual.wiki/WOOSIM-SYSTEMS/PORTI-SM40-ABC/User-Guide-1237517-Page-16.png)