Waxess DM100HS Dual Mode CDMA 850/1900 MHz & 2.4GHz FHSS Phone User Manual d mode ct draft 6
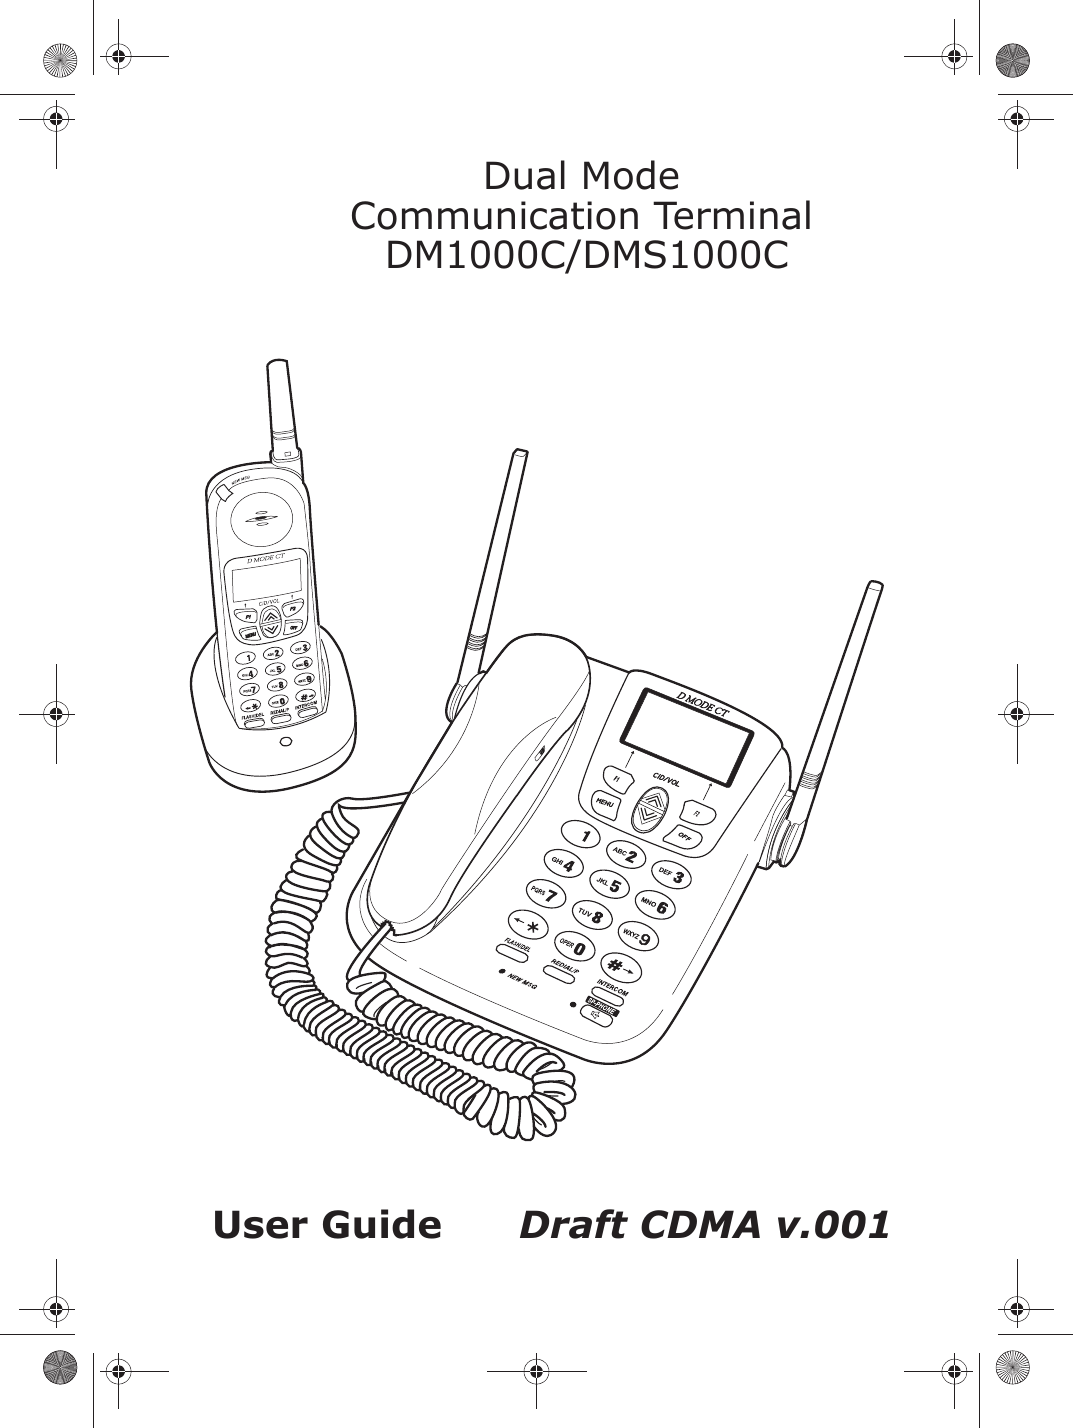
Waxess Inc. Dual Mode CDMA 850/1900 MHz & 2.4GHz FHSS Phone d mode ct draft 6
Waxess >
Contents
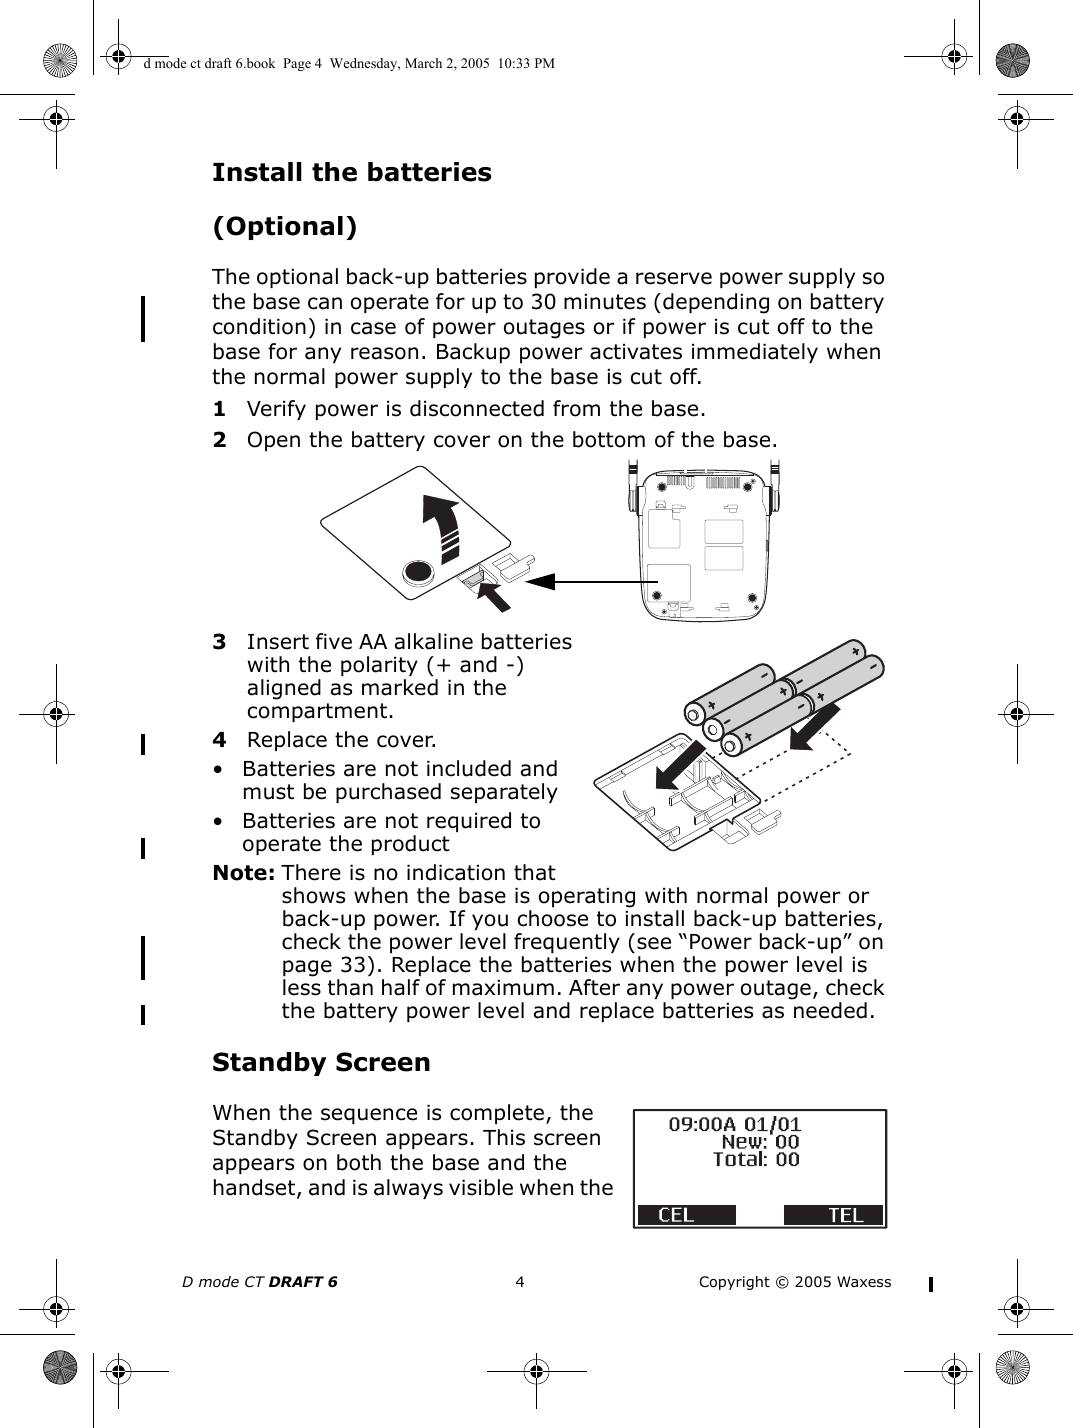
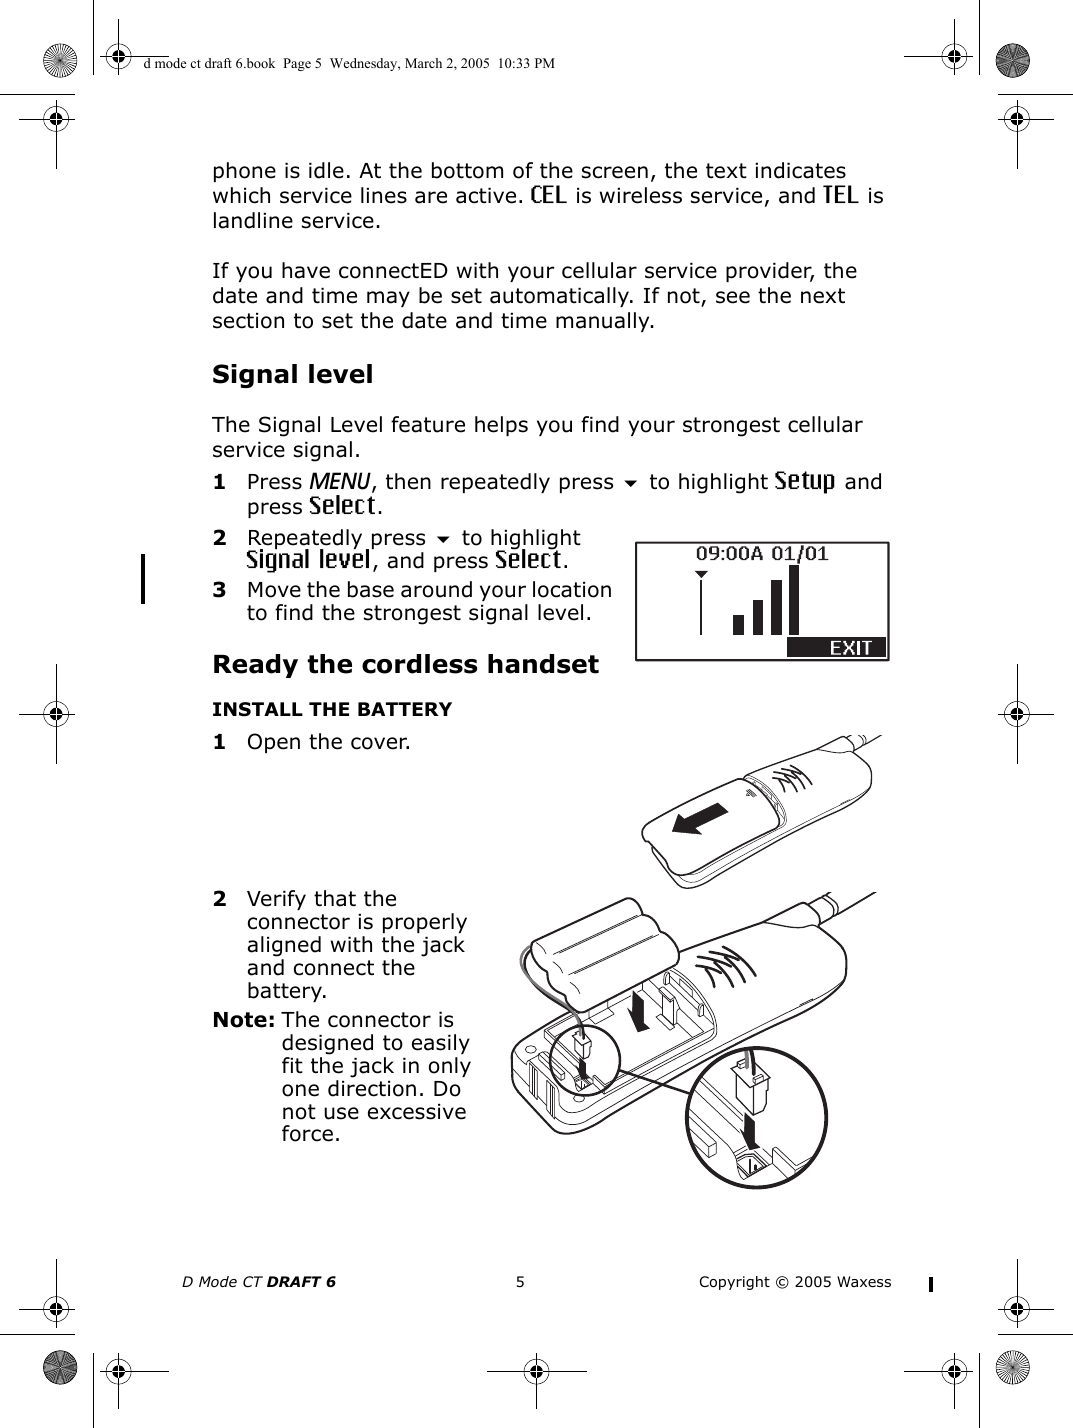
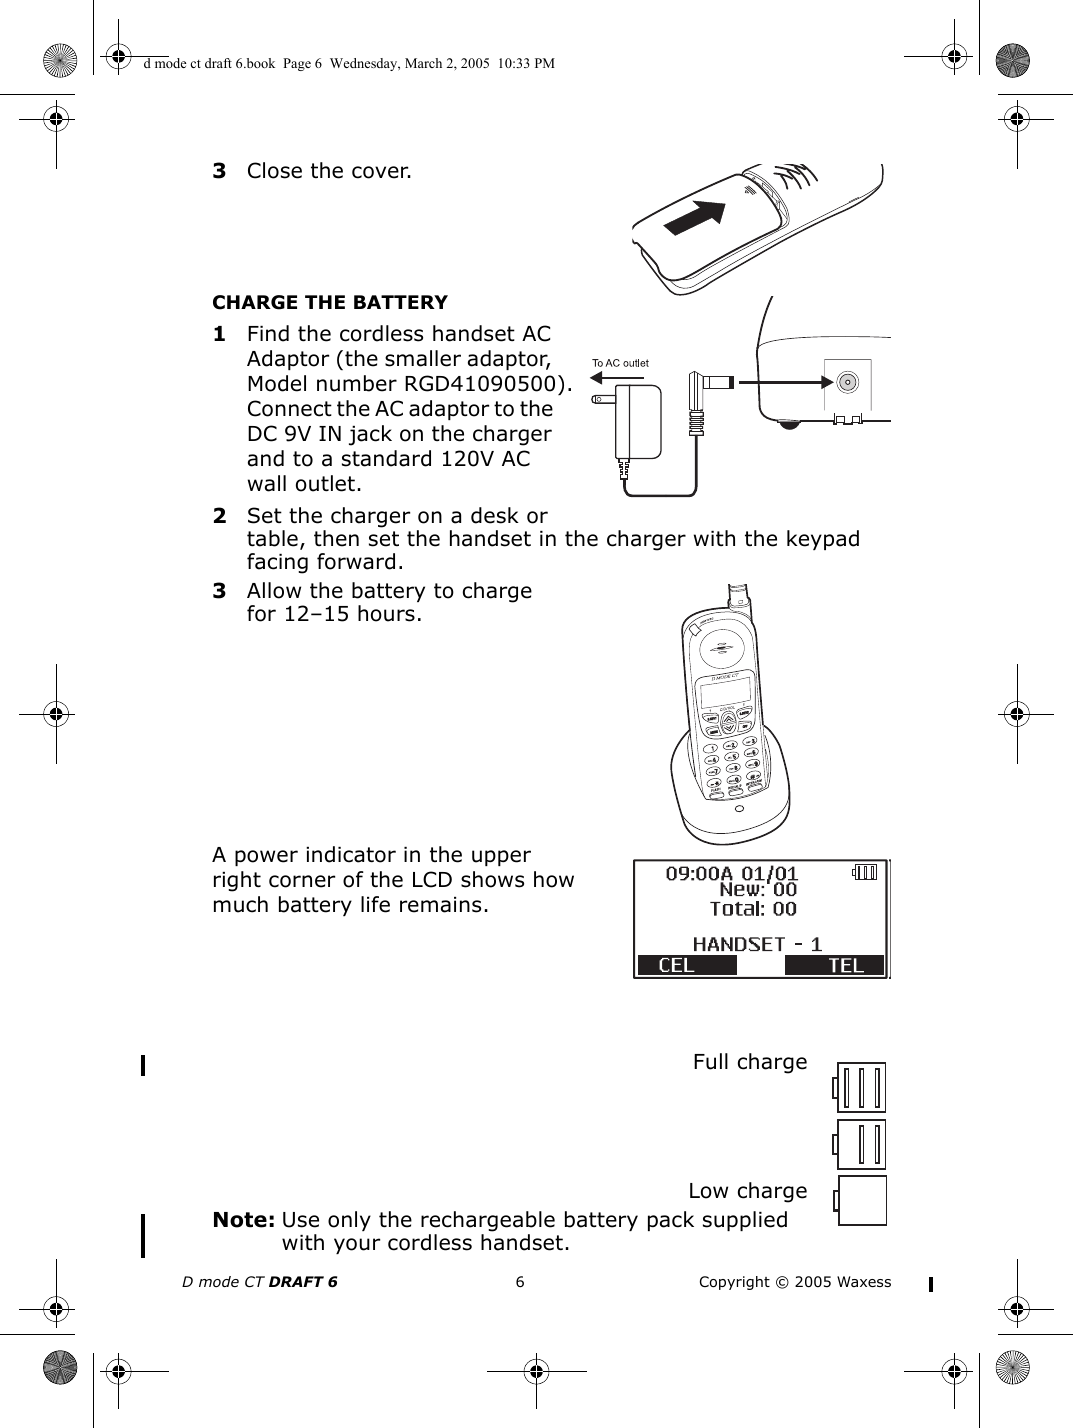
- 1. Users Manual Part I
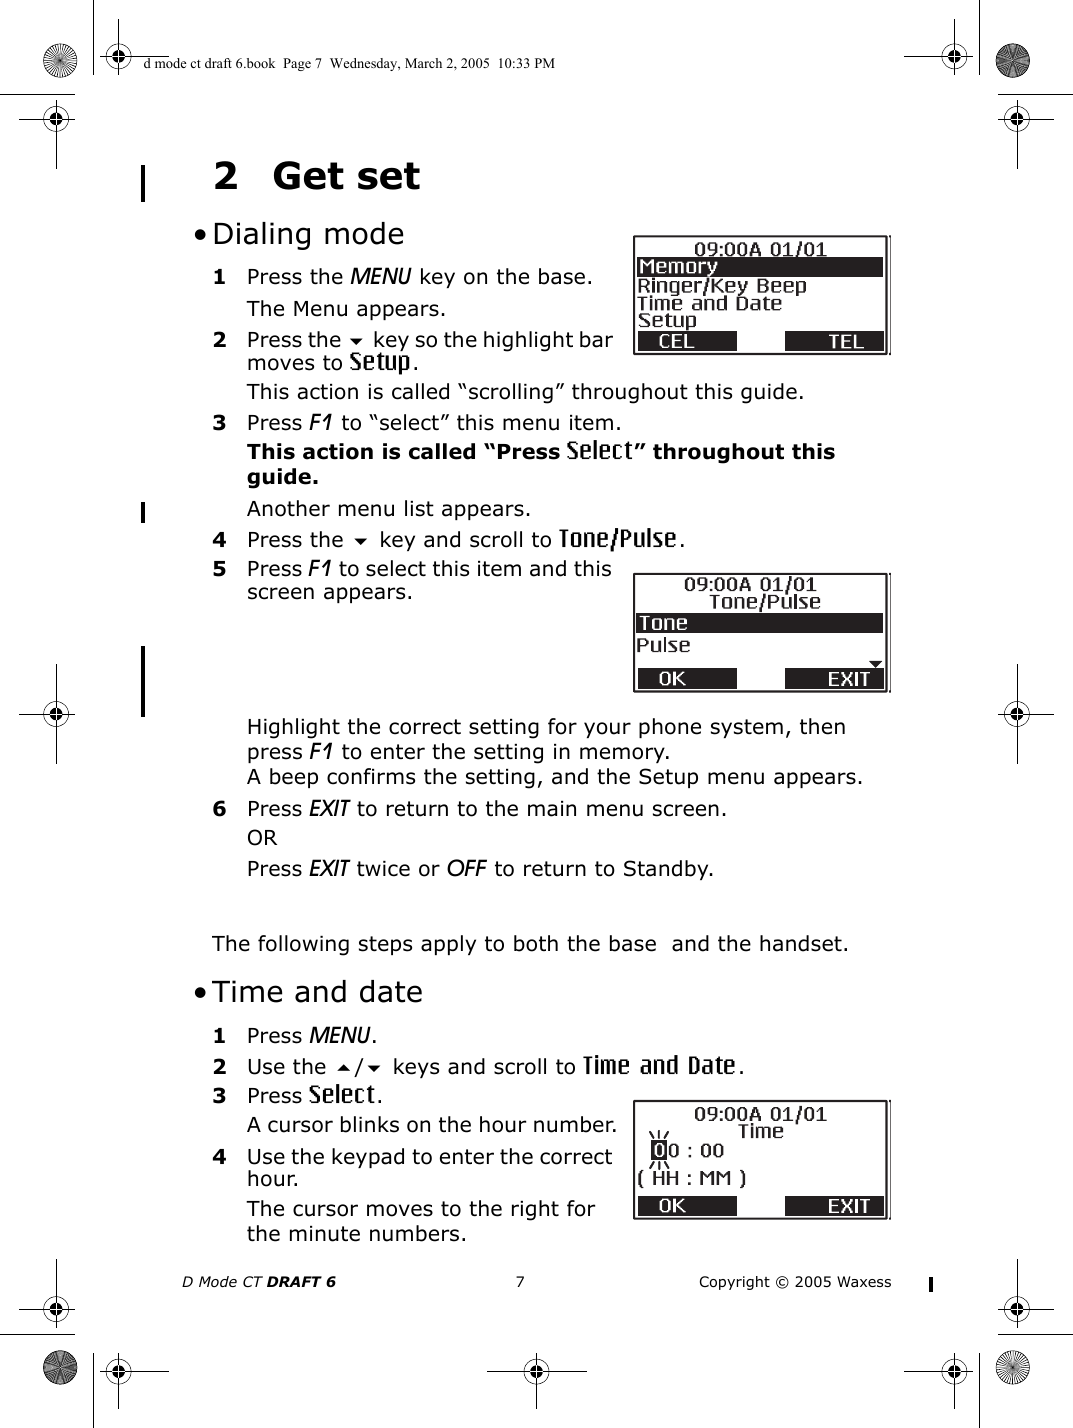
- 2. Users Manual Part II
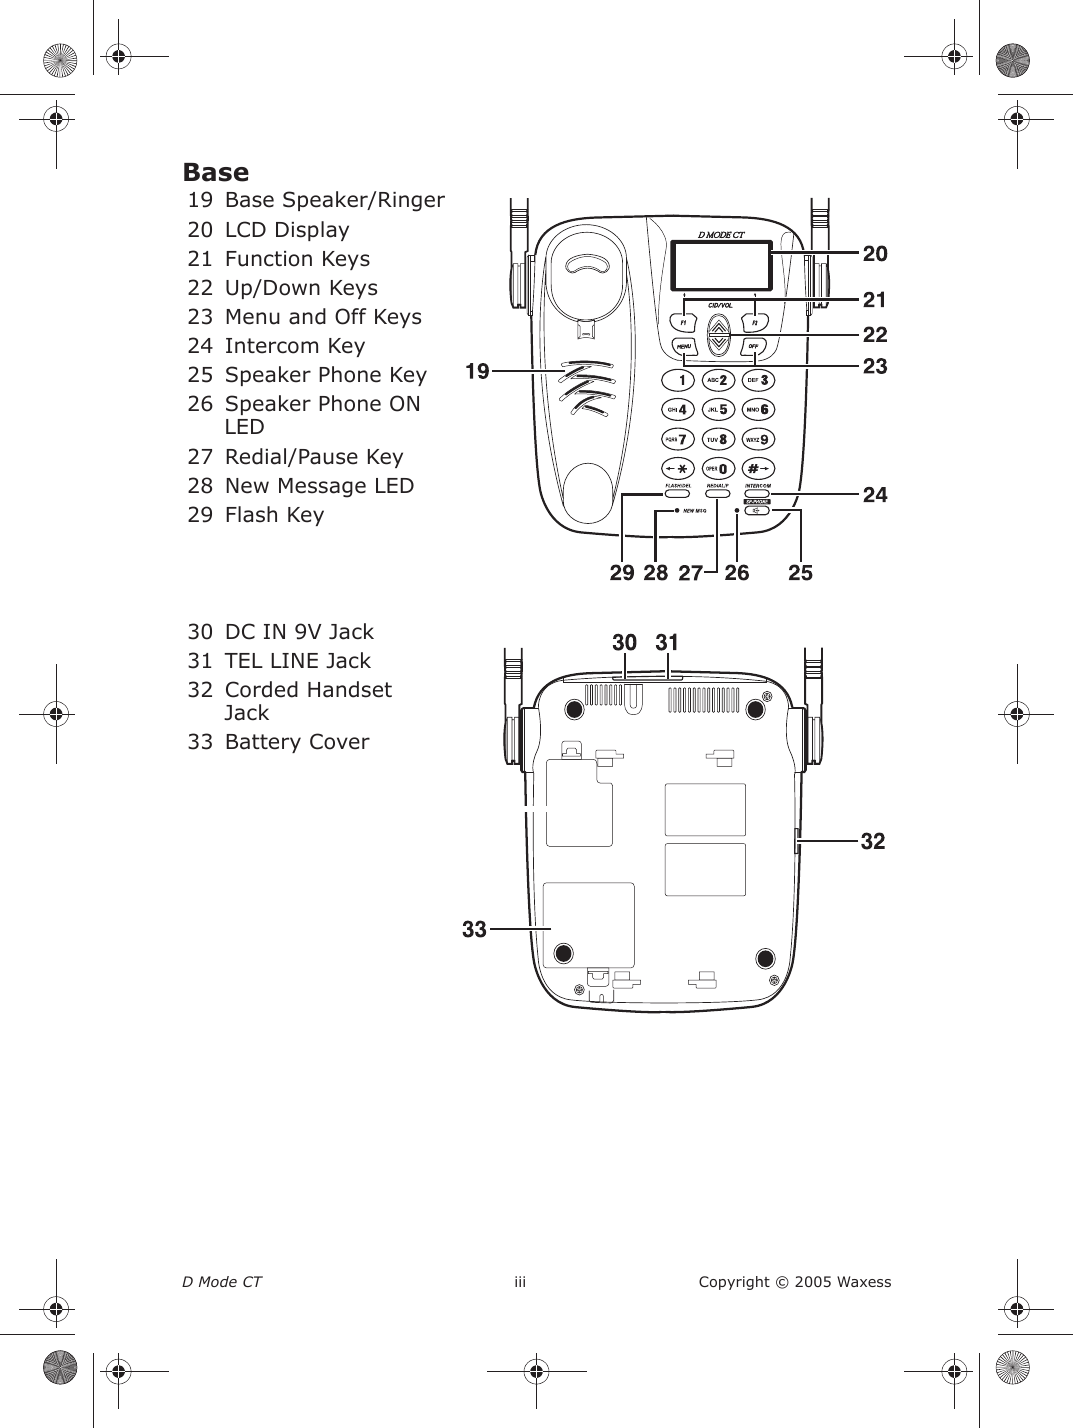
Users Manual Part I