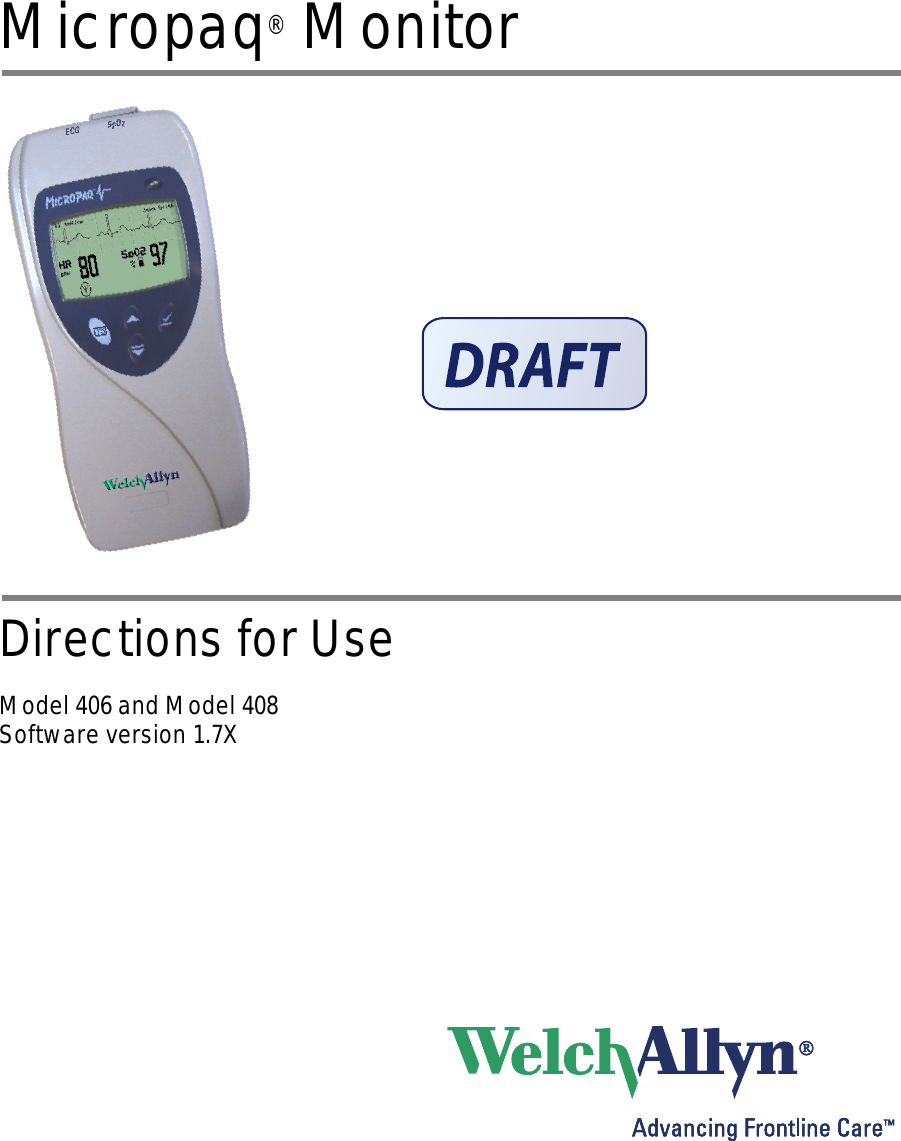
Welch Allyn WA11A07 Welch Allyn 802.11a Wireless PC Card User Manual Micropaq Monitor Directions for Use
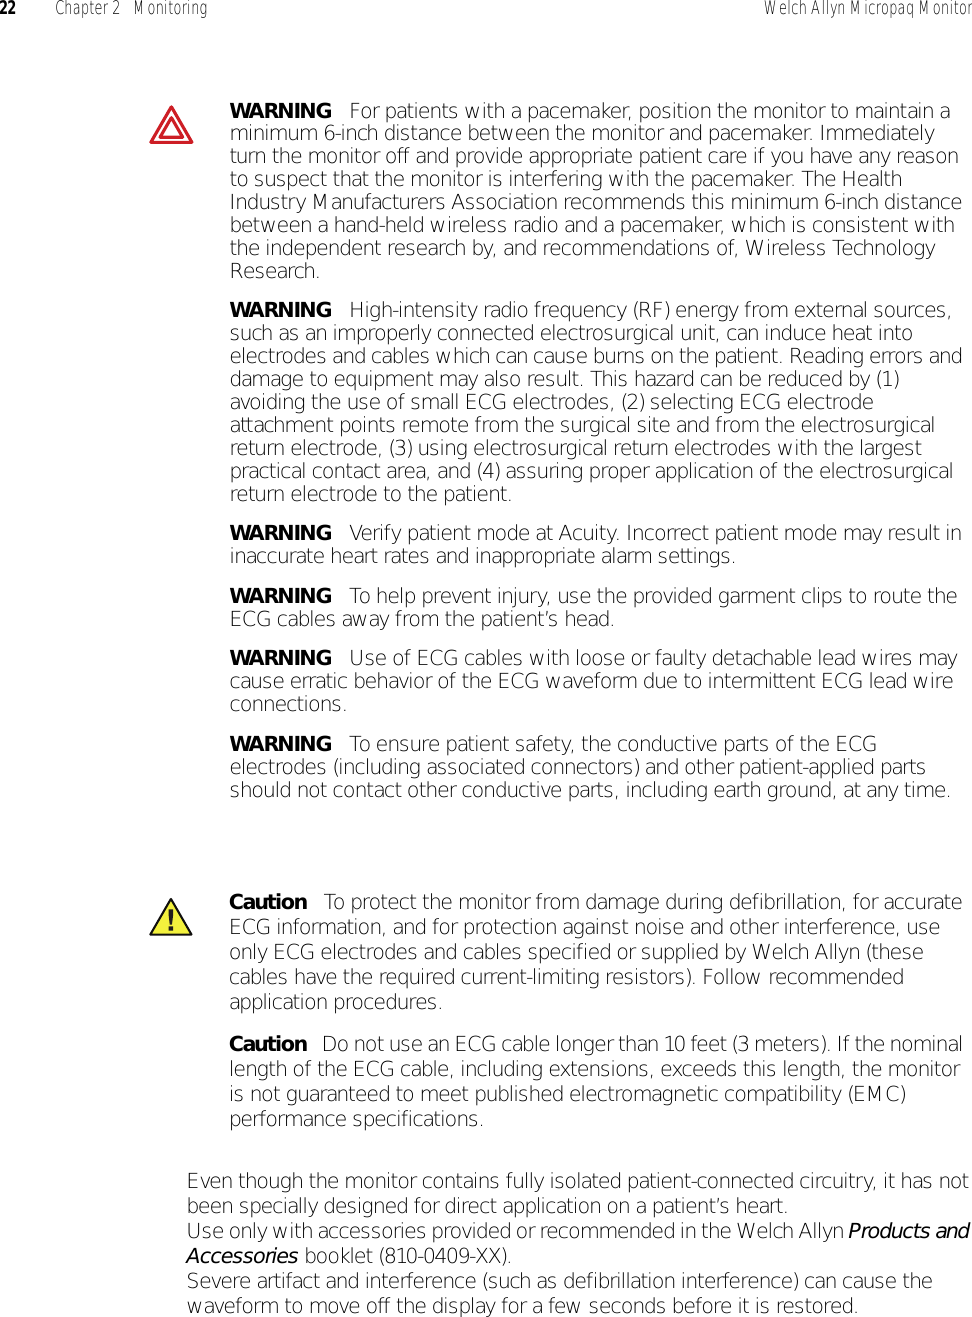
Welch Allyn, Inc. Welch Allyn 802.11a Wireless PC Card Micropaq Monitor Directions for Use
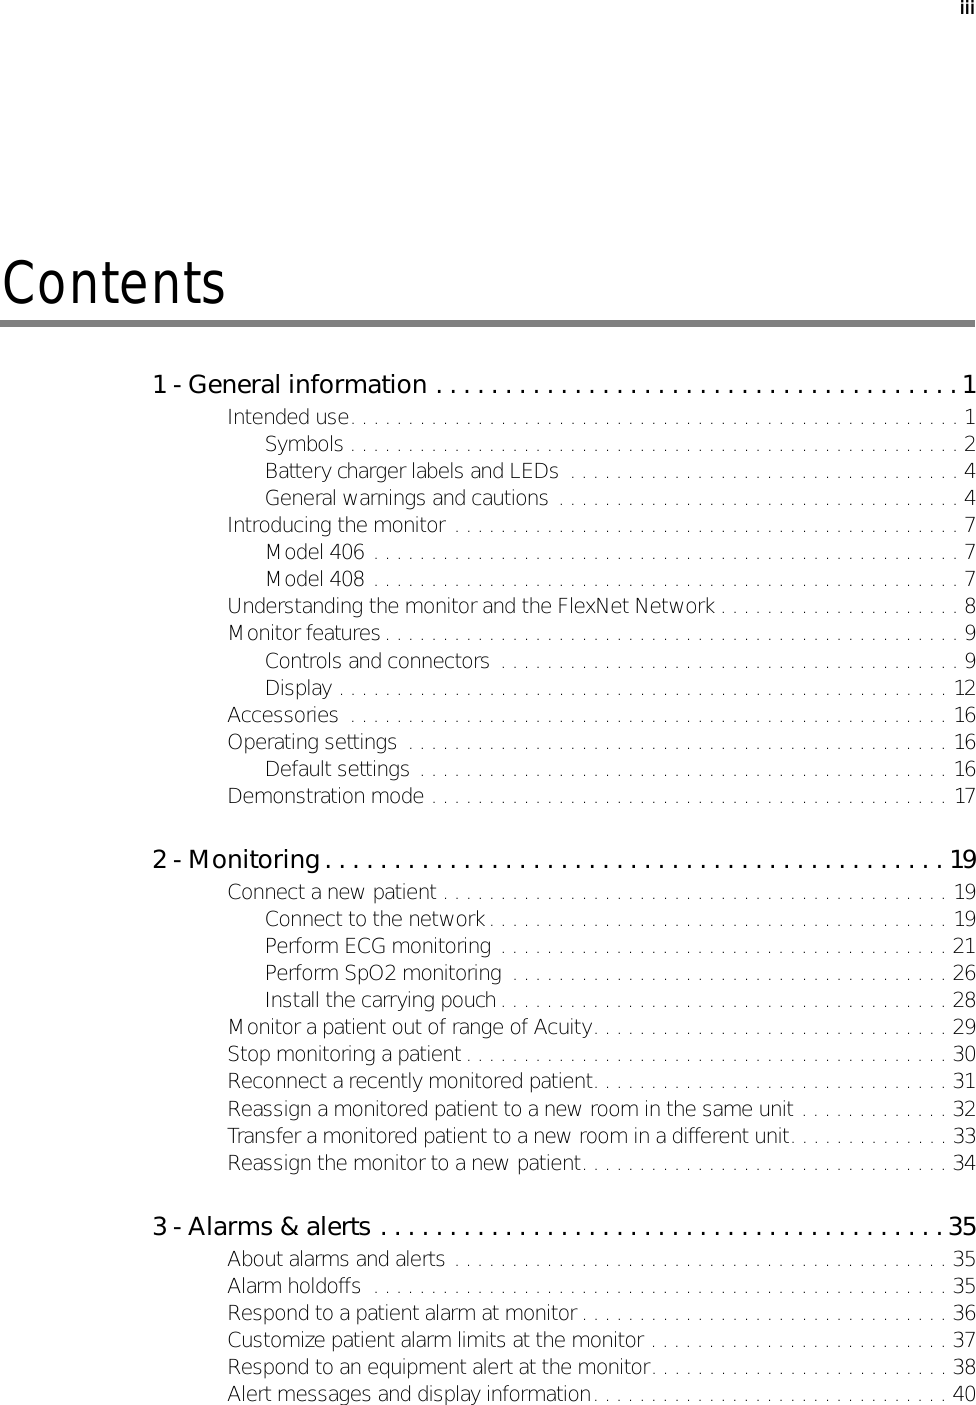
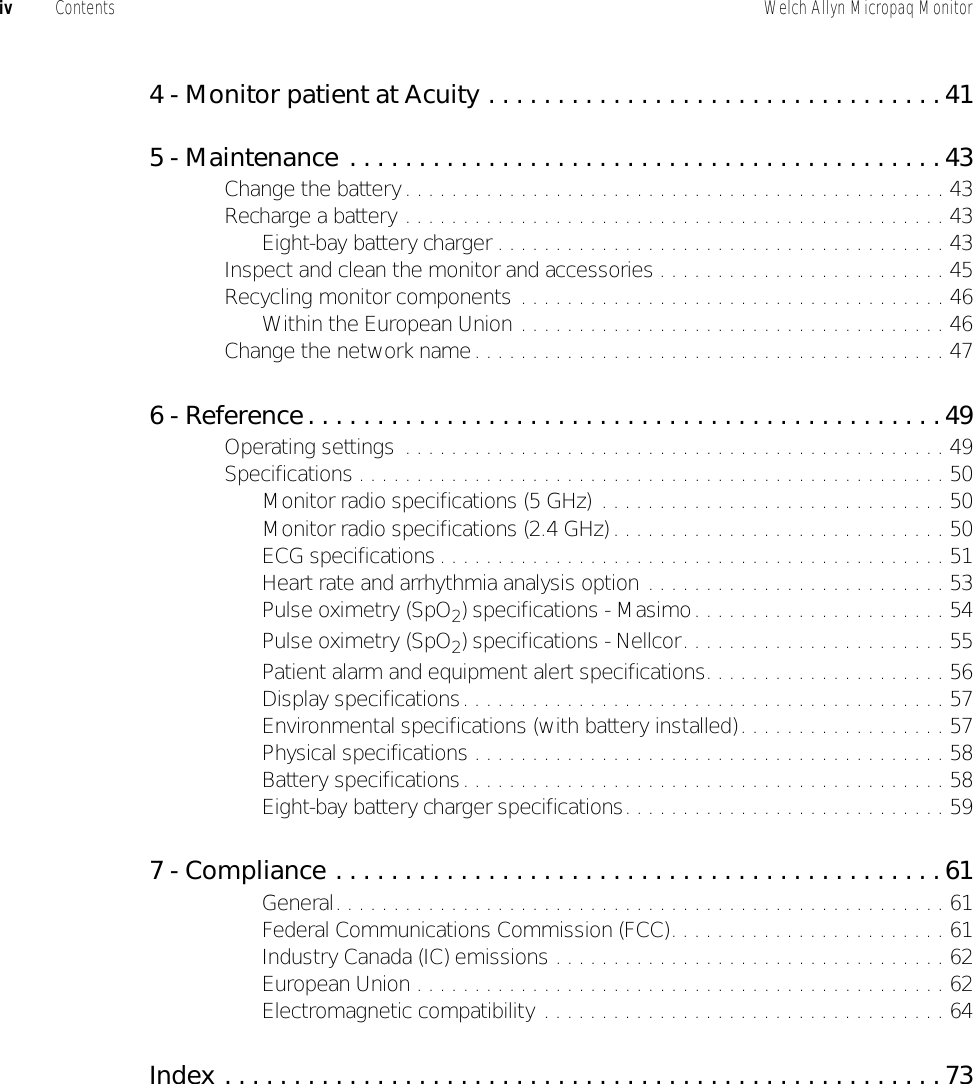
Contents
- 1. User Manual part 1 of 2
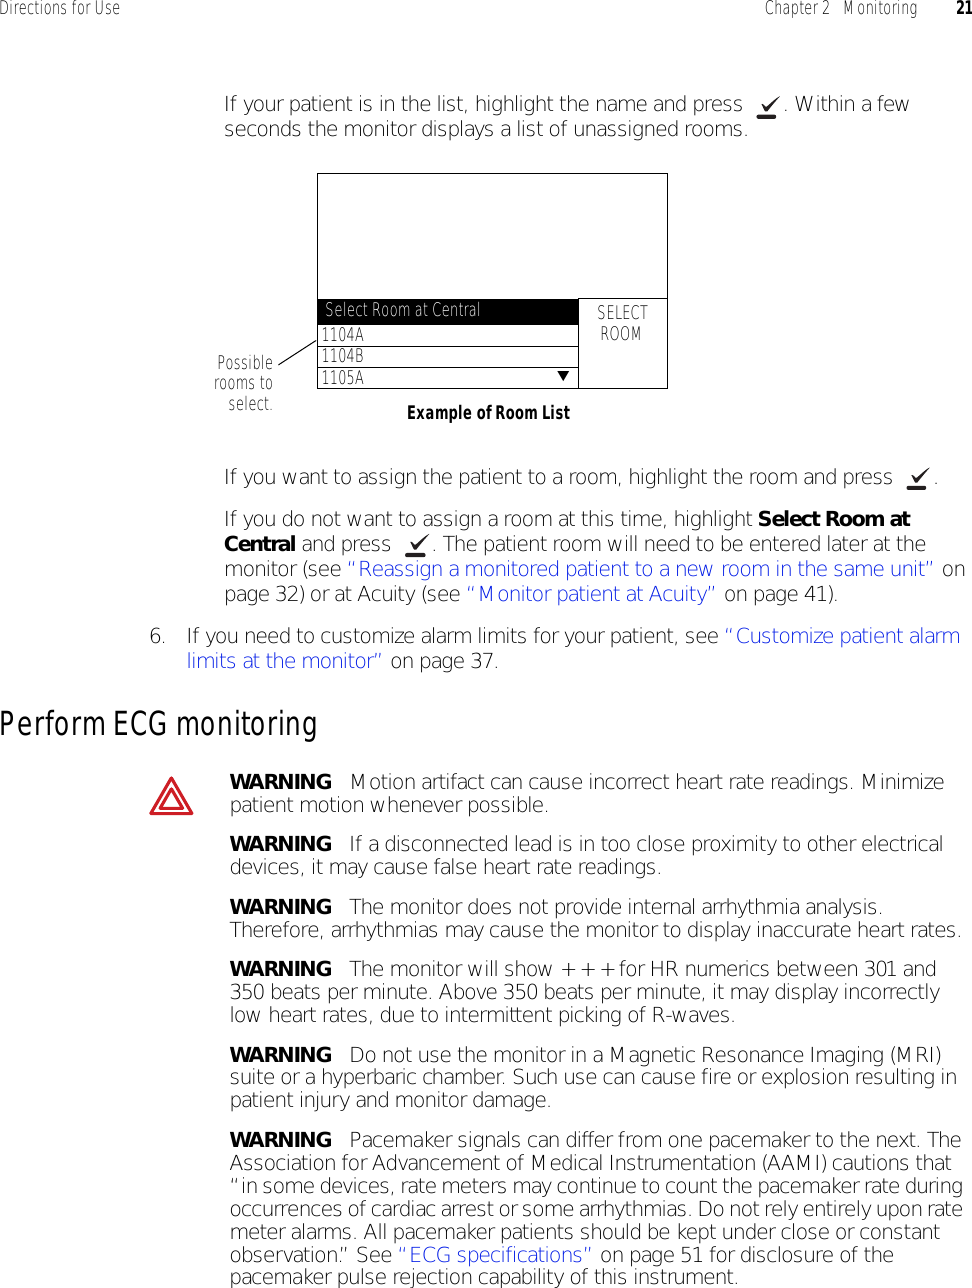
- 2. User Manual part 2 of 2
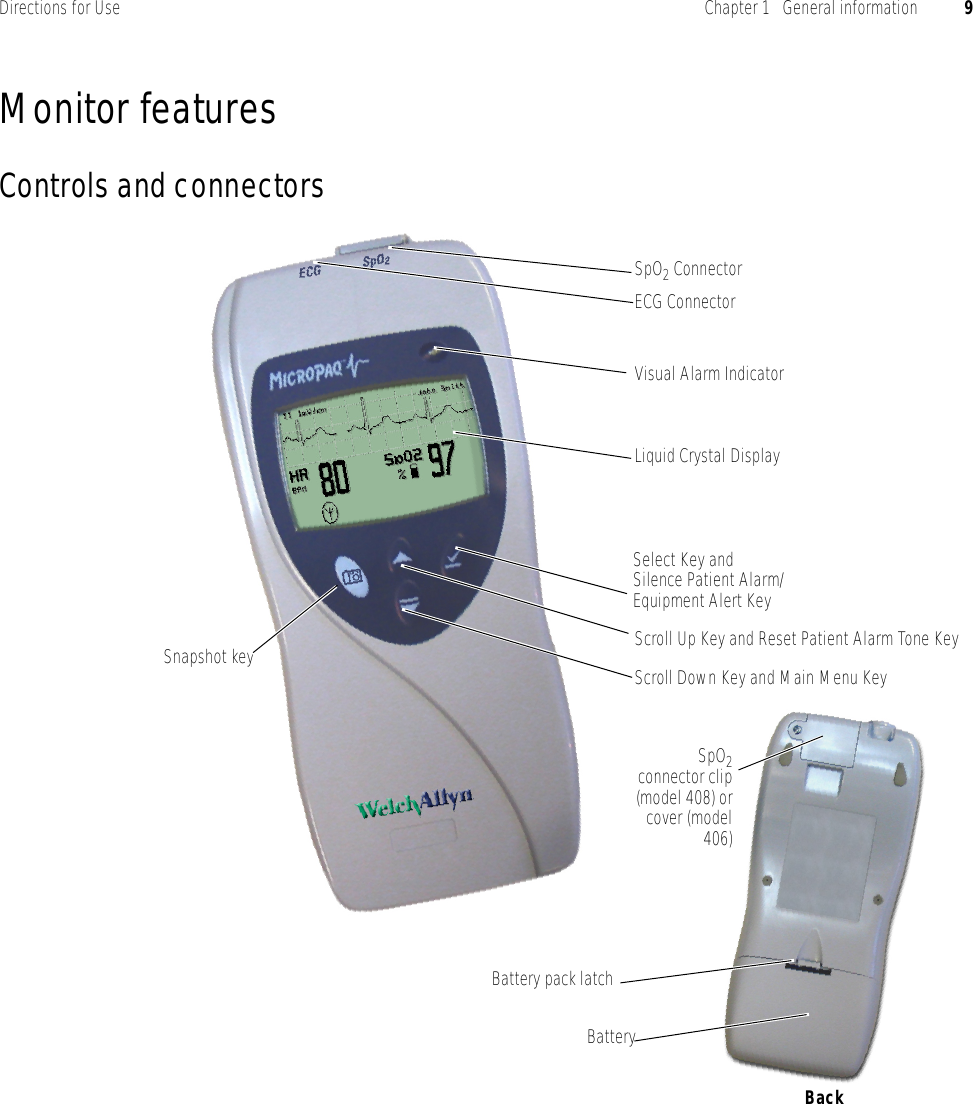
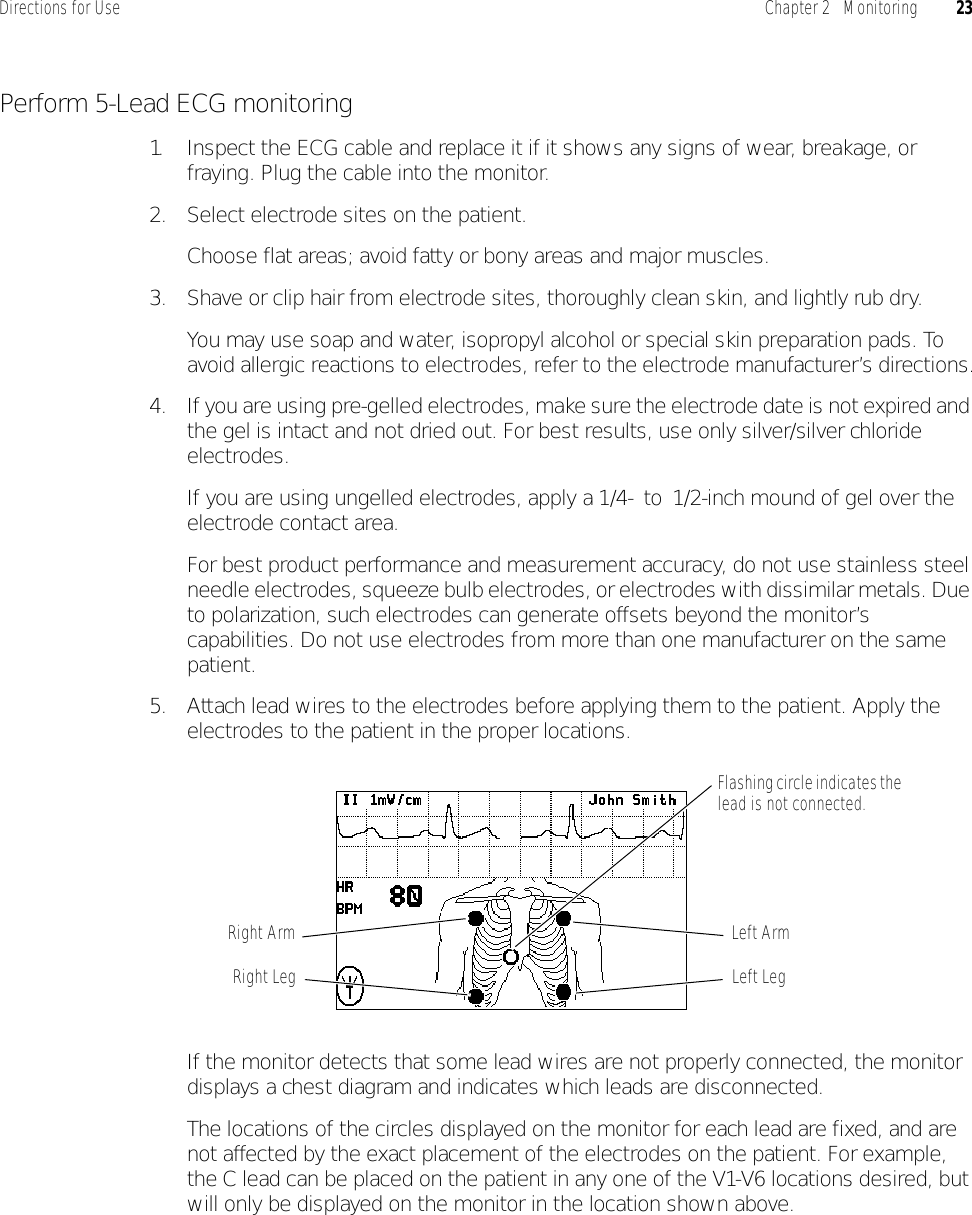
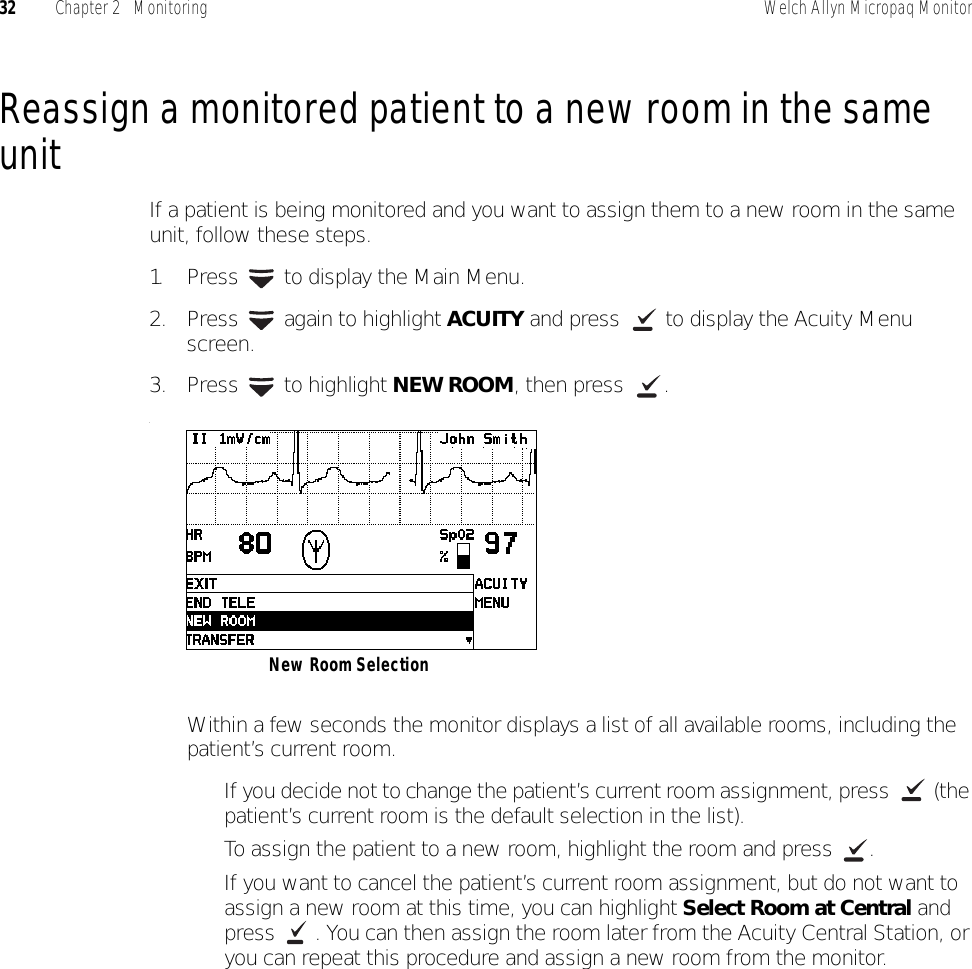
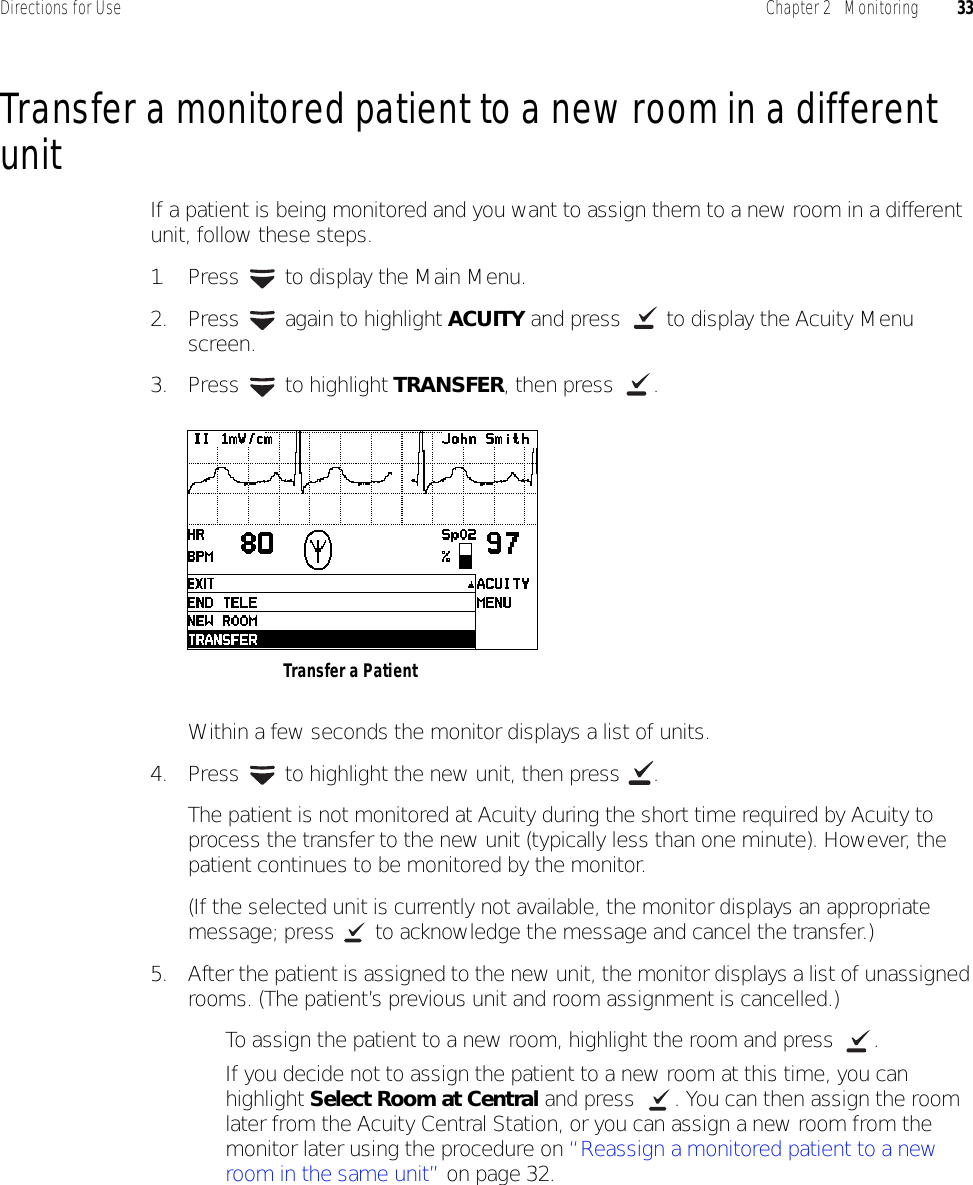
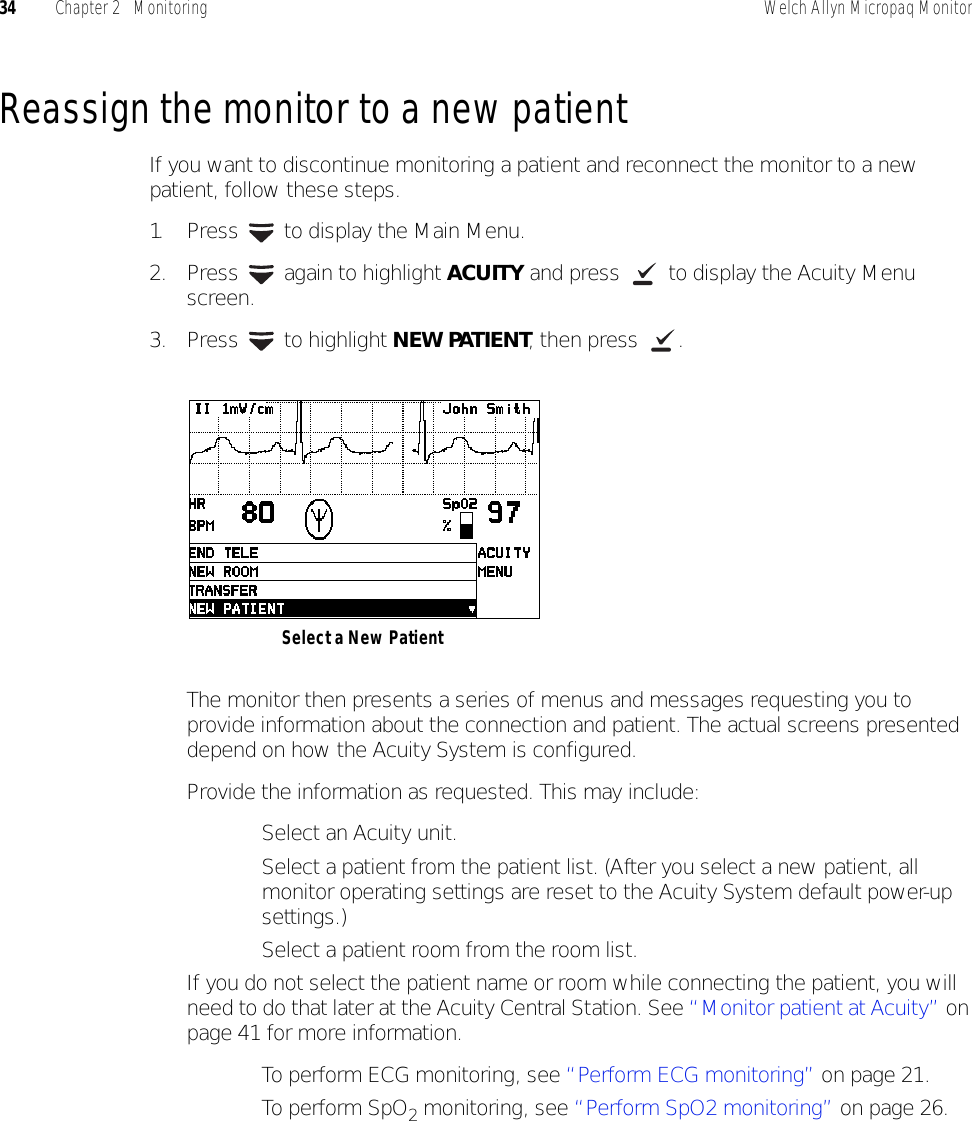
User Manual part 1 of 2