Whirlpool Microwave Development GH4155 Microwave Oven User Manual
Whirlpool Microwave Products Development Limited. Microwave Oven Users Manual
UserManual.wiki
>
Whirlpool Microwave Development
>
GH4155 User Manual
Users Manual
Navigation menu
Upload a User Manual
Namespaces
Wiki Guide
HTML
PDF
Info
Views
User Manual
Discussion / Help
Navigation

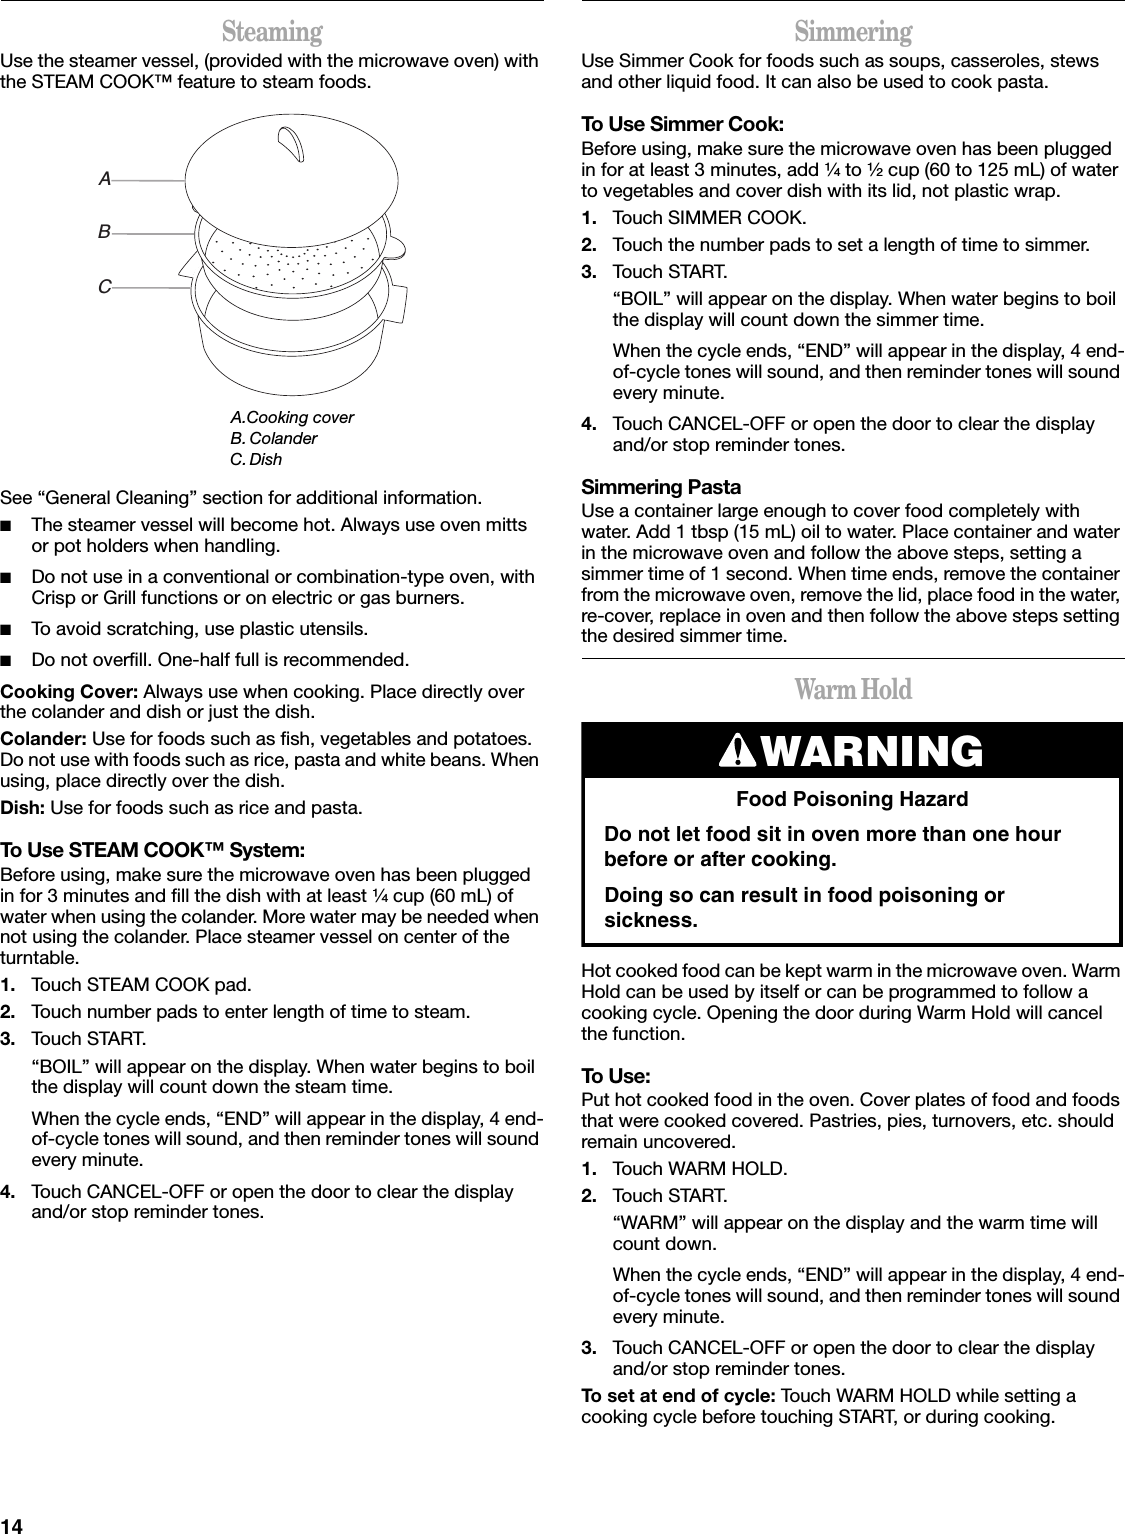
![15MICROWAVE OVEN CAREGeneral CleaningIMPORTANT: Before cleaning, make sure all controls are off and the oven is cool. Always follow label instructions on cleaning products.Soap, water and a soft cloth or sponge are suggested first unless otherwise noted.GREASE FILTERSDo not use ammonia or corrosive cleaning agents such as lye-based oven cleaners.■Hot water and mild detergent:Soak filters, then scrub and swish to remove embedded dirt and grease. Rinse well and shake to dry.■Dishwasher:Wash separately, not with dirty dishes, because food can be trapped in the filters.OVEN CAVITYDo not use soap-filled scouring pads, abrasive cleaners, steel-wool pads, gritty washcloths or some recycled paper towels. Damage may occur.The area where the oven door and frame touch when closed should be kept clean.Average soil■Mild, nonabrasive soaps and detergents:Rinse with clean water and dry with soft, lint-free cloth.Heavy soil■Mild, nonabrasive soaps and detergents:Heat 1 cup (250 mL) of water for 2 to 5 minutes in oven. Steam will soften soil. Rinse with clean water and dry with soft, lint-free cloth.Odors■Lemon juice or vinegar:Heat 1 cup (250 mL) of water with 1 tbsp (15 mL) of either lemon juice or vinegar for 2 to 5 minutes in oven.Microwave Inlet CoverThe microwave inlet cover (see “Parts and Features”) should be kept clean to avoid arcing and oven damage.■Wipe with wet cloth.OVEN DOOR AND EXTERIORThe area where the oven door and frame touch when closed should be kept clean.■Mild, nonabrasive soaps and detergents:Rinse with clean water and dry with soft, lint-free cloth.■Glass cleaner and paper towels or nonabrasive plastic scrubbing pad:Apply glass cleaner to towel, not directly to surface.STEAMER VESSEL■Soft brush, if necessary, to clean holes.■Dishwasher:The steamer vessel is dishwasher safe.Stubborn StainsTo remove stains such as tomato sauce, use a nonabrasive cleanser, a no-scratch pad, or a solution of dishwasher detergent and water (¼ cup [60 mL] detergent to 1 cup [250 mL] warm water).TURNTABLEReplace turntable immediately after cleaning. Do not operate the microwave oven without the turntable in place.■Mild cleanser and scouring pad■DishwasherCOOKING RACKDo not use abrasive cleansers or scrubbers.■Mild cleanser, water and washcloth■Do not place in dishwasher.RACK SUPPORTSClean often to avoid soil buildup. Soil buildup may lead to arcing and cause damage to the oven.Do not attempt to remove supports from cavity walls.Do not use soap-filled scouring pads, abrasive cleaners, steel-wool pads, gritty washcloths or some recycled paper towels.■Mild, nonabrasive soap or detergent and washcloth, toothbrush or cotton swab:Rinse with clean water and dry with soft, lint-free cloth.](https://usermanual.wiki/Whirlpool-Microwave-Development/GH4155/User-Guide-510640-Page-15.png)