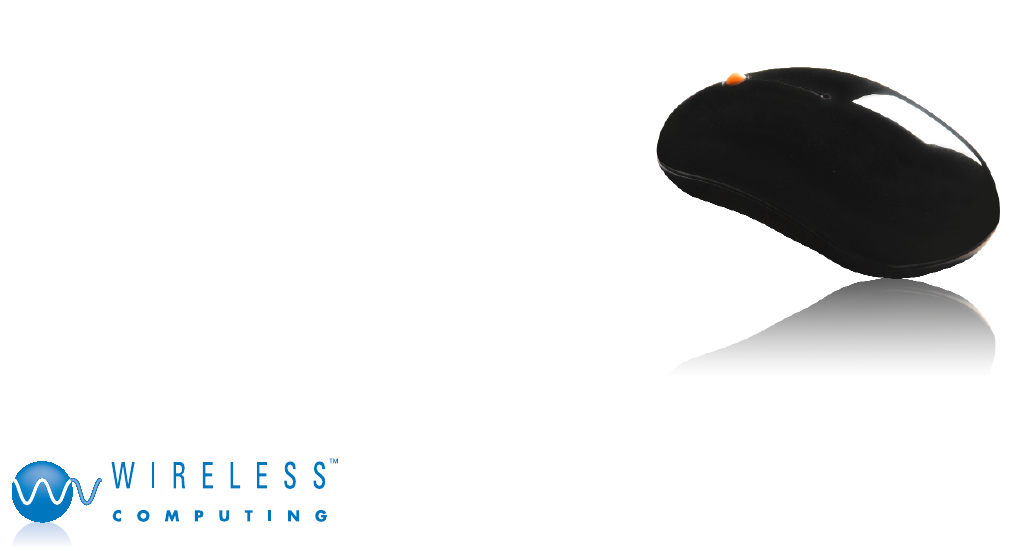
Wireless Computing R170 Wireless Mouse User Manual RF 170 instructions copy Jan 08 qxp
Wireless Computing Inc Wireless Mouse RF 170 instructions copy Jan 08 qxp
RF 170 Instructions

SETUP
1. Remove the mouse’s battery door.
2. Insert two AA alkaline batteries (included) into the
battery compartment. The batteries face in oppo-
site directions. The direction of each battery is
marked.
3. Replace the battery door.
4. Plug the receiver into a USB port on your comput-
er. Do not place receiver on or in a metal cabinet,
or near other equipment and strong EMI sources.
SELECT ADDRESS
When delivered, your RF-170 operates on address
zero. You may leave it on address zero. However,
while on address zero, your computer may receive
and respond to signals from other Wireless
Computing products.
1. Press and release the black button on the under-
side of the receiver. The LED on top of the receiver
begins blinking.
2. If you purchased your RF-170 together with a
Wireless Computing keyboard, first select an
address on the keyboard. Refer to the keyboard
instructions for what keys or buttons to press. If
you do not have a Wireless Computing keyboard,
continue to the next step.
3. While the LED on the receiver blinks, press the
black SELECT button on the underside of the
mouse. This sets the mouse and receiver to one of
65,000 random addresses. The receiver LED blinks
for 30 seconds. This 30-second blinking cycle
starts again each time a product is selected.
OPERATION
The RF-170 Wireless Laser Mouse is designed to
operate reliably at distances of 100 feet (30 meters).
Operating range will vary depending on positioning of
the receiver, mouse, nearby sources of interference
and other factors.
Pressing a button, rolling the scrollball up/down, or
moving the mouse makes the LED flash green on
the top of the mouse, and the LED on the receiver
blink green.
When the mouse’s batteries are low, the LED blinks
in a characteristic on/off pattern. If you see your
mouse’s LED blinking when it is not being moved, lift
the mouse from the tabletop. If the LED continues
blinking, replace the batteries.
Operating instructions
RF-170 Laser Mouse
Wireless Computing, Inc., Austin, TX
512.263.2205 wirelesscomputing.com

TROUBLESHOOTING
The receiver LED is not lit
• Ensure that the computer is powered on and the
receiver is connected to computer.
Mouse cursor does not move
• If the LED on the mouse flashes all red, select the
address.
• If the LED flashes mixed red and green, reposition
the receiver away from other equipment and as
high as possible. Also, ensure the distance
between the mouse and receiver is no more than
100 feet.
• If the LED does not flash at all, replace the mouse’s
batteries.
• Unplug the receiver and plug it back into the com-
puter.
The RF-170 works, but other Wireless Computing
keyboards and mice don’t
• The other devices aren’t set to the receiver’s
address. Select the address on all devices.
Cursor moves by itself or keystrokes appear from
nowhere
• Your receiver is within range another Wireless
Computing product set to the same address. Re-
select the address.
FOR FURTHER ASSISTANCE
Visit www.wireless-computing.com/support or call
customer support at 512.263.2205 between 9:00 -
5:00 Central Time.
FCC INFORMATION
This device complies with Part 15 of the FCC Rules.
Operation is subject to the following two conditions:
(1) this device may not cause harmful interference,
and (2) this device must accept any interference
received, including interference that may cause unde-
sired operation.
FCC ID:
L7MR170 RF-170 Wireless Laser Mouse
L7MR019 RF-019 Dual Antenna Receiver
ADDITIONAL INFORMATION
For use with UL Listed, CSA approved personal com-
puters. Not intended for use in machinery, medical or
industrial applications. Do not use in aircraft or haz-
ardous locations.
© Copyright 2008 Wireless Computing, Inc. All Rights Reserved.
Wireless Computing is a trademark of Wireless Computing, Inc., Austin TX USA. 01-2008
Caution: Any changes or modifications not
expressly approved by Wireless Computing could
void your authority to operate this device. No parts
are user serviceable.