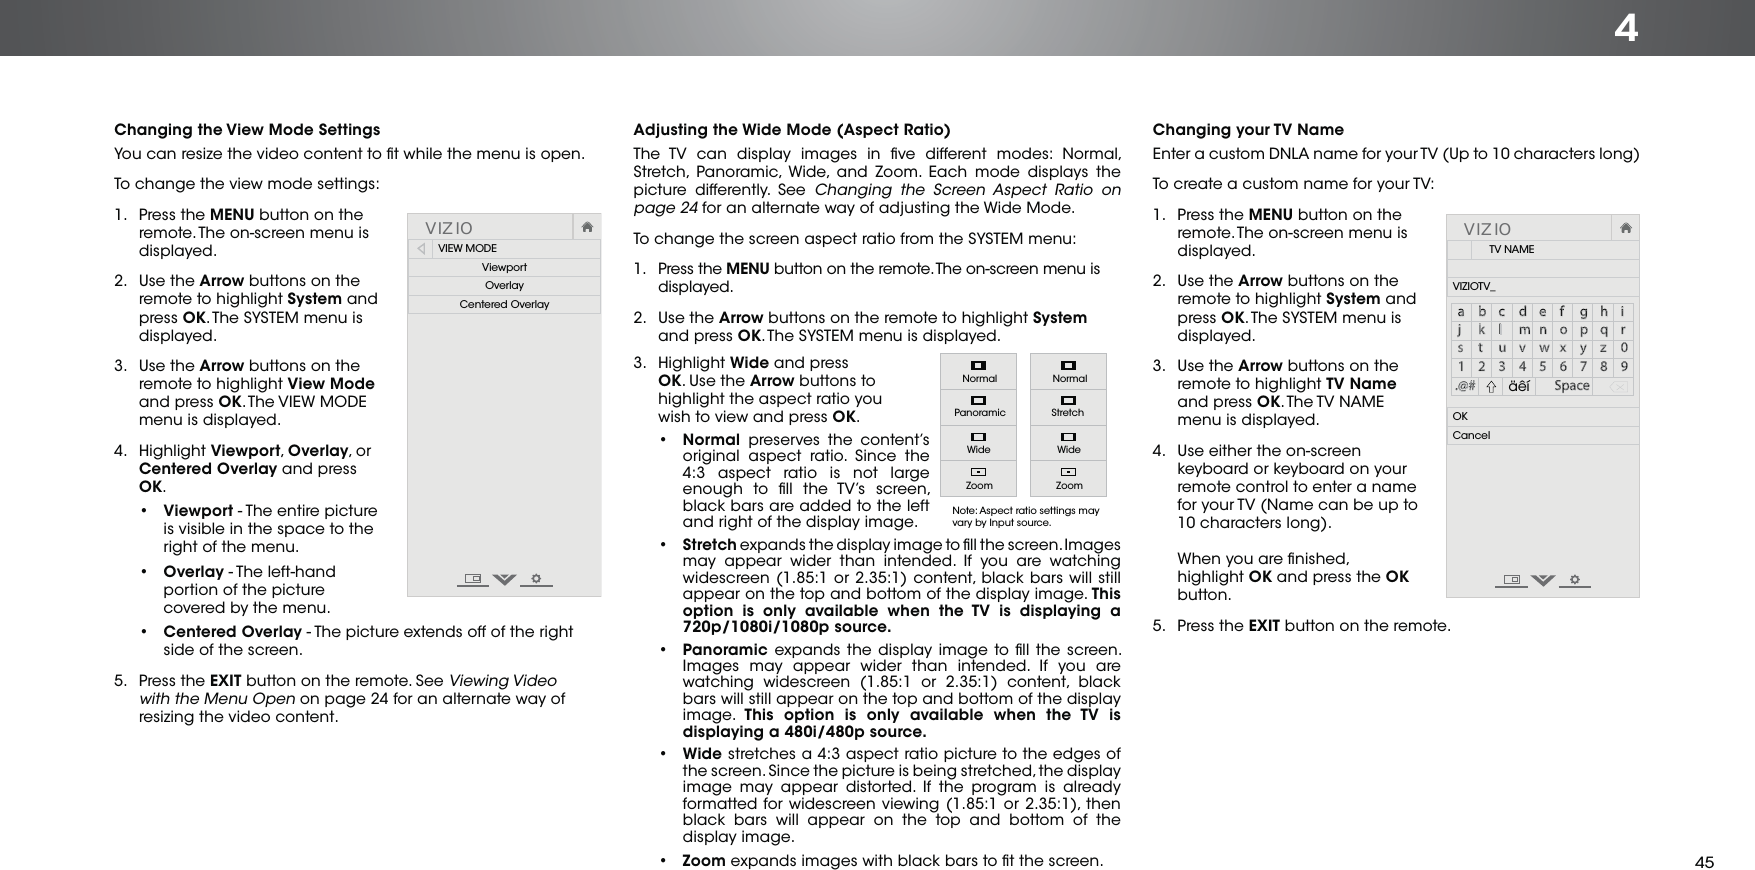
Wistron BTM8670 RS65 TV with BT SoundBar User Manual
Wistron Corporation RS65 TV with BT SoundBar
UserManual.wiki
>
Wistron
>
BTM8670 User Manual
>
User manual 2
Contents
1.
User manual 1
2.
User manual 2
3.
Users Manual 1
4.
Users Manual 2
User manual 2
Navigation menu
Upload a User Manual
Namespaces
Wiki Guide
HTML
PDF
Info
Views
User Manual
Discussion / Help
Navigation
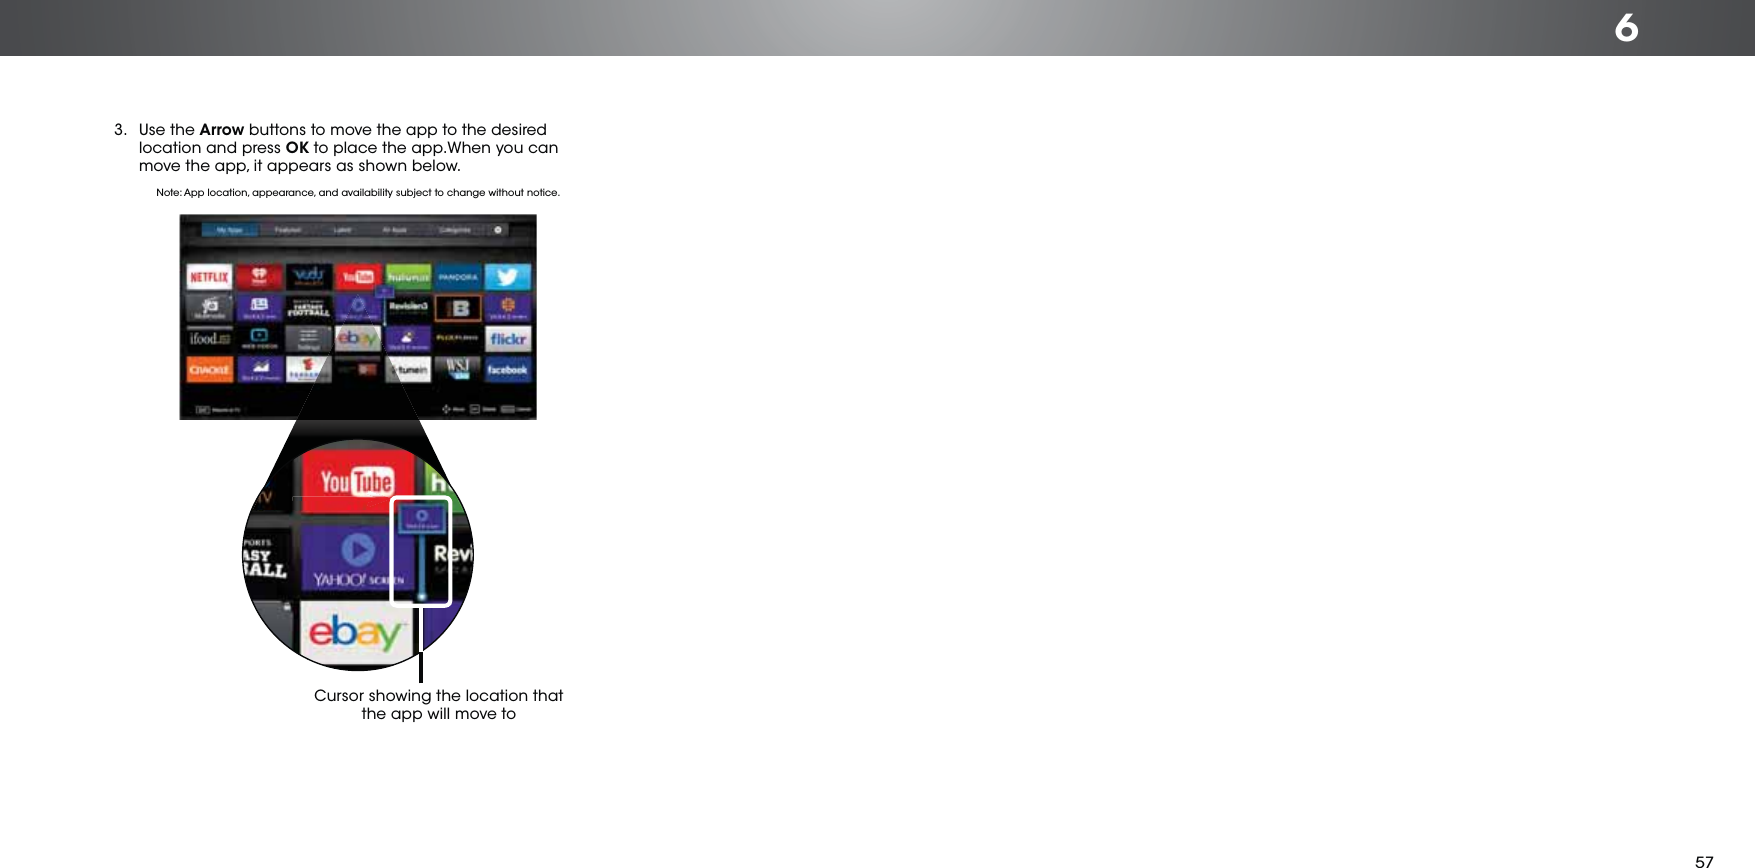
![6CUSTOMIZING THE V.I.A. PLUS APPS WINDOWYou can add, delete, and move apps around on your My Apps tab for a custom look and feel.Adding an App to the My Apps TabTo add an app to your TV:1. Use the Arrow buttons on the remote to highlight one of the App Store tabs (Featured, Latest, All Apps, or Categories).1. Use the Arrow buttons to highlight the app you wish to add.2. Press and hold the OK button until [App Name] has been added to your My Apps list appears. Once the app has been installed, a star appears in the top right-hand corner of the app icon as shown below.Moving an App in My AppsYou can organize your Apps on your My Apps tab by moving them where you want. To move the Apps on your My Apps tab:1. Use the Arrow buttons on the remote to highlight the app you wish to move. 2. Press and hold the OK button. The following options appear:StarNote: App location, appearance, and availability subject to change without notice.Deleting an App from the My Apps TabTo delete an app from your TV:1. Use the Arrow buttons on the remote to highlight the App you wish to delete.2. Press and hold the OK button. The following options appear: 3. Press OK to delete the app. The following dialog box appears: 4. Use the Left/Right Arrow buttons to select Delete and press OK.The App is removed from your My Apps tab.Note: App location, appearance, and availability subject to change without notice.Note: App location, appearance, and availability subject to change without notice.Only the Apps on the first page appear in the Dock.56](https://usermanual.wiki/Wistron/BTM8670.User-manual-2/User-Guide-2531619-Page-22.png)