Yulong Computer Telecommunication Scientific YLM31 Personal computer with CDMA800, WiFi and BT User Manual
Yulong Computer Telecommunication Scientific (Shenzhen) Co. LTD Personal computer with CDMA800, WiFi and BT
Contents
- 1. user manual
- 2. User Manual
- 3. User manual
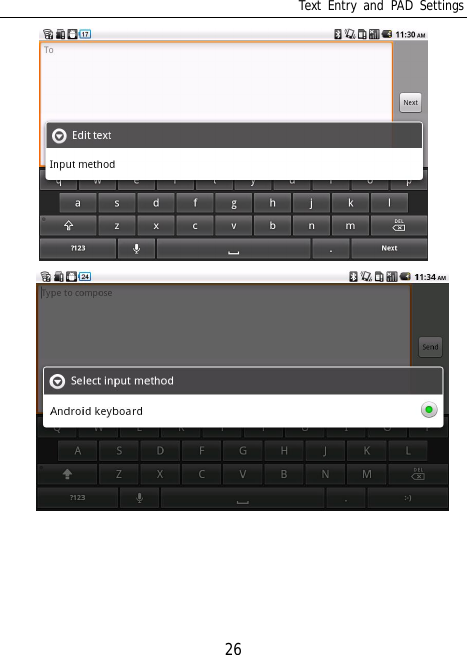
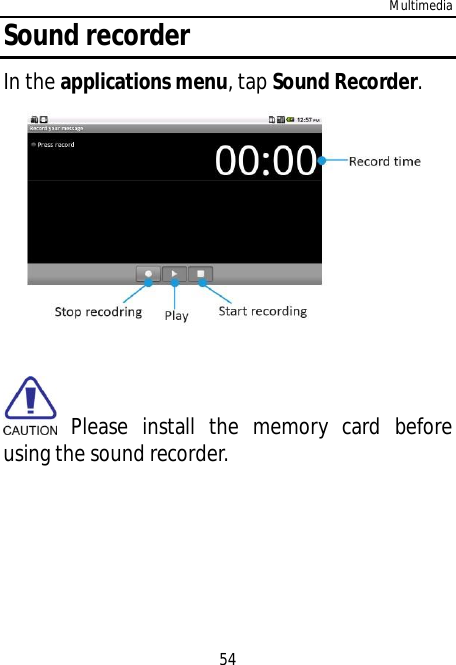
user manual
![Getting To Know Your PADNotice”.MANUAL ICONIndicates warning information.Indicates caution information.Indicates device tips.[ ] Indicates function key.BOLD Indicates a menu or an icon.Content](https://usermanual.wiki/Yulong-Computer-Telecommunication-Scientific/YLM31.user-manual/User-Guide-1553839-Page-2.png)
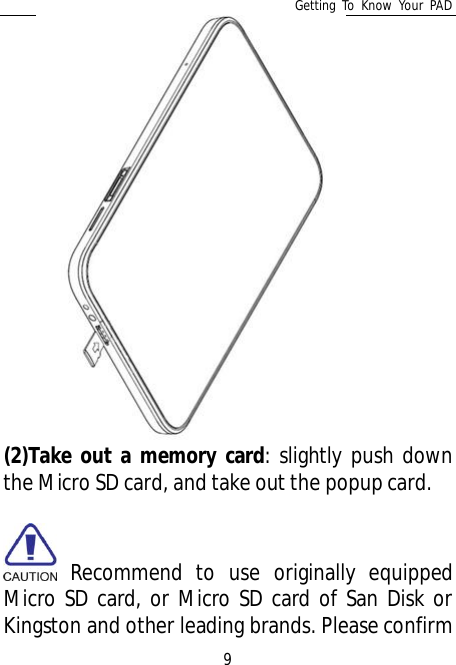


![Getting To Know Your PAD13Turn Your PAD On and OffPlease first check there is battery with enoughpower in your PAD, and press [Power Key] for3 seconds to turn your PAD on and off.PasswordPIN CodePIN code (Personal Identification Number)avoids your SIM card being used illegally. PINcode is provided with SIM card. If wrong PINcode is input for continuous three times, youshould unlock it by PUK code. For moreinformation, please consult the networkoperator.PIN2 CodeYou need to enter PIN2 code to start somefunctions. If wrong PIN2 code is input for threetimes, you should unlock it by PUK2 code. Formore information, please consult the networkoperator.](https://usermanual.wiki/Yulong-Computer-Telecommunication-Scientific/YLM31.user-manual/User-Guide-1553839-Page-20.png)
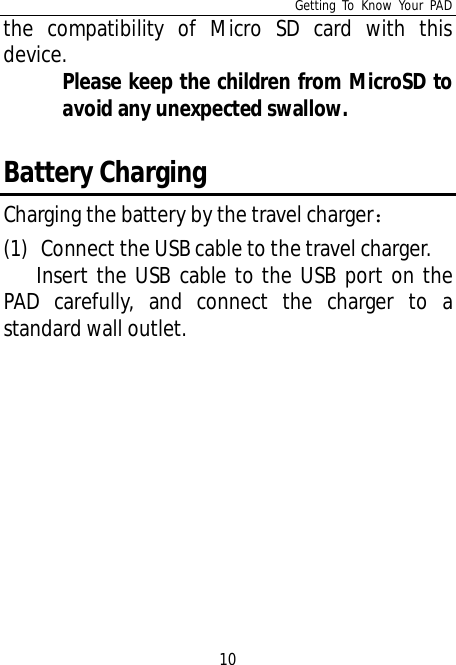
![Quick Start Guide152.Quick Start GuideLearn how to perform basic operations and usethe main features of your pad.Lock and Unlock the Screen1. Lock the screenPress the [Power Key] to lock the device, save thebattery and avoid misoperation.2. Unlock the screenPress the power key to light up the screen.Lock and Unlock the DeviceIn order to avoid any misoperation, you may lockthe device.1. Lock the devicePress the [Power Key] to lock the device.](https://usermanual.wiki/Yulong-Computer-Telecommunication-Scientific/YLM31.user-manual/User-Guide-1553839-Page-22.png)
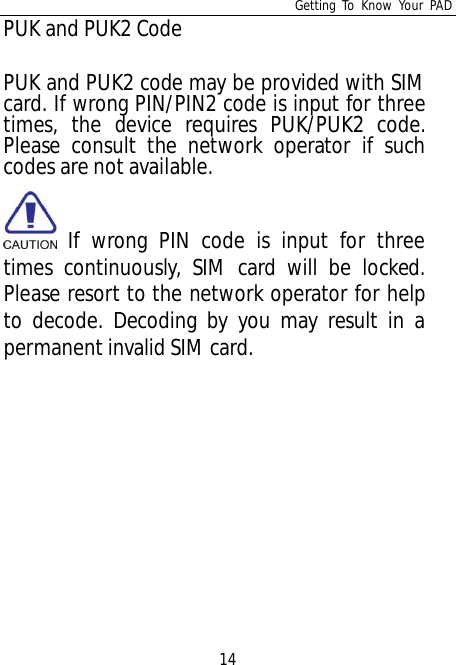
![Quick Start Guide16Attention: if no operation is done during thescreen timeout time as defaulted or as set in thepad, the device will be locked automatically.2. Unlock the devicePress the [Power Key] and slide the unlock key tothe right side to unlock the deviceMain ScreenYou may activate functions of this device byoperations on the touch screen. There are fivemain screens, which could be switched by slidingto the left or the right. Tap [Home Key] in any](https://usermanual.wiki/Yulong-Computer-Telecommunication-Scientific/YLM31.user-manual/User-Guide-1553839-Page-23.png)
![Text Entry and PAD Settings28to adjust the current volume. Press the volumedown key to set as vibration mode and silent mode. Press the [Power Key] for a while, and tapthe silent mode in this option menu as a short cutto activate the silent mode.Screen settingsSet wallpaper1. In the main screen, tap [Menu Key] to open theoptions.2. Tap Wallpaper and select from Gallery, Livewallpapers or Wallpapers.3. Scroll the wallpaper thumbnails; select thewallpaper you like and tap Set wallpaper.Live wallpaperYou may set the screen with live wallpaper.1. In the main screen, tap [Menu Key] to open the](https://usermanual.wiki/Yulong-Computer-Telecommunication-Scientific/YLM31.user-manual/User-Guide-1553839-Page-35.png)
![Text Entry and PAD Settings31reset to the factory date.Main screen settingsThere are 5 main screens on the pad, and you canswitch by sliding to the left or right. Tap the [HomeKey] in any interface to go back to the main screen.You may add Shortcuts, Widgets, Folders andWallpapers to the main screen as you like.Add Shortcuts in the main screen1. Tap [Menu Key] to show menu in the idlemode.2. Tap Add >Shortcuts.3. Select one and save in the main screen.Add Widgets in the main screen4. Tap [Menu Key] to show menu in the idlemode.5. Tap Add >Widgets.](https://usermanual.wiki/Yulong-Computer-Telecommunication-Scientific/YLM31.user-manual/User-Guide-1553839-Page-38.png)
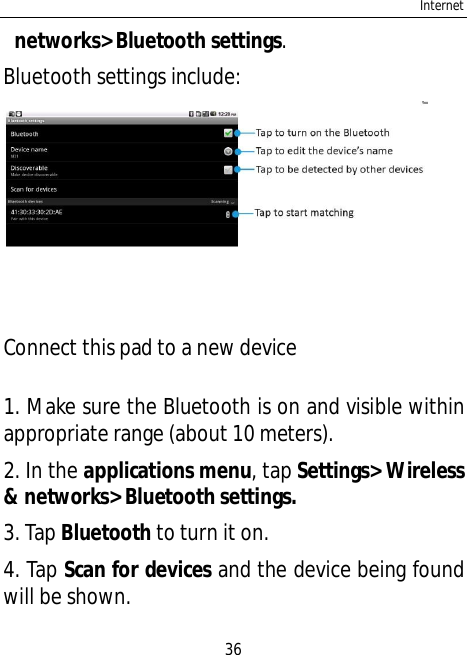
![Internet34Tap [Menu Key] and options will be shown: New window: add a new window. Exit: exit the browser. Bookmarks: save the favorite webpage. Windows: tap the key to switch and managethe windows being opened; tap new window tocreate a new window. Tap this key again to closethe windows switching interface. Refresh: refresh the current webpage. More: more options, including forward, back,add a bookmark, search the webpage, ect.](https://usermanual.wiki/Yulong-Computer-Telecommunication-Scientific/YLM31.user-manual/User-Guide-1553839-Page-41.png)


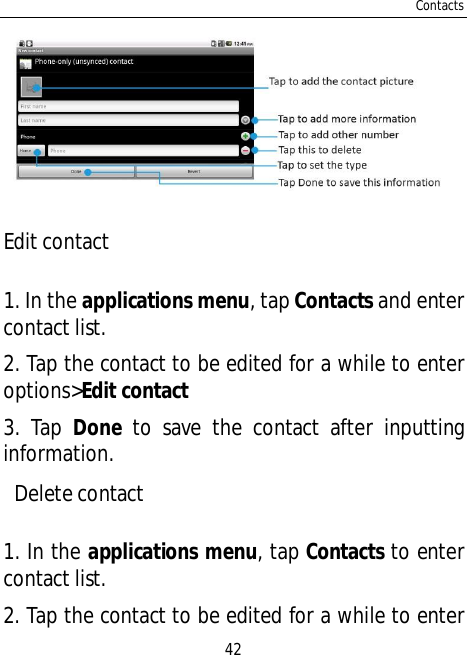
![Contacts41contact menu.Scroll up or down the contact list to check morecontacts.Tap [Menu Key] to enter menu options, such asSearch, New contact, Accounts, and Import/Export.Add contacts1. In the application menu, tap Contacts to enterthe contact menu.2. Tap [Menu Key] to enter menu options, tapNew contact.3. Tap relevant items to input contactinformation.4. Tap Done to save the contact information.](https://usermanual.wiki/Yulong-Computer-Telecommunication-Scientific/YLM31.user-manual/User-Guide-1553839-Page-48.png)
![Contacts43options > Delete contactImport and export contact1. In the applications menu, tap Contacts to entercontact list.2. Tap [Menu Key] to enter menu options>Import/Export. You can choose Import form SD card orExport to SD card.3. Choose the type of import and then choose thecontact, tap Done.](https://usermanual.wiki/Yulong-Computer-Telecommunication-Scientific/YLM31.user-manual/User-Guide-1553839-Page-50.png)
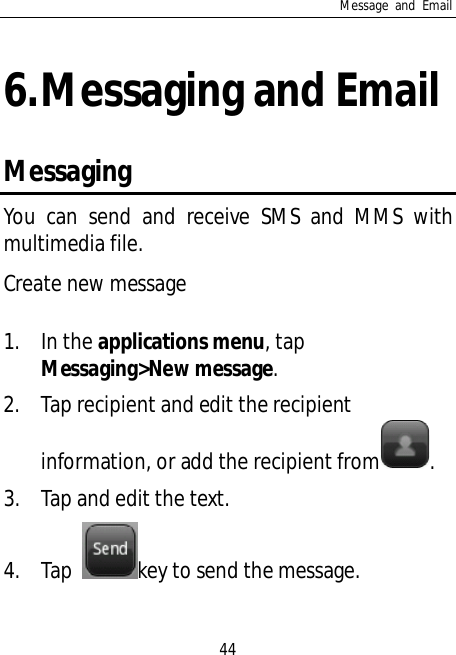
![Message and Email462. Tap recipient and edit the recipientinformation, or add the recipient from .3. Tap [Menu Key] to open menu options>Addsubject, tap Subject to input the MMS themethat will be sent.4. Tap and edit the text, then tap key tosend the message. You can tap [Menu Key] to add Attach orInsert smiley and so on.Manage messagesDelete messagesTap a dialogue thread, tap one message, selectdelete messages and tap delete. Then themessage will be deleted.](https://usermanual.wiki/Yulong-Computer-Telecommunication-Scientific/YLM31.user-manual/User-Guide-1553839-Page-53.png)
![Message and Email47Delete threadsTap a dialogue thread, tap [Menu Key] to selectDelete thread and tap Delete. Then the messagewill be deleted.Forward messagesTap a dialogue thread, press on a message, andselect Forward to forward the message.EmailYou may receive and send emails via Email. You need to set up your own email, andthen receive and send the emails.Receiving and sending emails requiresInternet connection. Please consult yourservice provider for details about setupparameters.](https://usermanual.wiki/Yulong-Computer-Telecommunication-Scientific/YLM31.user-manual/User-Guide-1553839-Page-54.png)
![Message and Email49or select from Contacts.1. In the applications menu, tap Email.2. Tap [Menu Key] > Compose for the editinginterface.3. Tap recipient and input the recipient’s emailaddress. If necessary, tap [Menu Key] for AddCc/Bcc address, input other recipient’s emailaddress for cc or bcc.4. Tap Subject and input the subject.5. Tap Compose Mail and input the text.6. Tap [Menu Key] > Add attachment to insertthe file as needed.7. Tap Send to send the email.Receive emails1. In the applications menu, tap Email.2. Tap [Menu Key] > Refresh.](https://usermanual.wiki/Yulong-Computer-Telecommunication-Scientific/YLM31.user-manual/User-Guide-1553839-Page-56.png)
![Message and Email503. The device will connect to the server anddownload emails. All emails received will besaved in the Inbox.4. Tap the email to read.5. During reading, tap [Menu Key] and tapForward to forward the email to others; ortap Reply to edit and send the email to thesender.](https://usermanual.wiki/Yulong-Computer-Telecommunication-Scientific/YLM31.user-manual/User-Guide-1553839-Page-57.png)

![Other applications558.Other applicationsAlarm clockIn the applications menu, tap Clock.Add alarm clockTap [Menu Key] to select Add alarm, set alarminformation and tap Done. When shows ingreen means on.When the alarm functions, the user can selectSnooze/Dismiss.Tap the indicator on the right side of the alarm tobe started. The indicator in highlight shows thealarm clock is on.You may dismiss the alarm clock when it is ringing,or tap snooze to postpone the alarm clock.](https://usermanual.wiki/Yulong-Computer-Telecommunication-Scientific/YLM31.user-manual/User-Guide-1553839-Page-62.png)
![Other applications57Manage eventsYou need to create an event before view or edit it.Select an event, the device would show therecorded event.Add reminderClick an event to enter the details interface, presson [Menu Key] to select Add reminder.Edit eventClick an event to enter the details interface, presson [Menu Key] to edit event.Delete eventClick an event to enter the details interface, presson [Menu Key] to select Delete event.CalculatorIn the applications menu, tap Calculator.The calculator has limited precision and can be](https://usermanual.wiki/Yulong-Computer-Telecommunication-Scientific/YLM31.user-manual/User-Guide-1553839-Page-64.png)
![Other applications58used in simple calculations only. NavigationIn the applications menu, tap Navigation.Press [Menu Key] to select the operations. This function is only used outdoors. Theservice condition in specific depends on UIM/SIMcard and the data service you applied for. Relevantinformation flow may charge you. Please consultyour service provider for detail costs.](https://usermanual.wiki/Yulong-Computer-Telecommunication-Scientific/YLM31.user-manual/User-Guide-1553839-Page-65.png)