ZTE WF721 Wireless Access Terminal User Manual
ZTE Corporation Wireless Access Terminal
UserManual.wiki
>
ZTE
>
WF721 User Manual
User manual
Navigation menu
Upload a User Manual
Namespaces
Wiki Guide
HTML
PDF
Info
Views
User Manual
Discussion / Help
Navigation
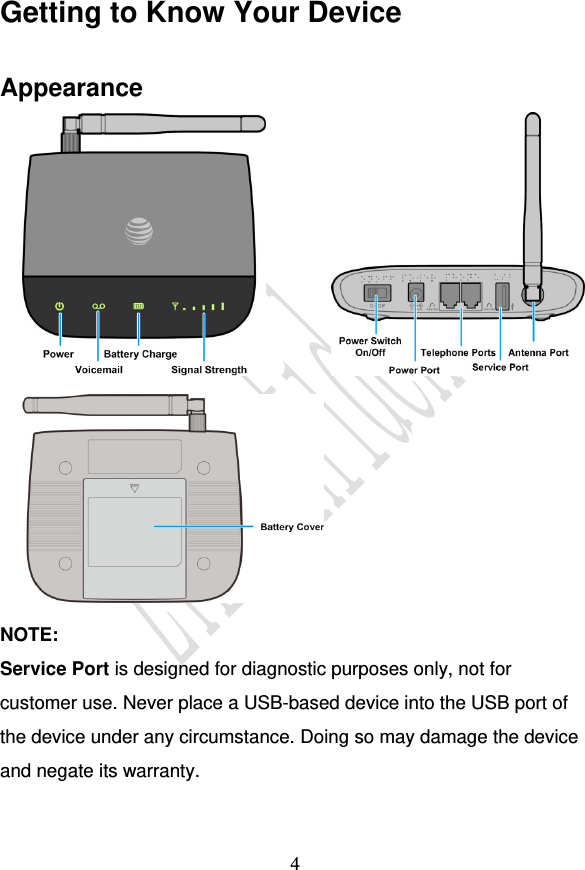
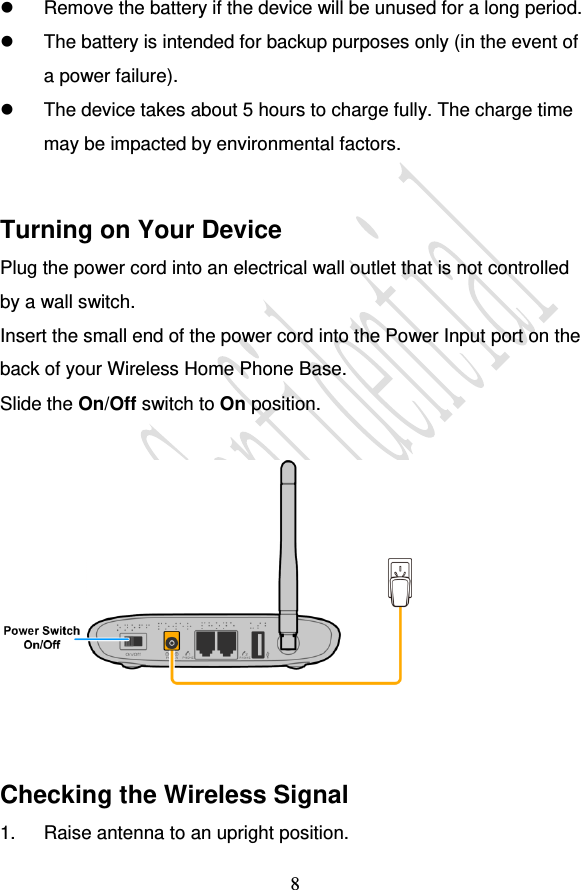
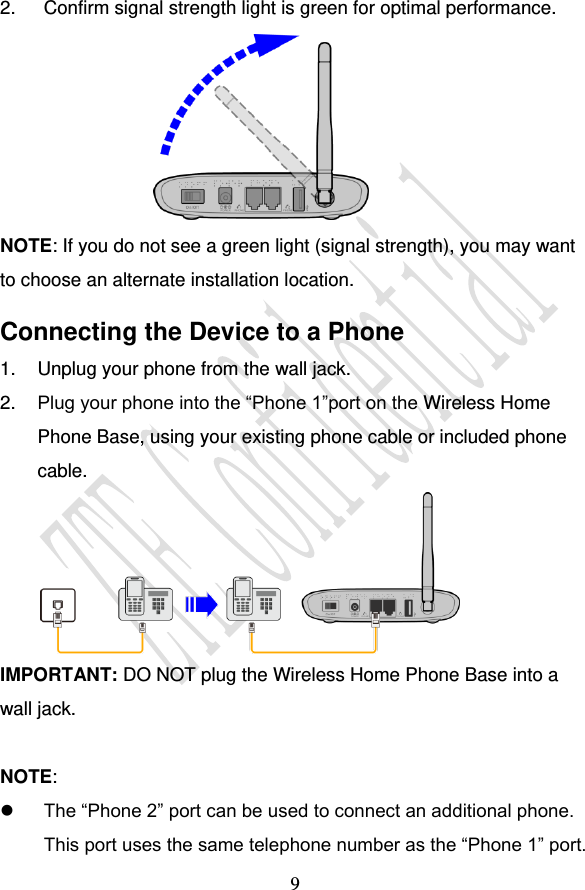
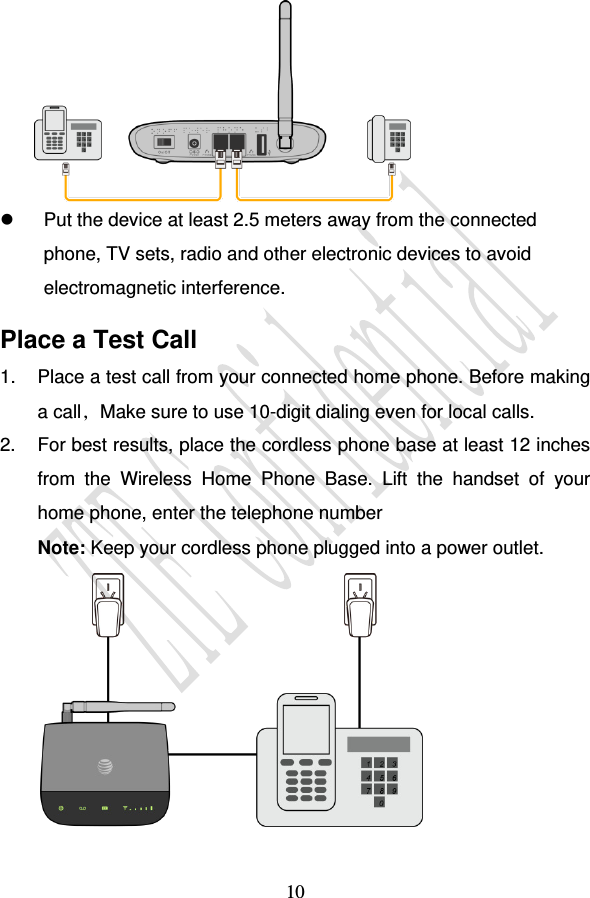
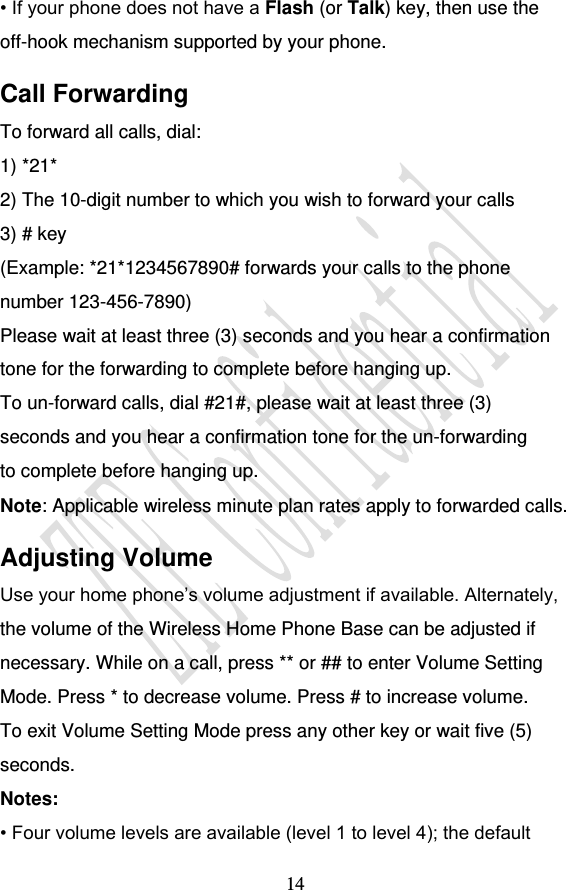
![13 Three-Way Calling While on an existing call, press the Flash (or Talk) key on your phone to put the first party on hold. When you hear a dial tone, dial the second parties’ number (wait up to four [4] seconds). When the second party answers, press the Flash (or Talk) key again to complete the three-way connection. If the second party does not answer, press the Flash (or Talk) key to end the connection and return to the first party. Note: If your phone does not have a Flash (or Talk) key, use the off-hook mechanism supported by your phone instead. Call Waiting You will hear two tones if someone calls while you are already on a call. To hold the current call and accept the waiting call, press the Flash (or Talk) key. You can press the Flash (or Talk) key anytime to switch back and forth between calls. To clear the current call and accept the waiting call, enter 1 and press the Flash (or Talk) key. To reject (User Busy) the waiting call, enter 0 and press the Flash (or Talk) key. Notes: • Your Wireless Home Phone Base comes with standard threeway calling and call waiting. Operation of these features will vary depending on your home phone equipment.](https://usermanual.wiki/ZTE/WF721/User-Guide-2236642-Page-13.png)