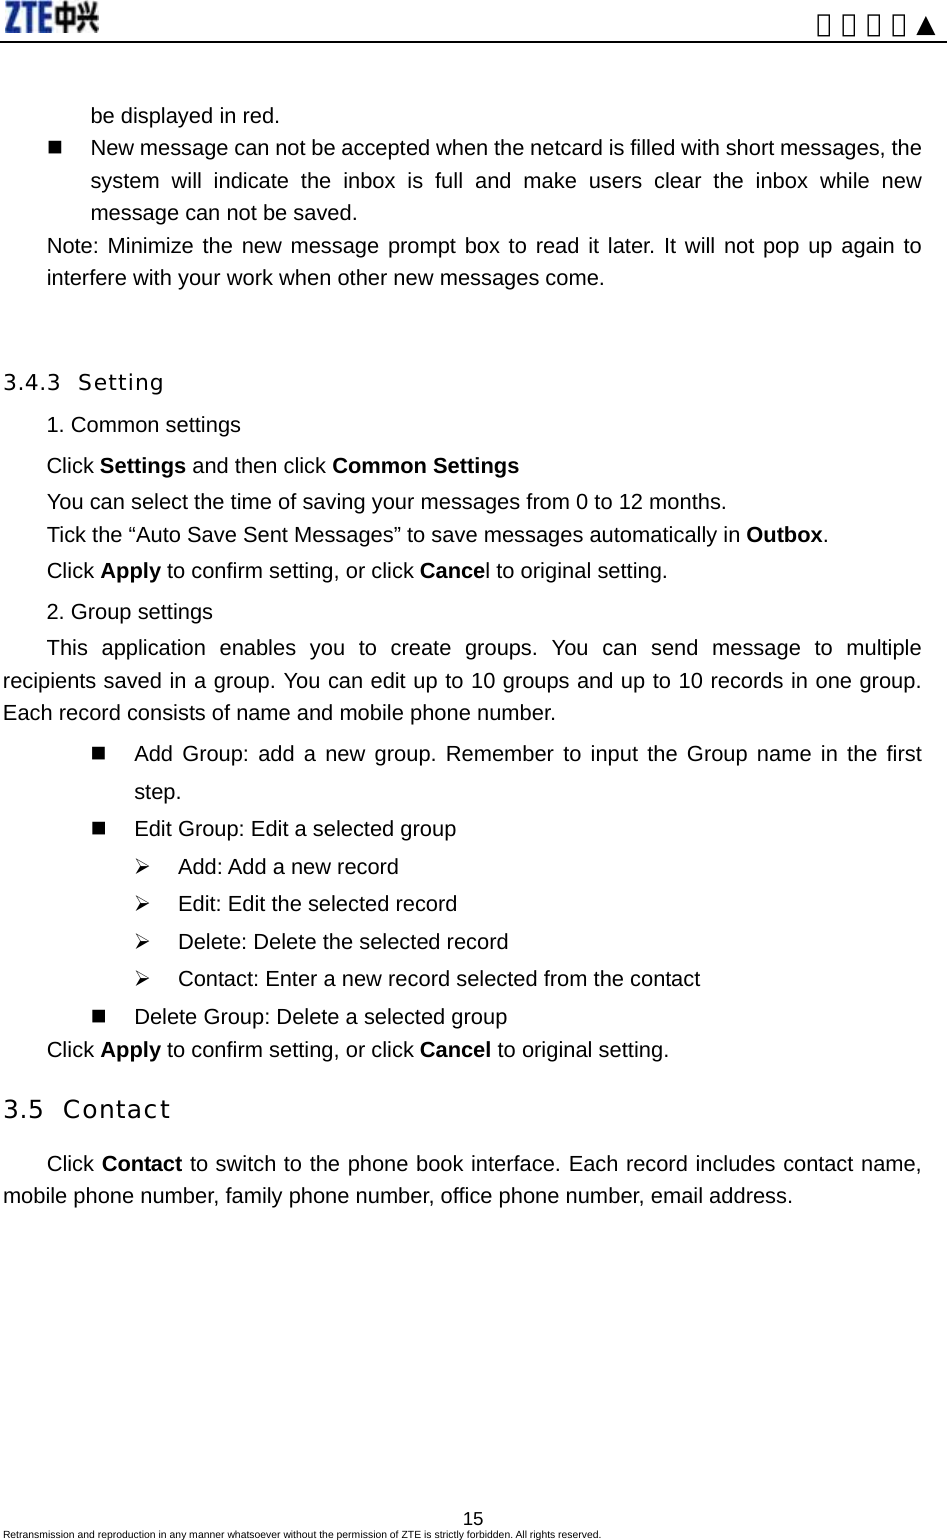
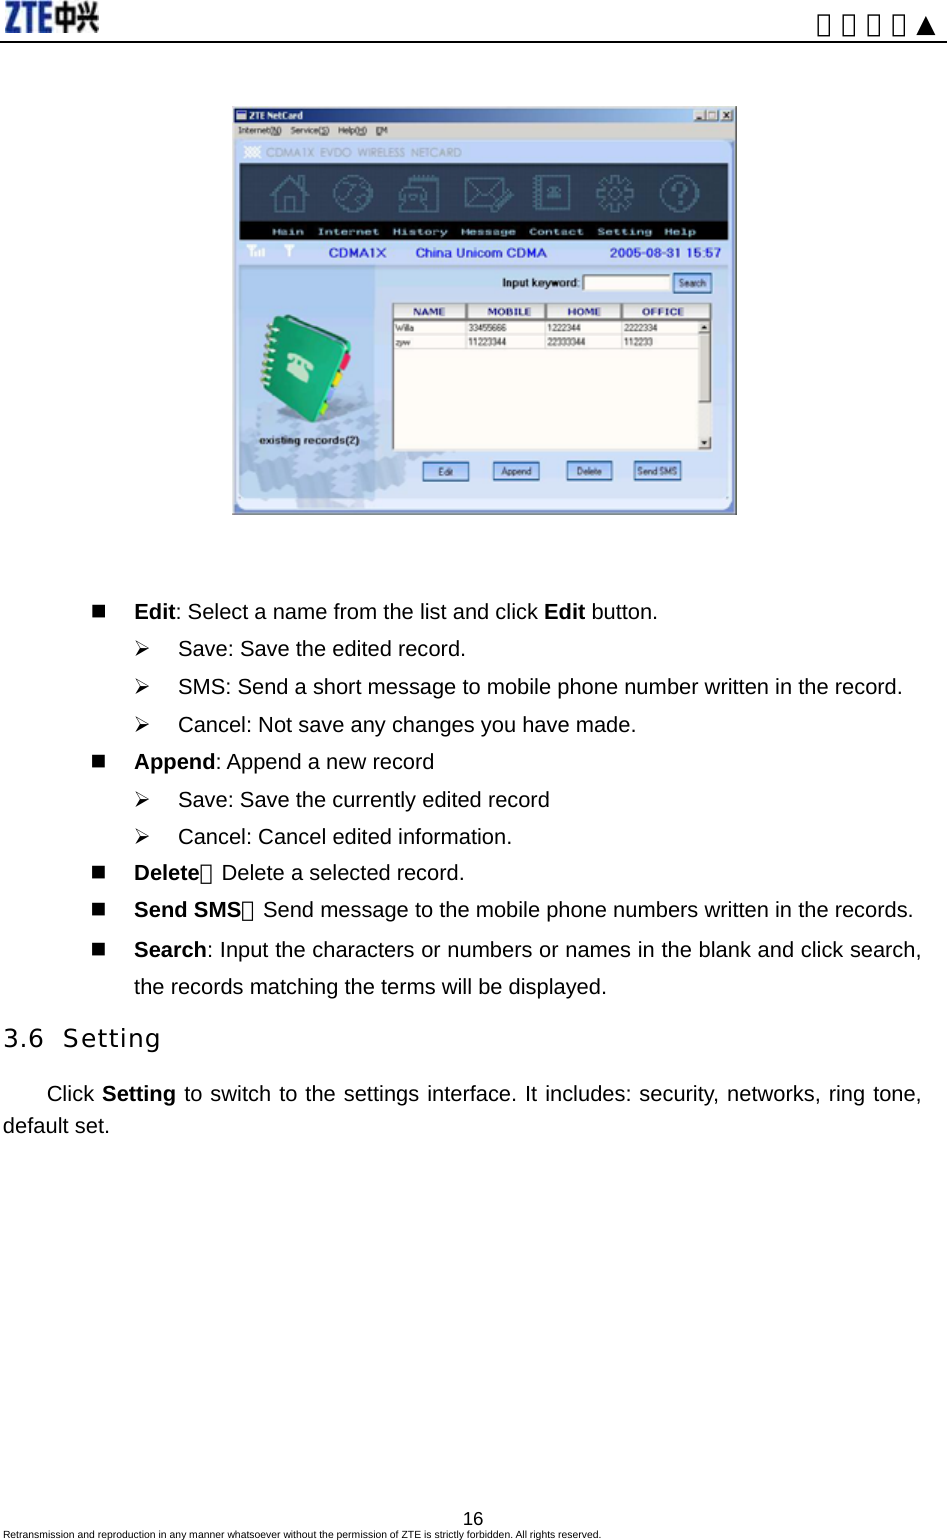
ZTE ZTEMY39 CDMA 1X-EVDO Wireless Card User Manual ZTE CORPORATION
ZTE Corporation CDMA 1X-EVDO Wireless Card ZTE CORPORATION
UserManual.wiki
>
ZTE
>
ZTEMY39 User Manual
users manual
Navigation menu
Upload a User Manual
Namespaces
Wiki Guide
HTML
PDF
Info
Views
User Manual
Discussion / Help
Navigation
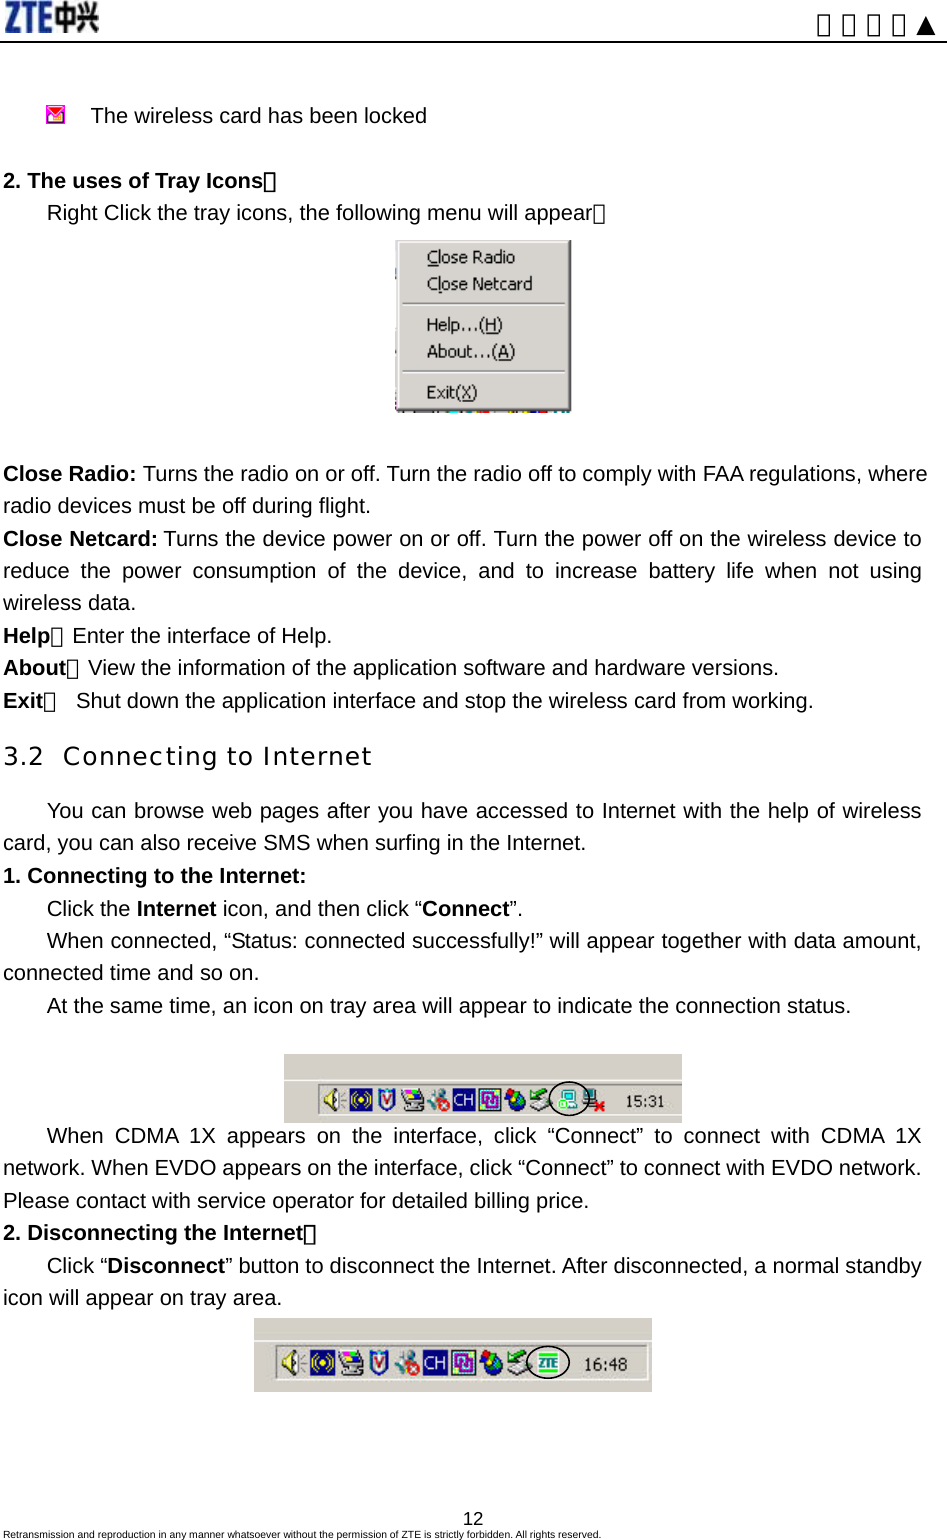
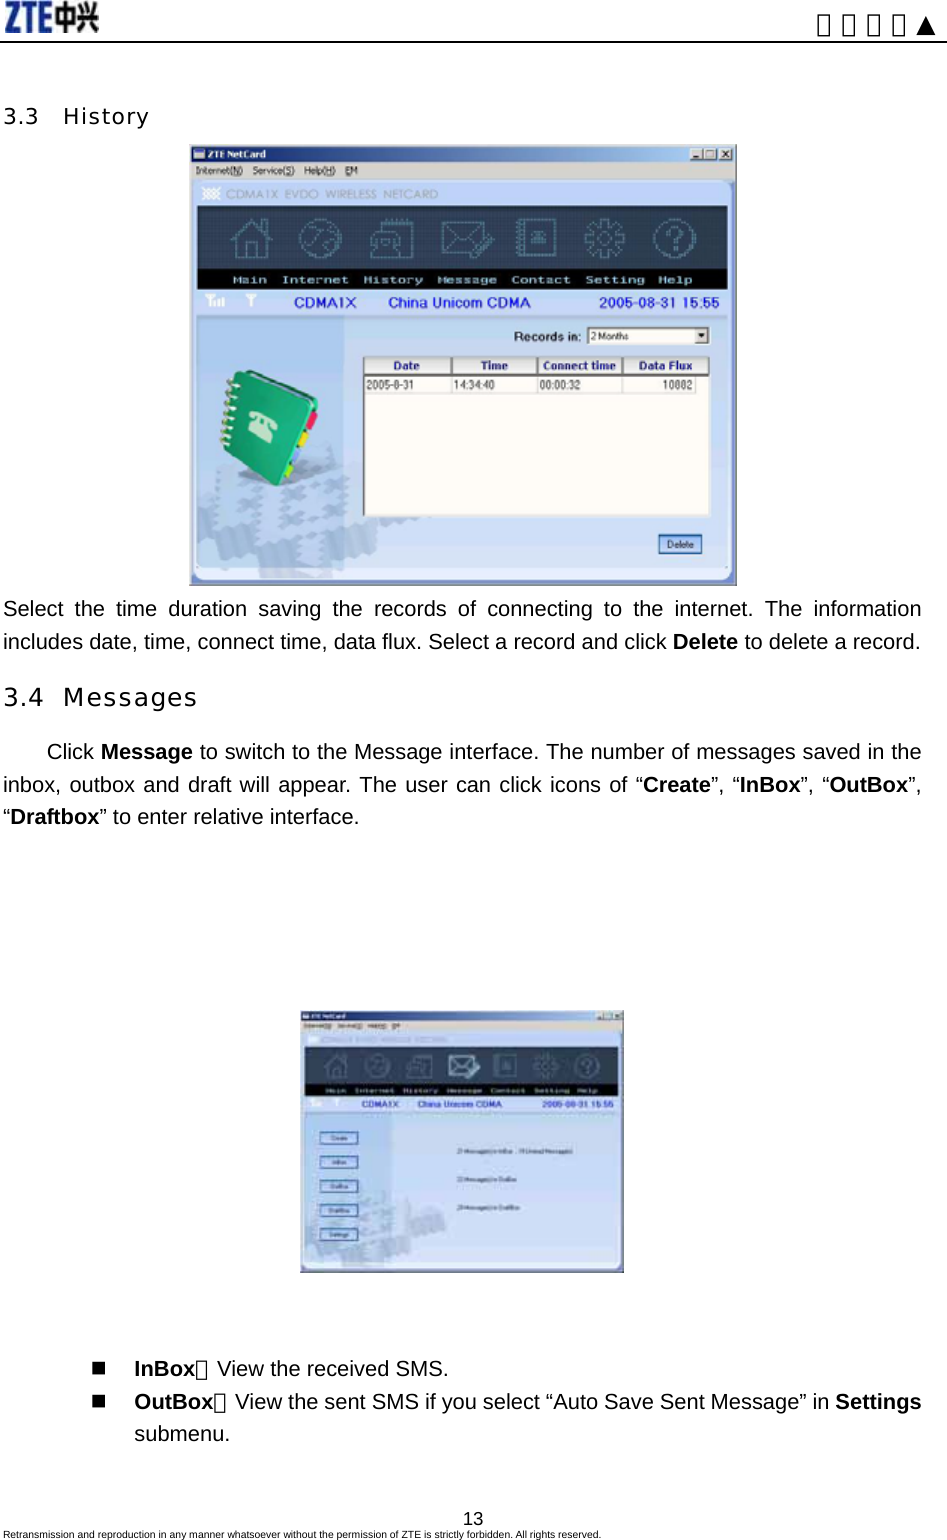
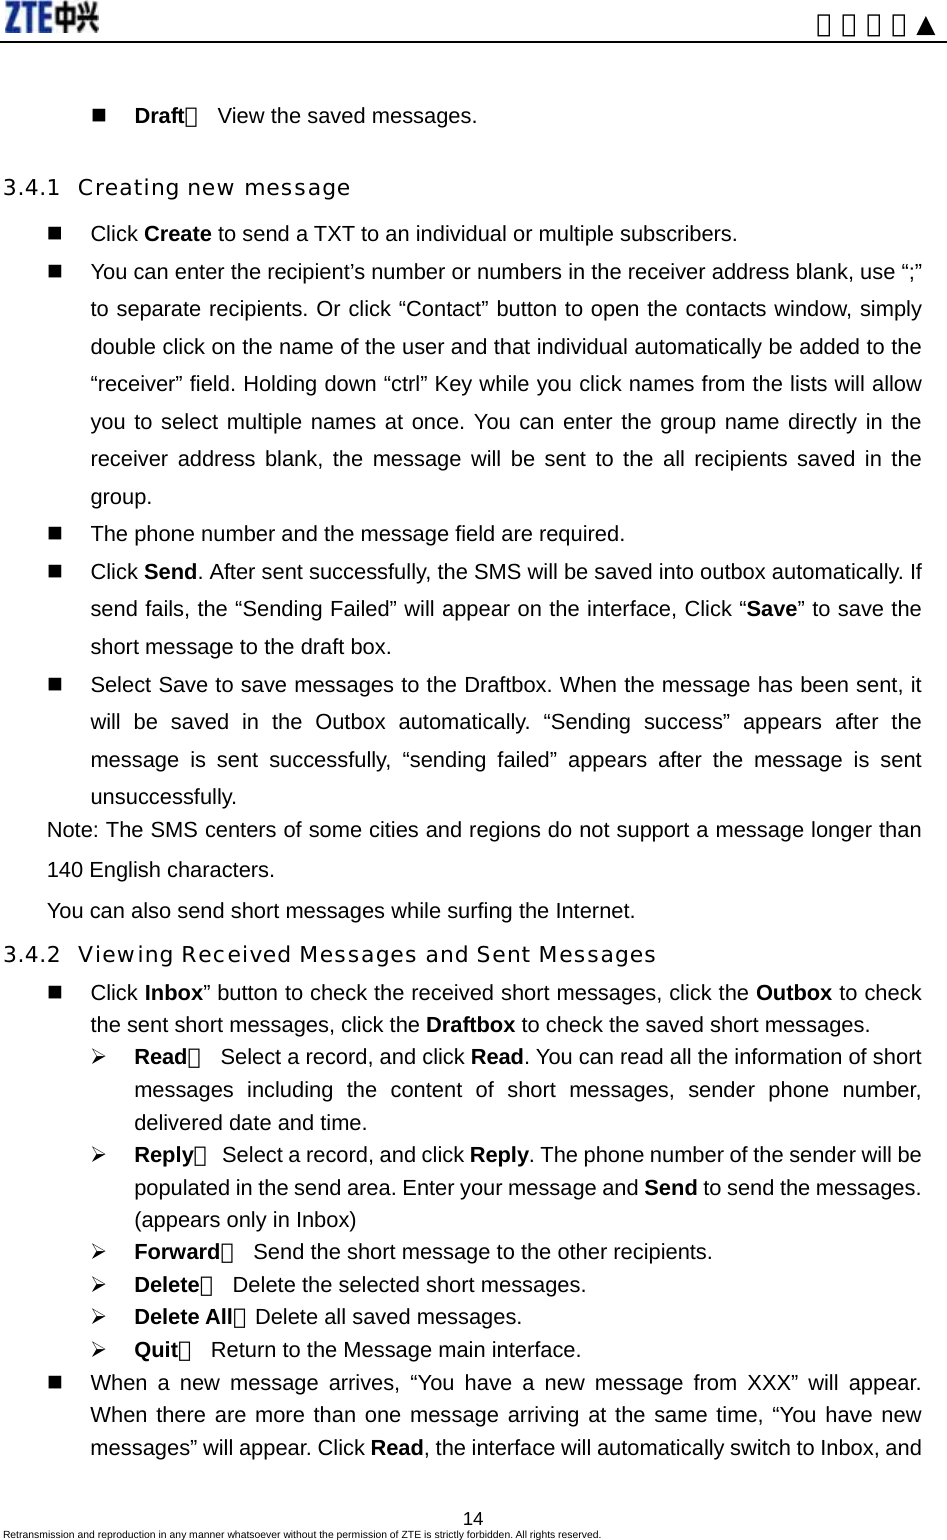
![内部公开▲ wireless card may transmit signals that could interfere with this equipment. Aircraft safety z On an aircraft, either on the ground or airborne, in addition to FAA requirements, many airline regulations state that you must suspend wireless operations before boarding an airplane. Please ensure that the host device is turned off and your wireless card is removed from the card slot prior to boarding aircraft in order to comply with these regulations. The wireless card can transmit signals that could interfere with various onboard systems and controls. Road safety z The driver or operator of any vehicle should not operate a wireless data device while in control of a vehicle. Doing so will detract from the driver or operator's control and operation of that vehicle. In some countries, operating such communications devices while in control of a vehicle is an offence. Caring for your ZTE MY39 z When not in use, fold the antenna down and store in a compartment where the card can be protected from being crushed or broken. z Do not apply adhesive labels to the wireless card. This may cause the card to jam inside the PC Card slot of your notebook PC. z The antenna extends freely, do not forcefully hyper-extend the antenna. This may cause it to break. z The wireless card should easily fit into the PC Card slot. Forcing the wireless card into the PC Card slot may cause considerable damage. z Your wireless card should be stored in a dry and clean place (Storage temperature: - 30° to 65°C [86° to 149°F]). Protect your card from liquids, dust and excessive heat. Declaration of Conformity z FCC: This device complies with Part 22 and Part 24 of the FCC Rules. z SAR: This device meets government requirements for exposure to radio waves. Your device is a radio transmitter and receiver. It is designed and manufactured not to exceed limits for exposure to radio frequency (RF) energy. These limits are part of comprehensive guidelines and establish permitted levels of RF energy for the population. The guidelines were developed and confirmed by independent scientific organizations through periodic and thorough evaluation of scientific studies. The limits include a substantial safety margin designed to assure the safety of all persons, regardless of age and health. The exposure standard for device employs a unit of measurement known as the Specific Absorption Rate, or SAR. Under the guidelines for your device, the SAR limit is 1.6 W/kg .The highest tested SAR values for this device compliance against FCC standard limit is less than 1.6 W/kg. 1.3 Software Drivers License Proprietary Rights Provisions: The software drivers provided with this product are copyrighted by ZTE Corporation. And Retransmission and reproduction in any manner whatsoever without the permission of ZTE is strictly forbidden. All rights reserved. 2](https://usermanual.wiki/ZTE/ZTEMY39/User-Guide-632552-Page-5.png)