ZTE ZTEV790 WCDMA/GSM(GPRS) Dual-Mode Digital Mobile Phone User Manual Movistar Motion Chile Movistar V1 0 120827
ZTE Corporation WCDMA/GSM(GPRS) Dual-Mode Digital Mobile Phone Movistar Motion Chile Movistar V1 0 120827
ZTE >
Movistar Motion User Manual& 65288;Chile_Movistar& 65289;V1.0-120827
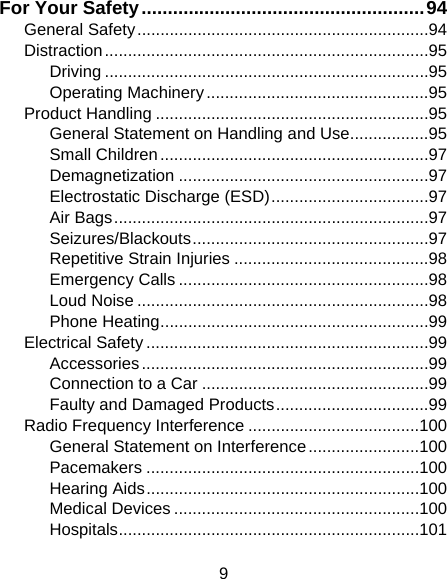
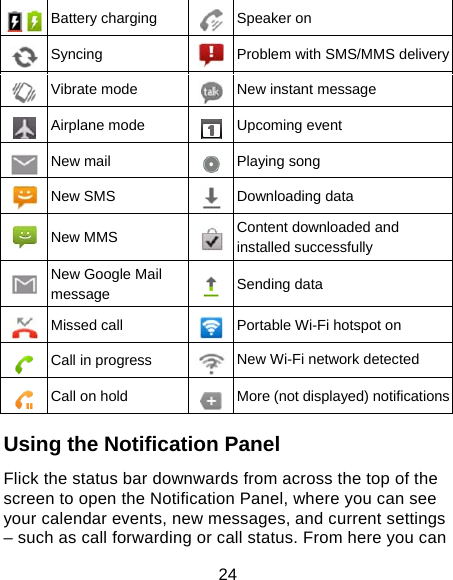

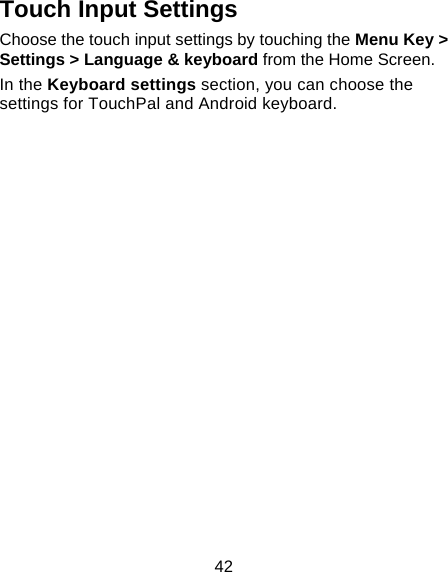
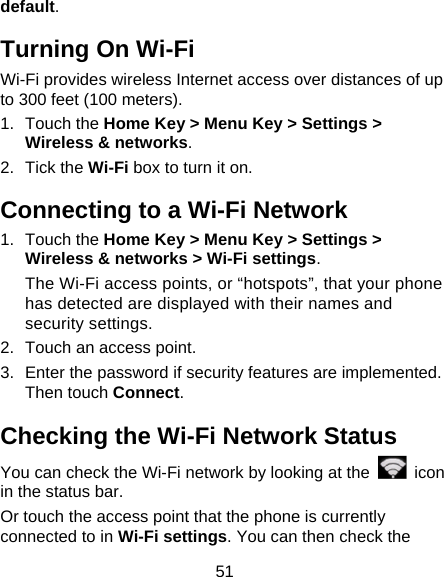
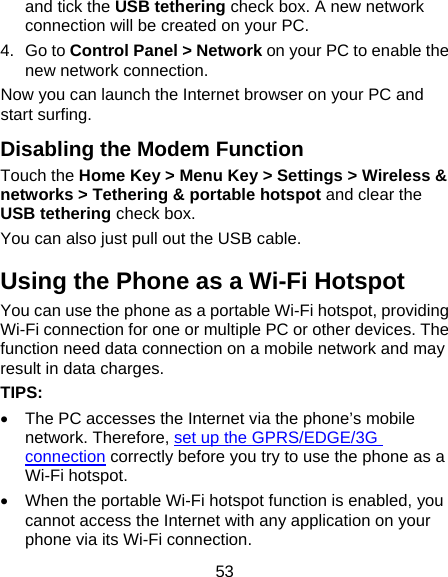
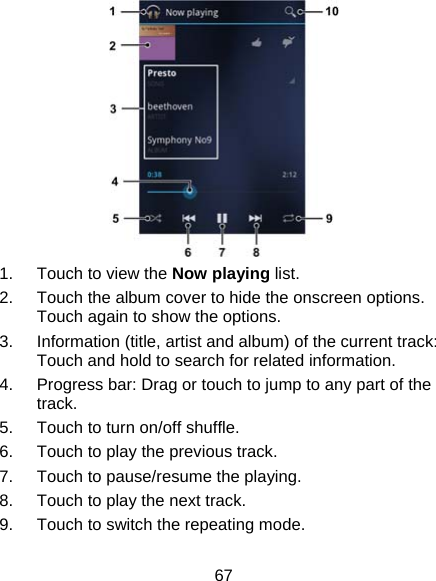
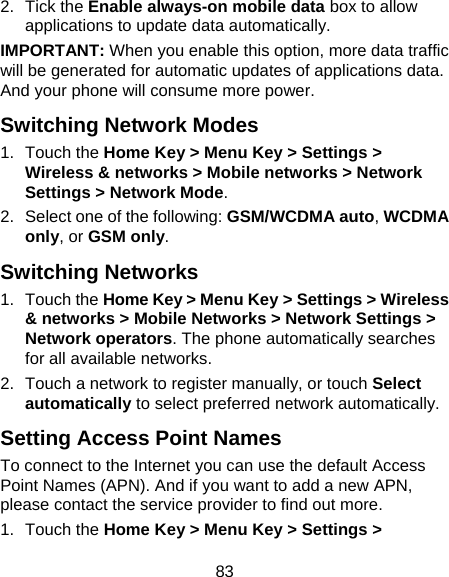
![47 Email Touch the Home Key > > Email. You can enter the Email Screen to set up your Email account and exchange Emails. Creating an Email Account 1. When you open Email for the first time, enter your Email address and password and then touch Next. 2. Select the type of your account and touch Next. 3. Edit the settings for incoming server and outgoing server, and then touch Next or Next [Check]. NOTE: Touch Next [Check] and your phone will connect to the Internet and verify the settings before proceeding to the next step. Please contact your mobile service provider and Email service provider for more help. Your phone knows the client settings for lots of Email service providers. If the Email you use is from those providers, the phone will automatically configure the incoming and outgoing settings after you enter your Email address and password. 4. Set the Email checking frequency, download options, account name and other settings. Touch Done when you finish. Your phone will show the inbox of the Email account and start to download Email messages.](https://usermanual.wiki/ZTE/ZTEV790/User-Guide-1794322-Page-47.png)
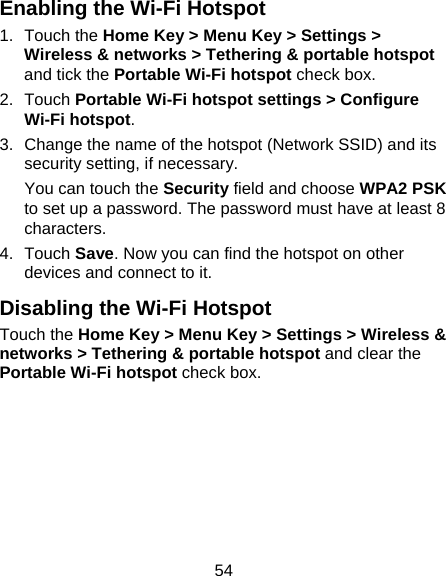


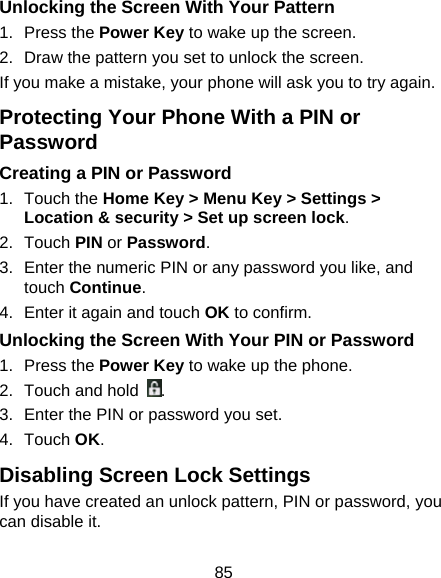
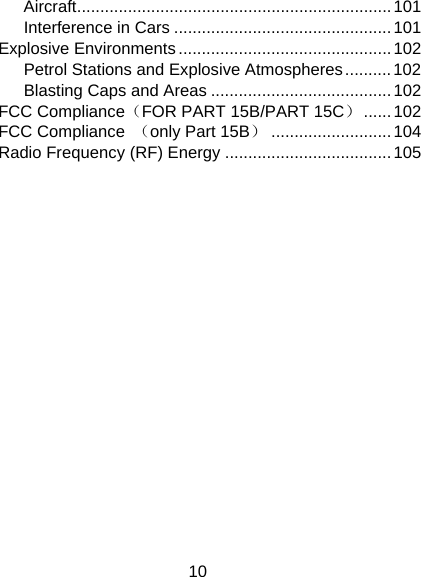
![96 You must always switch off your phone wherever the use of a phone is prohibited. Use of your phone is subject to safety measures designed to protect users and their environment. • Always treat your phone and its accessories with care and keep it in a clean and dust-free place. • Do not expose your phone or its accessories to open flames or lit tobacco products. • Do not expose your phone or its accessories to liquid, moisture or high humidity. • Do not drop, throw or try to bend your phone or its accessories. • Do not use harsh chemicals, cleaning solvents, or aerosols to clean the device or its accessories. • Do not paint your phone or its accessories. • Do not attempt to disassemble your phone or its accessories, only authorized personnel can do so. • Do not expose your phone or its accessories to extreme temperatures, minimum - [5] and maximum + [50] degrees Celsius. • Please check local regulations for disposal of electronic products. • Do not carry your phone in your back pocket as it could break when you sit down.](https://usermanual.wiki/ZTE/ZTEV790/User-Guide-1794322-Page-96.png)