Zebra Technologies IAPWR63000902 Digital Spread Spectrum Device User Manual MEA Setup and Deployment User s Guide
Zebra Technologies Corporation Digital Spread Spectrum Device MEA Setup and Deployment User s Guide
Contents
- 1. users manual
- 2. users manual statements
users manual


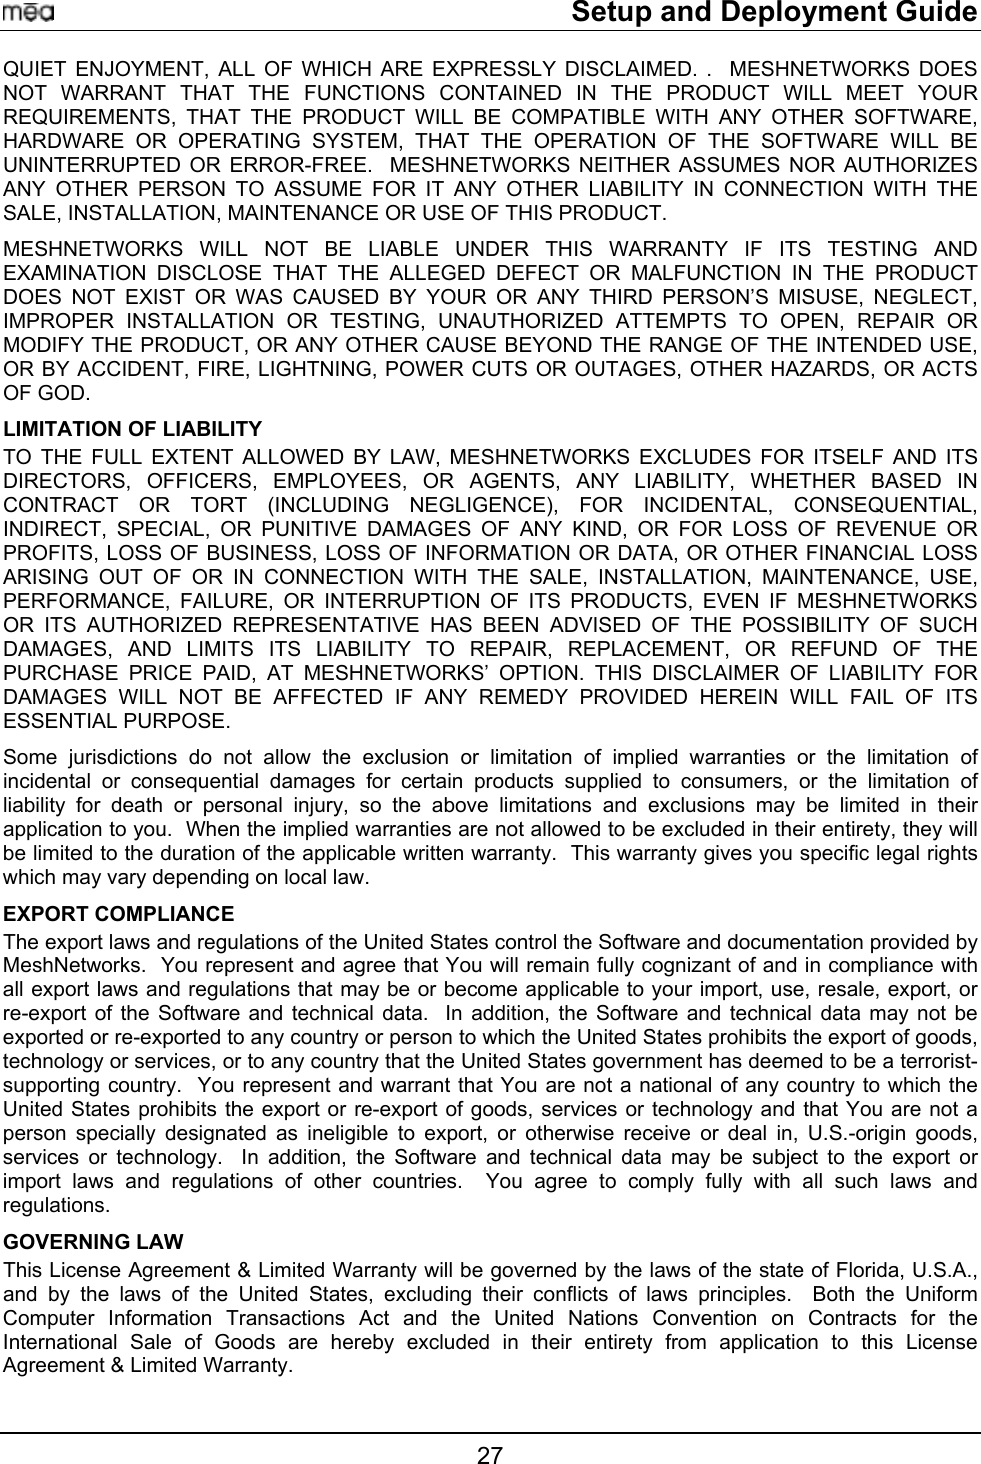
![Setup and Deployment Guide Building configuration... !!!!!!!!!!!!!!!!!!!!!!!!!!!!!!!!!!!!!!!!!!!!!!!!!!!!!!!!!!!!!!!!!!!!!!!!!!!!![OK] EdgeRTR#copy running-config startup-config Destination filename [startup-config]? <return> Building configuration... !!!!!!!!!!!!!!!!!!!!!!!!!!!!!!!!!!!!!!!!!!!!!!!!!!!!!!!!!!!!!!!!!!!!!!!!!!!![OK] EdgeRTR#exit Connect the IAPs to any of the ports 13-23. 5.4.2 EdgeRTR TEST Use a computer connected to the switch (in either the server or wireless subnet) to ping to the ISP gateway IP. Next, test access to the Internet using a web browser. If this fails troubleshoot and retry. Obtain the VPN peer address and the appropriate pre-shared key for the VPN. 5.4.3 CoreRTR Configuration The CoreRTR must have on-site configuration performed to allow remote management of the wireless devices. During this exercise, the wireless subnet address of each of the wireless devices is mapped to a server subnet address. The wireless address is of the form 10.0.x.y. The value of “x” is obtained from the ID number found on the WMC, IAP or WR. The value of “y” is either 1 or 2; 1 indicates the host device and 2 indicates the transceiver. Note that a SD and IAP have both a host device and an transceiver, however a WR has a transceiver but not a host device. The server subnet address is of the form 172.a.b.c. The value of ‘a’ is supplied by MeshNetworks as part of the VPN setup. The default value is 31. The value of ‘b’ is the same as the ‘x’ in the wireless address. Likewise, the value of ‘c’ is the same as the ‘y’ in the wireless address. For example, if there is an IAP with an id number of 69, the wireless subnet addresses for it will be 10.0.69.1 and 10.0.69.2. MeshNetworks supplies the second value in the server subnet access; this example will use the value of 22. The server subnet address corresponding to the wireless subnet address will be 172.22.69.1 and 172.22.69.2, respectively. The table below shows the address mapping which must be done for each IAP, WR and SD. A generic “xx” is used in the server subnet address since it is a site-dependent value. Telnet to the CoreRTR from a computer connected to the server subnet. Use the address 172.xx.0.2 to connect to the CoreRTR. Update the NAT information using the commands below: CoreRTR> CoreRTR>enable Password:<password> CoreRTR#configure terminal 18](https://usermanual.wiki/Zebra-Technologies/IAPWR63000902.users-manual/User-Guide-282191-Page-23.png)
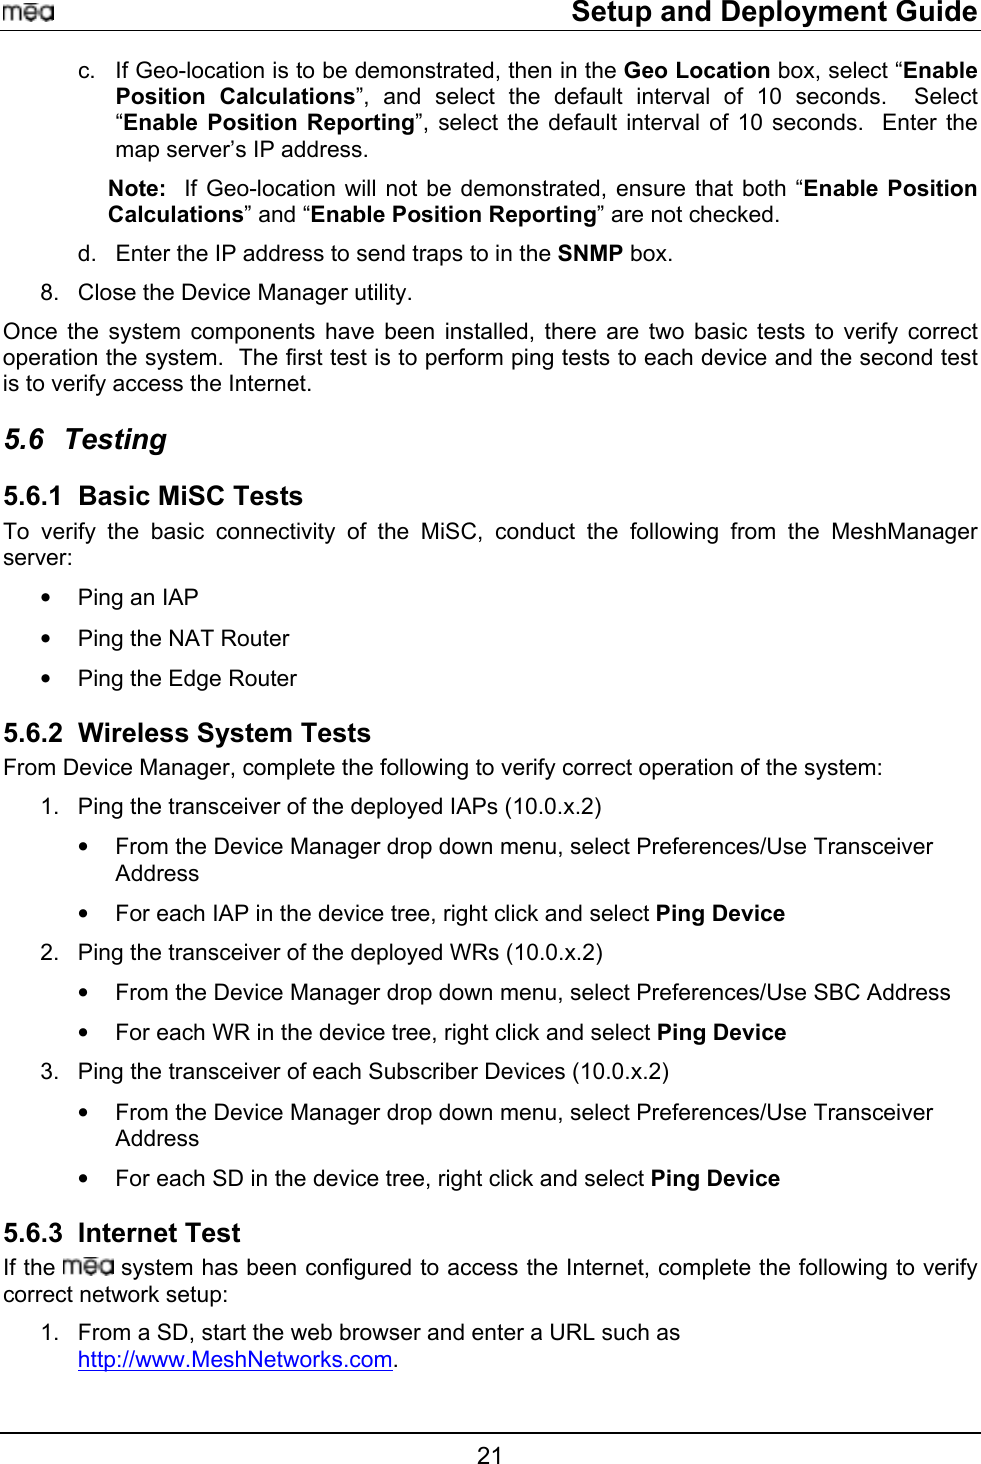
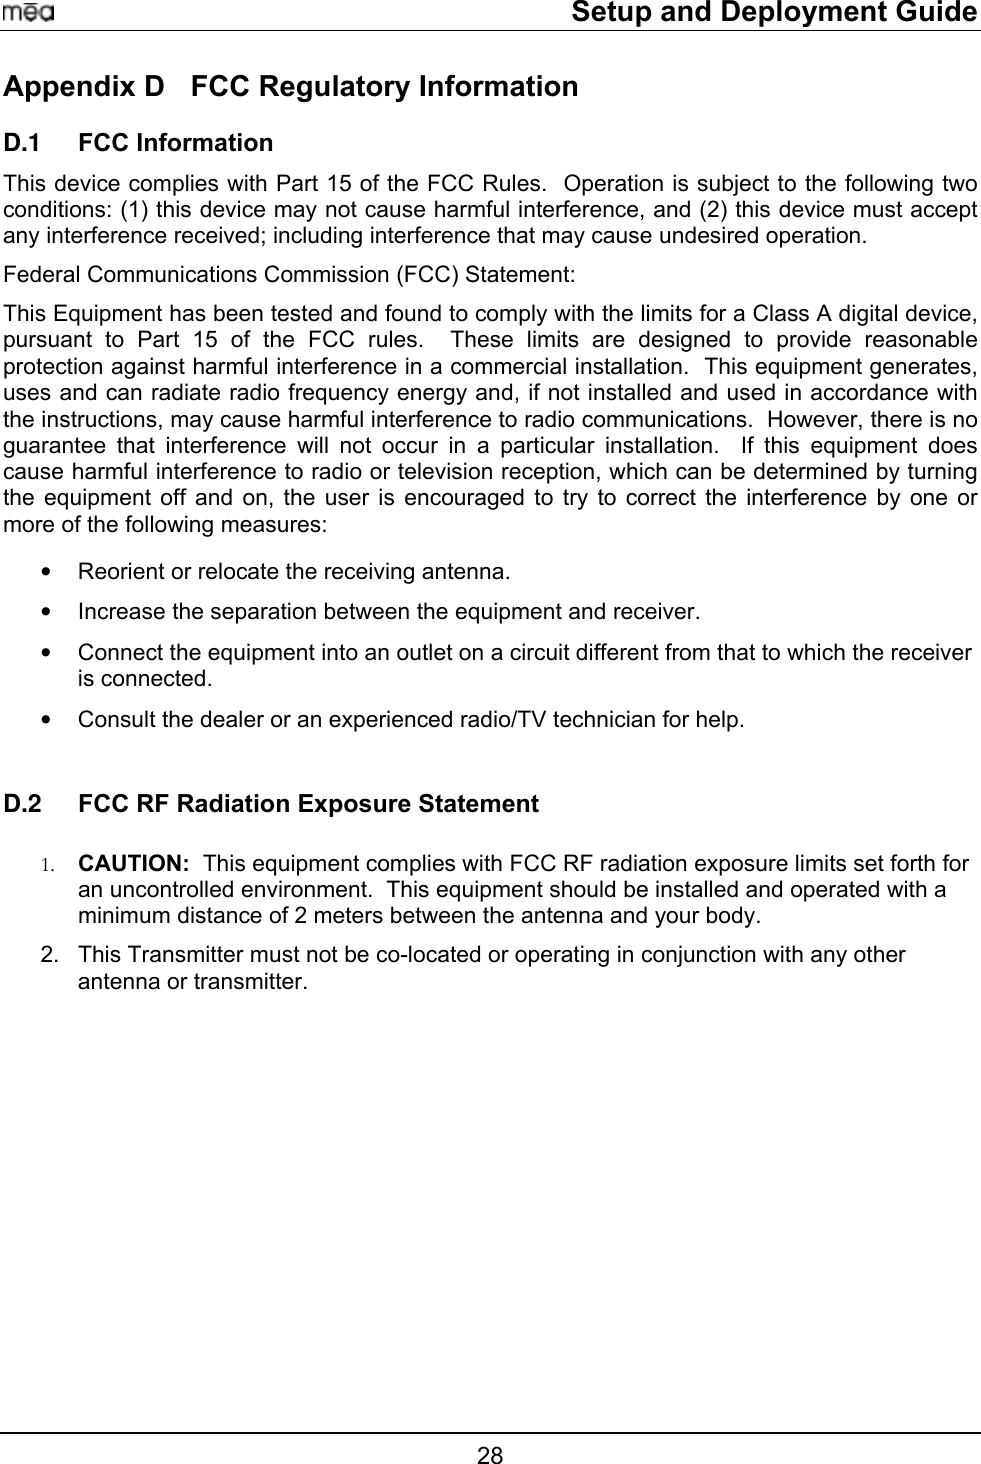
![Setup and Deployment Guide Table 1. Static NAT Mapping for an IAP, WR and SD Wireless Subnet Address Server Subnet Address Device Type 10.0.201.1 172.xx.201.1 SD #1 Host 10.0.201.2 172.xx.201.2 SD #1 XCVR 10.0.100.2 172.xx.100.2 WR #1 XCVR 10.0.69.1 172.xx.69.1 IAP #1 Host 10.0.69.2 172.xx.69.2 IAP #1 XCVR The following commands show how the example mapping is done. The commands must be repeated for each device in the network. The actual address values will be based on the equipment which is shipped in the kit. CoreRTR#configure terminal Enter configuration commands, one per line. End with CNTL/Z CoreRTR(config)#ip nat inside source static 10.0.201.1 172.xx.201.1 ;#SD Host CoreRTR(config)#ip nat inside source static 10.0.201.2 172.xx.201.2 ;#SD XCVR CoreRTR(config)#ip nat inside source static 10.0.100.2 172.xx.100.2 ;#WR XCVR CoreRTR(config)#ip nat inside source static 10.0.69.1 172.xx.69.1 ;#IAP HOST CoreRTR(config)#ip nat inside source static 10.0.69.2 172.xx.69.2 ;#IAP XCVR CoreRTR(config)#exit CoreRTR#write memory 3d01h: %SYS-5-CONFIG_I: Configured from console by console Building configuration... !!!!!!!!!!!!!!!!!!!!!!!!!!!!!!!!!!!!!!!!!!!!!!!!!!!!!!!!!!!!!!!!!!!!!!!!!!!!!!!!!!!![OK] CoreRTR#copy running-config startup-config Destination filename [startup-config]? <return> Building configuration... !!!!!!!!!!!!!!!!!!!!!!!!!!!!!!!!!!!!!!!!!!!!!!!!!!!!!!!!!!!!!!!!!!!!!!!!!!!!!!!!!!!![OK] CoreRTR# 19](https://usermanual.wiki/Zebra-Technologies/IAPWR63000902.users-manual/User-Guide-282191-Page-24.png)