Zebra Technologies P430I-UHF Thermal Card Printer User Manual P430i UM
Zebra Technologies Corporation Thermal Card Printer P430i UM
Contents
- 1. User Manual Part 1 of 2
- 2. User manual Part 2 of 2
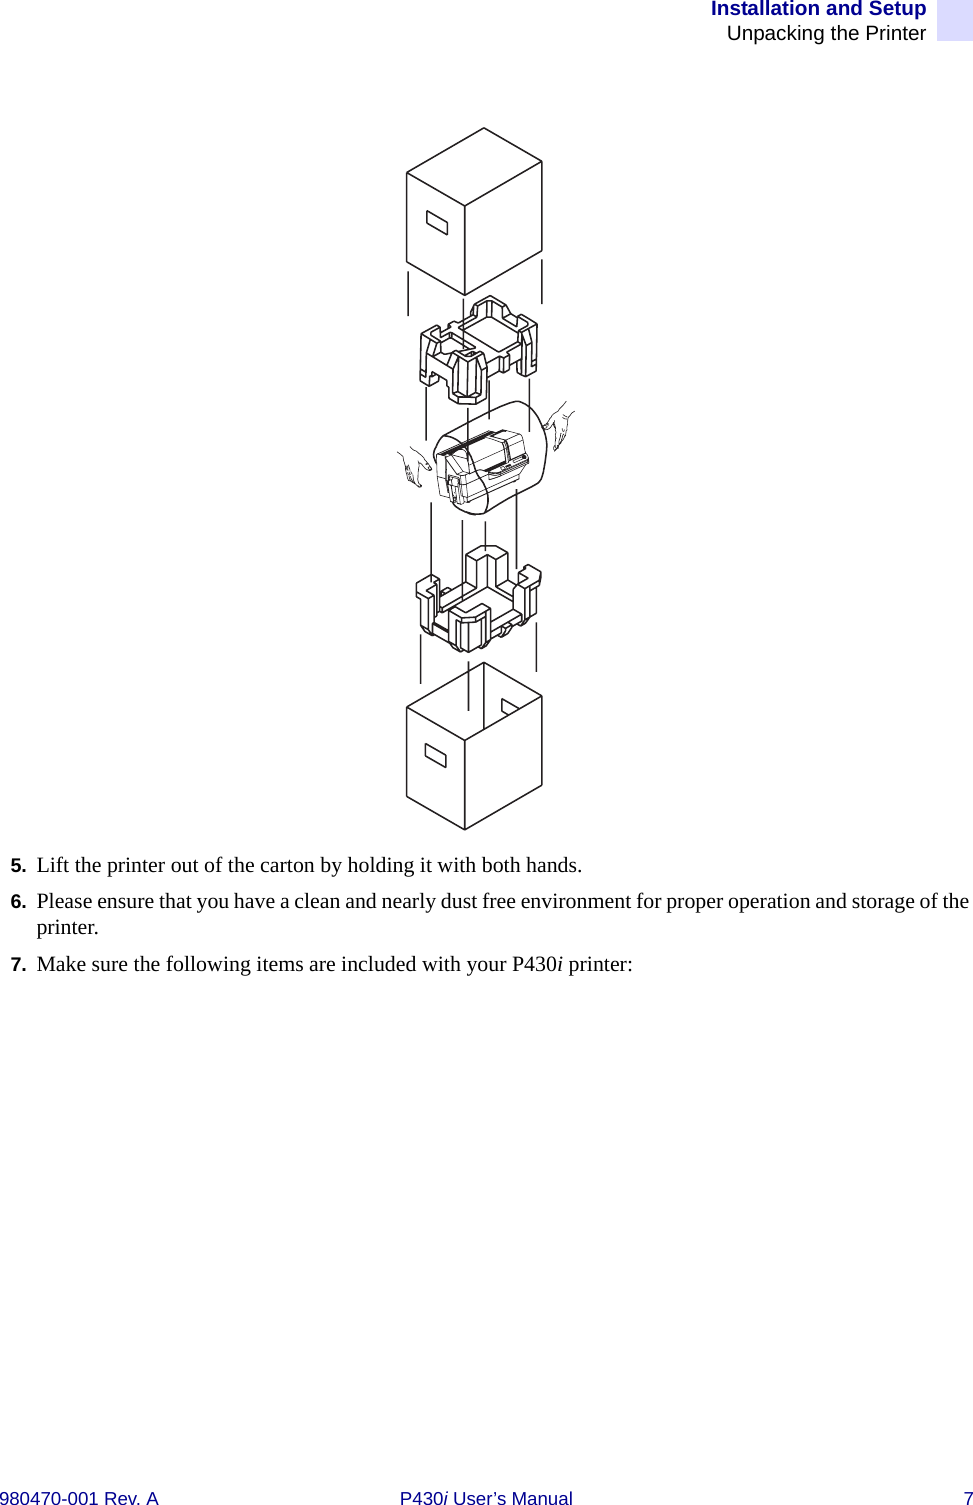
- 3. user manaul part 1 of 2
- 4. user manual part 2 of 2
User Manual Part 1 of 2