Zhuhai Pantum Electronics 5103MFP Monochrome Laser Multifunctional Printer User Manual Pantum User Guide
Zhuhai Pantum Electronics Co., Ltd Monochrome Laser Multifunctional Printer Pantum User Guide
UserManual.wiki
>
Zhuhai Pantum Electronics
>
5103MFP User Manual
User manual
Navigation menu
Upload a User Manual
Namespaces
Wiki Guide
HTML
PDF
Info
Views
User Manual
Discussion / Help
Navigation


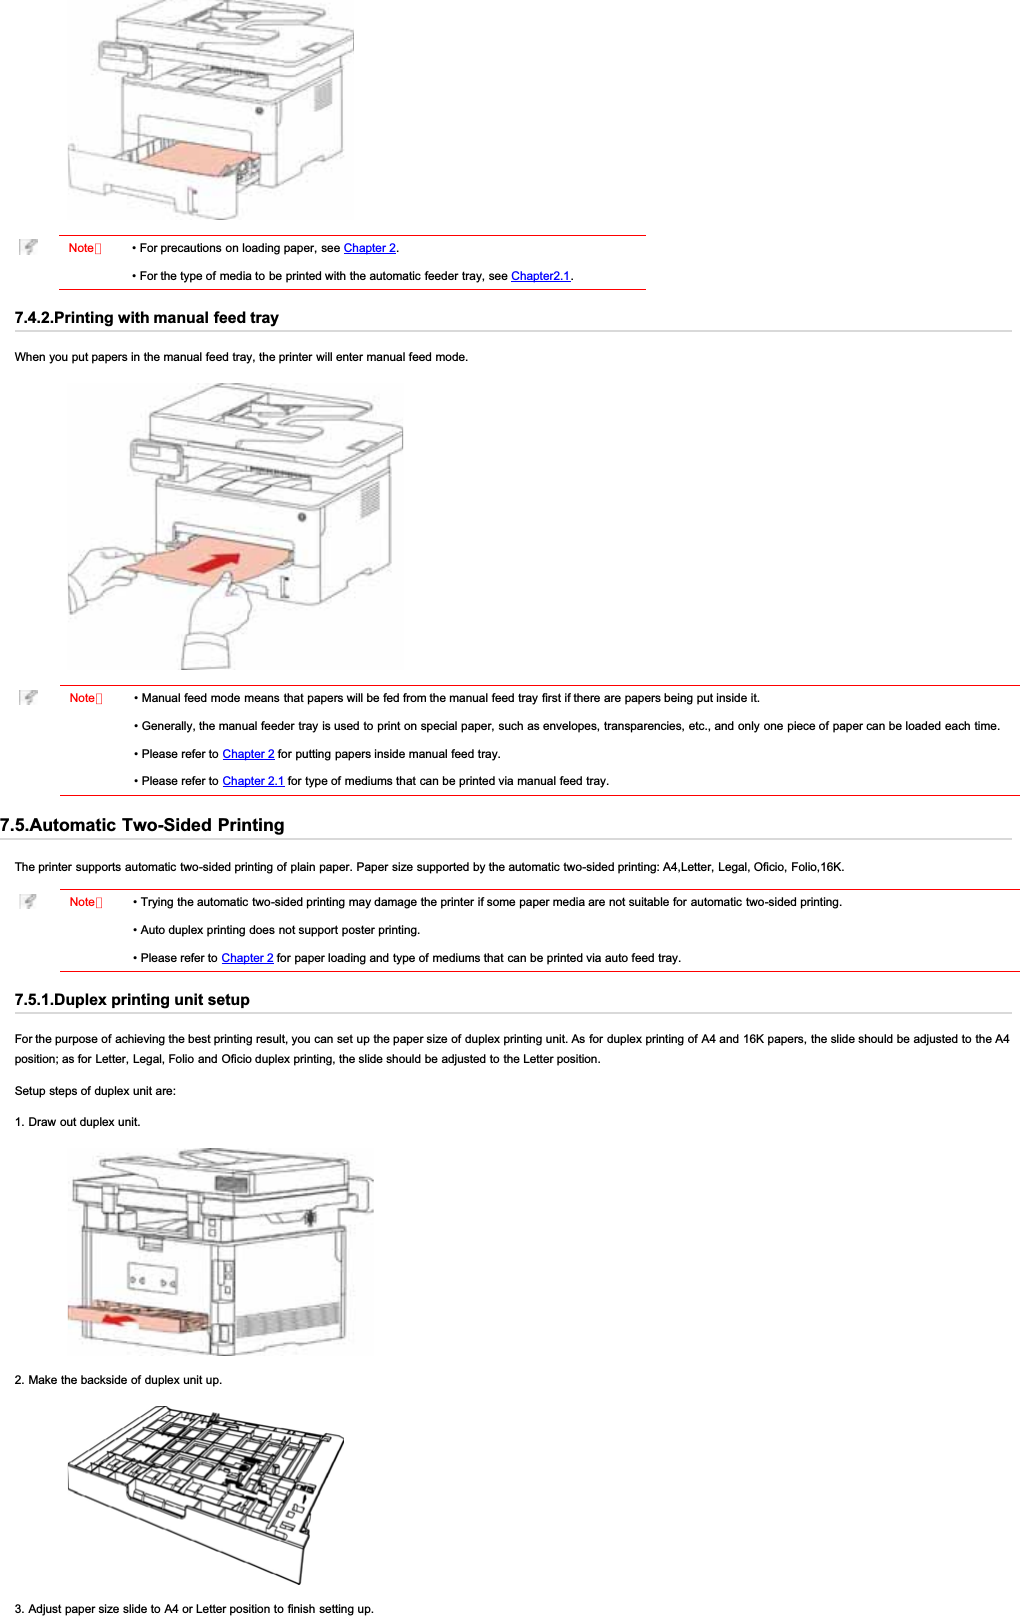
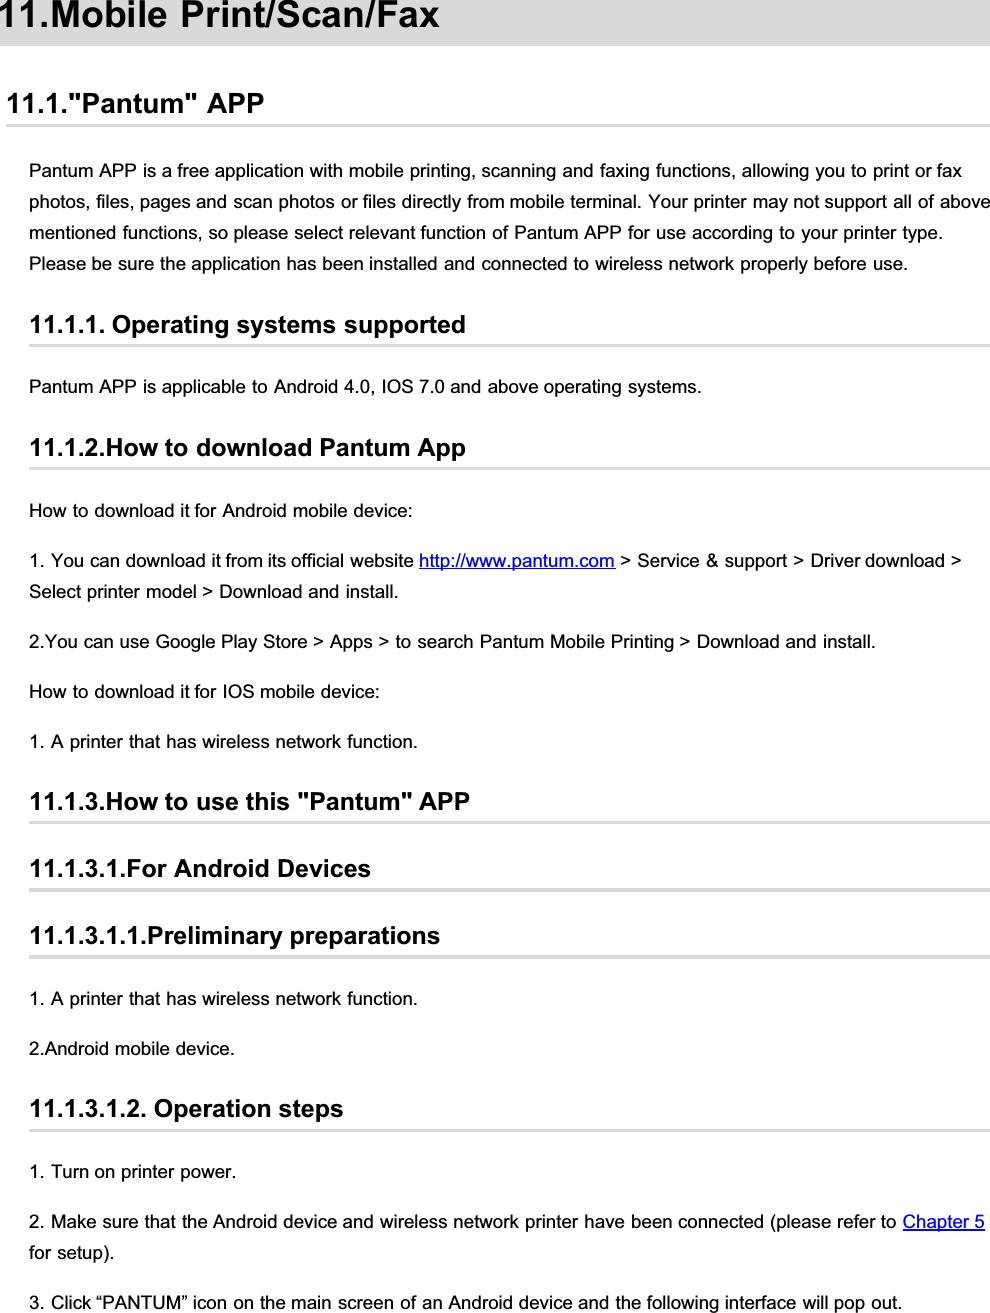
![14 Menu Open the main menu of control panel15 Back Return to the previous menu.16 Contacts This is used to enter quickly the Phone Book option under Fax mode.17 UPScroll through the menus and options .Increase 1 copy on the ready interface of Copy mode.18 DownScroll through the menus and options .Decrease 1 copy on the ready interface of Copy mode.19 Status Light Indicate the status of printer. (Please see Chapter 1.6).1.5.2.Control PanelSometimes it needs to input names and numbers in executing some tasks. Letters, numbers and characters on the keyboard are distributed as below:Keys Numbers, letters and characters distributed001 @ / ; . 12 a b c A B C 23 d e f D E F 34 g h I G H I 45 j k l J K L 56 m n o M N O 67 p q r s P Q R S 78 p q r s P Q R S 79 w x y z W X Y Z 9*(Space) & + , - * % ~ ! $ ( ) [ ]# # = ' | _ ? " : { } < >Note: Note: • It may not allow to input all special characters above mentioned in different input environments.a. Input of fax/phone number. It supports only inputting with 0-9 number keys and the "*" and "#" keys. In addition, it is available to input spaceswith the Down key and the symbol "-" with the Redial/Pause key.b. Mixed input of letters, numbers and symbols. It is only allowed to input with 0-9 number keys and the "*" and "#" keys. Specific correspondingcharacters are different according to the difference of input environments. (Under this condition, pressing the Down key could make the cursor movebackward; the symbol "-" could not be input with the Redial/Pause key.)• When inputting a number or name, short pressing Cancel could clear the last number or character; while to clear all numbers or characters, pleaselong press it. You may also use the Up key to clear the last number or character.1.6. Function of status indicatorThe meanings of status displayed by the status indicator are as below:No.Status displayedby the statusindicatorStatus Status Description1Die out Shutdown or sleep state](https://usermanual.wiki/Zhuhai-Pantum-Electronics/5103MFP/User-Guide-3243728-Page-14.png)