ZyXEL Communications WAP5605 5-GHz Wireless N Media Streaming Box User Manual V 2 Part 1
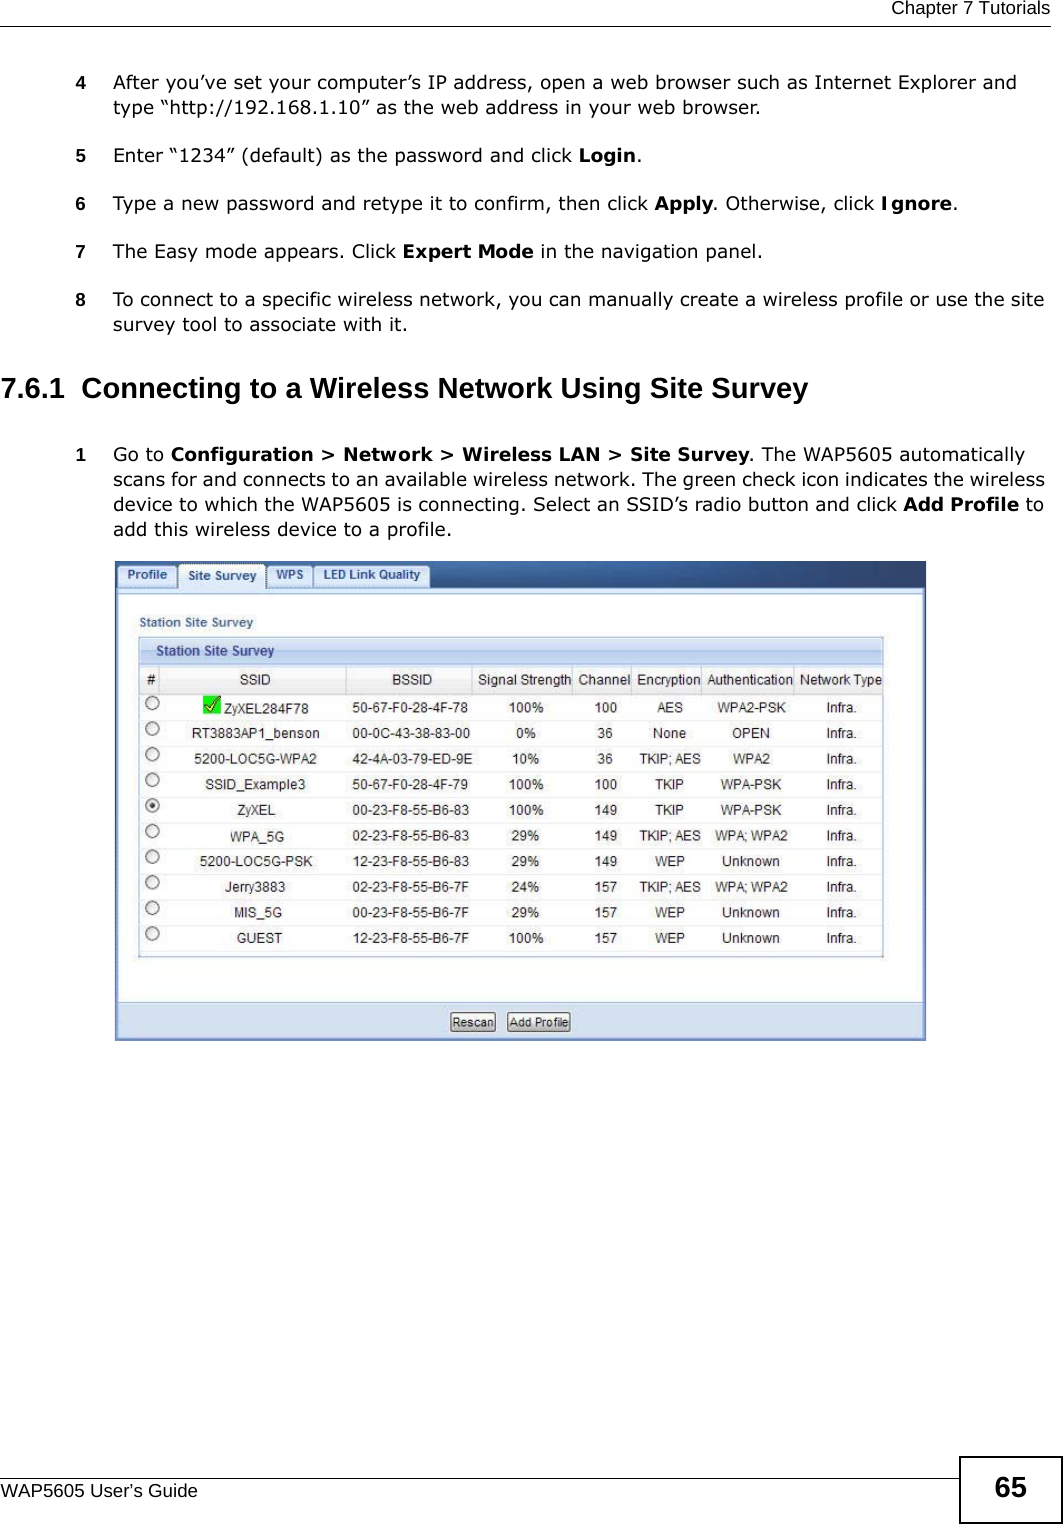
ZyXEL Communications Corporation 5-GHz Wireless N Media Streaming Box V 2 Part 1
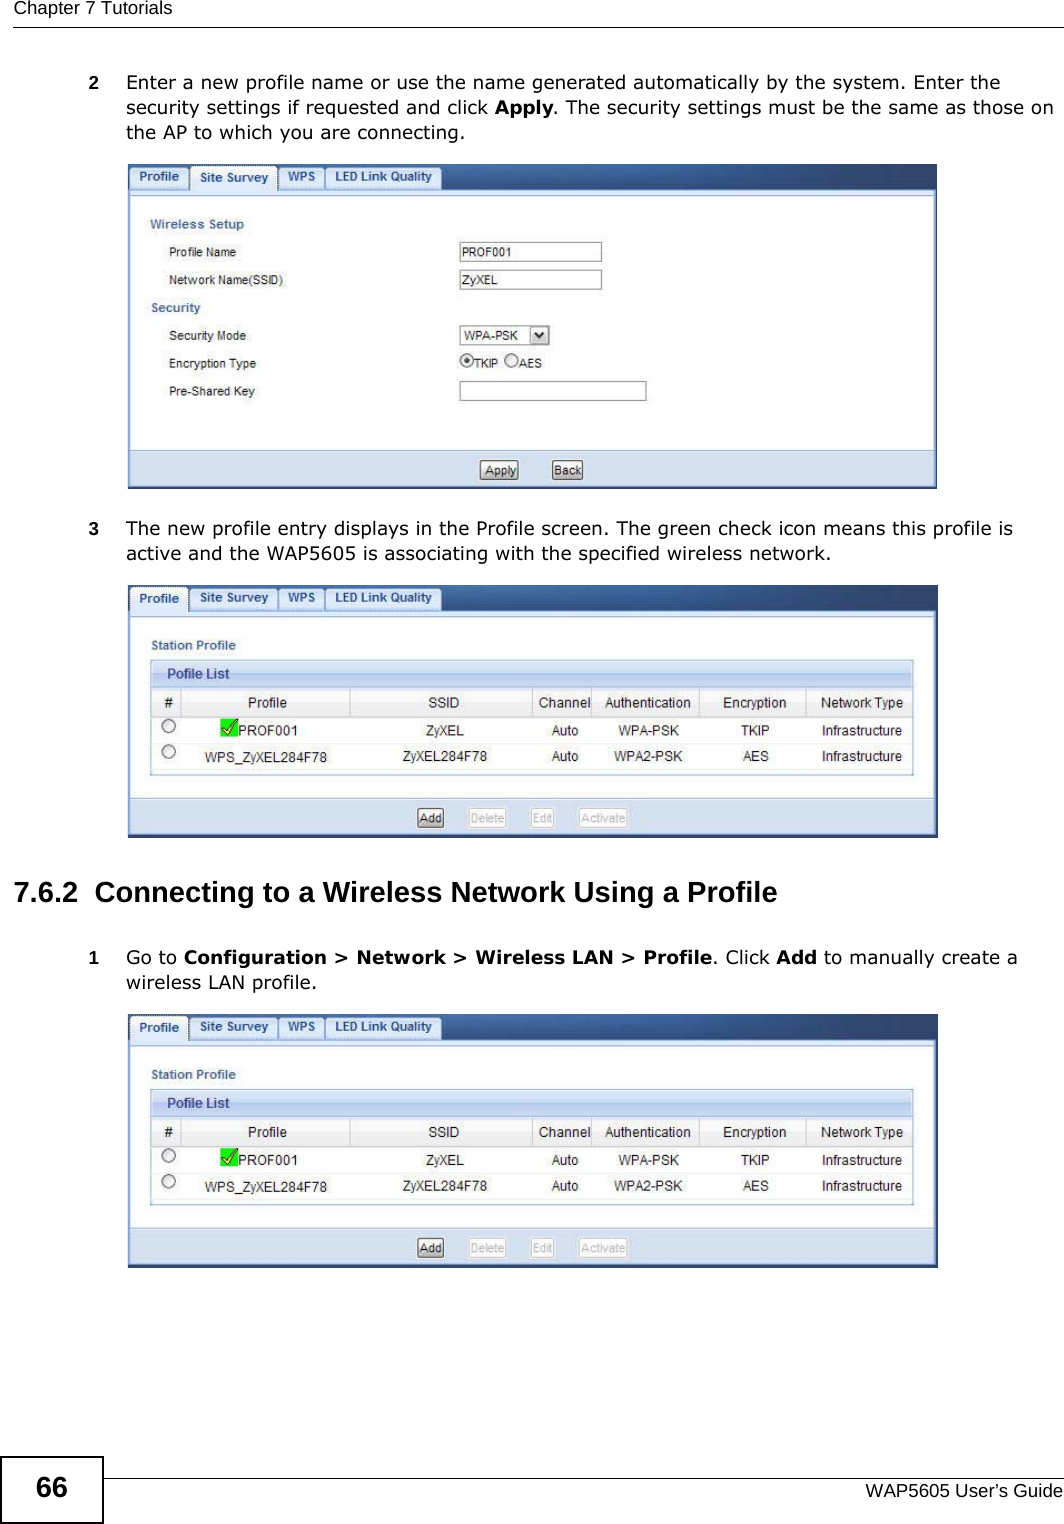
Contents
- 1. User manual V.2 (Part 1)
- 2. User manual V.2 (Part 2)
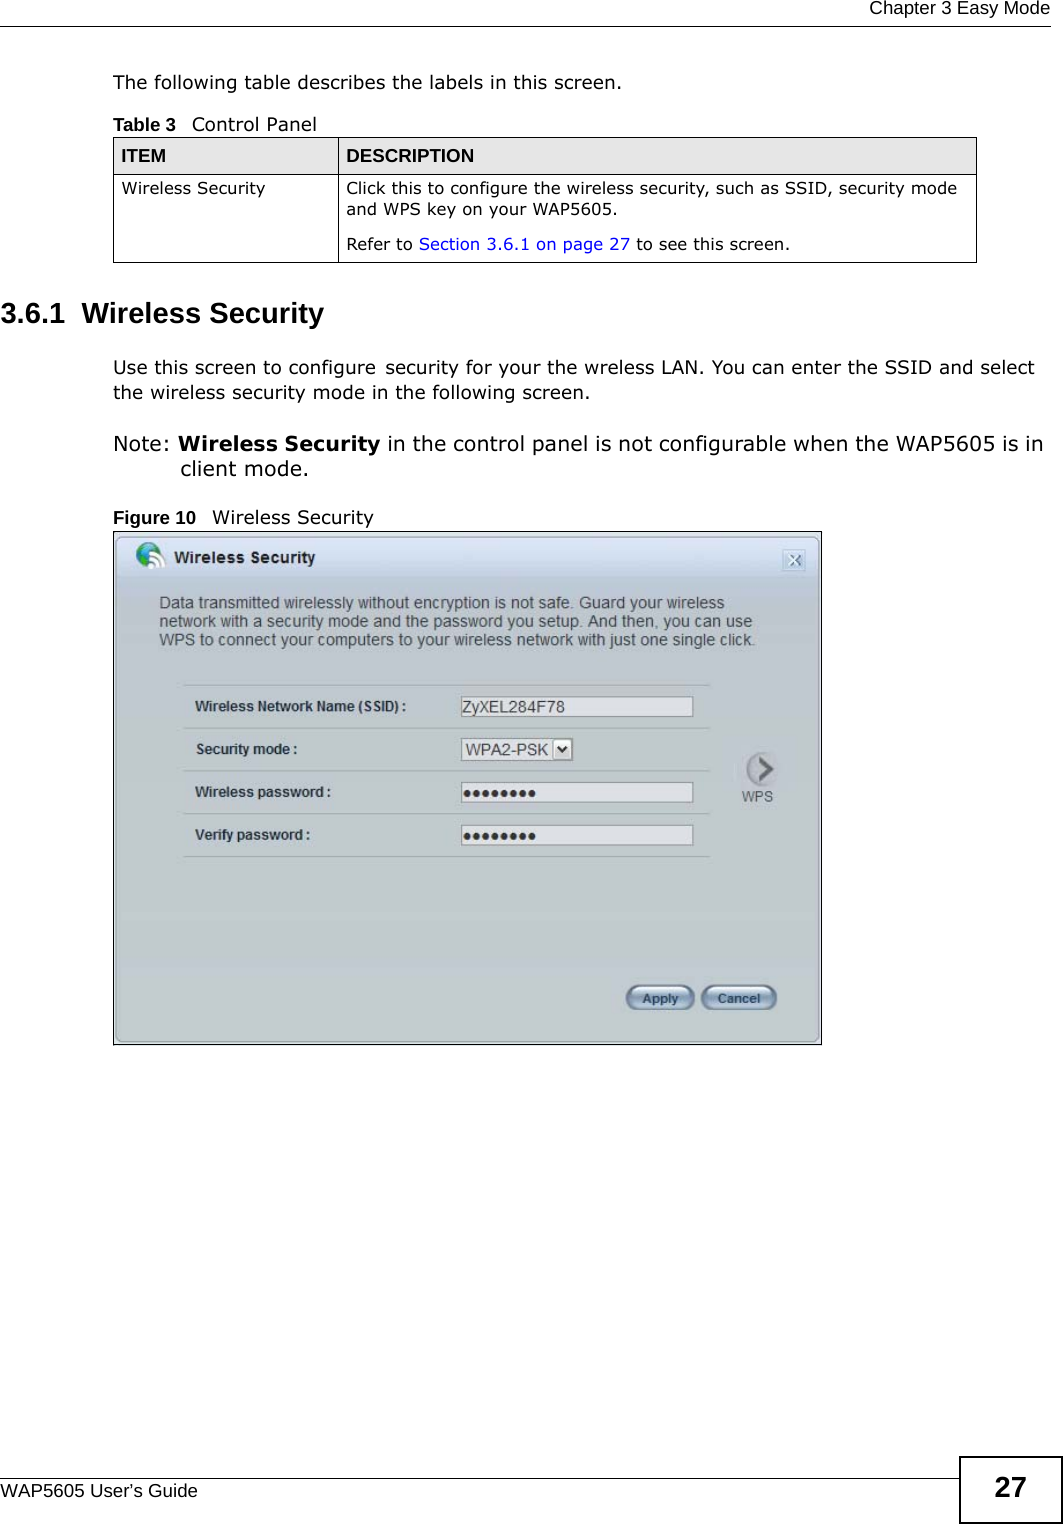
User manual V.2 (Part 1)
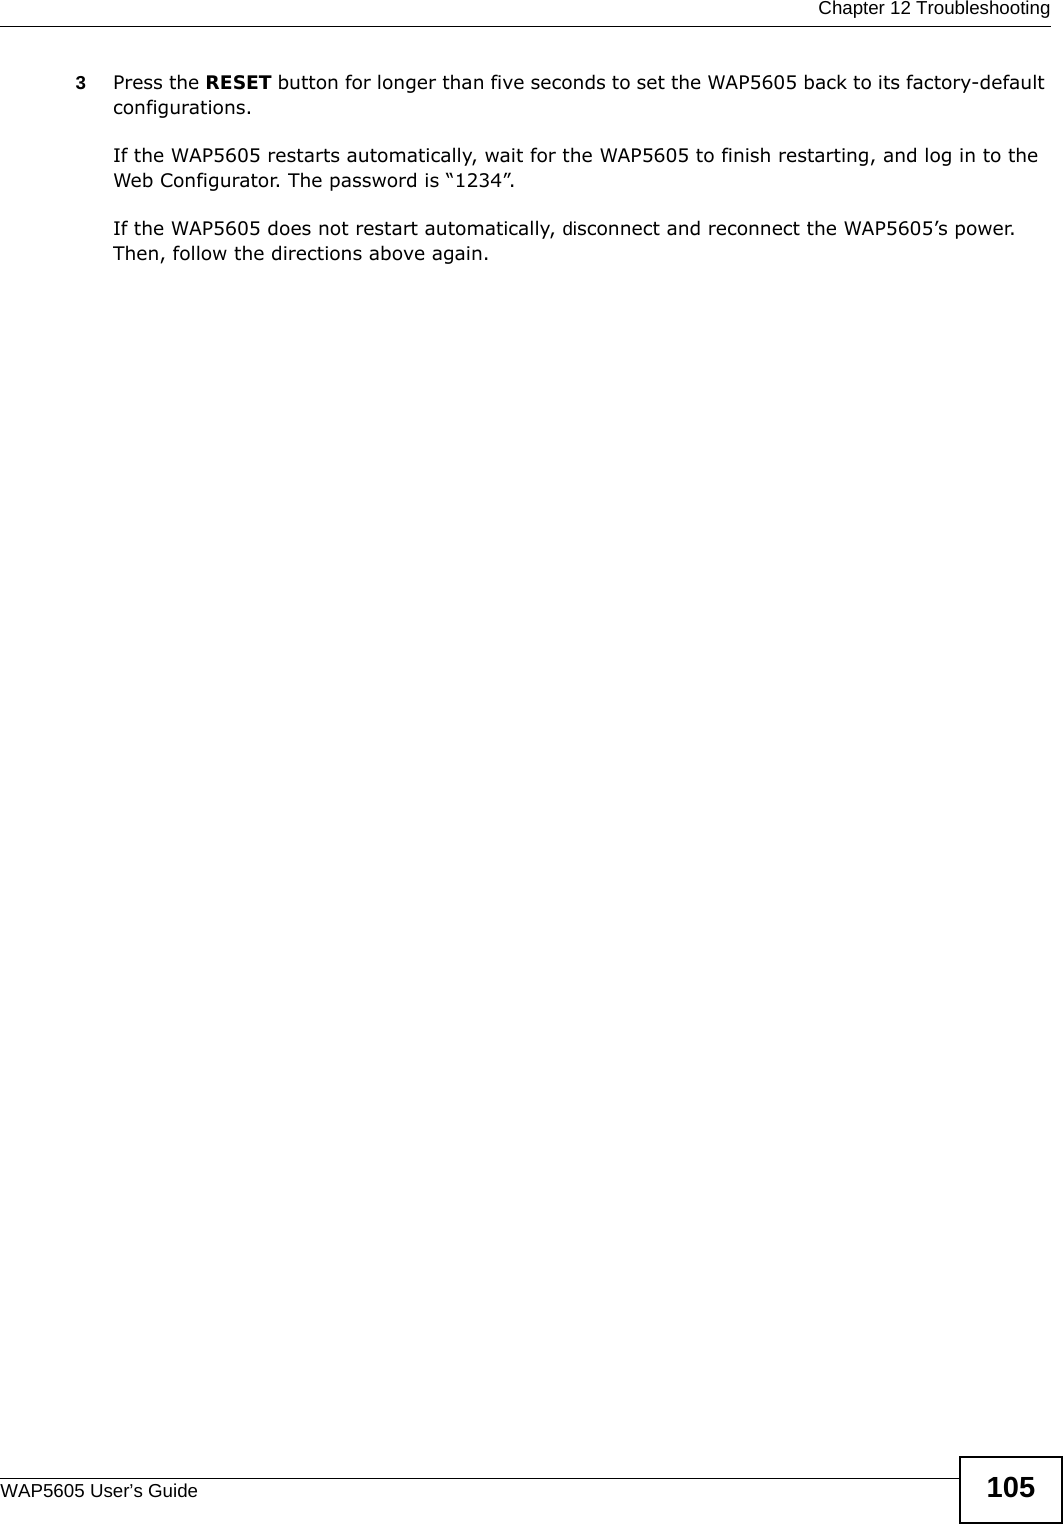
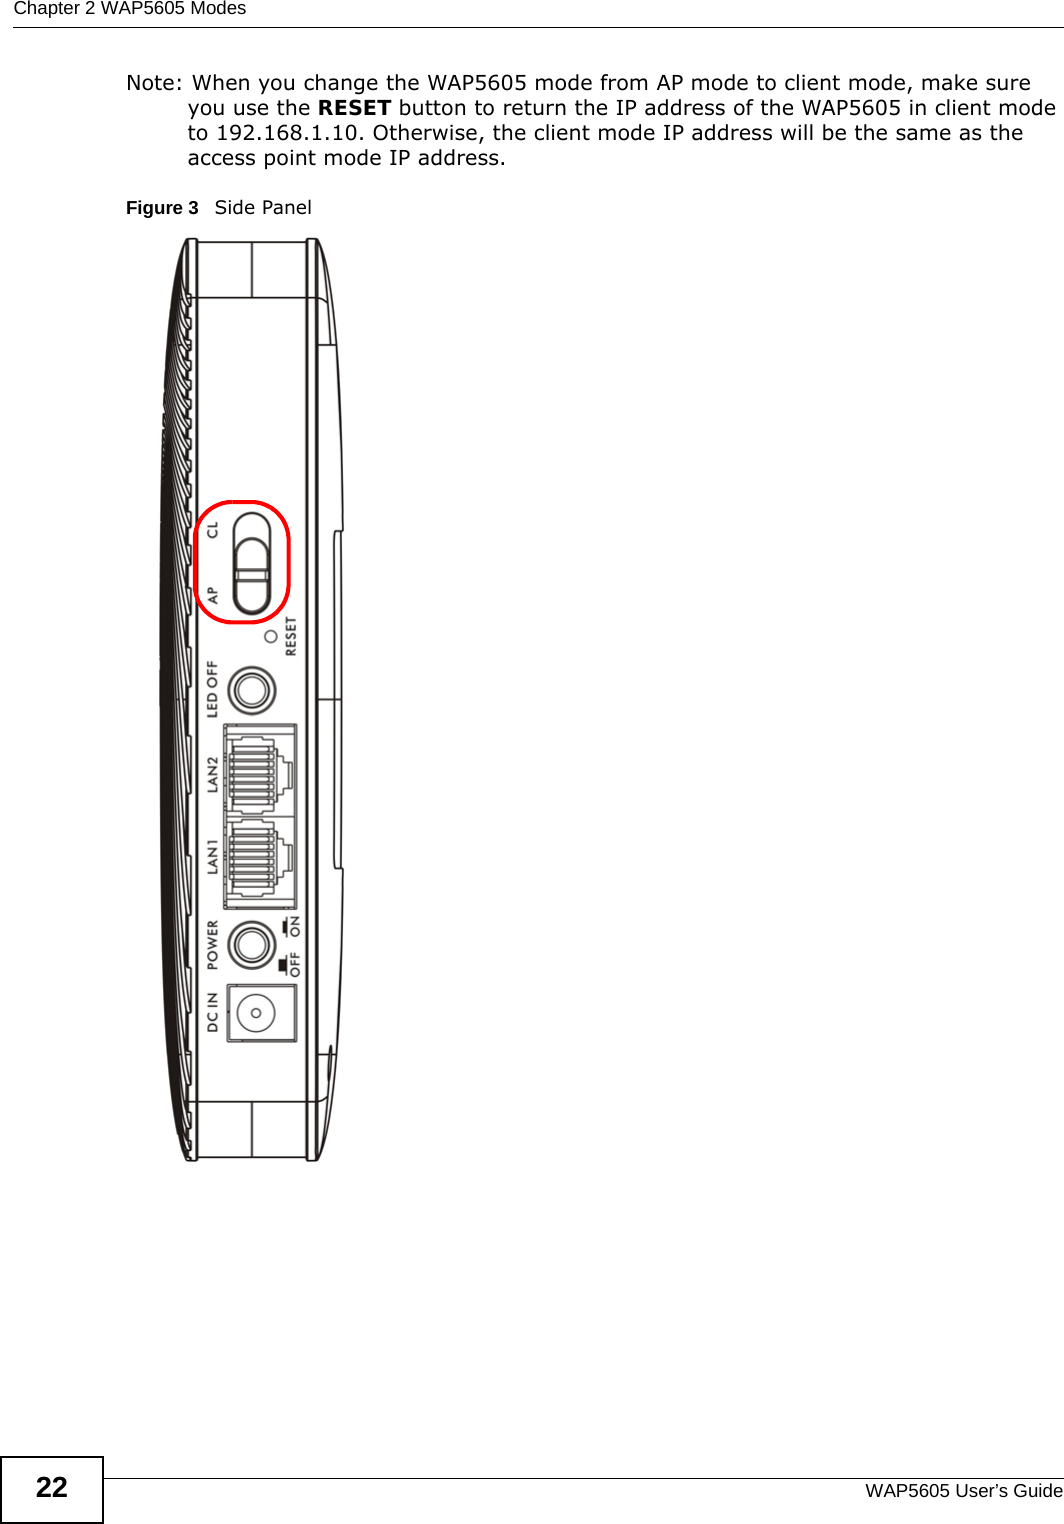
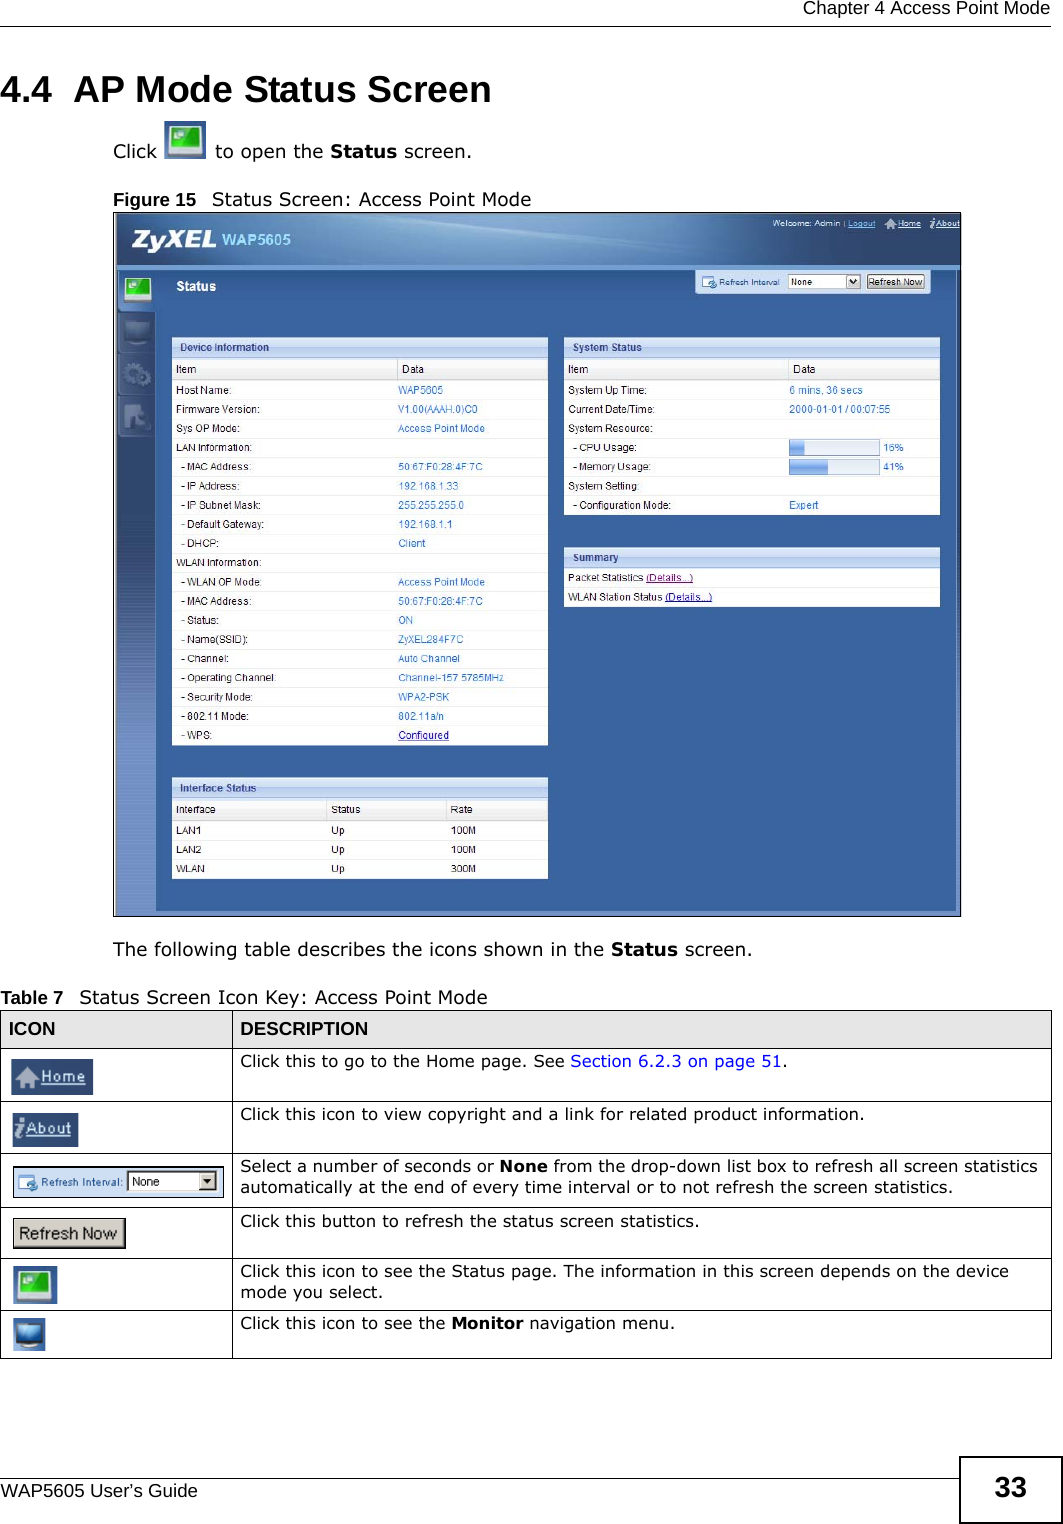
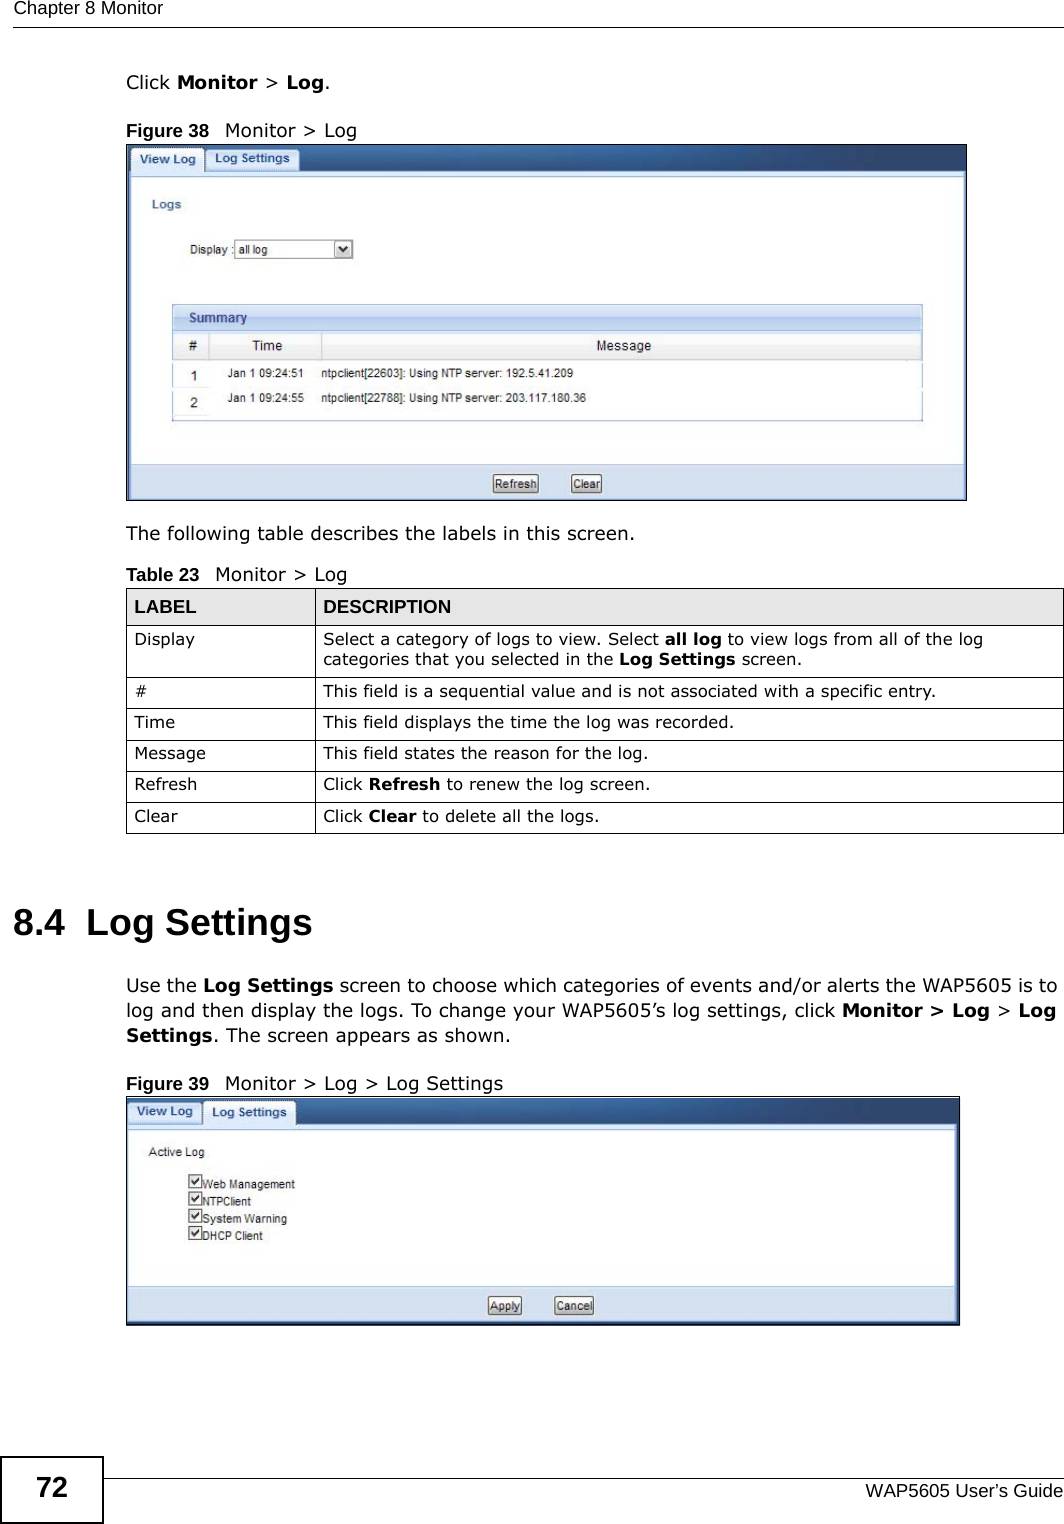
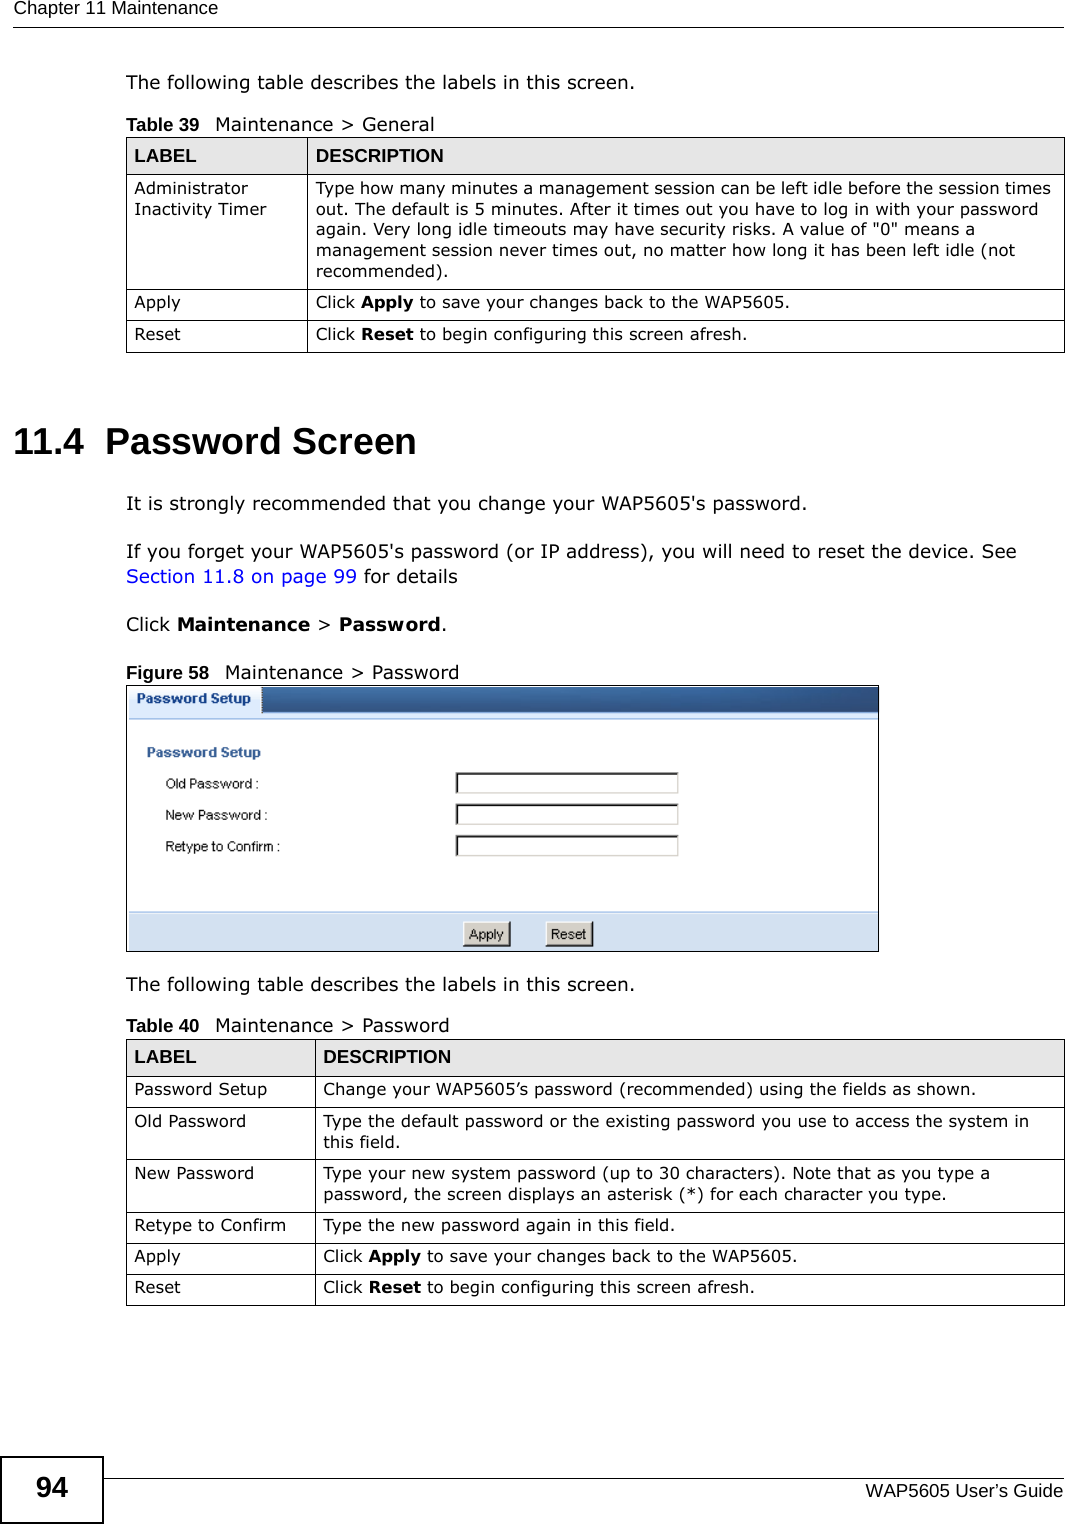
![Document ConventionsWAP5605 User’s Guide4Document ConventionsWarnings and NotesThese are how warnings and notes are shown in this User’s Guide. Warnings tell you about things that could harm you or your device.Note: Notes tell you other important information (for example, other things you may need to configure or helpful tips) or recommendations.Syntax Conventions• The WAP5605 may be referred to as the “WAP5605”, the “device”, the “product” or the “system” in this User’s Guide.• Product labels, screen names, field labels and field choices are all in bold font.• A key stroke is denoted by square brackets and uppercase text, for example, [ENTER] means the “enter” or “return” key on your keyboard.• “Enter” means for you to type one or more characters and then press the [ENTER] key. “Select” or “choose” means for you to use one of the predefined choices.• A right angle bracket ( > ) within a screen name denotes a mouse click. For example, Maintenance > Log > Log Setting means you first click Maintenance in the navigation panel, then the Log sub menu and finally the Log Setting tab to get to that screen.• Units of measurement may denote the “metric” value or the “scientific” value. For example, “k” for kilo may denote “1000” or “1024”, “M” for mega may denote “1000000” or “1048576” and so on.• “e.g.,” is a shorthand for “for instance”, and “i.e.,” means “that is” or “in other words”.Icons Used in FiguresFigures in this User’s Guide may use the following generic icons. The WAP5605 icon is not an exact representation of your device.Graphics in this book may differ slightly from the product due to differences in operating systems, operating system versions, or if you installed updated firmware/software for your device. Every effort has been made to ensure that the information in this manual is accurate.](https://usermanual.wiki/ZyXEL-Communications/WAP5605.User-manual-V-2-Part-1/User-Guide-1566123-Page-4.png)


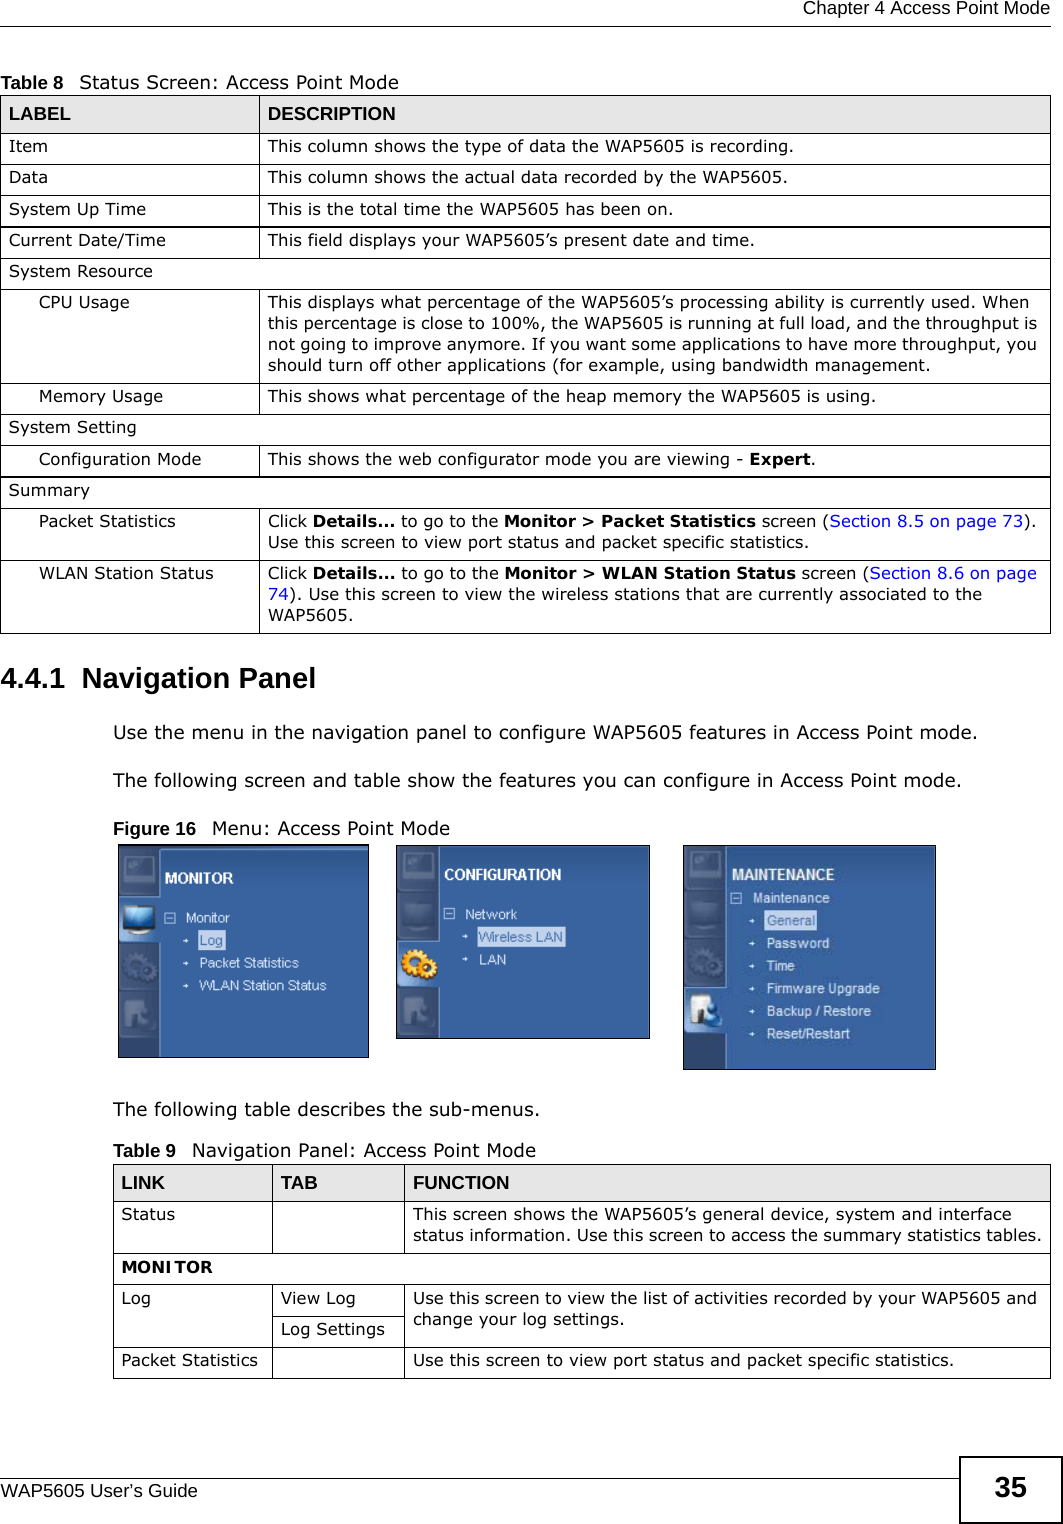


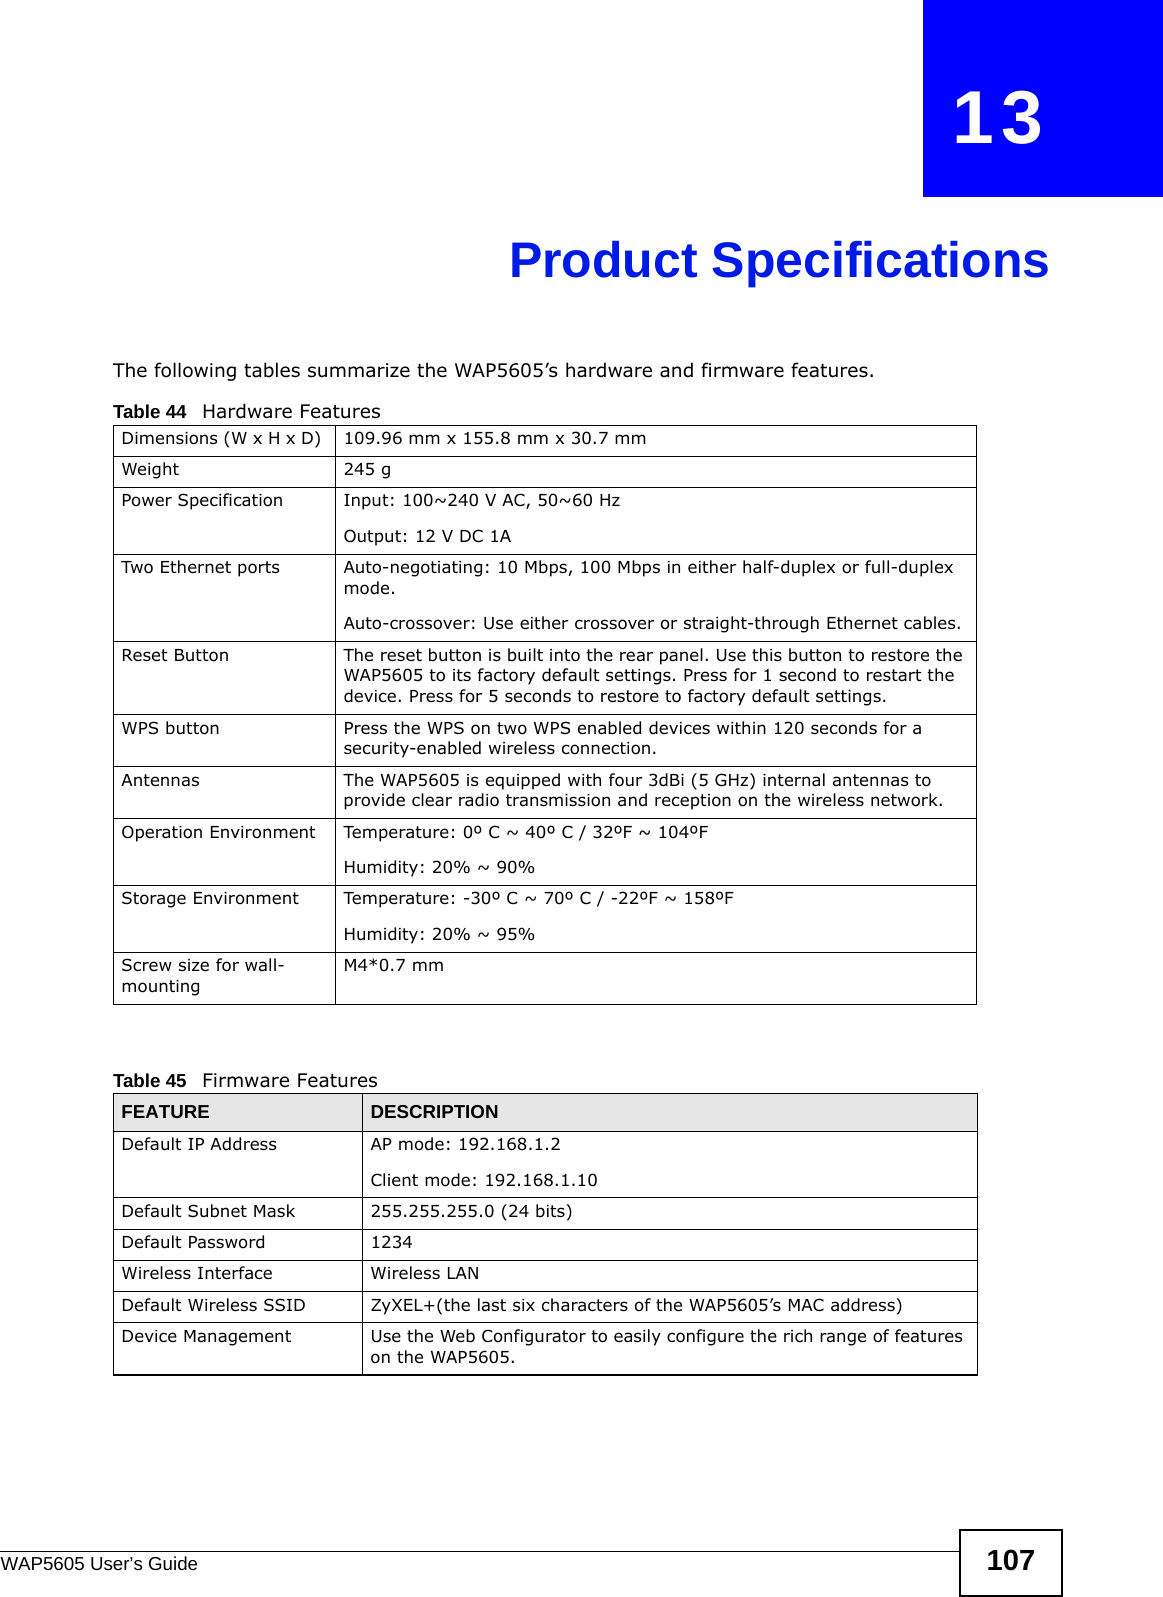
![Chapter 12 TroubleshootingWAP5605 User’s Guide 103• If there is no DHCP server on your network, make sure your computer’s IP address is in the same subnet as the WAP5605. See Appendix B on page 125.5Reset the device to its factory defaults, and try to access the WAP5605 with the default IP address. See Section 11.7 on page 98.6If the problem continues, contact the network administrator or vendor, or try one of the advanced suggestions.Advanced Suggestion• If your computer is connected wirelessly, use a computer that is connected to a LAN port.I can see the Login screen, but I cannot log in to the WAP5605.1Make sure you have entered the password correctly. The default password is 1234. This field is case-sensitive, so make sure [Caps Lock] is not on. 2This can happen when you fail to log out properly from your last session. Try logging in again after 5 minutes.3Disconnect and re-connect the power adaptor or cord to the WAP5605. 4If this does not work, you have to reset the device to its factory defaults. See Section 12.4 on page 104.12.3 Internet AccessI cannot access the Internet.1Check the hardware connections, and make sure the LEDs are behaving as expected. See the Quick Start Guide.2Make sure the WAP5605 in access point mode is connected to a broadband modem or router with Internet access. Connect to another WAP5605 in client mode to access the Internet through the WAP5605 in access point mode. Use the switch on the WAP5605’s side panel to change your system operating mode setting (see Section 2.1.2.1 on page 21). Make sure the client is within the transmission range of the AP.3If you are trying to access the Internet wirelessly, make sure the wireless settings in the wireless client are the same as the settings in the AP.4Disconnect all the cables from your device, and follow the directions in the Quick Start Guide again. 5If the problem continues, contact your ISP.](https://usermanual.wiki/ZyXEL-Communications/WAP5605.User-manual-V-2-Part-1/User-Guide-1566123-Page-103.png)