Swiss Madison SM-WC326 Commercial Concealed In-Wall Toilet Tank Installation Instructions
Brand: Swiss Madison
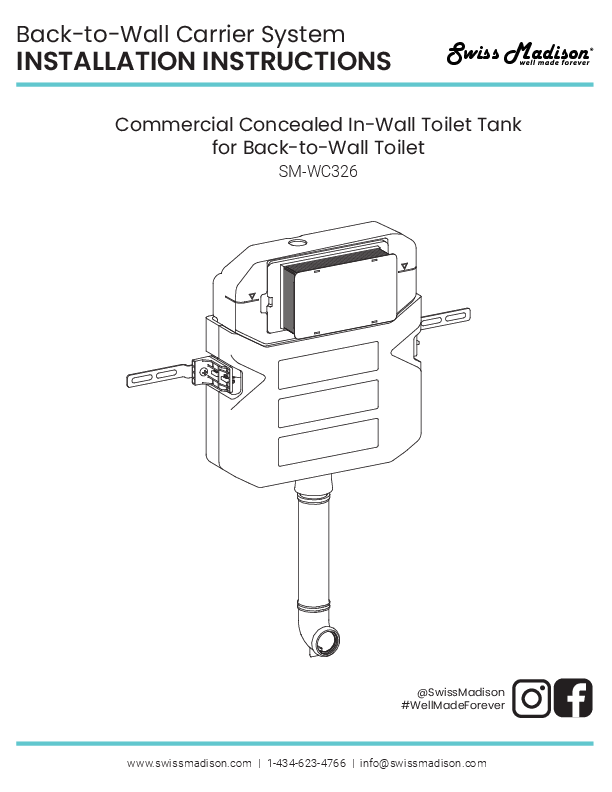
Model: SM-WC326
Prior to Installation
- Inspect the carrier for any shipping damage.
- Ensure all plumbing and building codes are followed according to state and local requirements.
- All dimensions are nominal; measure your toilet before installation.
- These instructions are a general reference. Swiss Madison is not liable for discrepancies. Professional installation by a licensed professional is recommended.
- Read installation and maintenance instructions thoroughly. Use proper tools and wear personal safety accessories.
- Properly bleed all air from the piping system to prevent damage to the flushing system and toilet bowl.
- Avoid outside wall installations to prevent freezing.
For questions or concerns, contact Swiss Madison at 1-434-623-4766 or info@swissmadison.com.
Suggested Tools & Materials
? Safety Glasses
? Plumber's Grease
? Wrench
? Tape Measure
? Drill
?️ Flat File
? Hacksaw
⚖️ Level
Parts for Reference
A diagram shows various parts labeled with numbers 1 through 32. The diagram illustrates the components of the in-wall carrier system.
Diagram 1 shows the carrier unit with mounting points and the flush actuator plate area. It indicates a 'click' sound upon proper installation of the flush actuator plate.
Installation Steps
Step 1: Mounting the Carrier
Diagram 2 shows the carrier unit being mounted to the wall. It highlights a measurement of 39 3/8" from the finished floor. The diagram illustrates drilling holes and securing the unit with fasteners, ensuring it is plumb vertically and horizontally.
Ensure the 39 3/8" measurement is the center height from the finished floor to the indicated mark.
Step 2: Connecting the Waste Pipe
Diagram 3 shows the connection of the waste pipe to the carrier. It details measurements and the process of attaching the waste pipe, ensuring it is plumb.
Step 3: Adjusting and Cutting the Waste Pipe
Diagram 4 shows the waste outlet connection. It provides measurements for pipe cutting, indicating a length calculation (L=X-H) and a recommended addition for a small cushion.
Refer to the specific toilet bowl being used to measure correct heights and measurements. Deburr any particles from the pipe after cutting.
Step 4: Installing the Flush Pipe
Diagram 5 shows the installation of the flush pipe. It includes lubricating the connection points with grease and inserting a dirt cap during construction.
Step 5: Attaching the Flush Actuator Plate
Diagram 6 shows the process of attaching the flush actuator plate to the carrier, with an indication that a 'click' sound confirms proper installation.
Step 6: Installing the Water Supply Valve
Diagram 7 shows the removal of a cover plate to access the water supply valve. It illustrates the installation of the water supply valve.
Step 7: Connecting the Water Supply Line
Diagram 8 recommends using Teflon tape on valve threads and carefully attaching the water supply line to the valve. It shows the connection being made to the tank supply.
Step 8: Flushing the Supply Line
Diagram 9 illustrates flushing the water supply line before connecting it to the tank supply. It also reminds the user to turn the valve on once installation is complete.
Step 9: Finalizing Flush Actuator Installation
Diagram 10 shows the final attachment of the flush actuator plate, emphasizing the 'click' sound for correct installation.
Step 10: Toilet Installation
Diagram 11 shows the toilet installation process, including inserting the tube into the wall and bowl, marking, cutting, lubricating, and leveling the toilet before securing it.
Carefully measure between your marks; this distance will be cut off the bald end. Add 15/64" to the measurement before cutting, leaving a small cushion for error. Lubricate both ends then install. Ensure the bowl is level and install. Caulk and seal around the bowl.
Step 11: Final Adjustments
Diagram 12 shows the final adjustments, including carefully cutting off excess pipe after complete installation and ensuring proper alignment.
One Year Limited Warranty
Swiss Madison® products are covered by a one-year limited warranty against defects in materials or craftsmanship under regular use. Replacement parts will be provided at no charge, or the product may be replaced at Swiss Madison®'s discretion. This warranty applies only to the original purchaser, and proof of purchase is required.
Swiss Madison® recommends installation by a licensed professional plumber or contractor. The company is not responsible for damage or failure due to improper installation, misuse, or failure to use a licensed professional. Installation or removal costs are not covered.
The warranty is void if:
- Installation recommendations were not followed.
- The product was moved from its initial installation place.
- The product was modified from its original state.
- The product was subjected to improper maintenance, abuse, misuse, excessive chemicals, accidents, or other damages.
Swiss Madison® does not imply that its products comply with all local building or plumbing codes. It is the consumer's responsibility to ensure local code compliance. This warranty extends only to the original purchaser and first consumer.
Swiss Madison® is not responsible for special, incidental, or consequential damages, including freight costs, labor, travel time, lost profit, home damages, or other contingent liabilities. The warranty is a comprehensive and explicit limit of liability.
For questions or concerns, contact Swiss Madison at 1-434-MADISON (623-4766).
WARNING: Contents may contain sharp or harmful pieces. Keep away from children. Swiss Madison® is not responsible for personal damages.


