orcam technologies MYEYE Wearable camera MYEYE2 User Manual
orcam technologies ltd. Wearable camera MYEYE2
UserManual.wiki
>
orcam technologies
>
MYEYE User Manual
User Manual
Navigation menu
Upload a User Manual
Namespaces
Wiki Guide
HTML
PDF
Info
Views
User Manual
Discussion / Help
Navigation


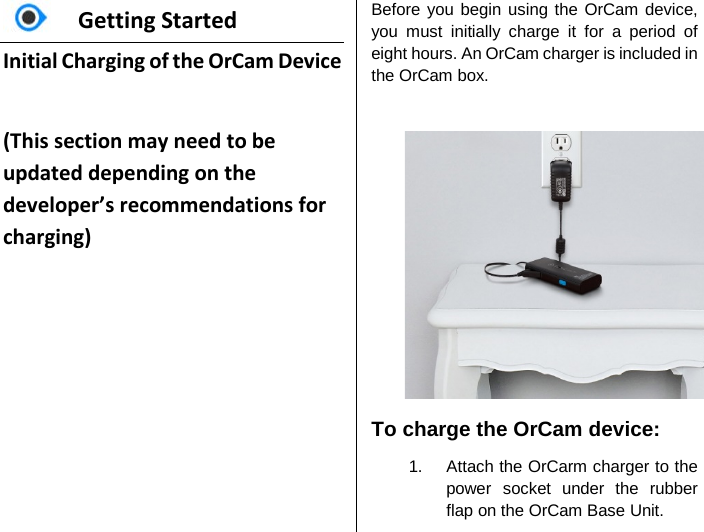
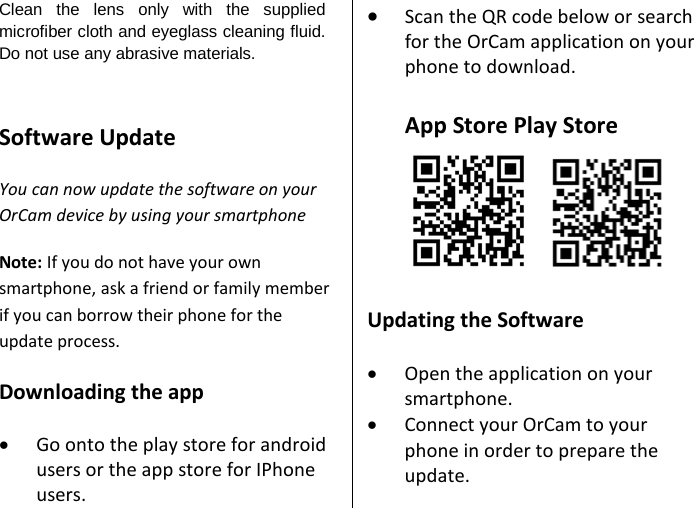
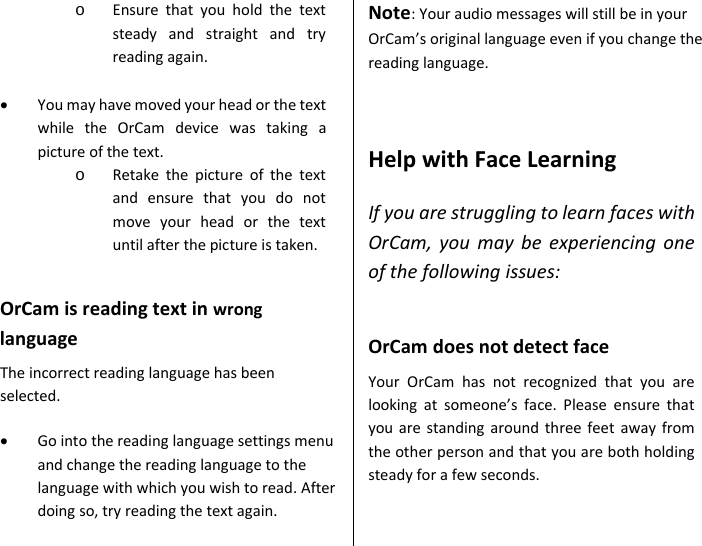
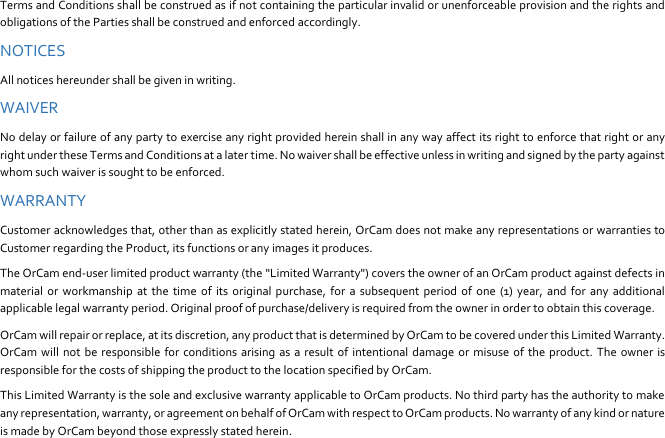
![2. Plug the charger into an electric socket. If this is the first time you are charging the device, you should charge the battery in the Base Unit for at least eight hours. After this initial charge, the battery requires at least four hours of charging time, if it has been completely depleted. A fully charged battery should work for up to four hours of constant use and can remain in Suspend mode for as long as twenty-four hours. Each time the device is connected or disconnected from charging, it vibrates. This is to ensure that you are aware that the device has been connected or disconnected. When the device is activated from Suspend mode, it informs you how much battery power remains. Turning the OrCam Device On or Off and Suspending Before you turn the OrCam device on or off it is recommended that you wear your OrCam device so that you hear the system messages. To turn your OrCam device on or off: 3. To turn the device on, press the POWER button on the Base Unit. The device vibrates. During the first minute of powering on, you should hear continuous beeping sounds. After approximately one minute you will hear, “OrCam Version 8 is ready. Battery is [this many] percent charged.”](https://usermanual.wiki/orcam-technologies/MYEYE/User-Guide-3546789-Page-13.png)
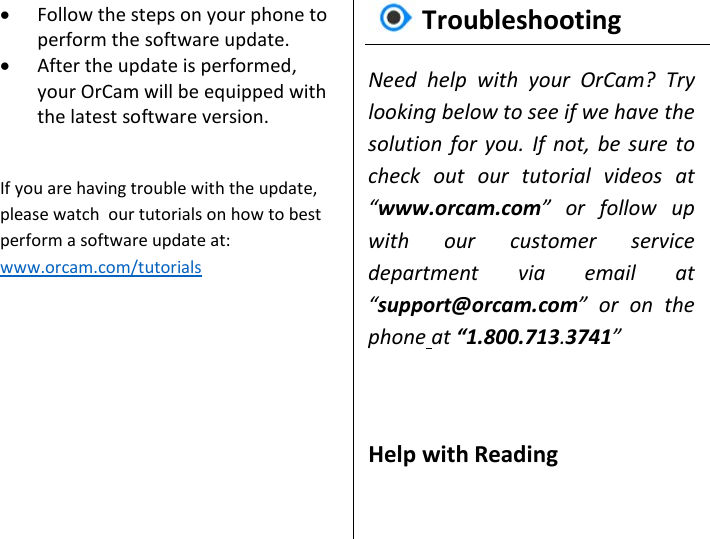
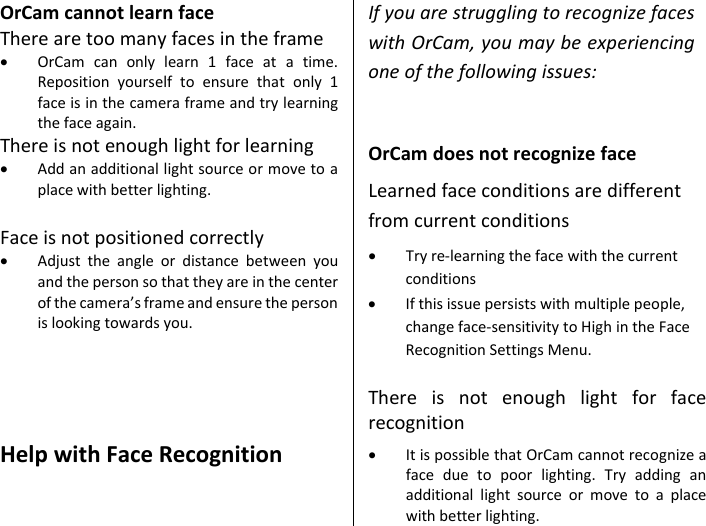
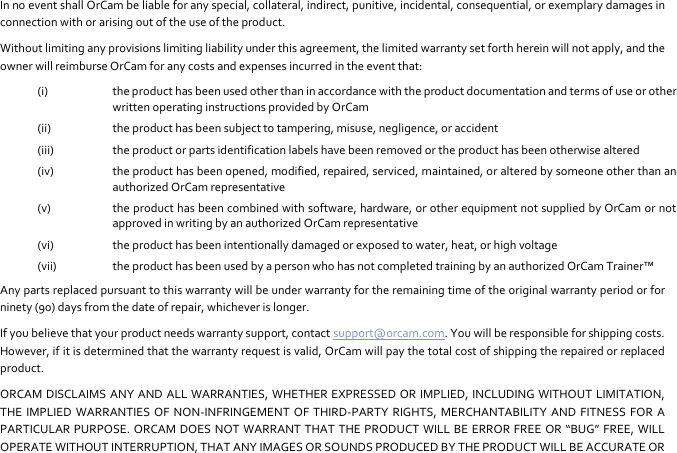
![4. If you did not hear the phrase, “OrCam is ready,” or you are not sure that the unit is on, press one of the volume buttons (UP or DOWN). If the device is on, you will hear a response to your action. 5. To turn the device off, press the Power button once. You will hear the message “Suspending. Press again to shut down.” Press the power button a second time. You will hear, “Shutting down, please wait.” Right before the unit shuts down completely, the device says, “Power off. Bye Bye.” To enter or exit Suspend mode: 6. To enter Suspend mode, press the POWER button once. The device announces “Suspending. Press again to shut down”, then announces “Suspending” and automatically goes into Suspend Mode. 7. To exit Suspend mode press the TRIGGER or VOLUME button on the base Unit or gently tap the center of the bottom of the Head Unit where the small OrCam logo is situated. You will hear, “Waking up. Battery is [this many] percent charged.” Automatic Suspend and Power Off – To conserve battery power, the OrCam device has an automatic suspend feature. If you do not trigger the device in some way, the device automatically goes into Suspend mode after three minutes of inactivity. When the OrCam device is not used for about three hours, it shuts itself off. This reduces the chance of unnecessarily depleting the battery.](https://usermanual.wiki/orcam-technologies/MYEYE/User-Guide-3546789-Page-14.png)

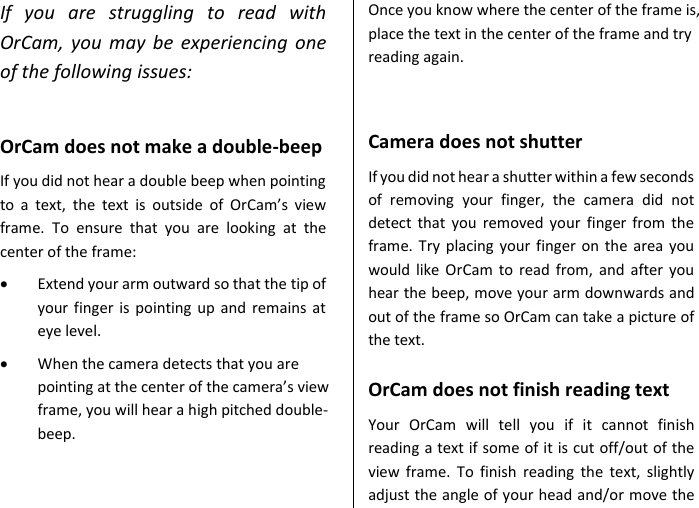
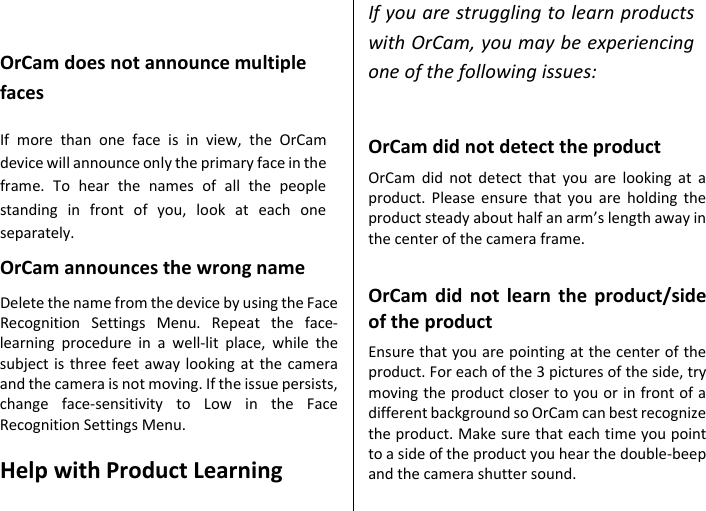
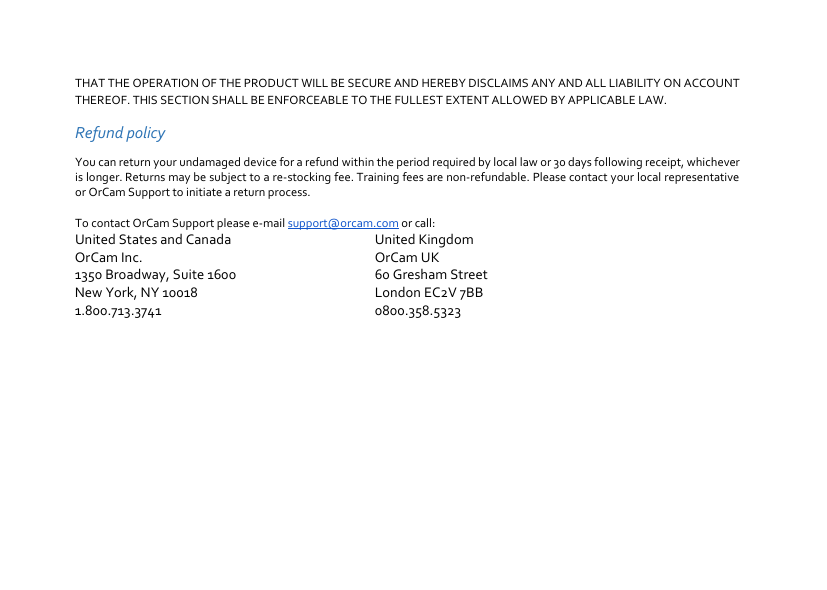
![Audio Settings Menu The Audio Settings Menu provides access to the OrCam device’s settings by listening to a menu of options and selecting the setting you desire to change. To enter the Audio Settings Menu: 1. Press the Trigger button and the Volume button simultaneously for two seconds and then release. The device will announce: "To enter the setup menu press the Trigger button, press either Volume button to cancel". Press the Trigger button. 2. Once you have entered the Audio Settings Menu, you will hear: “Main menu. To set reading rate press Trigger, to change other settings press the Volume buttons”. 3. Press the Volume Up (protruding circle) or Volume Down (indented circle) buttons to move through the available settings categories. The device will announce the current setting category Press the Trigger button to select the desired category. 4. When entering a category, the device will announce the current setting of this category. Follow the various instructions. 5. Once you have made a selection, the device will announce "[This category] set/changed to [the new setting]". 6. Some options require the device to enter Suspend Mode or to Restart in order to take effect. 7. Pressing the Trigger button and the Volume simultaneously will return you to the main menu, and from the main menu exit the Audio Settings Menu. Note: If at any stage no button is pressed for a period of six seconds, the device will repeat the last announcement three times, then exit the Audio Settings Menu.](https://usermanual.wiki/orcam-technologies/MYEYE/User-Guide-3546789-Page-21.png)
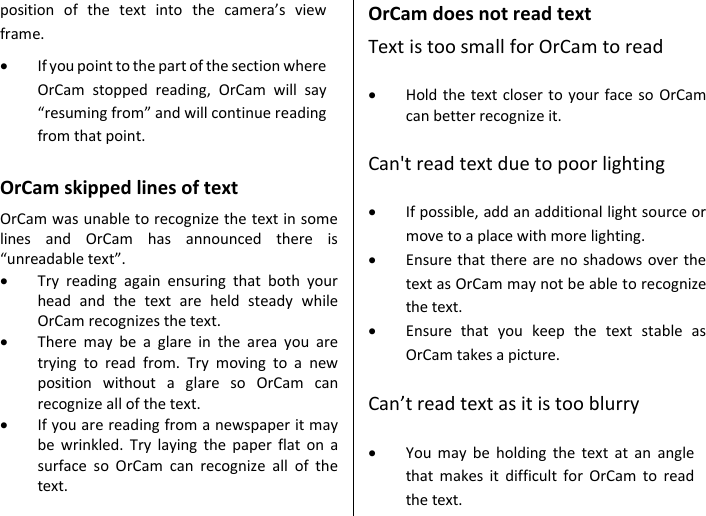
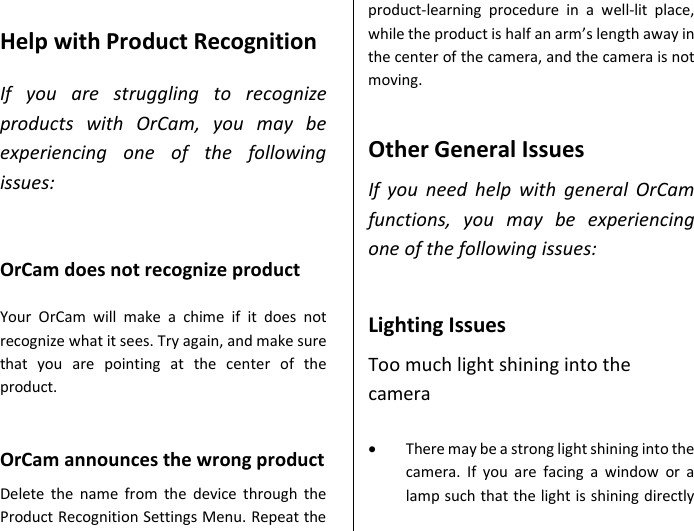
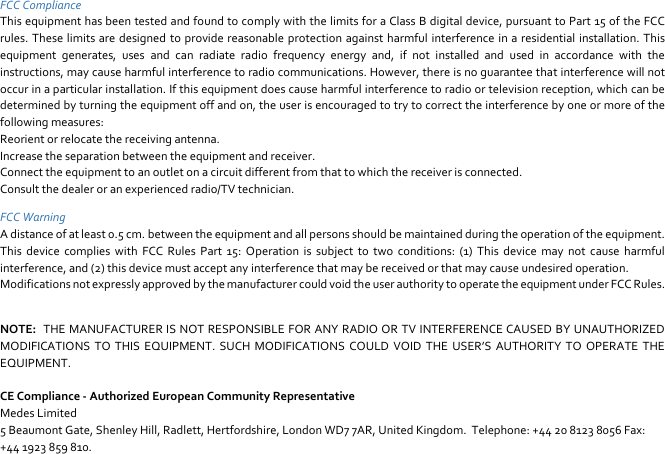
![8.3. Auto Suspend Time 8.4. Reset All User Settings to Default 8.5. Camera Light Compatibility 8.6. Tap Functionality 8.7. Light Conditions Notifications 8.8. OrCam Contact Information 8.9. Device Serial ID 8.10. Software Version Info 9. Exit *[Items marked with an asterisk are] not available in OrCam MyReader. OrCam Please Commands The OrCam Please commands provide an alternative method to set some of the OrCam device settings by pointing at the “OrCam Please” phrases that appear in this guide and on the OrCam website. When the command has been identified successfully, the device will play a distinct tone. Note: When pointing to “OrCam Please” commands, the device may not read the command, but rather perform the command. The relevant confirmation message will be played. Any of the “OrCam Please” phrases can be printed individually or read from a computer or smartphone screen – it is not required that you read them from this User Guide. The text should be printed or displayed alone, without surrounding text. Make sure to use capital letters in the beginning of each word and type the word OrCam with capital C as well. The commands are provided below for your convenience. All available commands can be found on the OrCam website. Log in to the User Area using your email address and password, then visit: http://www.orcam.com/personalization/](https://usermanual.wiki/orcam-technologies/MYEYE/User-Guide-3546789-Page-23.png)