Cochlear CR11000 Remote Assistant 2.4GHz User Manual 195993 Iss3 CR110 user guide 01
Cochlear Limited Remote Assistant 2.4GHz 195993 Iss3 CR110 user guide 01
UserManual.wiki
>
Cochlear
>
CR11000 User Manual
>
User Manual 1
Contents
1.
User Manual 1
2.
User Manual 2
User Manual 1
Navigation menu
Upload a User Manual
Namespaces
Wiki Guide
HTML
PDF
Info
Views
User Manual
Discussion / Help
Navigation


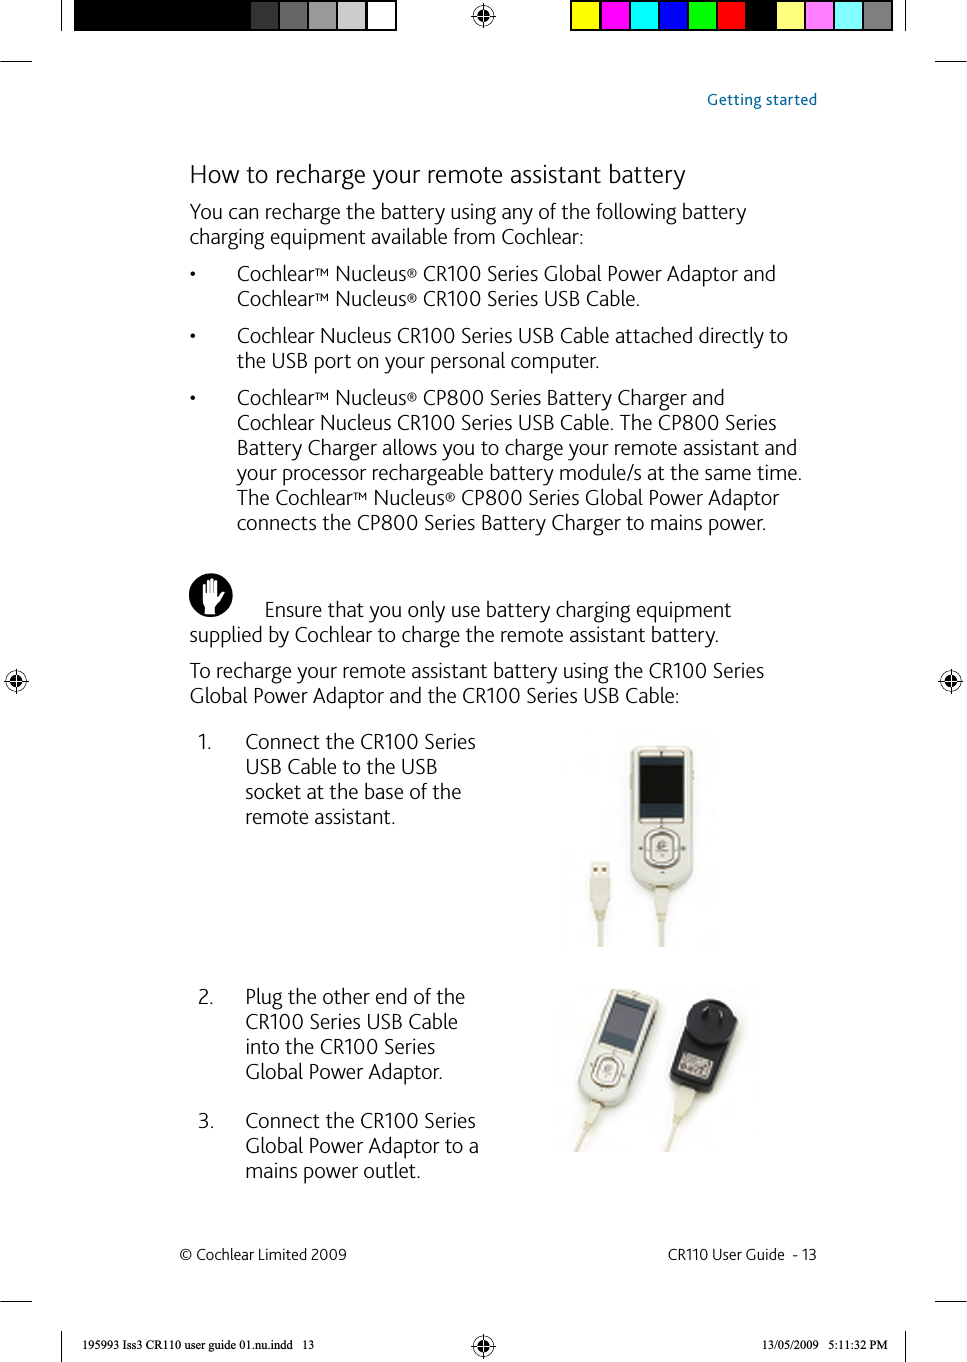
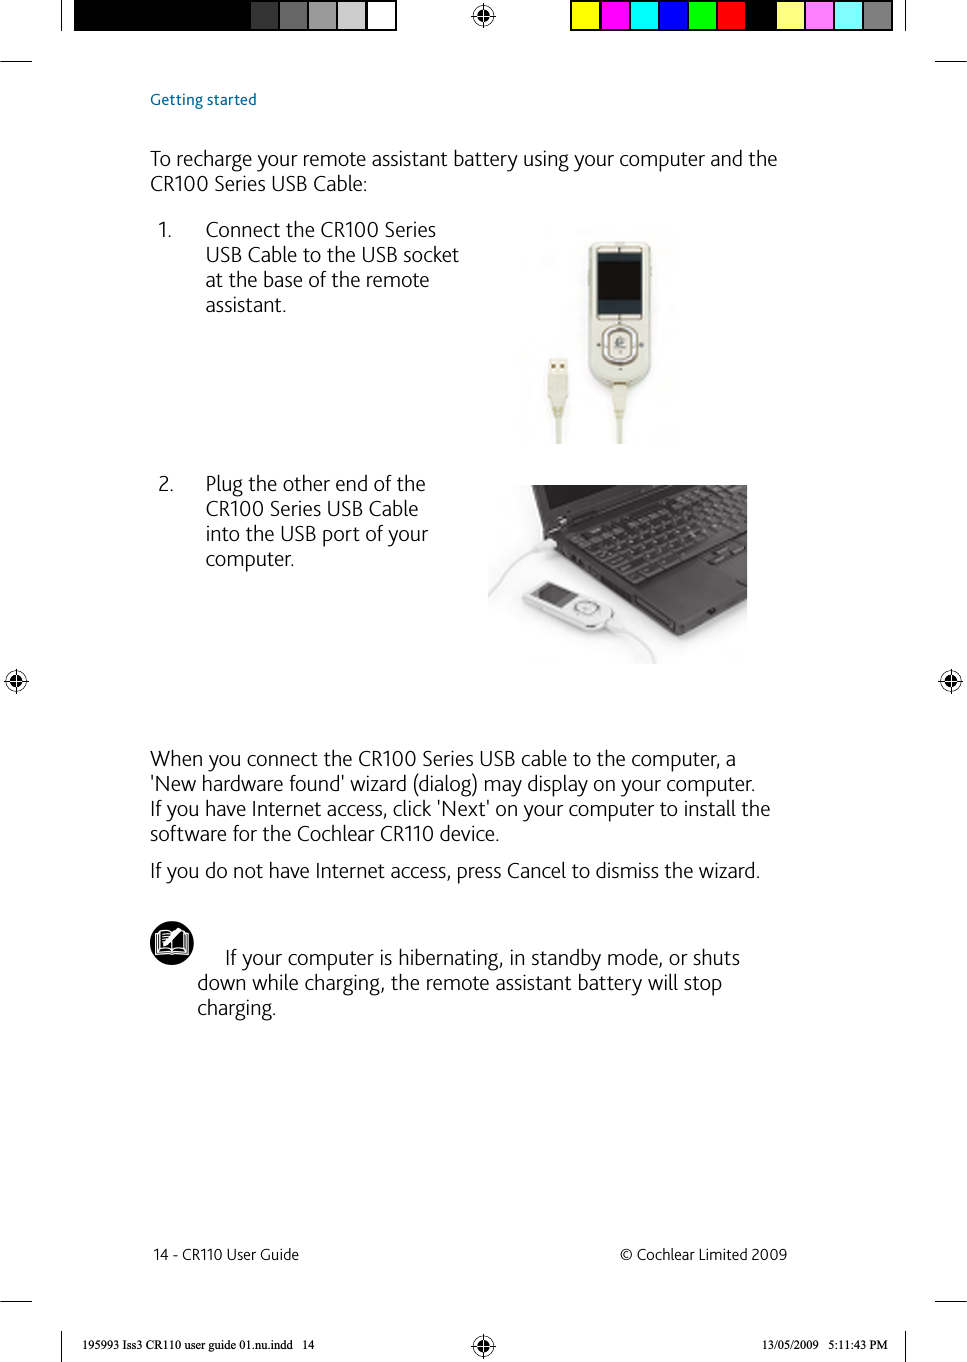
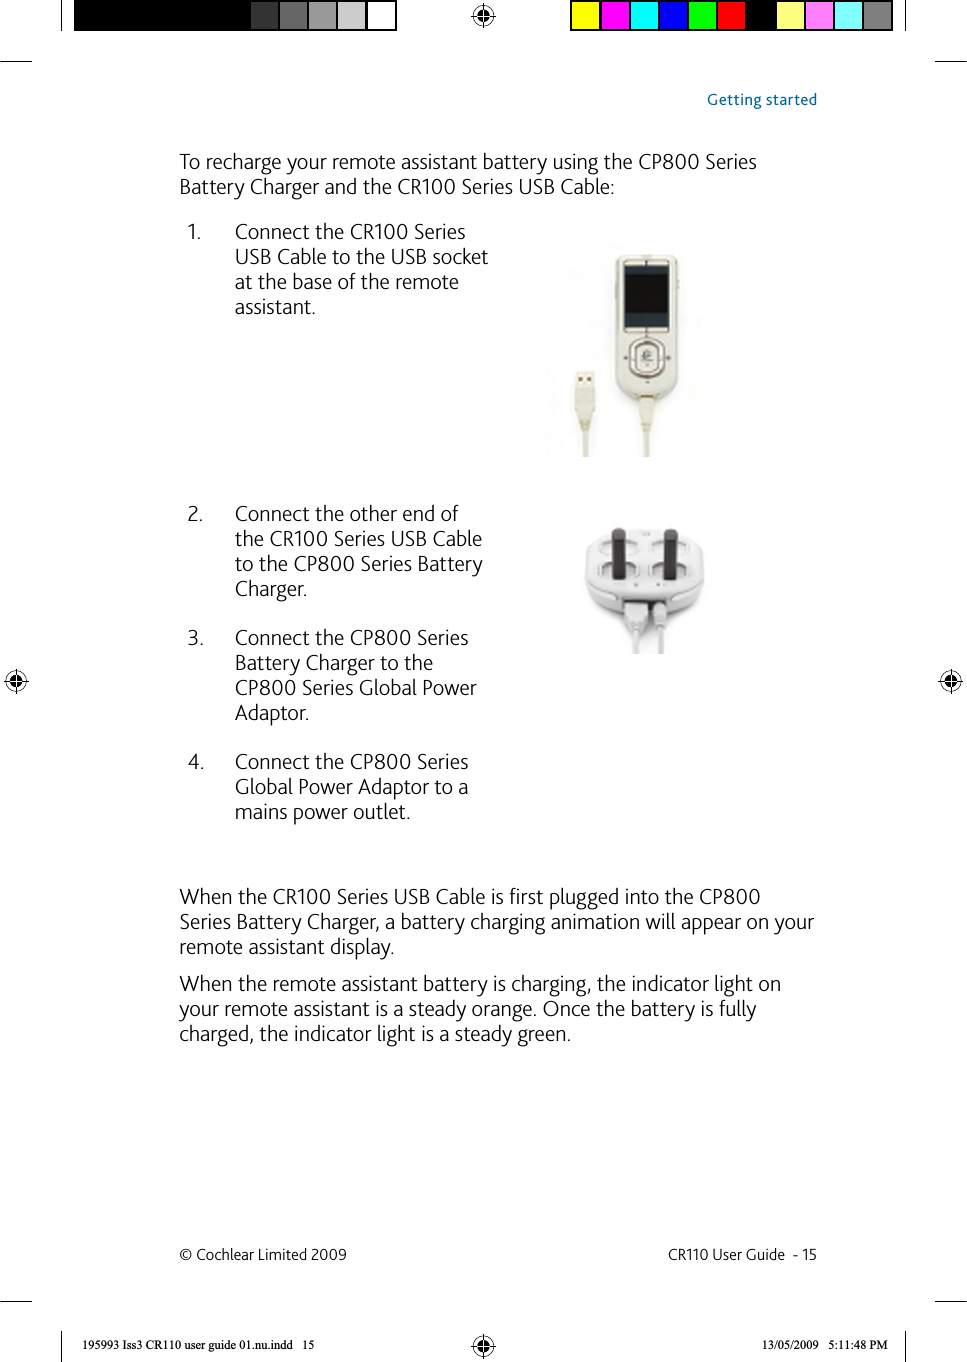
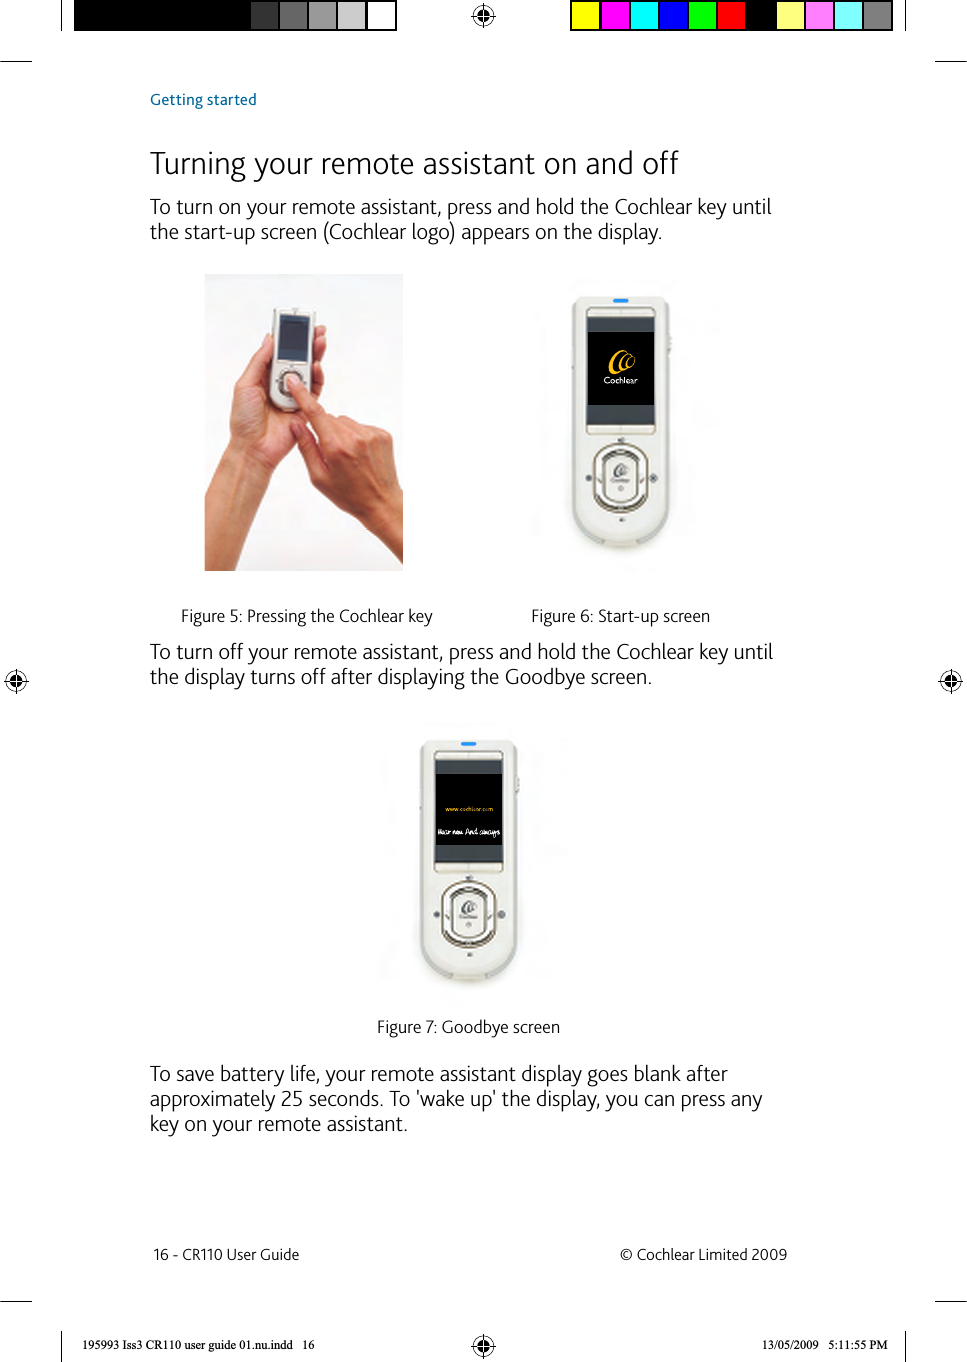
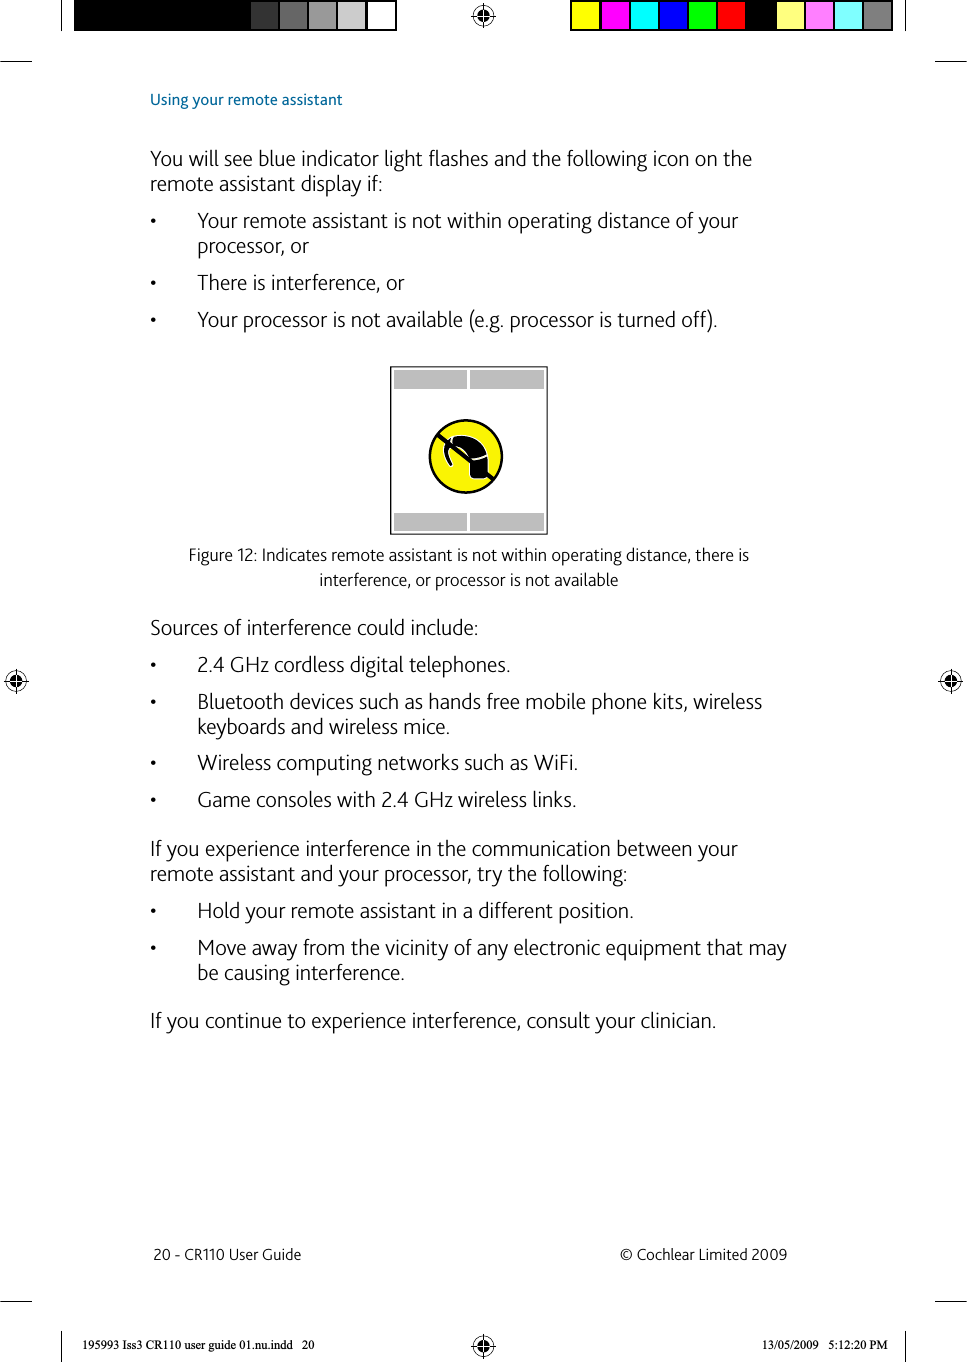
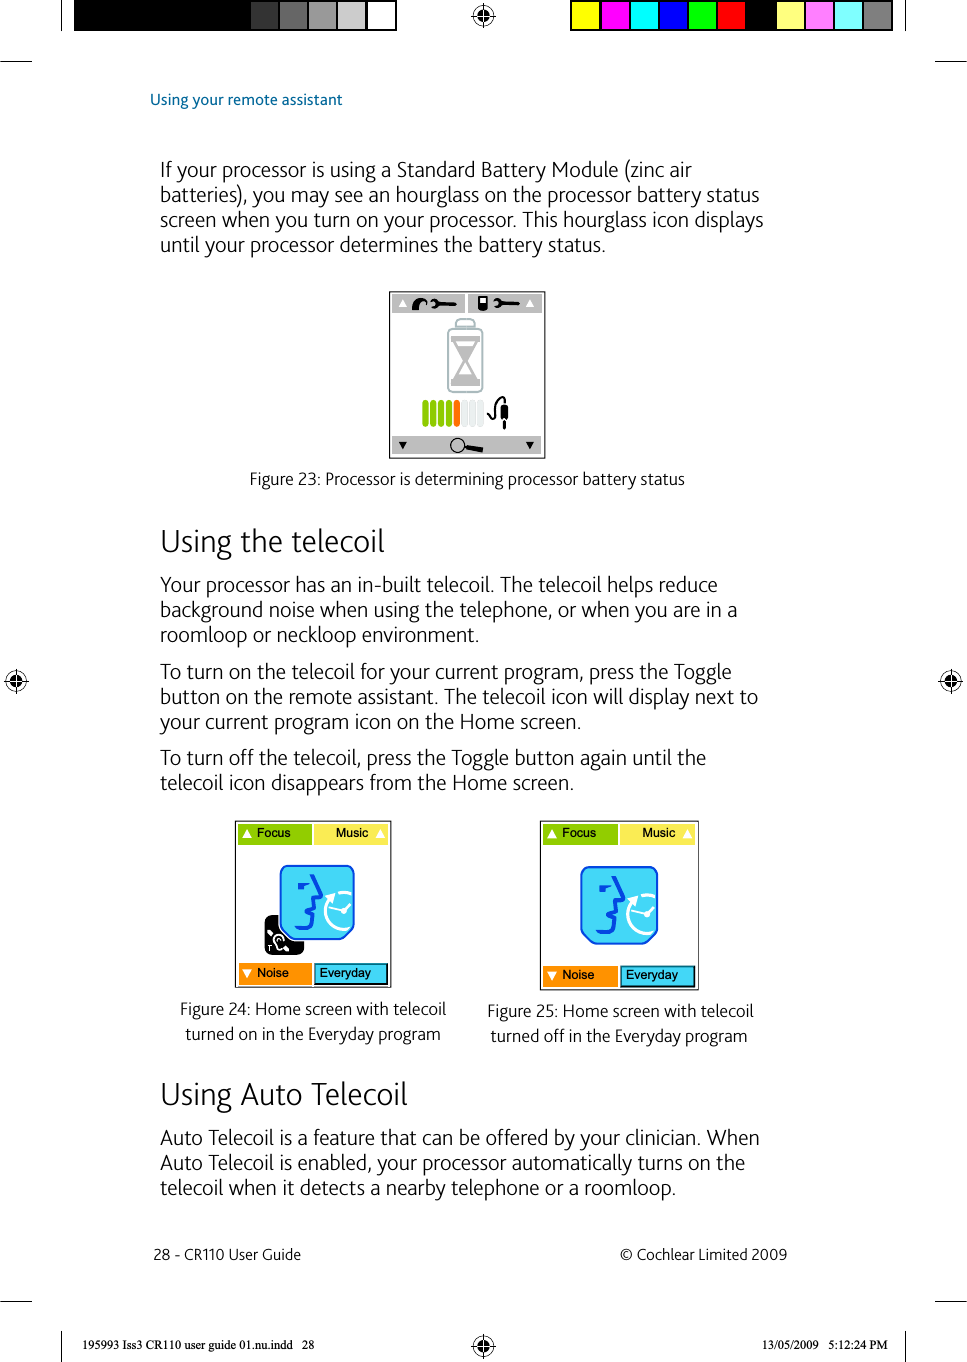
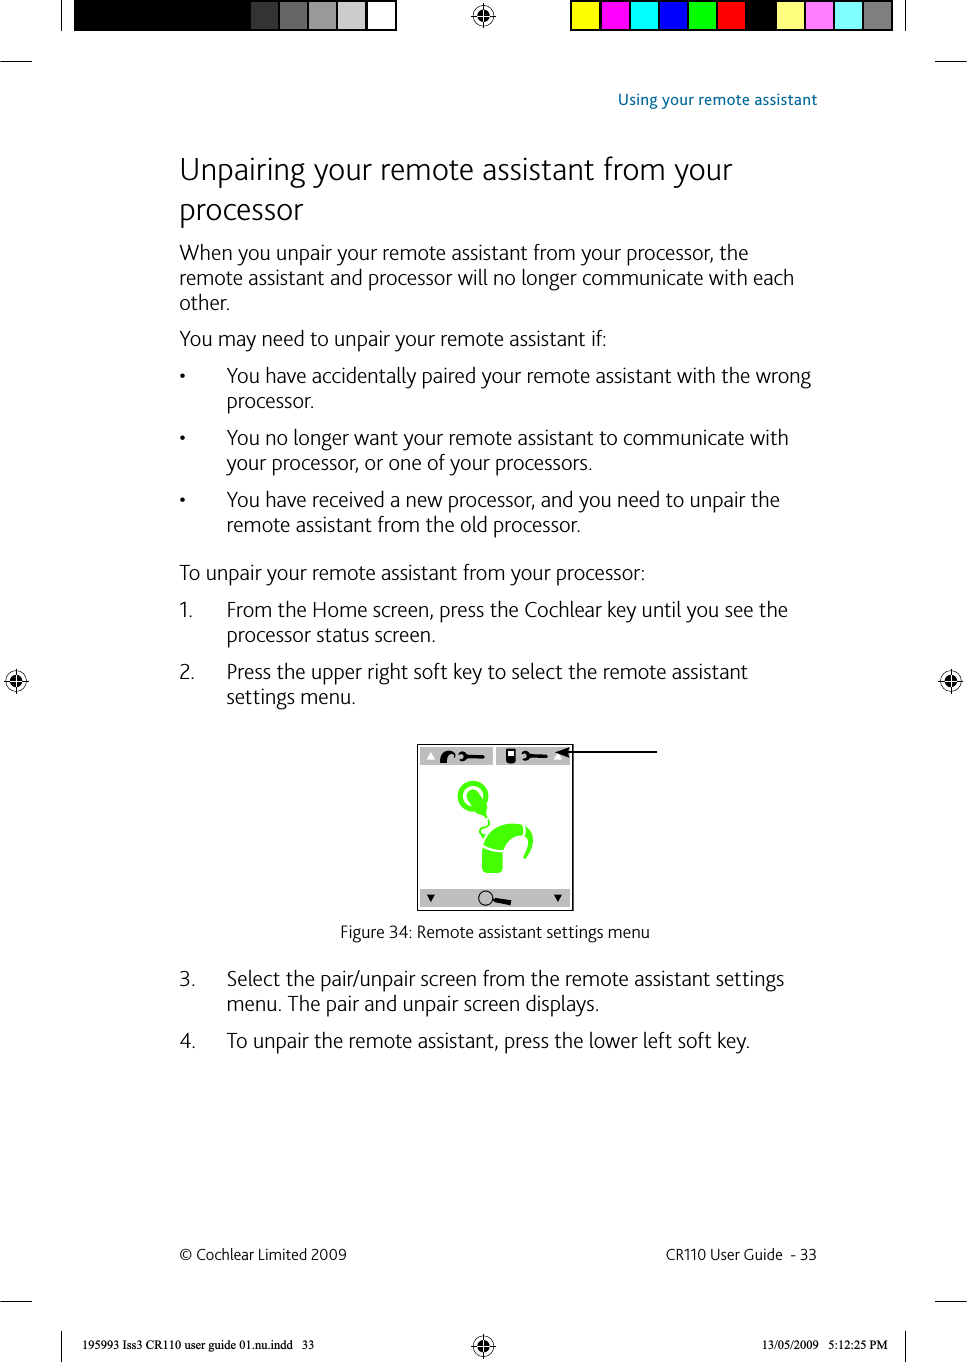
![When to recharge your remote assistant batteryCharge the battery:When the remote assistant • battery status screen shows that the battery is low. When you turn on your remote assistant, the battery status screen displays after it displays the start-up (Cochlear logo) screen. The less white you see on the battery icon, the less charge you have. The remote assistant keypad lock/unlock screen also indicates battery status. For more information, see Locking and unlocking your rem ote assistant keypad.Figure 4: Battery status screen showing battery is fully chargedOnce a week, even if your remote assistant does not indicate that • the battery is low or empty.It is recommended that you follow these guidelines to maximise the life expectancy of the remote assistant battery.Recommended temperature range for recharging the batteryTo fully charge the remote assistant battery, recharge the battery at a temperature range of 15 ºC (59 ºF) to 29 ºC (84 ºF). If the temperature range is lower [between -2.5 ºC (28 ºF) and 15 ºC (59 ºF)] or higher [between 29 ºC (84 ºF) and 52 ºC (126 ºF)], only 75 to 80 percent of the battery will be charged. If the temperature is too high [over 52 ºC (126 ºF)] or too low [below -2.5 ºC (28 ºF)], the battery will not charge.You can operate your remote assistant at any temperature range. 12 - CR110 User Guide © Cochlear Limited 2009Getting started195993 Iss3 CR110 user guide 01.nu.indd 12 13/05/2009 5:11:32 PM](https://usermanual.wiki/Cochlear/CR11000.User-Manual-1/User-Guide-1130312-Page-12.png)