ASUSTeK Computer 777 PDA Phone with Bluetooth User Manual Otto UG
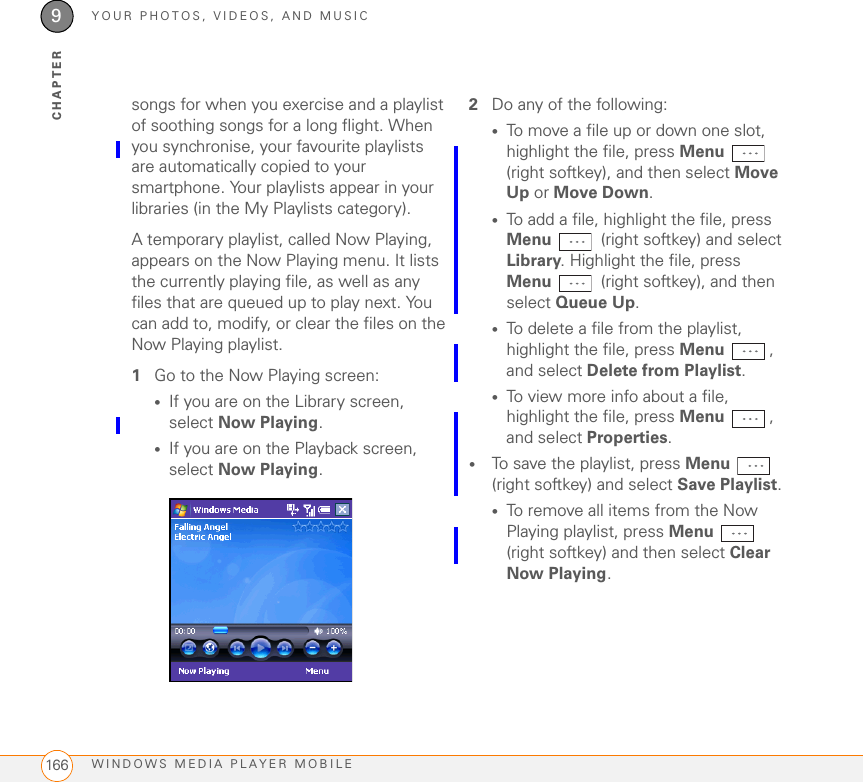
ASUSTeK Computer Inc PDA Phone with Bluetooth Otto UG
UserManual.wiki
>
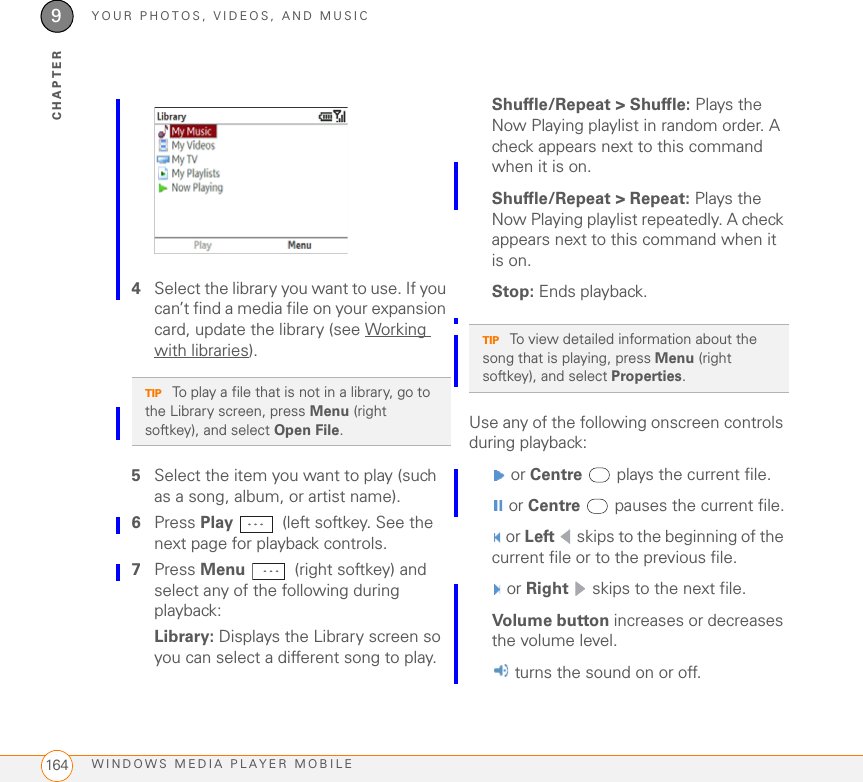
ASUSTeK Computer
>
777 User Manual
>
Manual 3
Contents
1.
Manual 1
2.
Manual 2
3.
Manual 3
4.
Manual 4
Manual 3
Navigation menu
Upload a User Manual
Namespaces
Wiki Guide
HTML
PDF
Info
Views
User Manual
Discussion / Help
Navigation


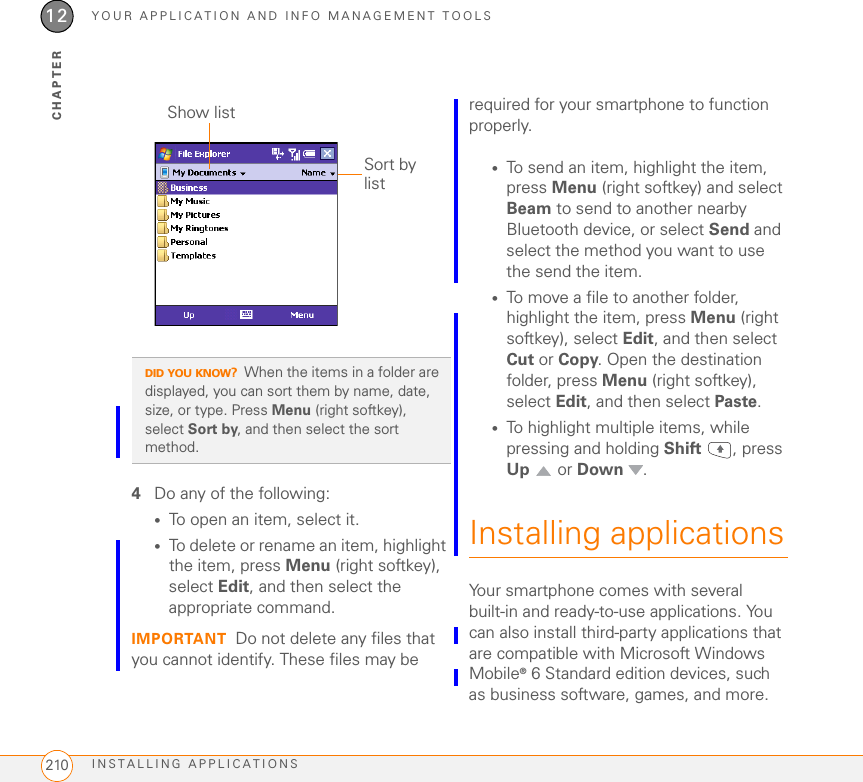
![YOUR MICROSOFT OFFICE AND OTHER DOCUMENT TOOLSEXCEL MOBILE 19911CHAPTERShow: Indicates whether headings and scroll bars appear onscreen.Entering text in a cell1Open the workbook where you want to enter text.2If the softkey text labels are hidden, press the right or left softkey to display the labels.3Press Menu (right softkey) and select Edit Mode.4Press Menu (right softkey) and select Cell Text.5Enter the text you want.6Press Done (left softkey).Inserting a function1Open the workbook where you want to insert the function.2Select the cell where you want to insert the function.3Press Edit (right softkey) and select Insert Function.TIPTo jump to a cell or region, press Menu (right softkey) and select Go To. (In Edit mode, select To o l s > Go To.) Select Cell reference or name and enter the target cell info. Press OK (left softkey).TIPIf you want to create a new workbook, open an existing workbook and save it with a new name (see Saving a copy of a workbook). Alternately, open the blank workbook template located in the My Files/Templates folder (see Exploring files and folders) and then save it with a new name.TIPTo quickly delete cell text, in Edit mode, press Menu (right softkey) and select Clear Cell.TIPTo undo or redo any edits you make in a workbook, in Edit mode, press Menu (right softkey) and select Undo [last action] or Redo [last action].](https://usermanual.wiki/ASUSTeK-Computer/777.Manual-3/User-Guide-842619-Page-45.png)