ASUSTeK Computer RPN12 Wireless N300 Range Extender User Manual rev
ASUSTeK Computer Inc Wireless N300 Range Extender rev
UserManual.wiki
>
ASUSTeK Computer
>
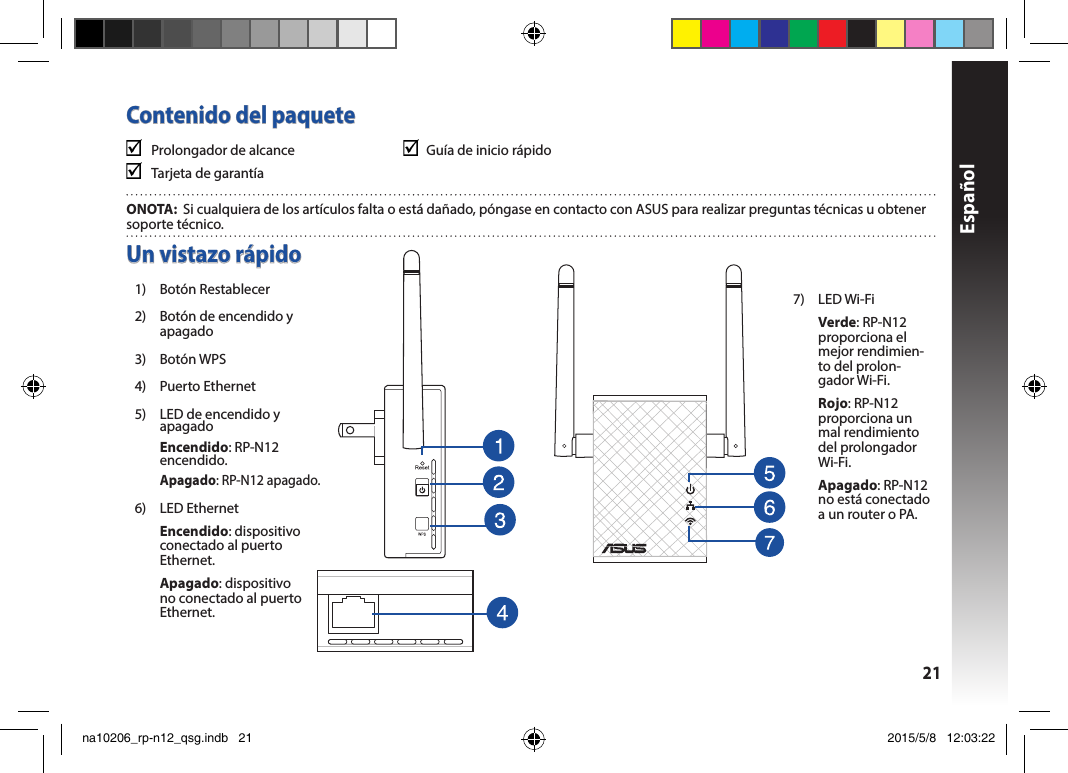
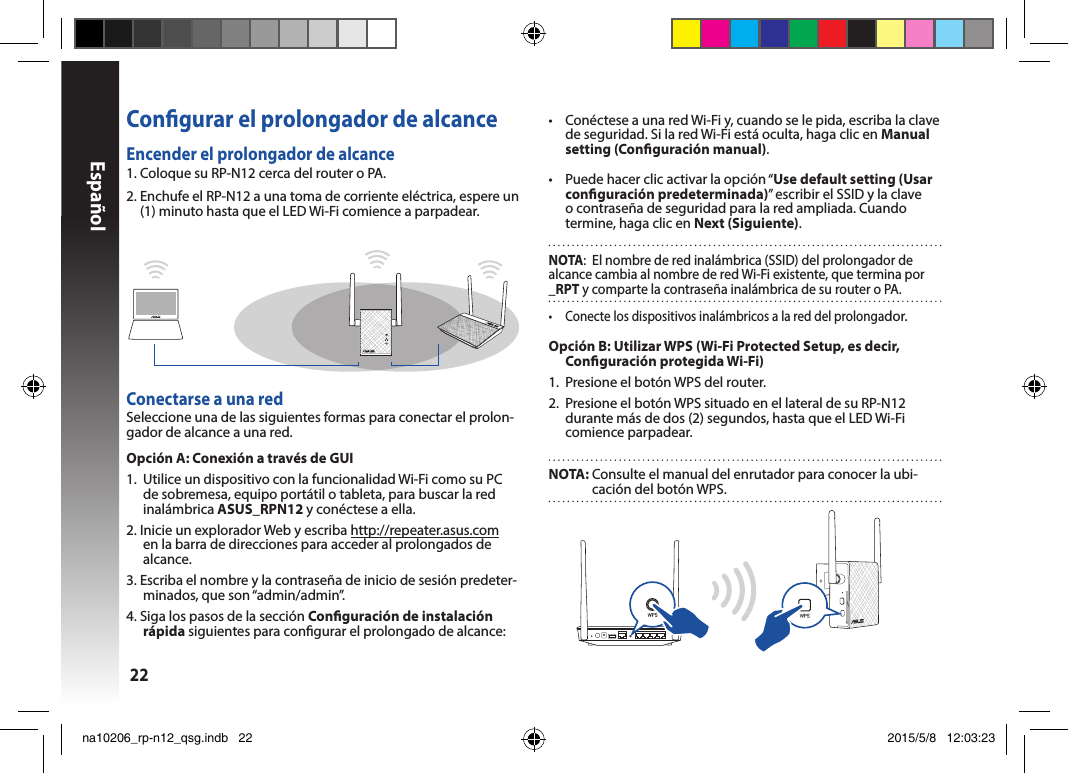
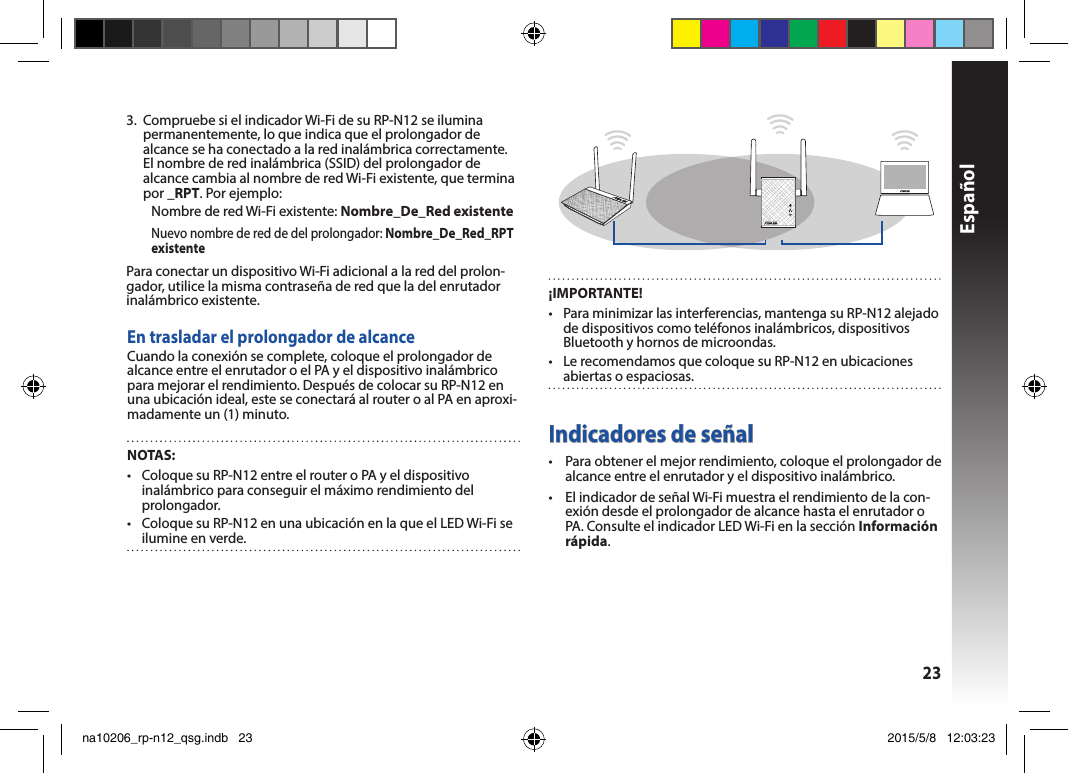
RPN12 User Manual
User Manual_rev.pdf
Navigation menu
Upload a User Manual
Namespaces
Wiki Guide
HTML
PDF
Info
Views
User Manual
Discussion / Help
Navigation