Alien Technology B2450R01 Frequency Hopping Tag Identification Reader User Manual 299797
Alien Technology Corporation Frequency Hopping Tag Identification Reader 299797
Contents
- 1. Quick Installation Guide
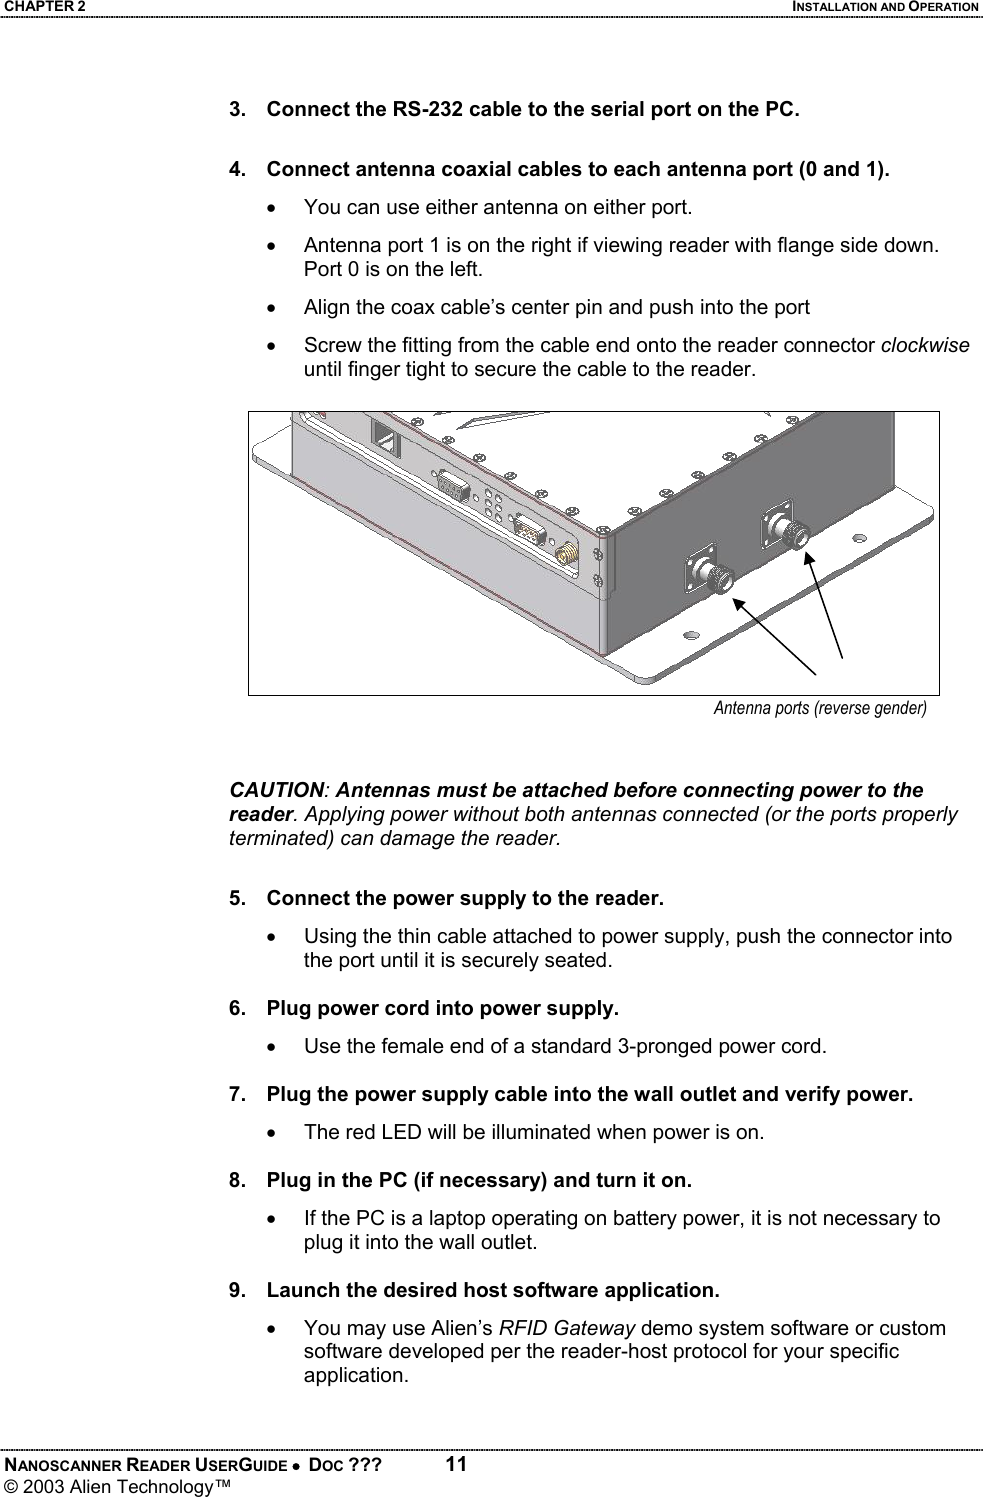
- 2. Quick Reference Guide
- 3. User Guide Part 1
- 4. User Guide Part 2
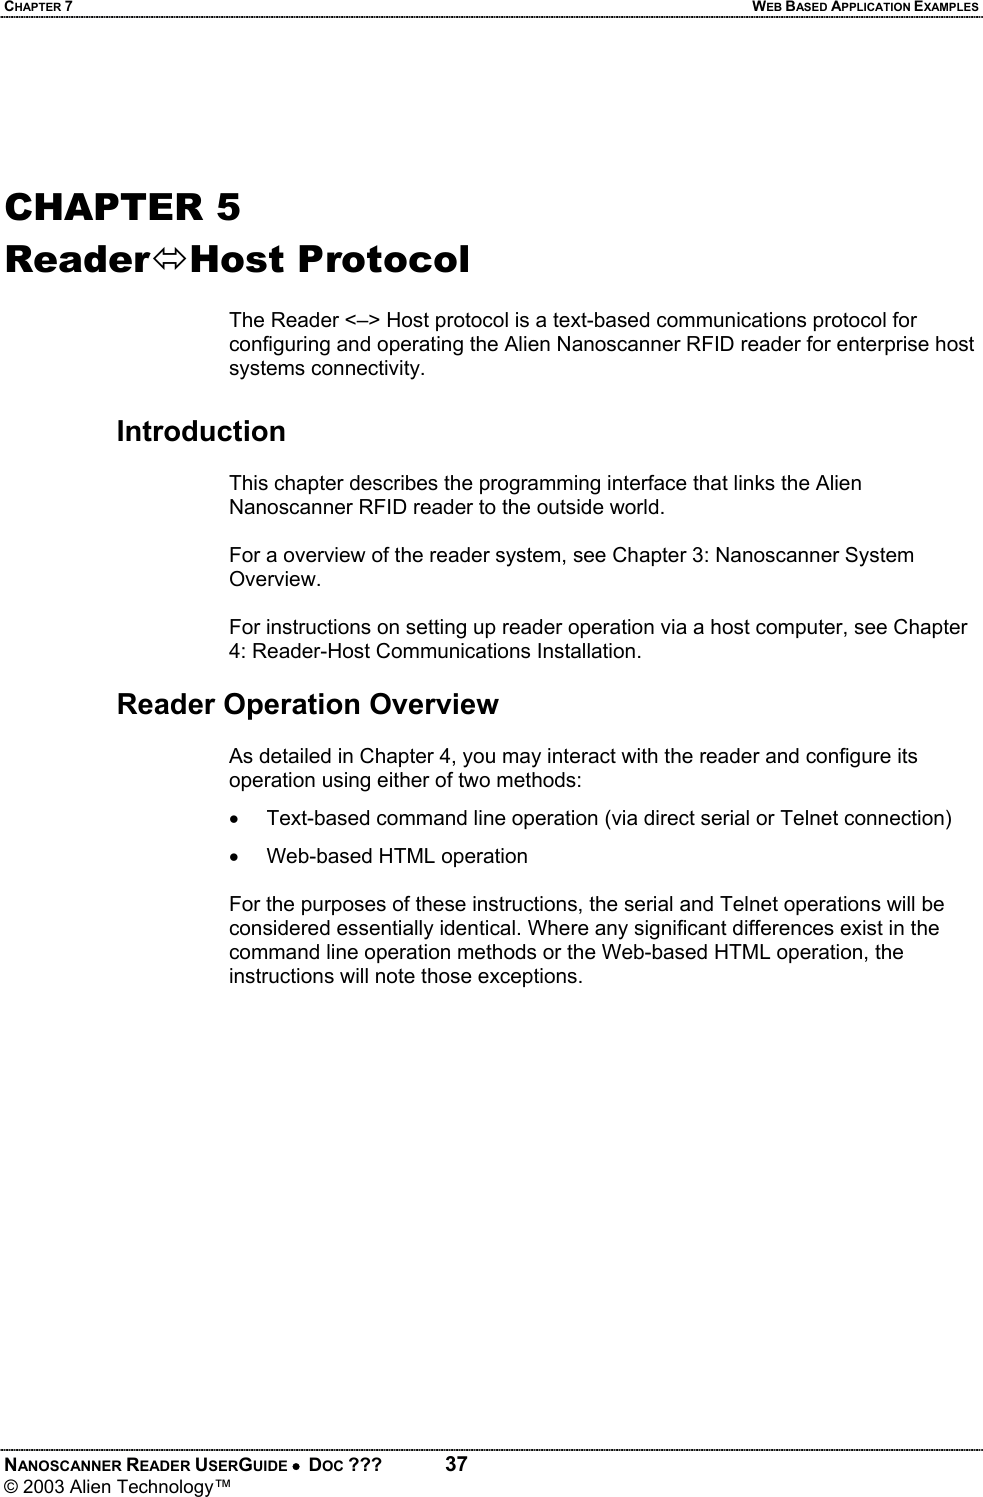
User Guide Part 1


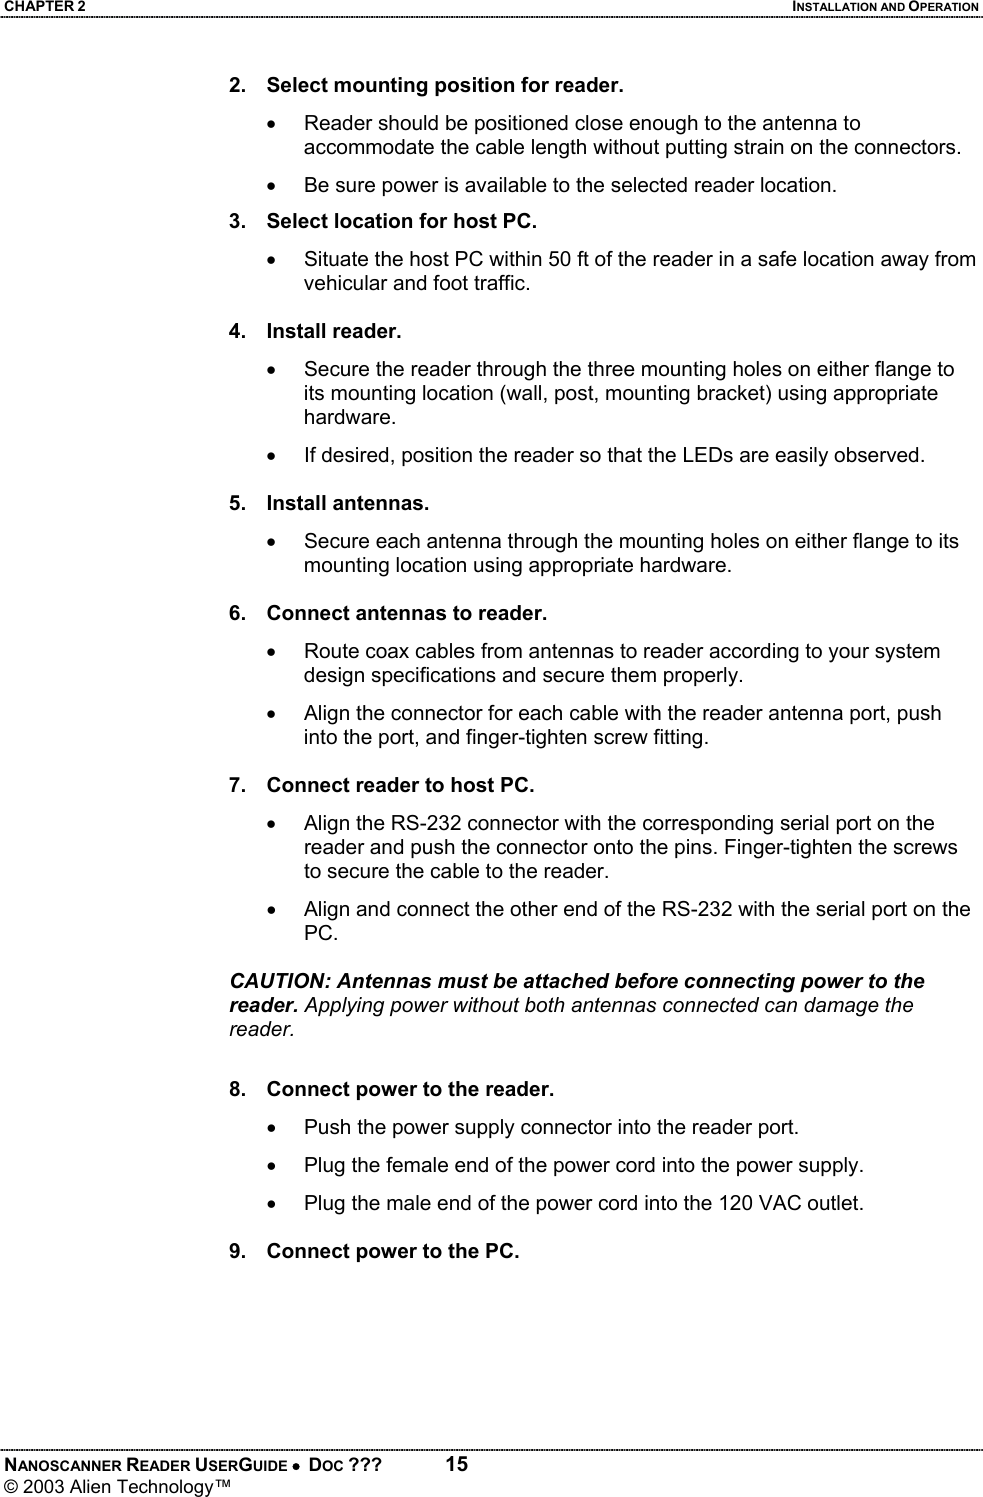


![CHAPTER 4 READER-HOST COMMUNICATIONS INSTALLATION NANOSCANNER READER USERGUIDE • DOC ??? 31 © 2003 Alien Technology™ • Programmers are competent in at least one programming or scripting language and have the ability to issue ASCII-based commands with that language. Requirements Serial communication requires: • A text-based serial communications program (such as Windows HyperTerminal) running on any computer. Ethernet communication requires: • An Ethernet network. • Standard Web browser or Telnet communication program Conventions The following conventions are used in this section: • Keys to be pressed are shown in brackets and all caps. Example: Press the [ENTER] key. • Upon entering any command instruction, you must press [ENTER] to send the command. • Specific characters and commands to be typed in are shown within quotation marks. Example: At the prompt type “Set DHCP=ON”. • Values to be provided and typed in by the user are shown within brackets in upper and lowercase. Example: At the prompt type “Set IPaddress=[ IP address value]” or “Set IPaddress=xxx.xxx.xxx.xxx.” The actual command typed in would appear as: “Set IPaddress=10.1.60.5”. • Nanoscanner reader commands are case insensitive. Although, for clarity, the commands may be shown in upper and lower case in this document, you may type them in all lowercase characters, if you prefer. • A space is required between the command (verb) such as “get” or “set” and the specific parameters as in the example “Get IPaddress.” However, no space is required between the parameter elements such as “IP” and “address.” Setting up Reader-Host Communications You can interact with the reader via the three methods mentioned earlier: direct serial, Telnet and Web. Serial and Telnet communications both involve command line operation. Web communication uses HTML. Command Line Operation: Direct Serial Communication This method is required for installing a new Nanoscanner, whether directly or via network. Serial communications requires no preconfiguration and can be performed easily with most computers.](https://usermanual.wiki/Alien-Technology/B2450R01.User-Guide-Part-1/User-Guide-299797-Page-38.png)
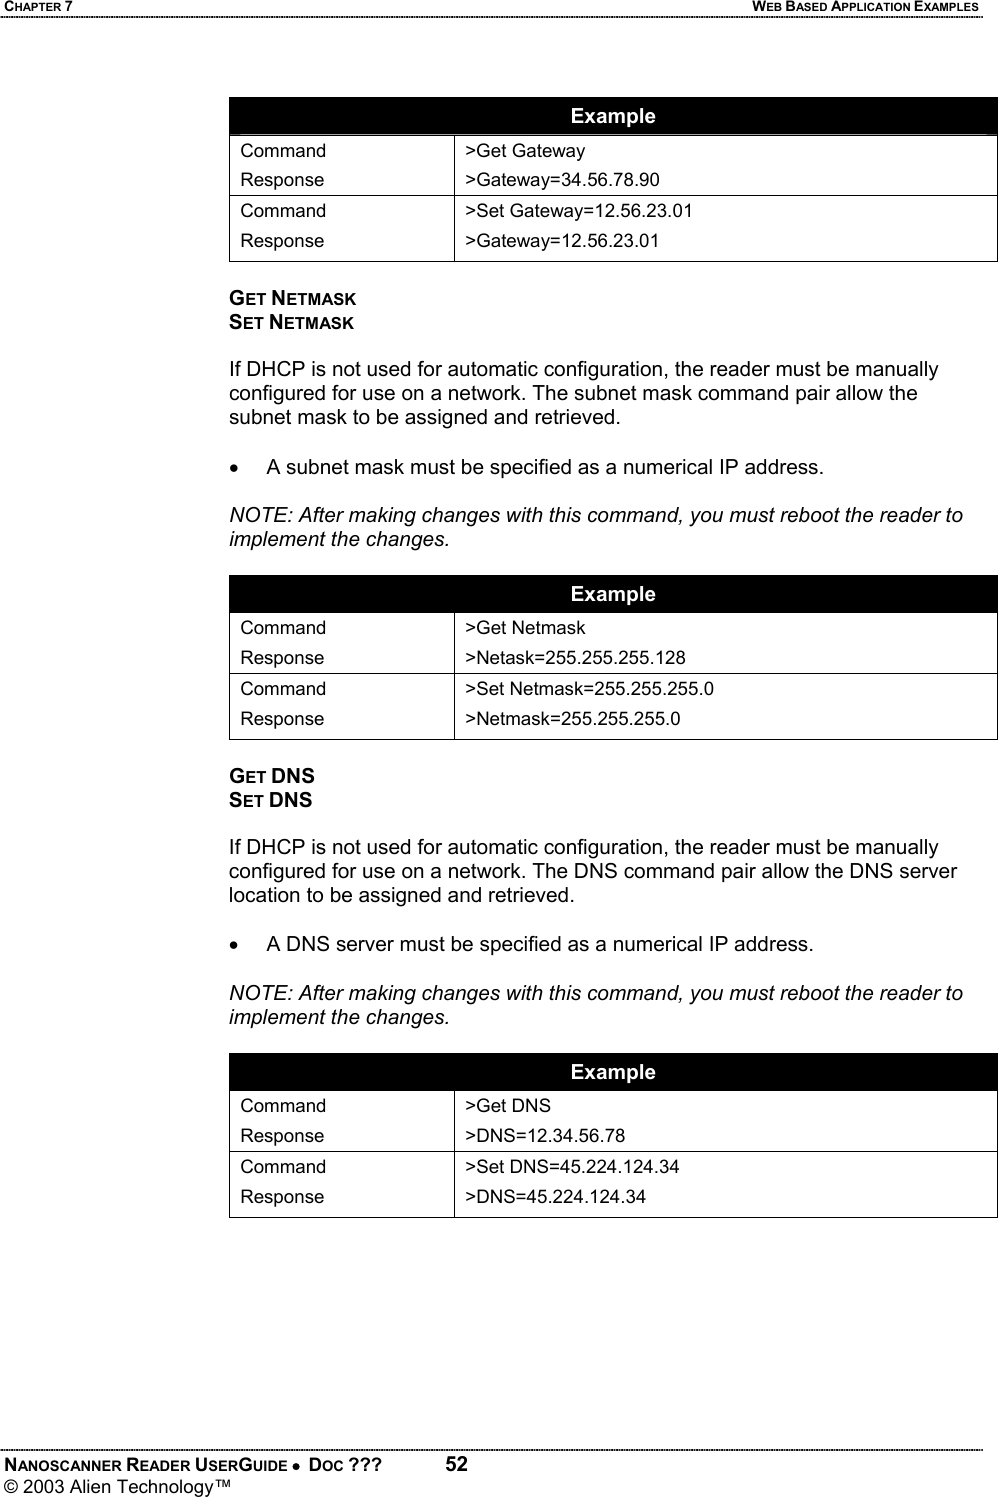
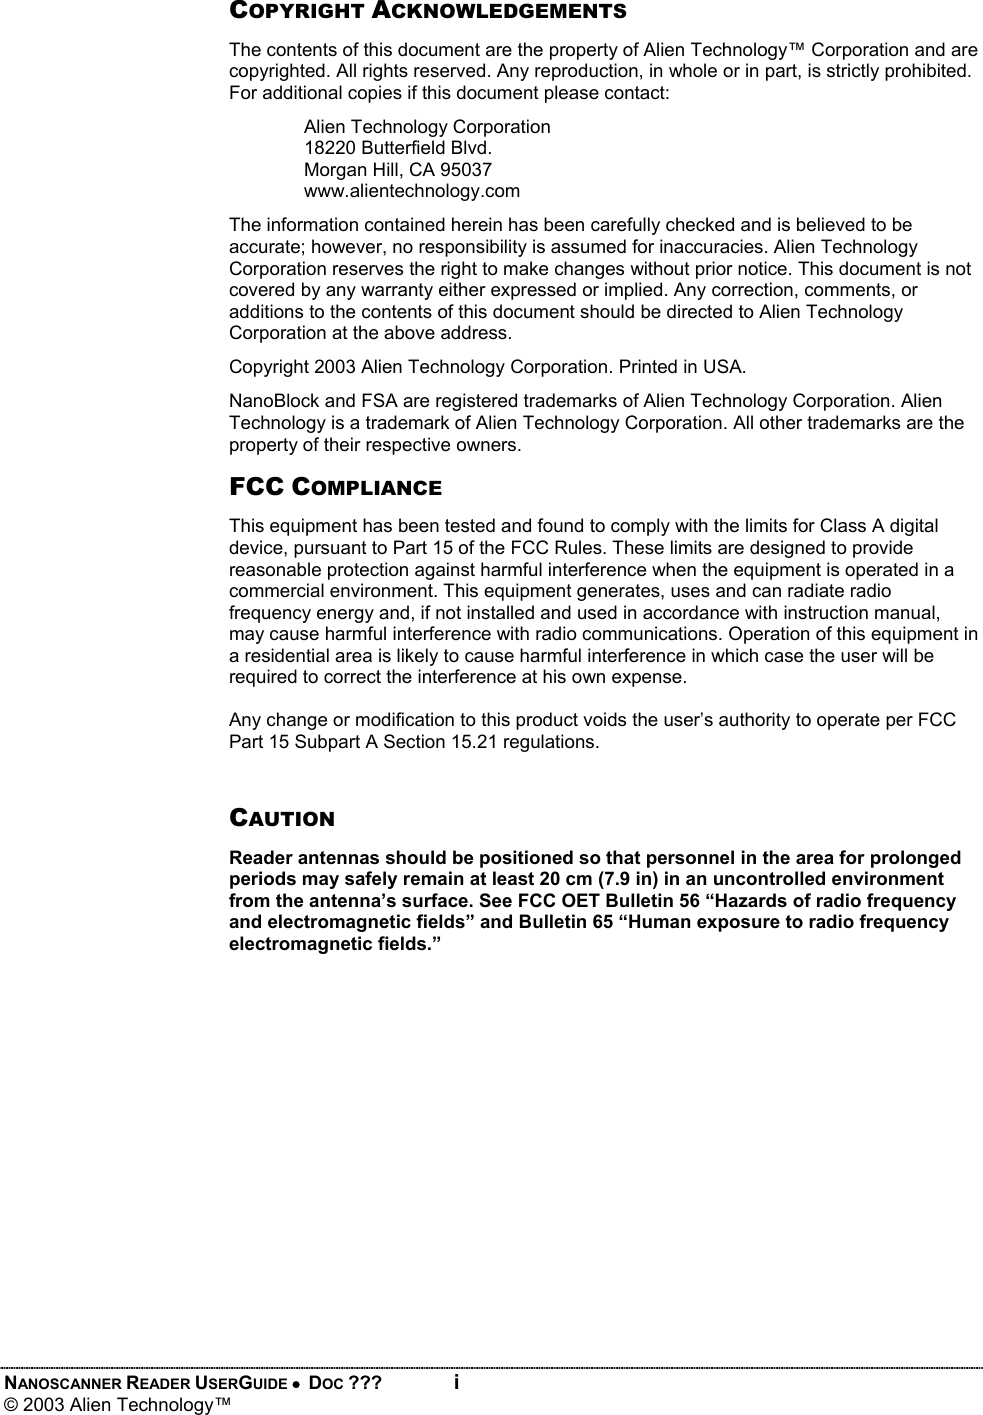
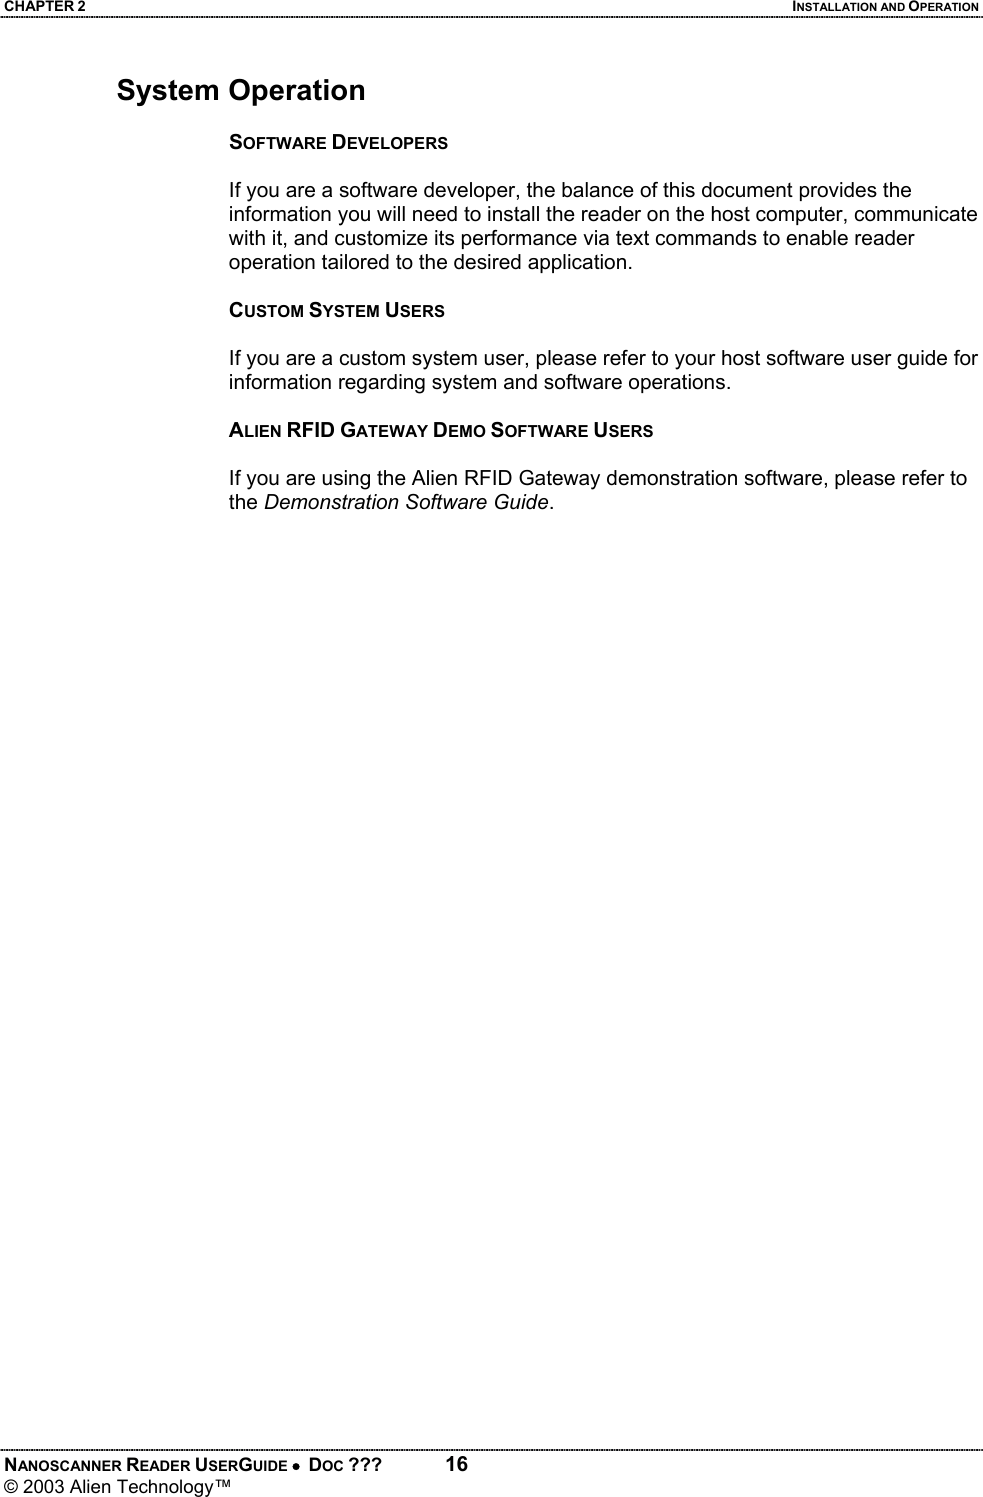
![CHAPTER 4 READER-HOST COMMUNICATIONS INSTALLATION NANOSCANNER READER USERGUIDE • DOC ??? 33 © 2003 Alien Technology™ Once configured, the software should allow you to communicate with the Nanoscanner. • HyperTerminal example configuration screens are shown below: 5. At the command prompt, you may now type any command followed by the [ENTER] key to submit the command. The following basic commands are helpful in verifying the reader-host interface: • Help (or “h”) – Provides a list of all commands available • Info (or “i”) – Provides a list of current settings for the reader • Get TagList – Scans field immediately for tags and reports the results NOTE: Nanoscanner reader commands are case insensitive and may be typed in all lowercase characters, if preferred.](https://usermanual.wiki/Alien-Technology/B2450R01.User-Guide-Part-1/User-Guide-299797-Page-40.png)
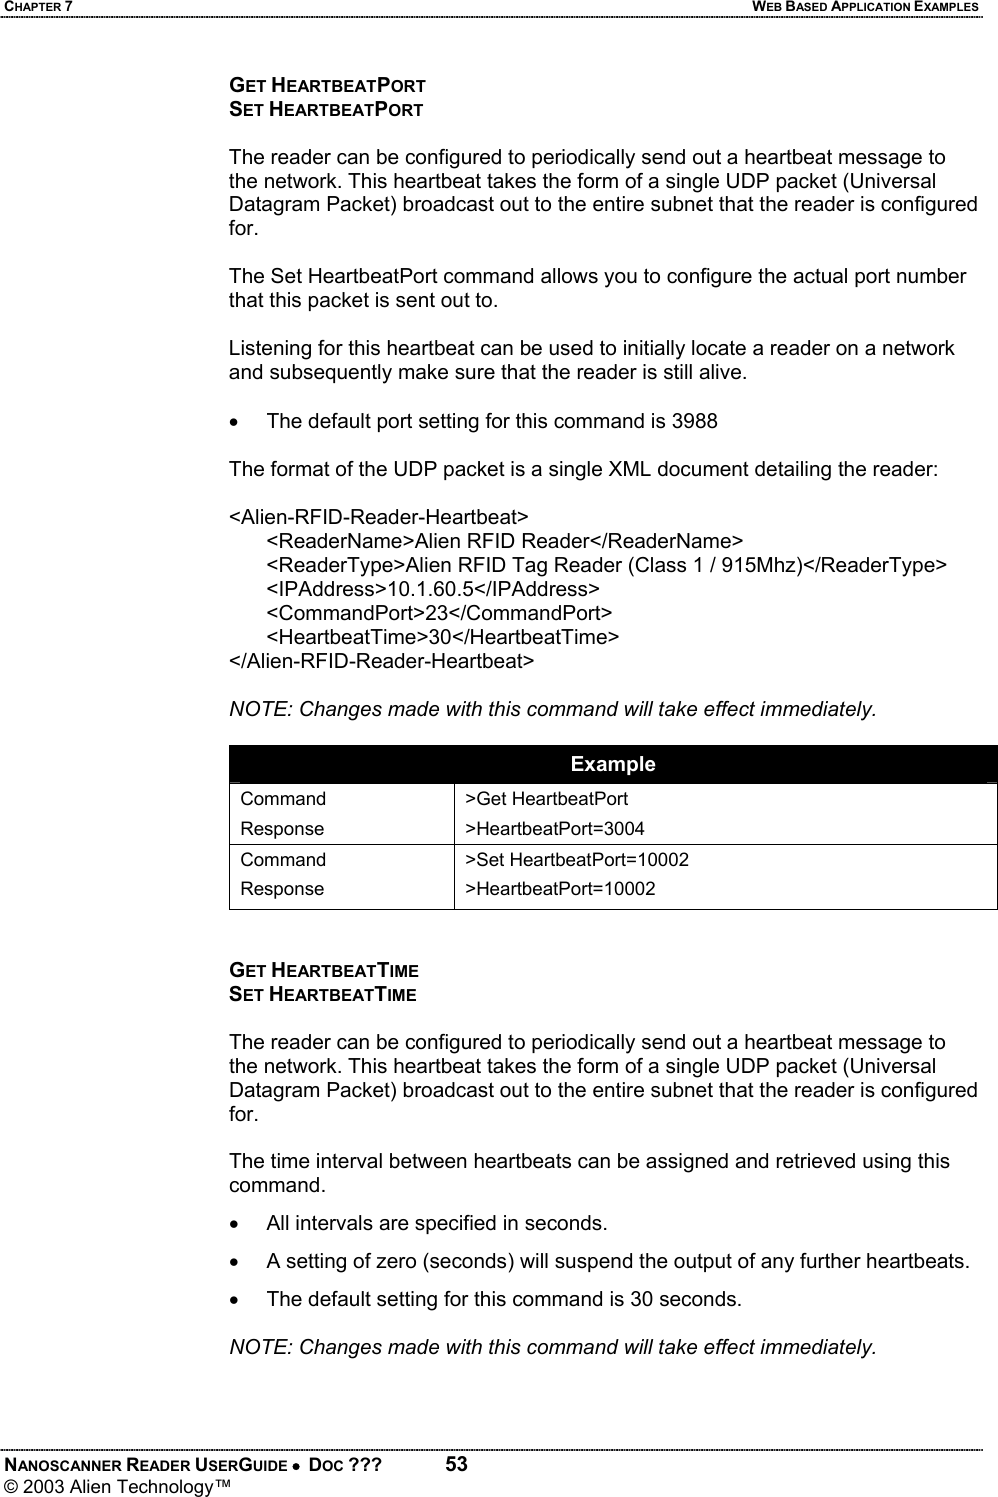
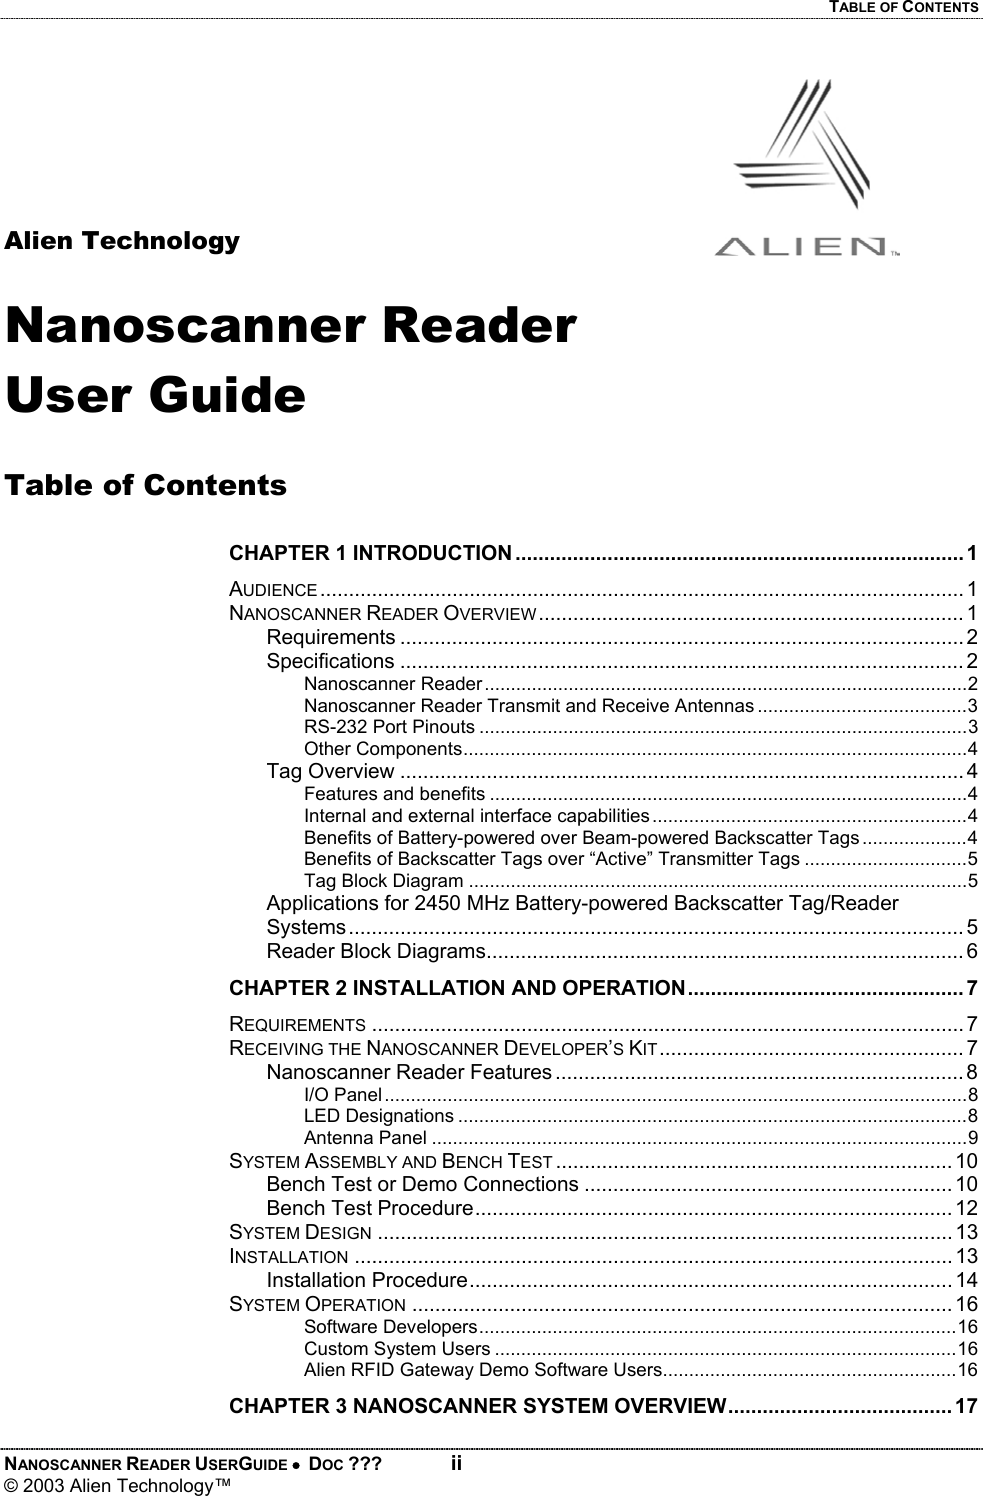
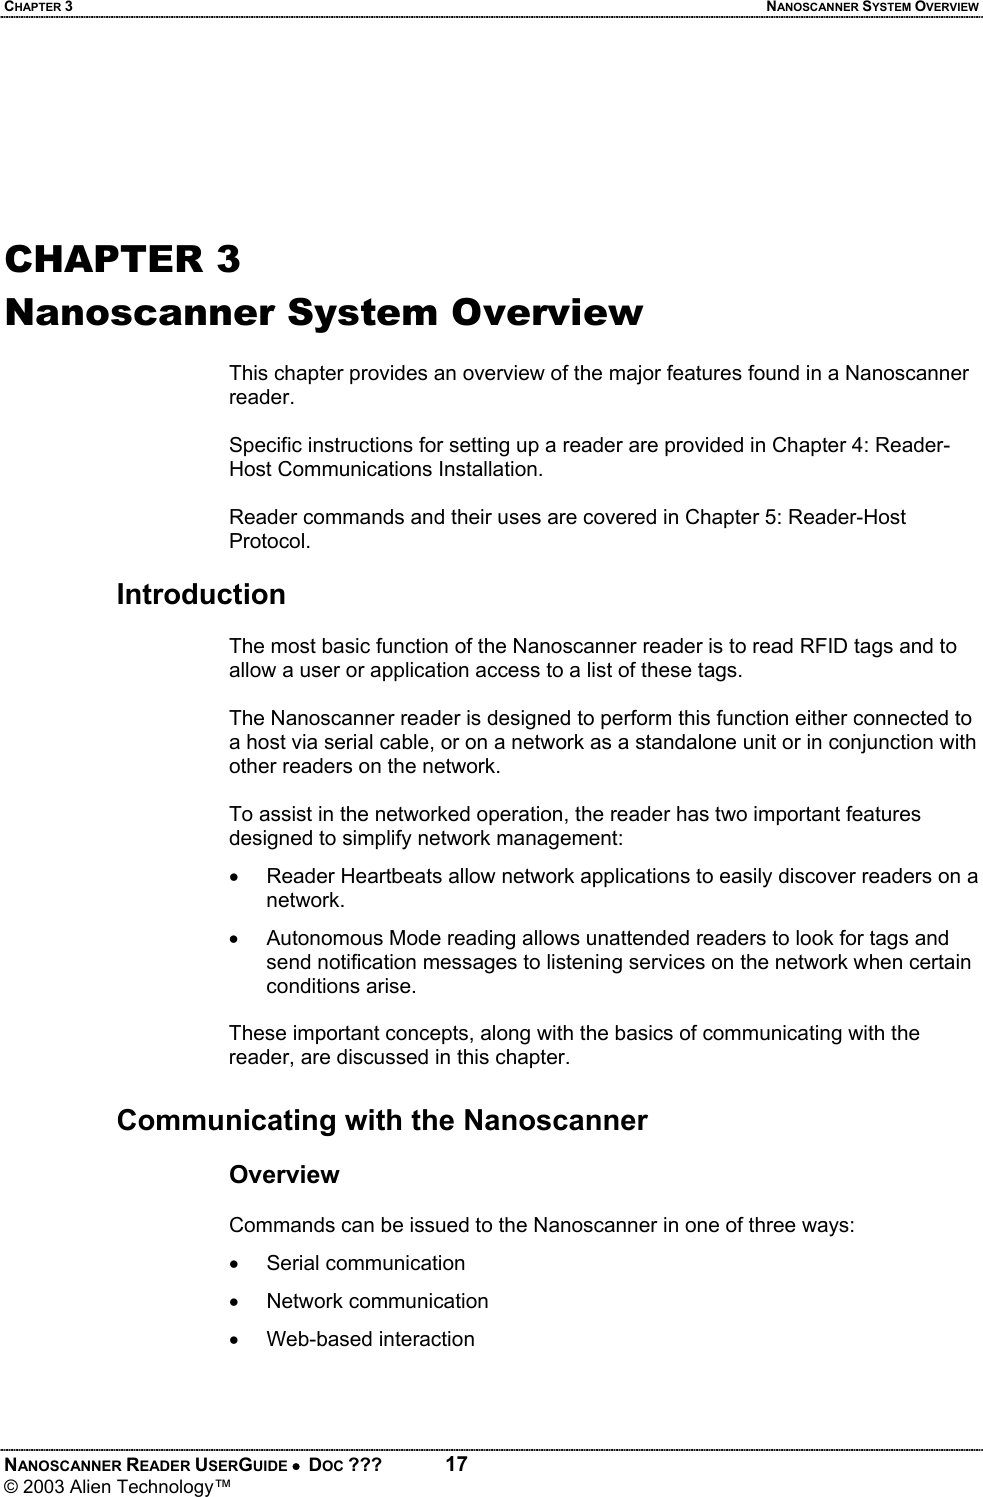
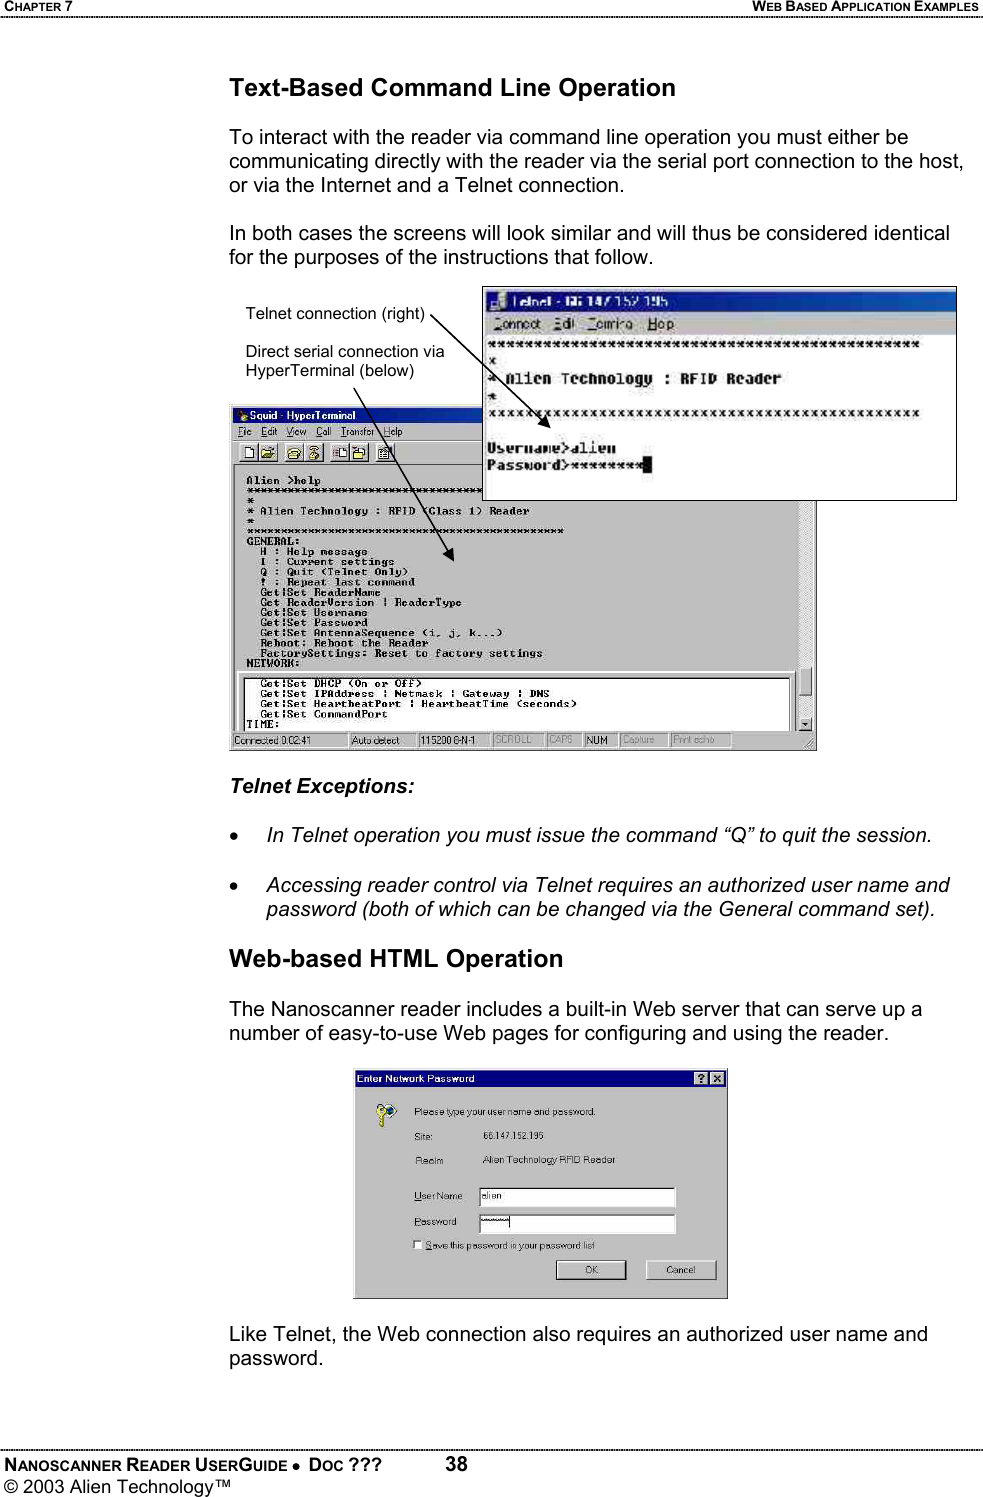
![CHAPTER 4 READER-HOST COMMUNICATIONS INSTALLATION NANOSCANNER READER USERGUIDE • DOC ??? 35 © 2003 Alien Technology™ • If value is not accepted, reader will return “0.0.0.0”. 9. Type “Reboot” to reboot the reader and implement the commands. To verify your network connection to the reader: 10. Launch a browser. 11. Enter the reader’s assigned IP address. • If the IP address is valid, the Alien reader portal will display. 12. For Web access, click the [ENTER] box. For Telnet access, skip to step 13. 13. At the prompt, enter your username and password. (These are case sensitive and must be typed as specified.) Current settings are: • Username = alien Web portal (above) Telnet portal (right)](https://usermanual.wiki/Alien-Technology/B2450R01.User-Guide-Part-1/User-Guide-299797-Page-42.png)
![CHAPTER 7 WEB BASED APPLICATION EXAMPLES NANOSCANNER READER USERGUIDE • DOC ??? 40 © 2003 Alien Technology™ Commands Overview There are two distinct categories of reader-host command: those initiated by the enterprise host (interactive commands), and those initiated by the reader itself (autonomous commands). INTERACTIVE COMMANDS Interactive commands are initiated by a programmer, who creates and issues a command to the reader. The reader always responds to these commands with an immediate reply. Interactive commands are used to configure and operate the reader, as well as to interrogate tags and retrieve stored lists on demand. AUTONOMOUS COMMANDS Autonomous commands instruct the reader to perform certain tasks, without human intervention, according to conditions set by the programmer. These commands typically tell the reader to read tags and then send messages to the outside world based on user-defined triggers. For example, the reader can be instructed to search the field until it sees a tag, then to read the tag and mail the tag ID to a specified email address. Command Format All commands between the enterprise host system and the reader are human readable ASCII text-based messages. For example, a command to set the logical name of the reader using the Set Reader Name command takes the form: Set ReaderName = My Alien Reader [CR][LF] All commands to the reader are single line ASCII commands. These commands are always terminated by a single carriage return / line feed character pair [CR][LF], ascii code 0x0D followed by ascii 0x0A. All replies from the reader are either single line or multiple line ASCII replies. These replies are always terminated by a single carriage return / line feed character pair [CR][LF] followed by a NULL character, ASCII codes 0x0D, 0x0A, 0x00. Where a reply comprises multiple text lines, each line is separated by a single carriage return / line feed character pair [CR][LF], ascii code 0x0D followed by ASCII 0x0A. An example of a single line command / response is: >Get ReaderName[CR][LF] >ReaderName = Alien Reader[CR][LF][0]](https://usermanual.wiki/Alien-Technology/B2450R01.User-Guide-Part-1/User-Guide-299797-Page-47.png)
![CHAPTER 7 WEB BASED APPLICATION EXAMPLES NANOSCANNER READER USERGUIDE • DOC ??? 41 © 2003 Alien Technology™ An example of a multiple line command / response is: >Get ReaderVersion[CR][LF] >ReaderVersion = 1.0[CR][LF] FirmwareVersion = 1.0[CR][LF] SoftwareVersion = 1.0[CR][LF][0] Commands are case insensitive, i.e., “set readername” is equivalent to “Set ReaderName.” Suppressing Command Prompts By default all commands are set up for interactive use over a serial console or telnet style interface. Consequently replies are always followed by a command prompt indicating that user input is required. Often this command prompt is not required, especially when client software is written that programmatically communicates with the reader. To account for these applications, all command prompts can be suppressed by making the first character of any command be an 0x1 character. For example: INTERACTIVE COMMAND FORMAT Alien> get ReaderName[CR][LF] ReaderName = Alien Reader[CR][LF][0] Alien>[CR][LF] NON-INTERACTIVE COMMAND FORMAT [1]get ReaderName[CR][LF] ReaderName = Alien Reader[CR][LF][0] XML Commands There are a few cases where text-based replies and messages are formatted in XML format for easier computer parsing. The following messages are sent in XML format: • Heartbeat Messages (see Heartbeat command description). • Notification Messages (if notifyFormat = xml; see Notify command description). • The Get TagList commands (if tagListFormat = xml)](https://usermanual.wiki/Alien-Technology/B2450R01.User-Guide-Part-1/User-Guide-299797-Page-48.png)

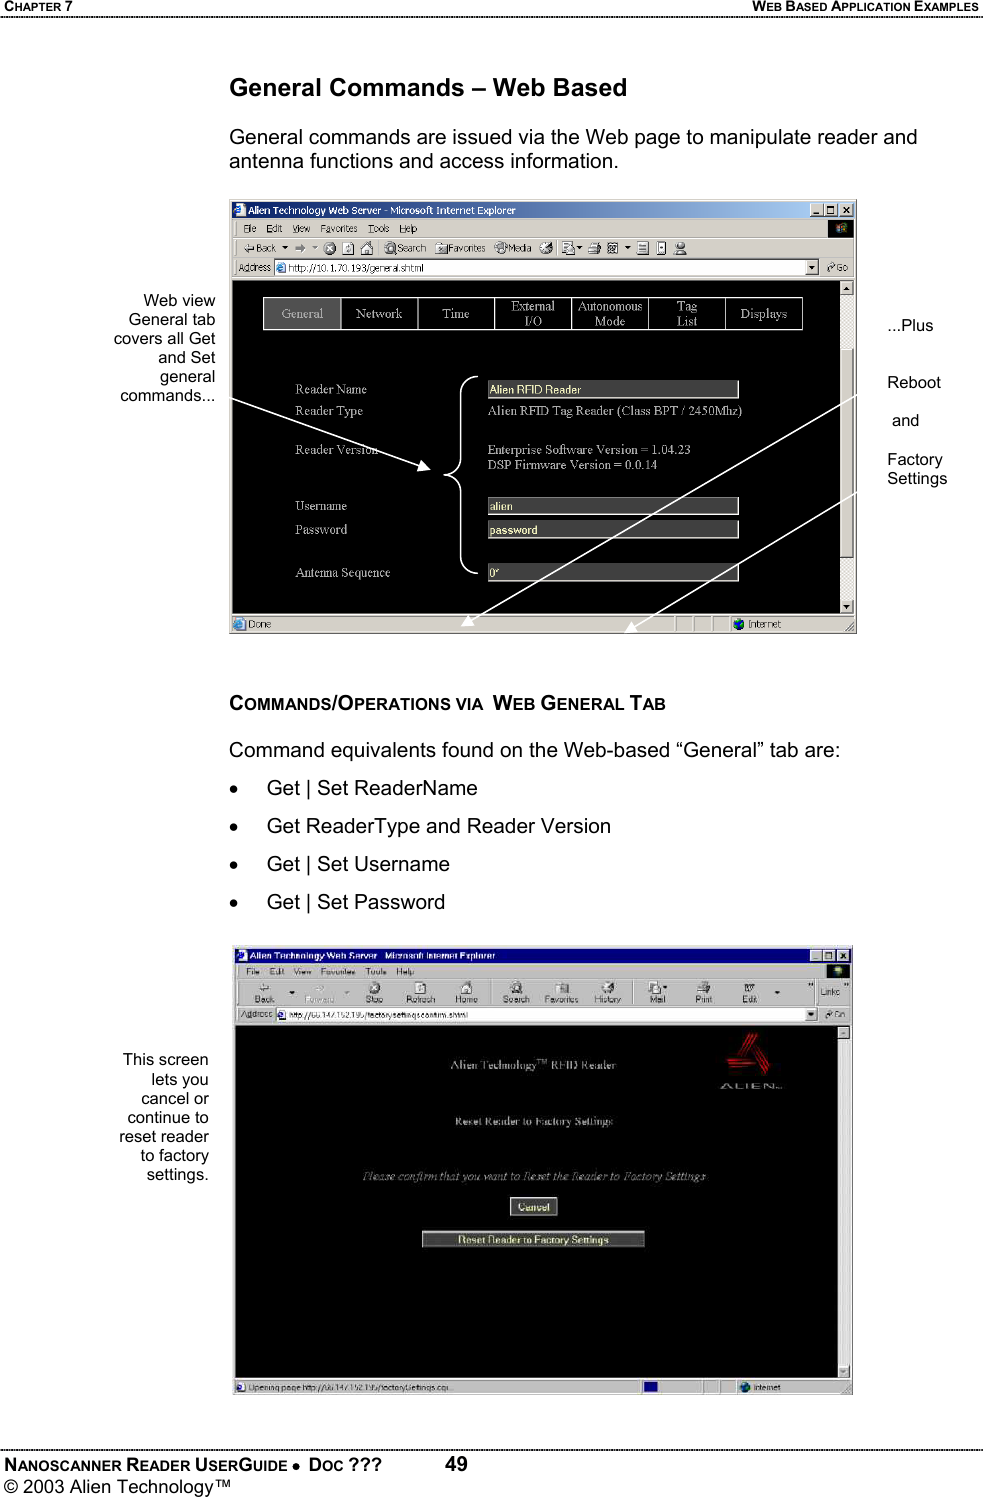
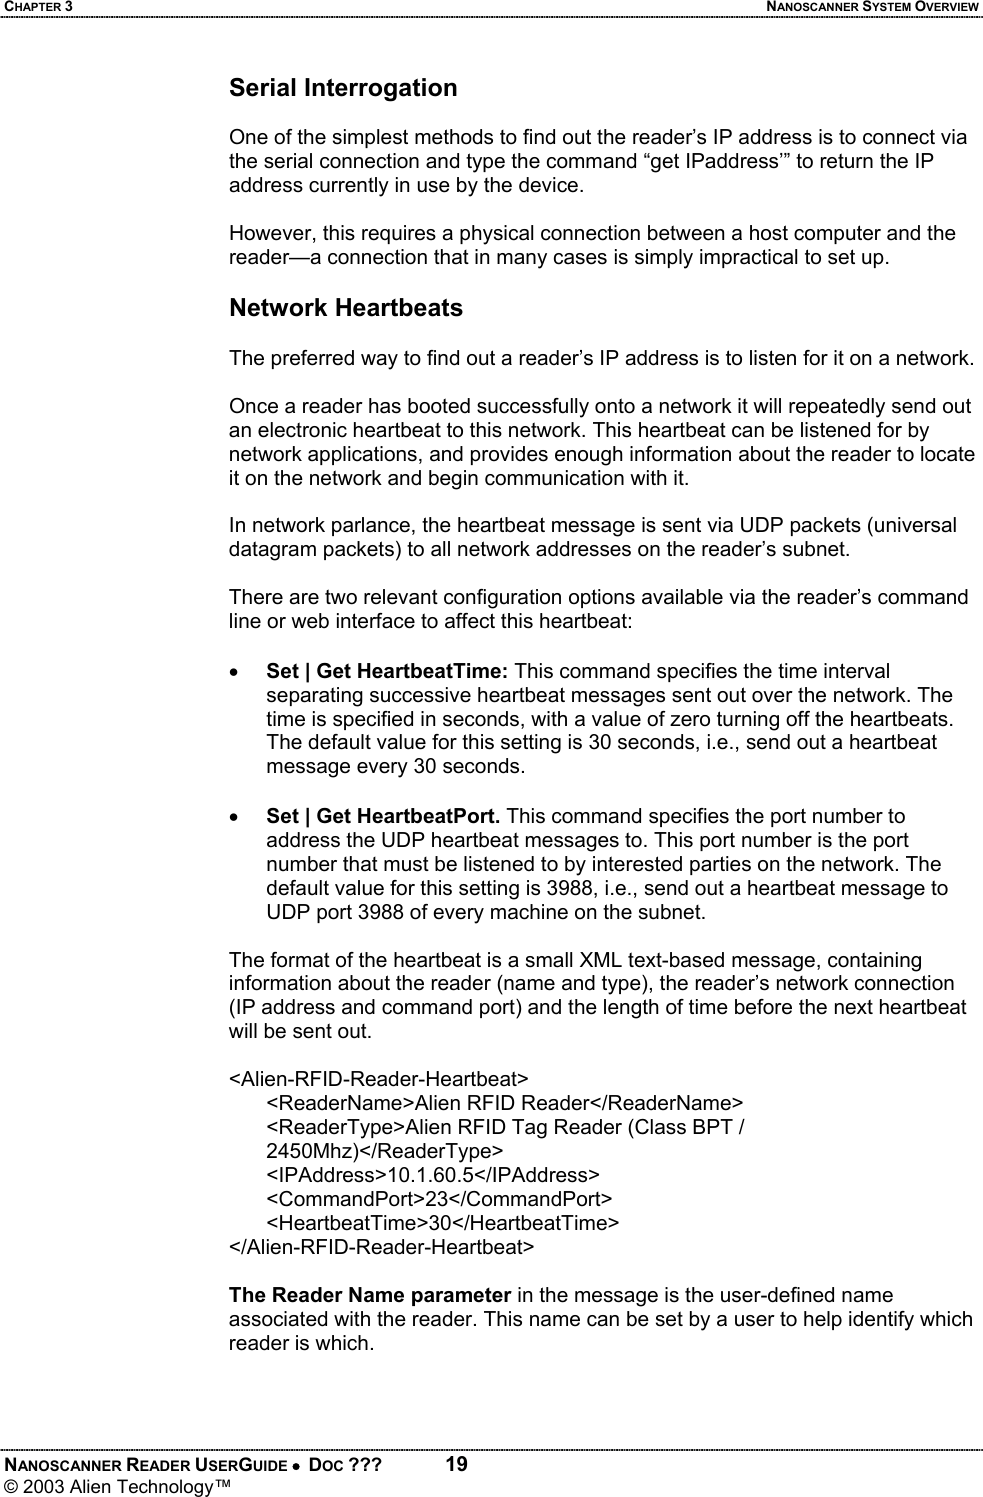
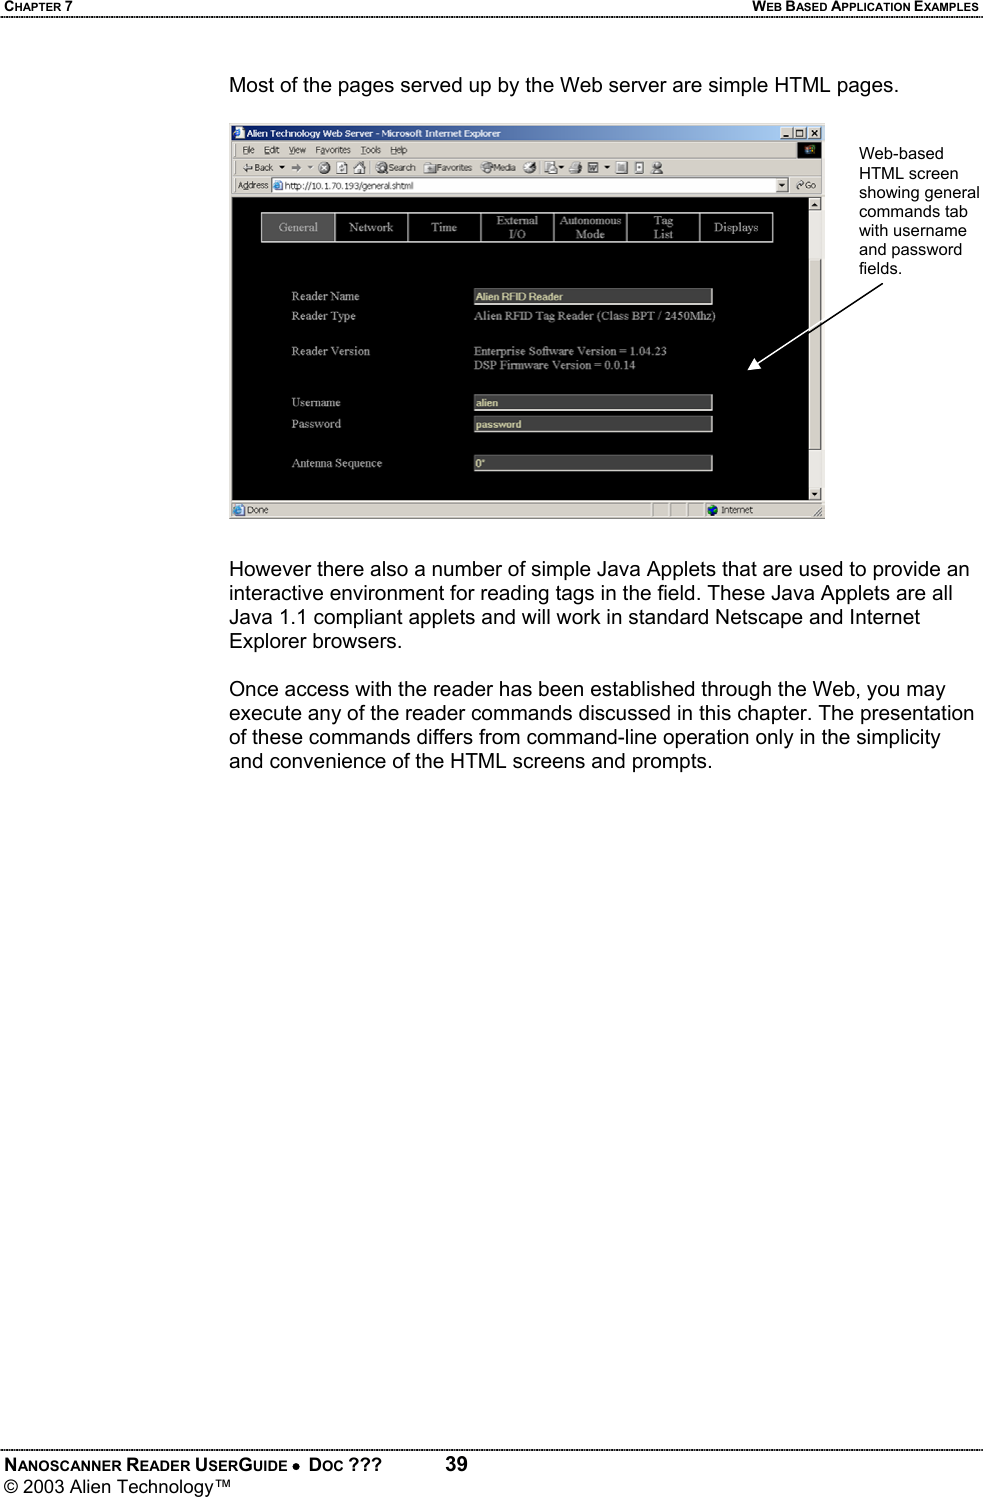
![CHAPTER 7 WEB BASED APPLICATION EXAMPLES NANOSCANNER READER USERGUIDE • DOC ??? 50 © 2003 Alien Technology™ • Get | Set AntennaSequence • Reboot • Factory settings (see below) When you click on the “Reset reader factory settings” option at the bottom of the General tab screen, you will have an opportunity to change your mind before the command is accepted. At this second screen you may click -[CANCEL] to stop the reset, or you can click the [Reset Reader Factory Settings] button to proceed.](https://usermanual.wiki/Alien-Technology/B2450R01.User-Guide-Part-1/User-Guide-299797-Page-57.png)