Apple A1538 Tablet Device User Manual A1538 User Manual v1 0 Part4
Apple Inc. Tablet Device A1538 User Manual v1 0 Part4
Apple >
Contents
- 1. A1538_User_Manual_v1.0_Part1
- 2. A1538_User_Manual_v1.0_Part2
- 3. A1538_User_Manual_v1.0_Part3
- 4. A1538_User_Manual_v1.0_Part4
A1538_User_Manual_v1.0_Part4
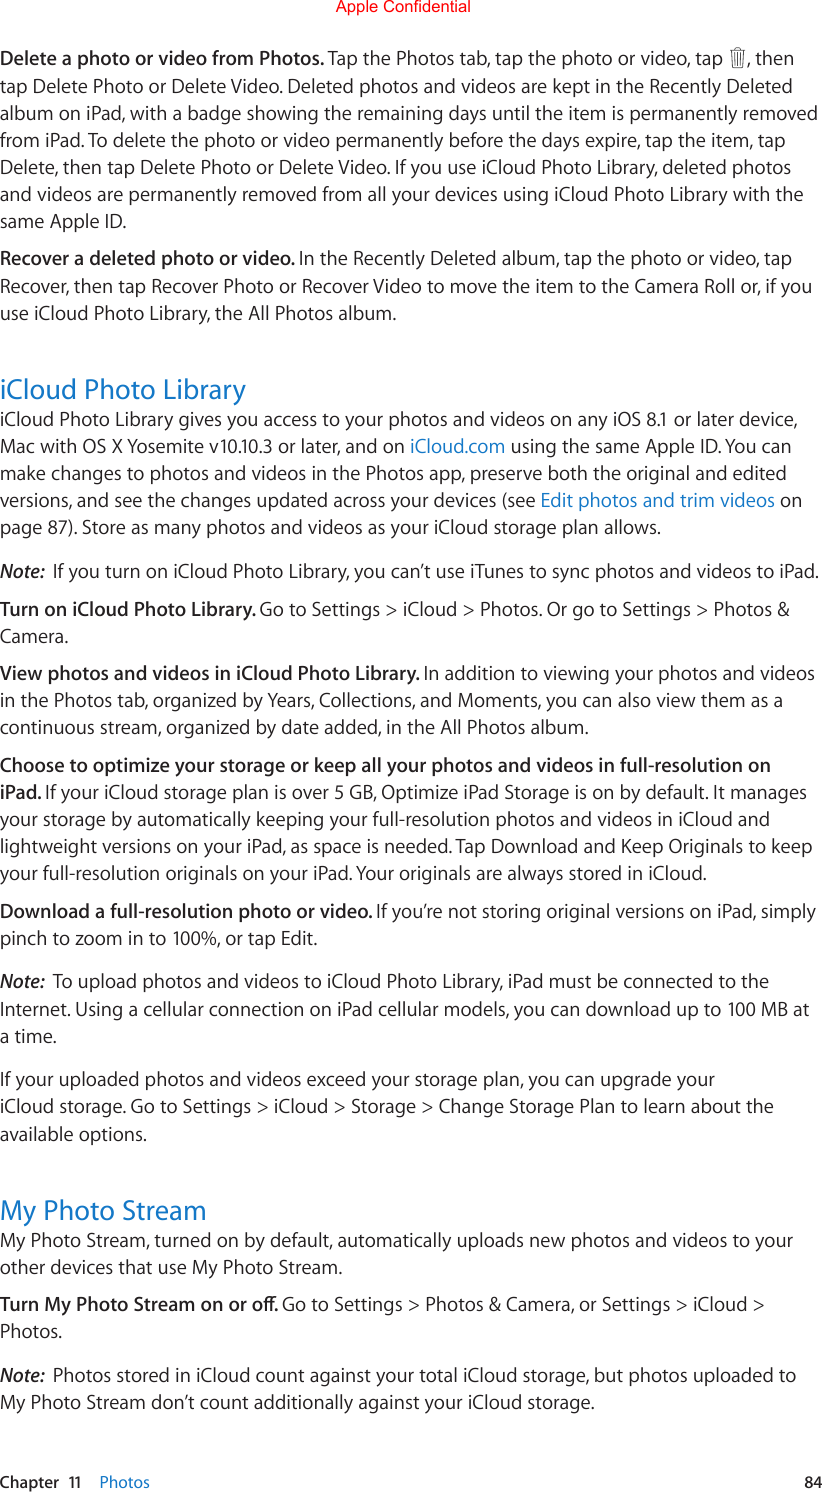
![Chapter 8 Music 71[When you pick a station and play a song, the Now Playing screen shows the album art and the playback controls. Tap tondoutmore,createanewstation,ne-tunethestation,orshareit.TK]Tap to play the station.Listen to live radio. Tap Listen Now to tune into Beats One radio.Listen to your favorite music genre. Tap a station or, if you’ve already listened to a station, tap a recently played station.Create a station. When browsing an artist, song, or genre, tap More, then tap Start Station.ConnectWhether or not you’re an Apple Music subscriber you can follow your favorite artists, learn more aboutthem,readtheirrecentposts,andcommentonwhatyound.View posts from your favorite artists.Add a comment.Follow an artist. Music will suggests artists to follow, based on your musical tastes. Tap artists you like, then tap Follow. You can also tap , enter the name of an artist, tap the artist’s name, then tap Follow.Apple Confidential](https://usermanual.wiki/Apple/A1538.A1538-User-Manual-v1-0-Part4/User-Guide-2731525-Page-1.png)
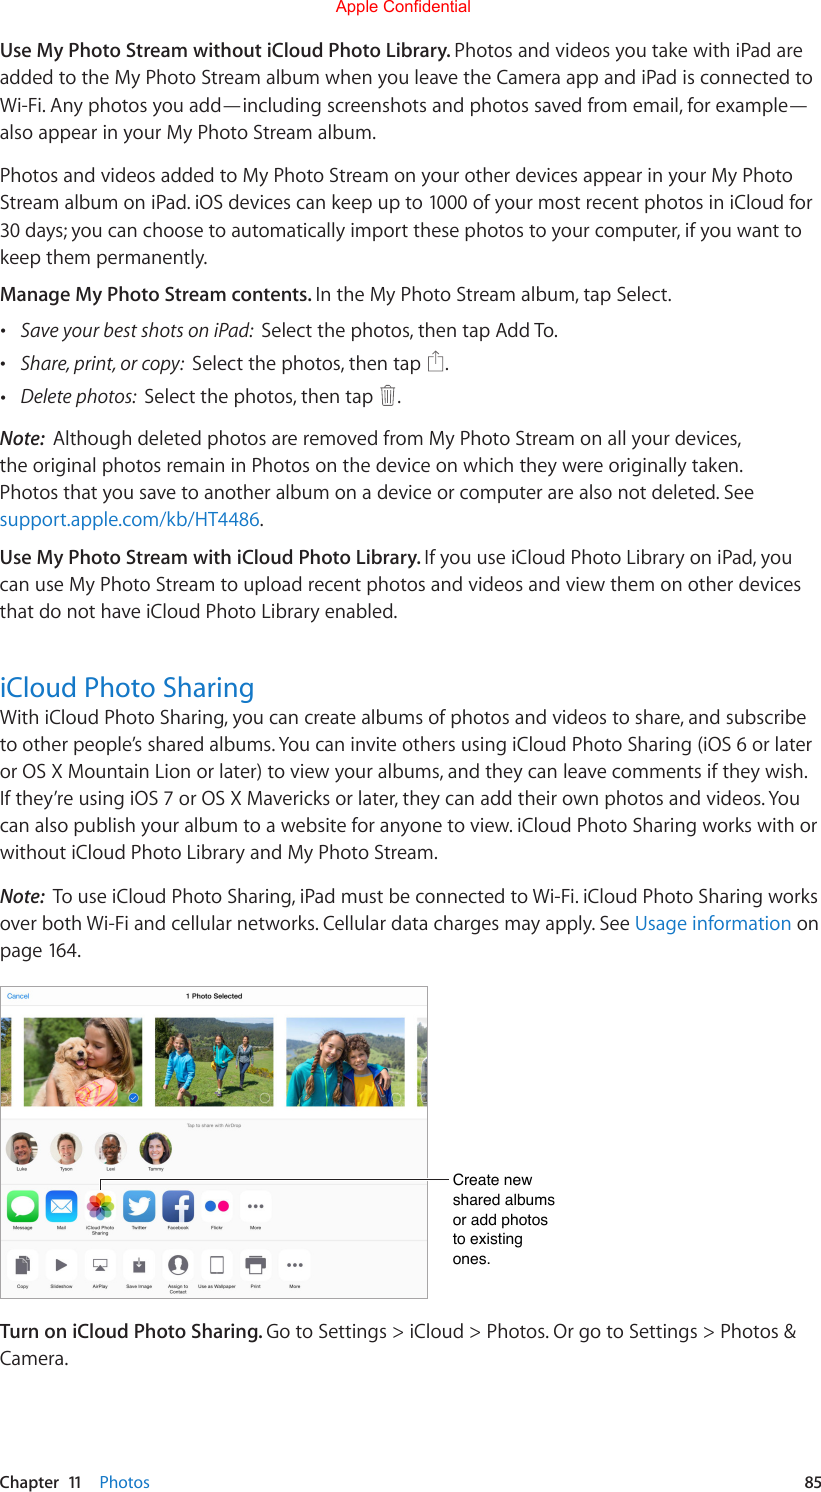
![Chapter 8 Music 72View an artist’s Connect page. After following an artist, tap Connect, then select the artist.Make a comment. Tap [Comment bubble icon] on an artist’s Connect page. Tap to write a comment.Createanicknamethersttimeyoumakeacomment.Share an artist post. Tap , then choose a sharing option.PlaylistsCreate playlists to organize your music. Tap Playlists tab, tap New, enter a title, tap Add Songs, then choose songs and albums. Edit a playlist you created on iPad. Select the playlist, then tap Edit. •Add more songs: Tap Add Songs. •Delete a song: Tap , then tap Delete. Deleting a song from a playlist doesn’t delete itfrom iPad. •Change the song order: Drag .New and changed playlists are copied to your iTunes library the next time you sync iPad with your computer, or through iCloud if you’ve subscribed to iTunes Match.Clear or delete a playlist you created on iPad. Tap More next to the playlist, then tap Delete.Tap to reorder or delete playlists.Create a new playlist.iCloud and iTunes MatchWith iCloud, you can access all of the music you purchase in the iTunes Store on all of your devices. Just tap a song to play it.Automatically download music purchased on another device. Go to Settings > iTunes & App Store, sign in using your Apple ID, then turn on Music under Automatic Downloads.Download music if you’re going somewhere you won’t have Wi-Fi. Tap More next to the songs, albums, and playlists you’ll want to play, then tap Keep on Device.Remove a song that’s been downloaded. Tap More next to the song, then tap Remove from this iPad. The song is deleted from iPad, but not from your iTunes library on your Mac or PC, or from iCloud.Apple Confidential](https://usermanual.wiki/Apple/A1538.A1538-User-Manual-v1-0-Part4/User-Guide-2731525-Page-2.png)
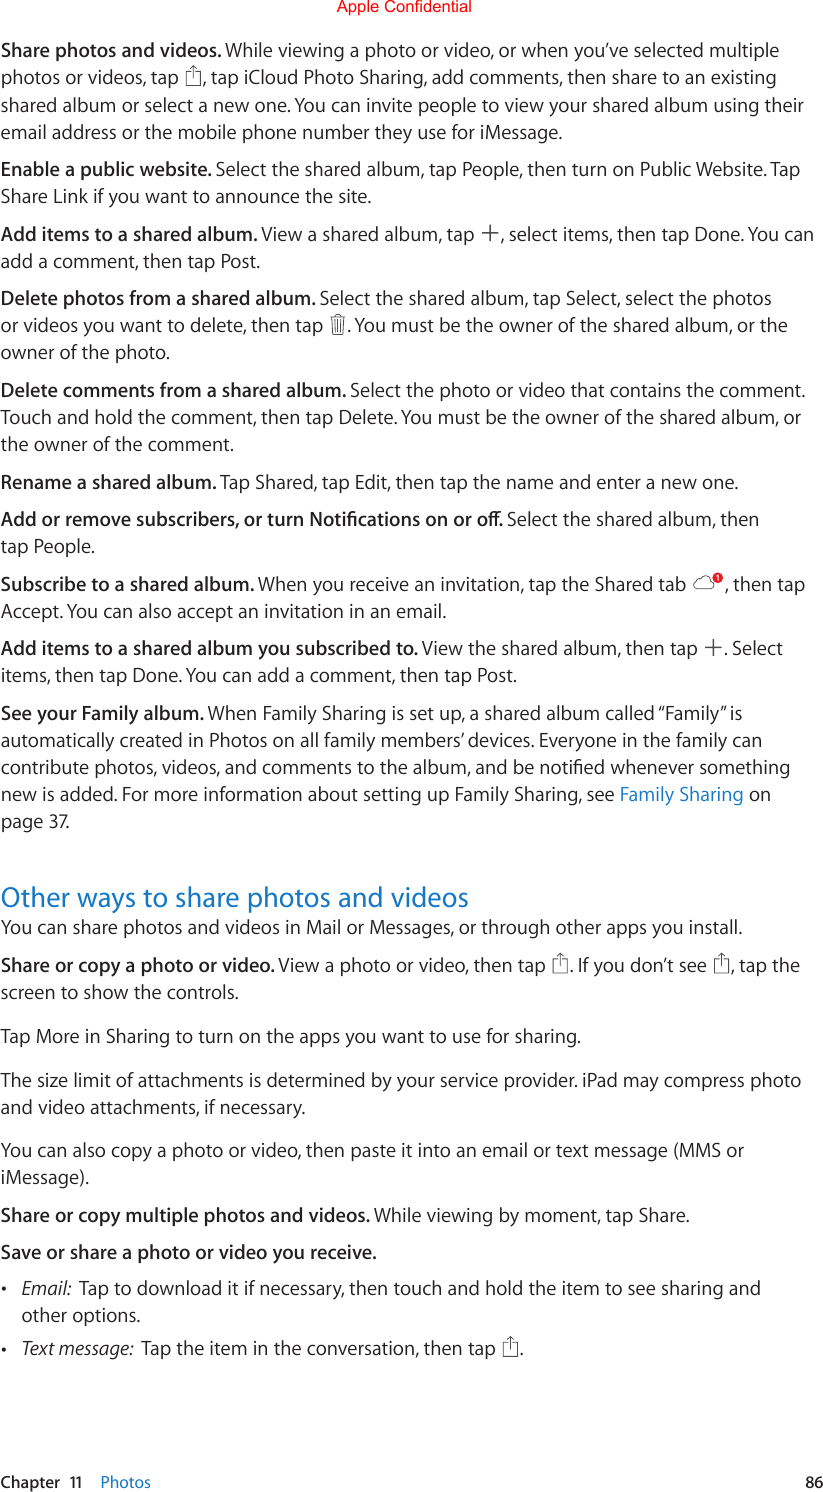
![Chapter 8 Music 73View only music that’s downloaded. Go to Settings > iTunes & App Store. Under Show All, turn oMusic.With an iTunes Match subscription, you can store all your music in iCloud (up to 25,000 songs)—even songs you imported from CDs.Subscribe to iTunes Match. Go to Settings > iTunes & App Store > Subscribe to iTunes Match. See [support doc TK].Turn on iTunes Match. Go to Settings > iTunes & App Store. Sign in if you haven’t already.My MusicMy Music includes any music and music videos synced to iPad, iTunes purchases, songs available from iTunes Match, and Apple Music songs you’ve added.Tap to play a recently added album or song.Choose a sorting method.View an album or artist’s contents.Browse and play your music. Tap Artists menu to sort your music by Artists, Albums, Songs, and more. Tap album art to play a song or album. Tap the Miniplayer to display Now Playing screen.Download iCloud and iTunes tracks. Tap More next to an album or track, tap Keep on Device.Add music to a playlist. Tap More next to an album or track, tap Add to a Playlist, then choose a playlist.Rate a song for smart playlists in iTunes. In Now Playing tap the track title to reveal the rating dots, then tap a dot to assign a rating.Note: [You can rate only music you own, not Apple Music. TK]Display lyrics. If you’ve added lyrics to a song, tap the album art on the Now Playing screen to see them. To add lyrics, use the song’s Info window in iTunes on your computer, then sync the song to iPad.Get audio controls from the Lock screen or when using another app. Swipe up from the bottom edge of the screen to open Control Center. See Control Center on page 34.Apple Confidential](https://usermanual.wiki/Apple/A1538.A1538-User-Manual-v1-0-Part4/User-Guide-2731525-Page-3.png)
![Chapter 8 Music 74SiriYou can use Siri to control music playback. See Chapter 4, Siri, on page 48.Use Siri. Press and hold the Home button. •Play or pause music: Say “play,” “play music,” or “play iTunes Radio.” To pause, say “pause,” “pausemusic,” or “stop.” You can also say “next song” or “previous song.” •Play an album, artist, or playlist: Say “play,” then say “album,” “artist,” or “playlist” and the name. •Shue the current playlist: Say“shue.” •Find out more about the current song: Say “what’s playing,” “who sings this song,” or “who is thissong by.” •Browse Apple Music: [Some Apple Music command here. TK]SiricanalsohelpyoundmusicintheiTunesStore.See“FinditwithSiri”inBrowse or search on page 116.Home Sharing [TK]Home Sharing lets you play music, movies, and TV shows from the iTunes library on your Mac or PC. iPod touch and your computer must be on the same Wi-Fi network.Note: Home Sharing requires iTunes 10.2 or later, available at www.itunes.com/download/. Bonus content, such as digital booklets and iTunes Extras, can’t be shared.Play music from your iTunes library on iPad.1 In iTunes on your computer, choose File > Home Sharing > Turn On Home Sharing. Log in, then click Create Home Share.2 On iPad, go to Settings > Music, then log in to Home Sharing using the same Apple ID and password.3 In Music, tap More, tap Shared, then choose your computer’s library.Return to content on iPad. Tap Shared, then choose My iPad.Music settingsGotoSettings>MusictosetoptionsforMusic.Theseoptionsdierdependingonyoursubscription status. •Apple MusicIf you’re not currently an Apple Music subscriber you can choose to show Apple Music features as well as subscribe to it. •Artist ConnectShow or hide Connect and show artist posts and shares in Now Playing and on the lock screen. •Sort albums by artist or title •Sound Check (to normalize the volume level of your audio content) •ShaketoShue •Equalization (EQ)Note: EQsettingsgenerallyapplyonlytomusicplayedfromtheMusicapp,buttheyaectallsoundoutput,includingtheheadsetjackandAirPlay.Apple Confidential](https://usermanual.wiki/Apple/A1538.A1538-User-Manual-v1-0-Part4/User-Guide-2731525-Page-4.png)