Ascalade Technologies DT19R51 1.9GHz cordless phone User Manual B255OMR00 002
Ascalade Technologies, Inc. 1.9GHz cordless phone B255OMR00 002
UserManual.wiki
>
Ascalade Technologies
>
DT19R51 User Manual
>
USERS MANUAL 2
Contents
1.
USERS MANUAL 1
2.
USERS MANUAL 2
USERS MANUAL 2
Navigation menu
Upload a User Manual
Namespaces
Wiki Guide
HTML
PDF
Info
Views
User Manual
Discussion / Help
Navigation
![- 5 - What’s in the Box? Congratulations on your purchase and welcome to Philips! To fully benefit from the support that Philips offers, register your product at www.philips.com/welcome. This product comes with the following items. For missing item(s), contact your dealer. Base station with Bracket Handset Handset Battery Cover [Image to be added] Power Supply Unit NiMH AAA Rechargeable Batteries x 2 Line Cord This User Manual Quick Start Guide Warranty Card NOTE: The line adapter may not be attached to the line cord. You may find the line adapter in the box. In this case, you have to connect the line adapter to the line cord first before plugging the line cord to the line socket. In multi-handset packs, you will find one or more additional handset, chargers with power supply units and additional rechargeable batteries. - 6 - Welcome This user guide provides you with the information and instructions you need to get the most from your phone. HOW TO USE THIS USER GUIDE? The following symbols are used to alert you to important information. Warning: Critical information for preventing personal injury. Caution: Critical information for preventing damage to the product. Tip: Information for easier operation. Note: Explanatory or critical information for carrying out an operation correctly. NEED MORE HELP? • See the Frequently Asked Questions section in this user guide on page 63. • Visit our online help www.philips.com/support](https://usermanual.wiki/Ascalade-Technologies/DT19R51.USERS-MANUAL-2/User-Guide-895679-Page-6.png)
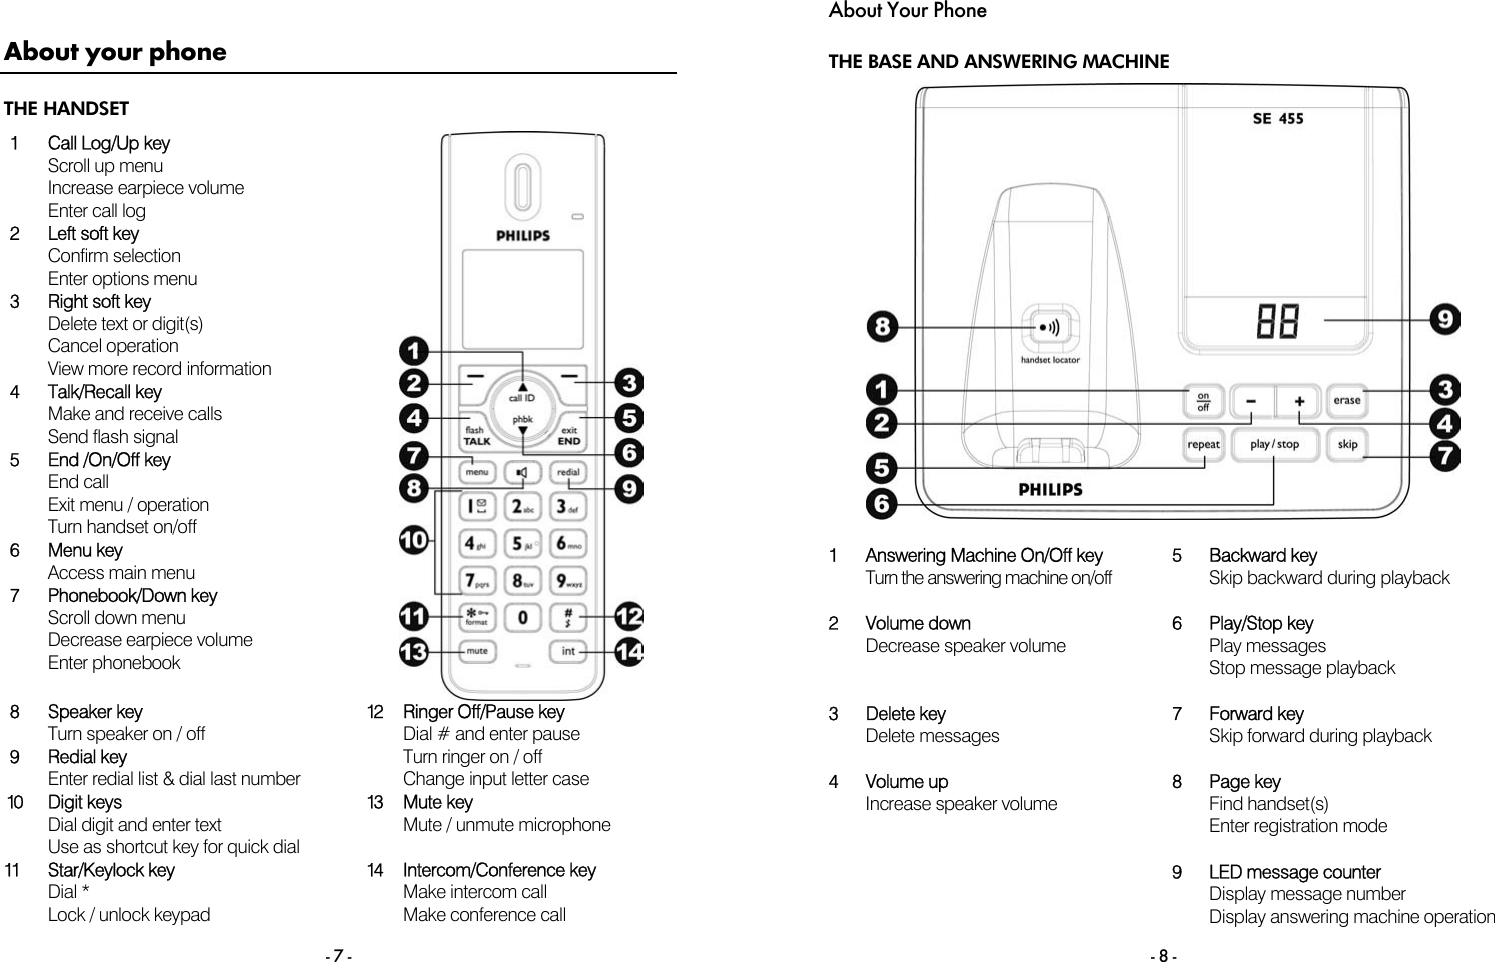
![- 11 - Getting Started CONNECTING YOUR PHONE 1. Connect the output plug of the mains adapter to the bottom of the base station. 2. Connect the mains adapter to a standard wall outlet. 3. Connect the telephone line cord to the phone socket at the bottom of the base station and the wall phone socket. CONNECTING YOUR CHARGER * For multi-pack models only 1. Connect the output plug of the mains adapter to the bottom of the charger. 2. Connect the mains adapter to a standard wall outlet. Getting Started - 12 - WALL MOUNTING THE BASE The base is designed to support wall mounting. To wall mount the base, follow the instructions below. 1. Remove the bracket from the back of the base station by pressing down the two latches on the top of the bracket. 2. Turn the bracket upside down and then re-insert the bracket to the back of the base station. 3. Insert screws (not included) into the wall. 4. Align the mounting holes on the back of the base with the screws on the wall. 5. Slide the base down into place. For US, replace steps 3 and 4 above with “Align the mounting holes on the back of the base with a standard wall phone mounting jack.” [Image to be added for EU version] CAUTION: Other wall mounting methods are not recommended and may damage the product.](https://usermanual.wiki/Ascalade-Technologies/DT19R51.USERS-MANUAL-2/User-Guide-895679-Page-9.png)


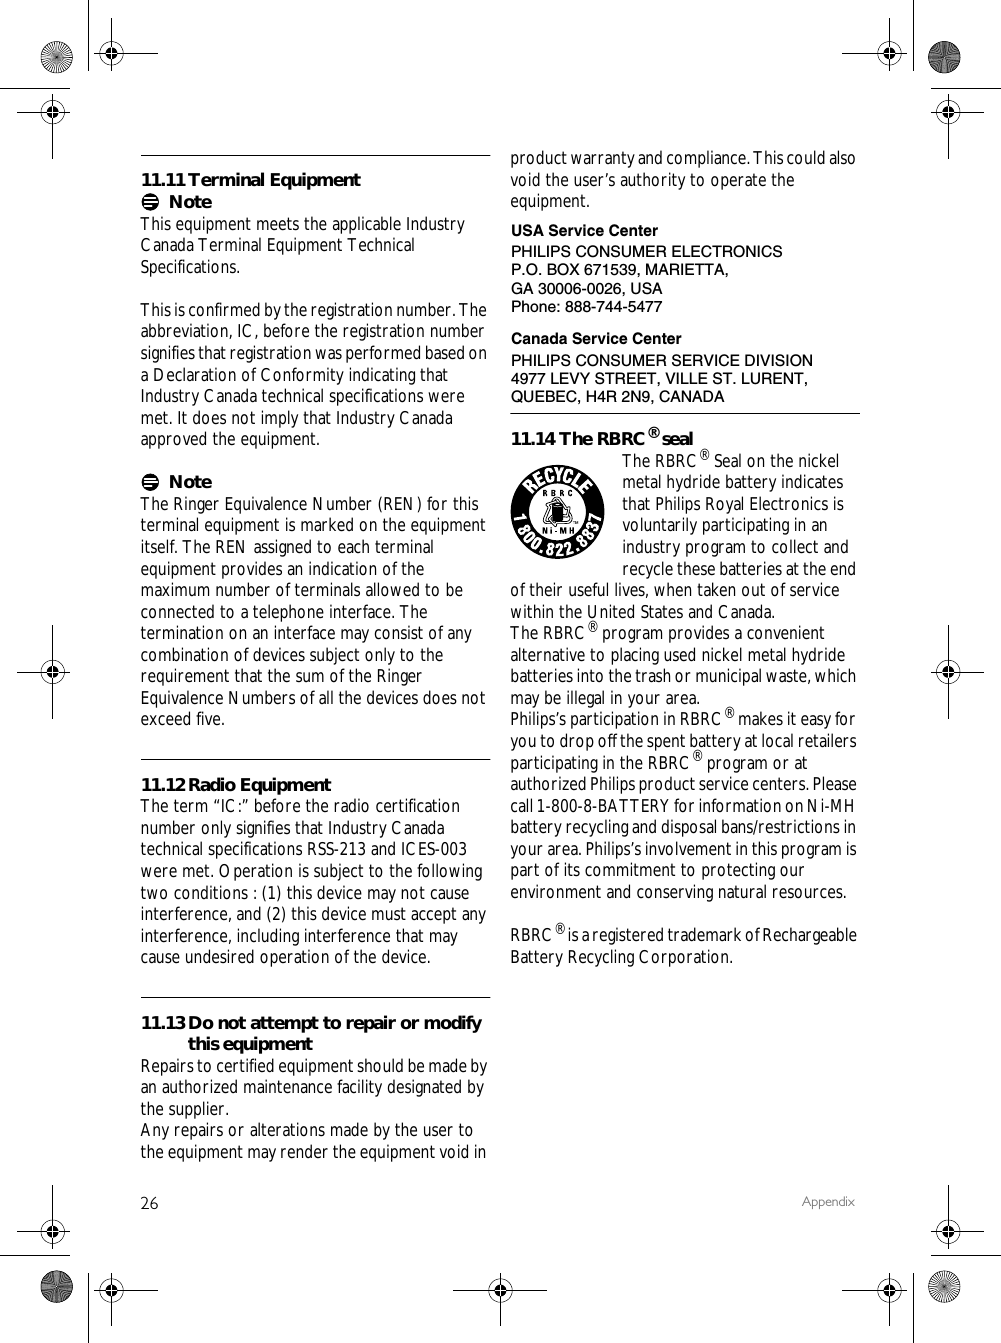
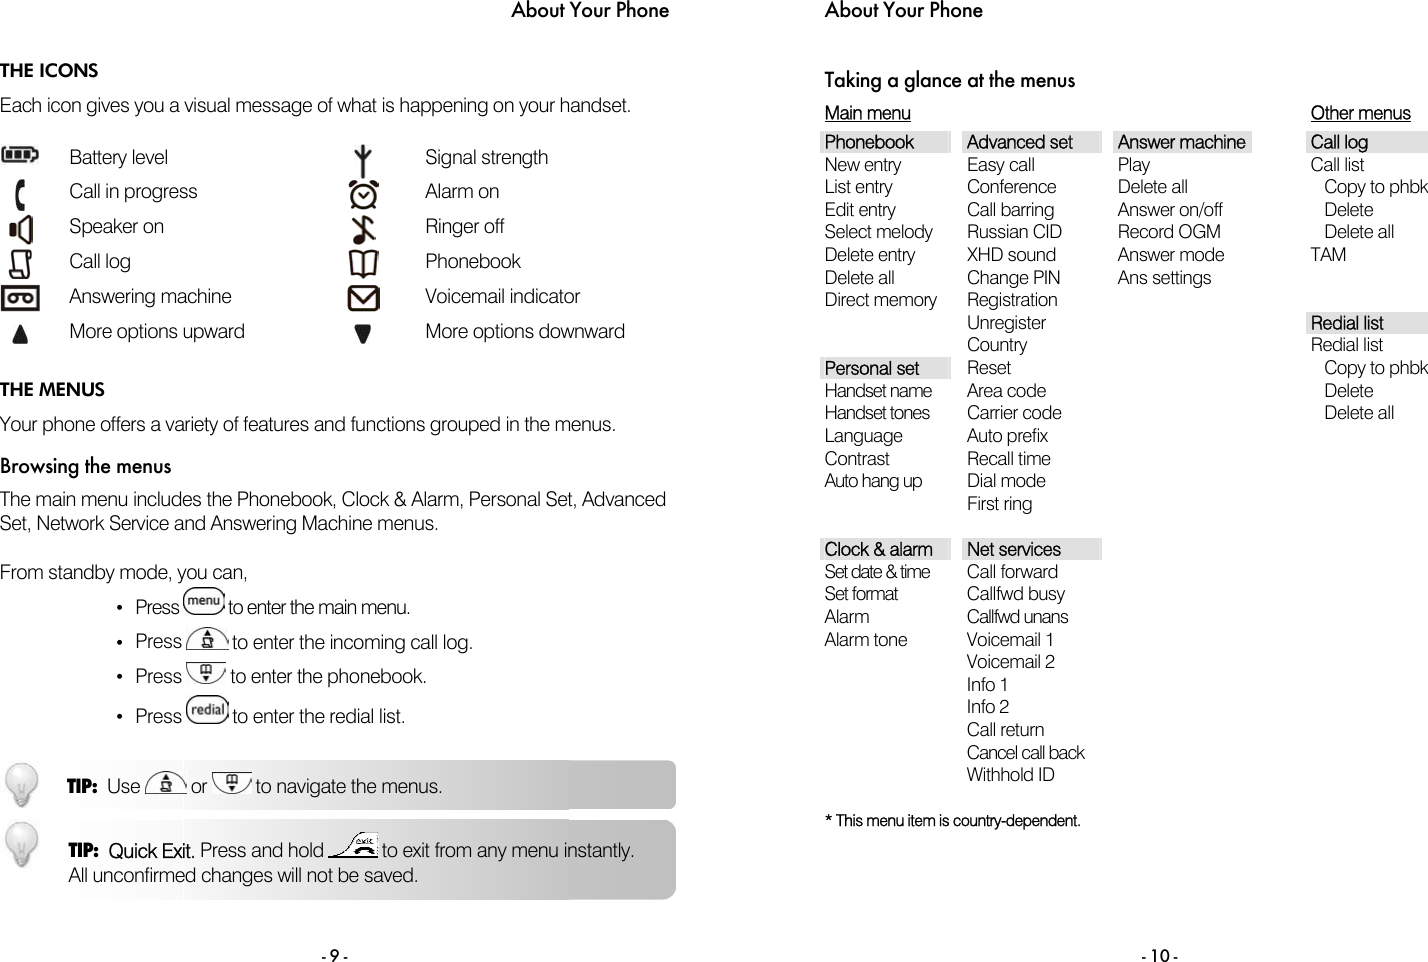
![- 25 - Text and Numbers You can enter text and numbers for handset name, phonebook records, and others menu items. ENTERING TEXT AND NUMBERS 1. Find the key with the character you want. 2. Press it as many times as needed for the character you want. Input table Key Characters (Upper case) Key Characters (Lower case) 0 . 0 , / : ; “ ; ! ¡ ? ¿ * + - % \ ^ ~ | 0 . 0 , / : ; “ ; ! ¡ ? ¿ * + - % \ ^ ~ | 1 [Sp] 1 @ _ # = < > ( ) & ¤ £ $ ¥ [ ] { } ° § … 1 [Sp] 1 @ _ # = < > ( ) & ¤ £ $ ¥ [ ] { } ° § … 2 A B C 2 À Â Æ Á Ã Ă Ä Å Ą Ç Ć Č 2 a b c 2 à â Æ á ã ă ä å ą ç ć č 3 D E F 3 Ď Đ Ė Ě È É Ê Ë Ę ∆ Φ 3 d e f 3 ď đ ė ě è é ê ë ę ∆ Φ 4 G H I 4 Ğ Í Ì Î Ï İ Γ 4 g h i 4 ğ í ì î ï I Γ 5 J K L 5 Λ Ł Ĺ Ľ 5 j k l 5 Λ ł ĺ ľ 6 M N O 6 Ñ Ň Ń Ó Ô Õ Ö Ő 6 m n o 6 ñ ň ń ó ô õ ö ő 7 P Q R S 7 Ř Ş Š Ś β Π Θ Σ 7 p q r s 7 ř ş š ś β Π Θ Σ 8 T U V 8 Ţ Ť Ù Ú Û Ü Ů Ǚ Ű 8 t u v 8 ţ ť ù ú û ü ů ǚ ű µ 9 W X Y Z 9 Ý Ž Ź Ż ſ Ø Ω Ξ Ψ 9 w x y z 9 ý ž ź ż ƒ ø Ω Ξ Ψ SWITCHING BETWEEN UPPERCASE AND LOWERCASE By default, all characters entered will be in uppercase. You can press to switch between uppercase and lowercase letters.TIP: Editing. Use BACK to delete and or to move the cursor. - 26 - Phonebook Your phone has a phonebook that can store up to 100 records. You can access the phonebook from your handset. Each record can have a name up to 14 characters long and a number up to 24 digits long. VIEWING THE PHONEBOOK 1. Press . 2. Select the contact you want to view. 3. Press to view the details of a record (name, number, VIP melody). Searching a record You can search the phonebook by scrolling or by searching the first character. Searching by scrolling 1. While in the phonebook, press or to scroll. Searching by the first character 1. While in the phonebook, press the digit key that contains the character you want to search by. During a call You can access the phonebook and use the number during a call. 1. Press and hold during a call OR Press OK. Select Phonebook. Press OK. 2. Select the contact you want. 3. Press OK. The number displays on the screen and is dialled out. TIP: Use or to navigate the menus. TIP: Options Menu. While viewing the phonebook, you can press OK toaccess the phonebook options menu.](https://usermanual.wiki/Ascalade-Technologies/DT19R51.USERS-MANUAL-2/User-Guide-895679-Page-16.png)