Asia Pacific Satellite communications XT Satellite Mobile Hand Held Terminal User Manual II
Asia Pacific Satellite communications Inc. Satellite Mobile Hand Held Terminal Users Manual II
Contents
- 1. Users Manual
- 2. Users Manual I
- 3. Users Manual II
- 4. user manual
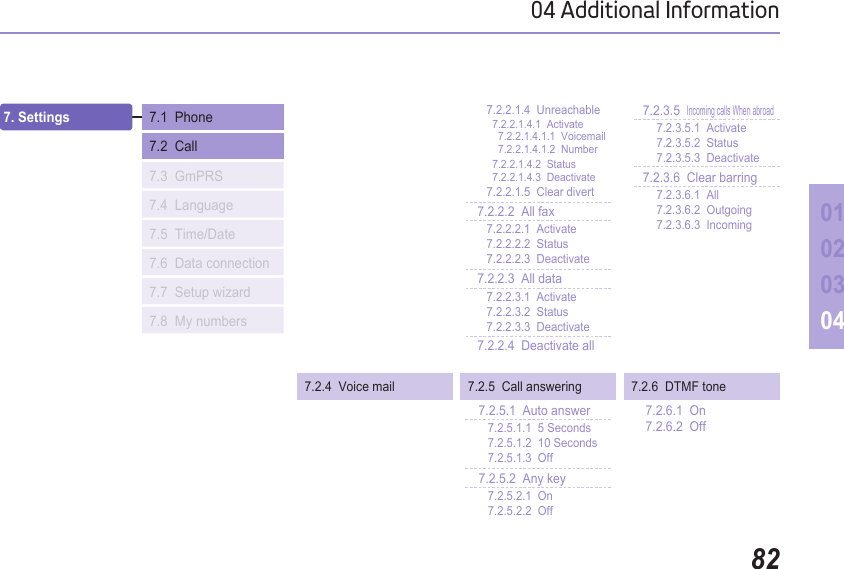
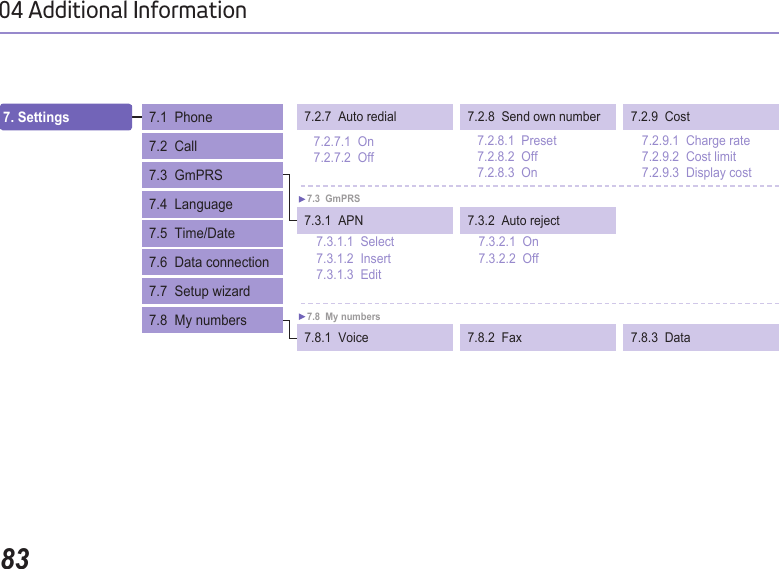
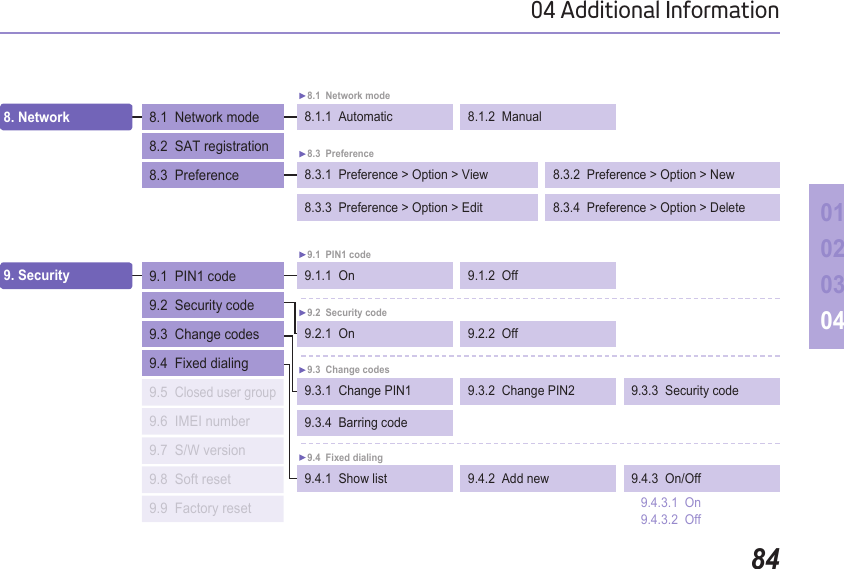
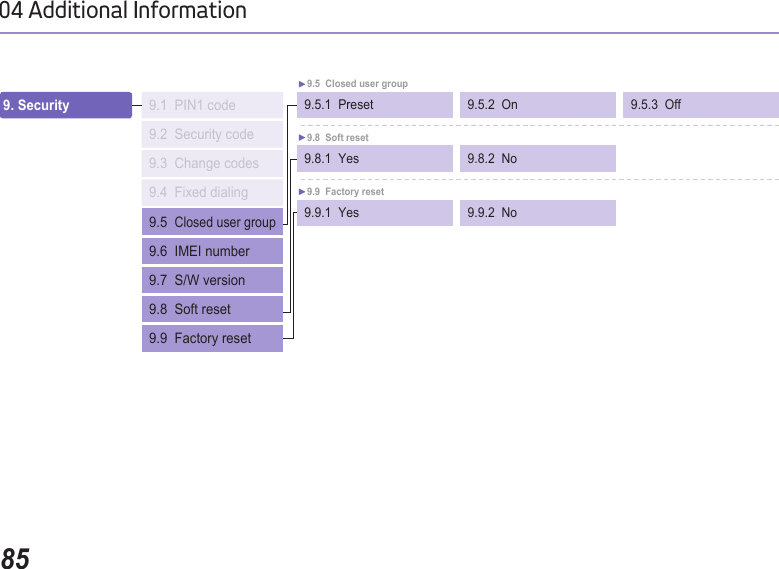
Users Manual II


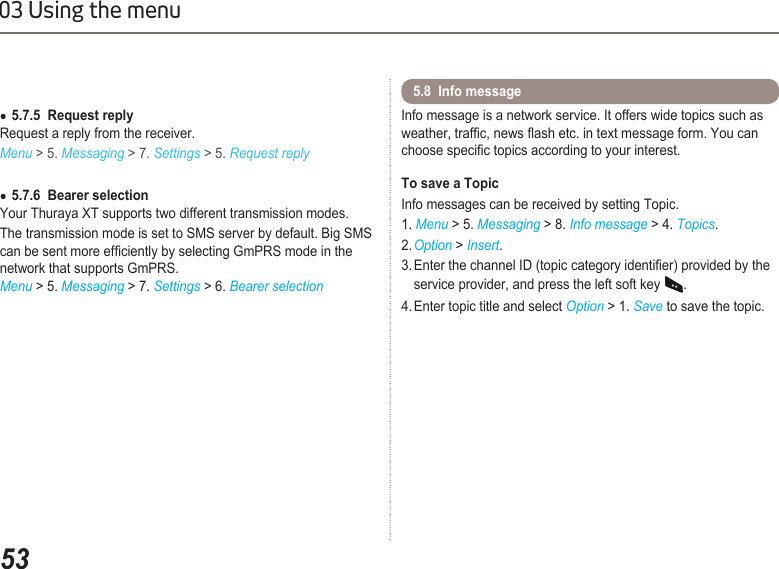
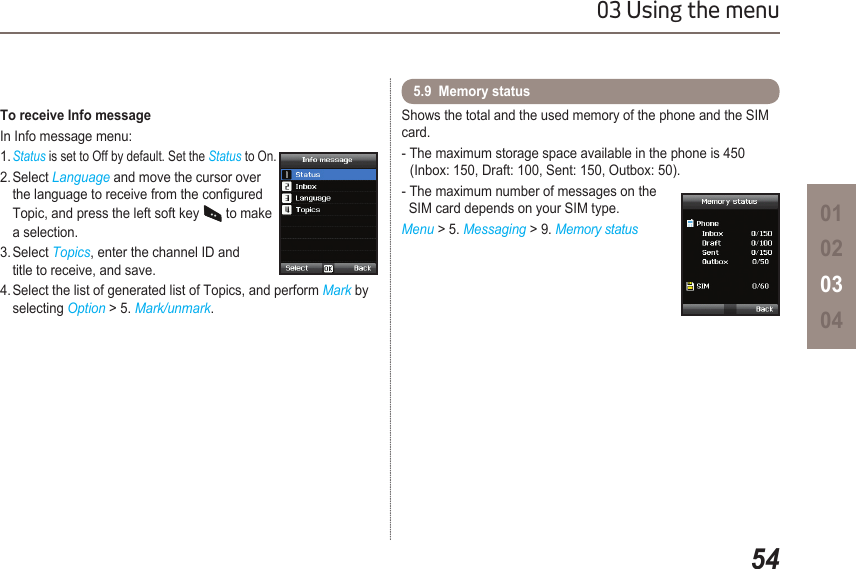
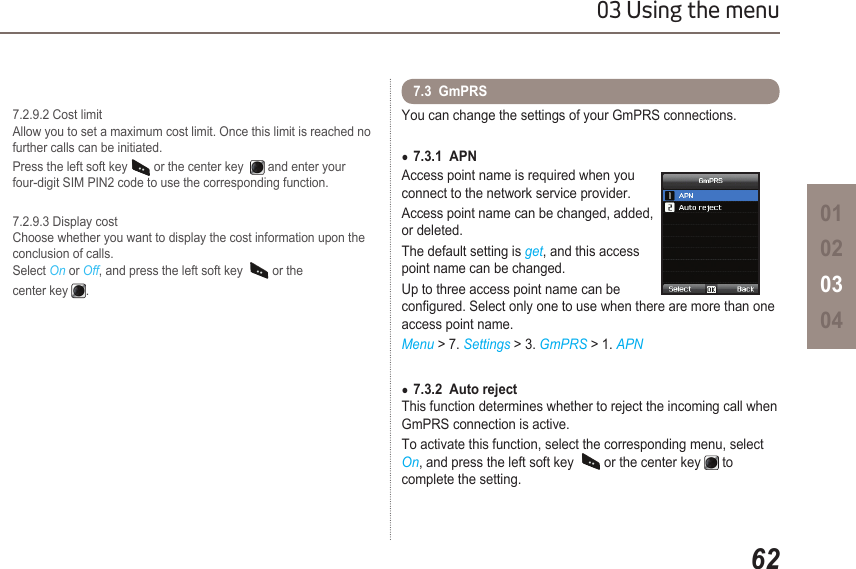
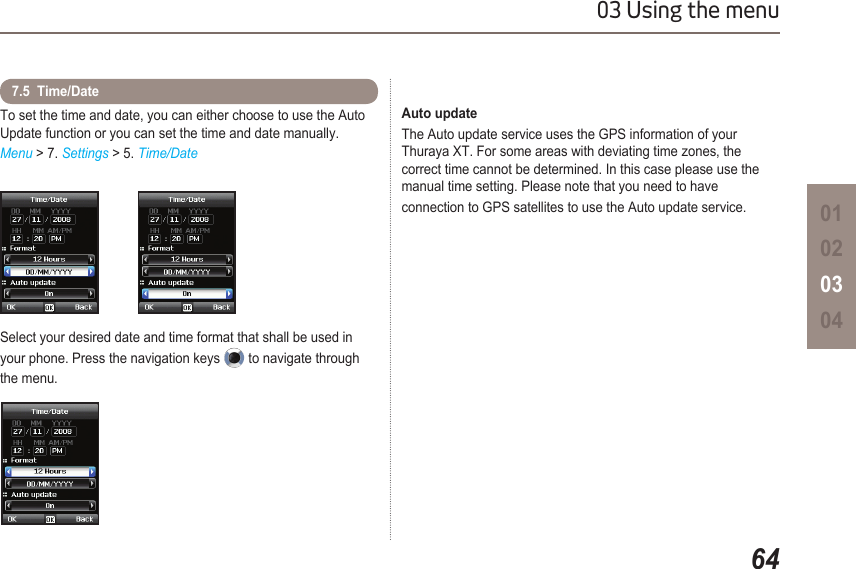
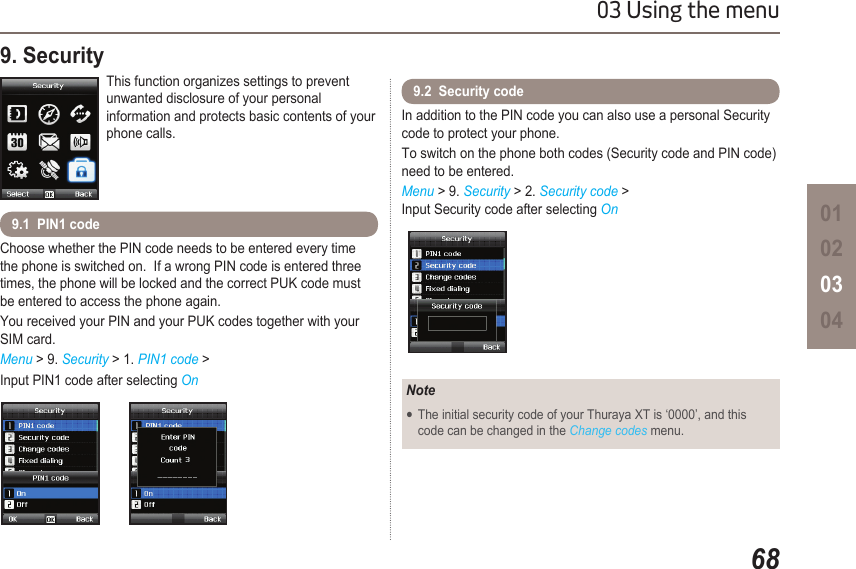
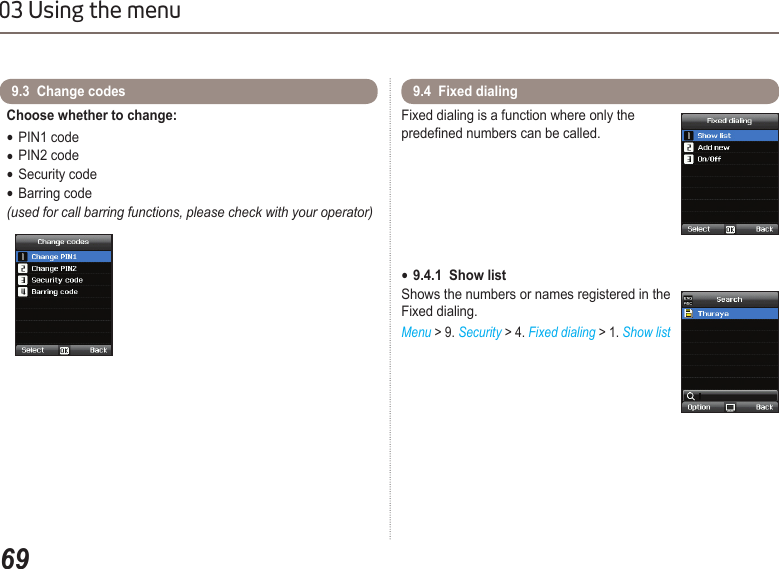
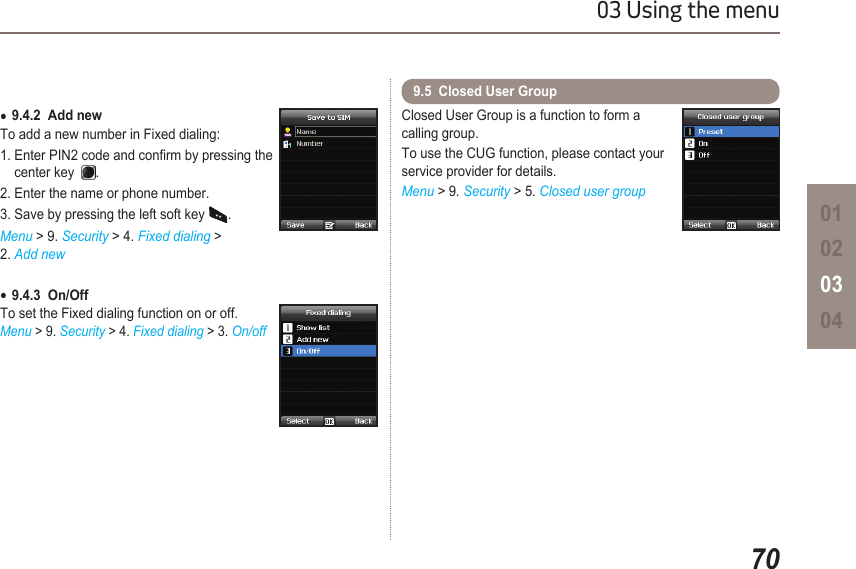
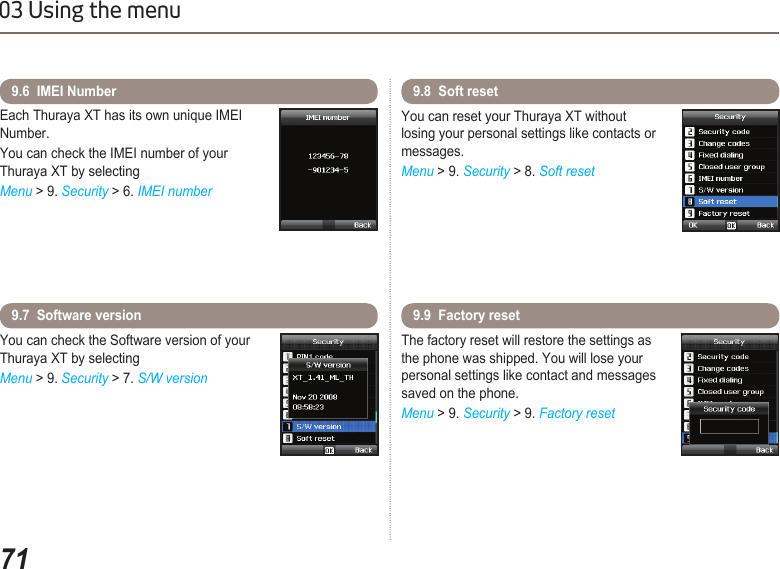
![6303 Using the menuYou can set the ●System language and the ●Input Language of your Thuraya XT. The System language affects the menus in your phone, whereas the Input language allows you to enter Text (e.g. when writing messages) in your preferred language style and use the included dictionaries and the Predictive Text feature eZiText.Menu > 7. Settings > 4. Language7.4 LanguageTo change the languageChoose your desired language by navigating with the left or right navigation keys and select with the center key . Menu > 7. Settings > 4. LaguageSystem language [English]Input language [French]](https://usermanual.wiki/Asia-Pacific-Satellite-communications/XT.Users-Manual-II/User-Guide-1175010-Page-33.png)