BIG KING HORN SPEAKER ENT PROPL4TX TRANSMITTER User Manual 500 550 Manual RFID New TX ICONS p65

BIG KING HORN SPEAKER ENT. CO., LTD. TRANSMITTER 500 550 Manual RFID New TX ICONS p65

User Manual Part 3

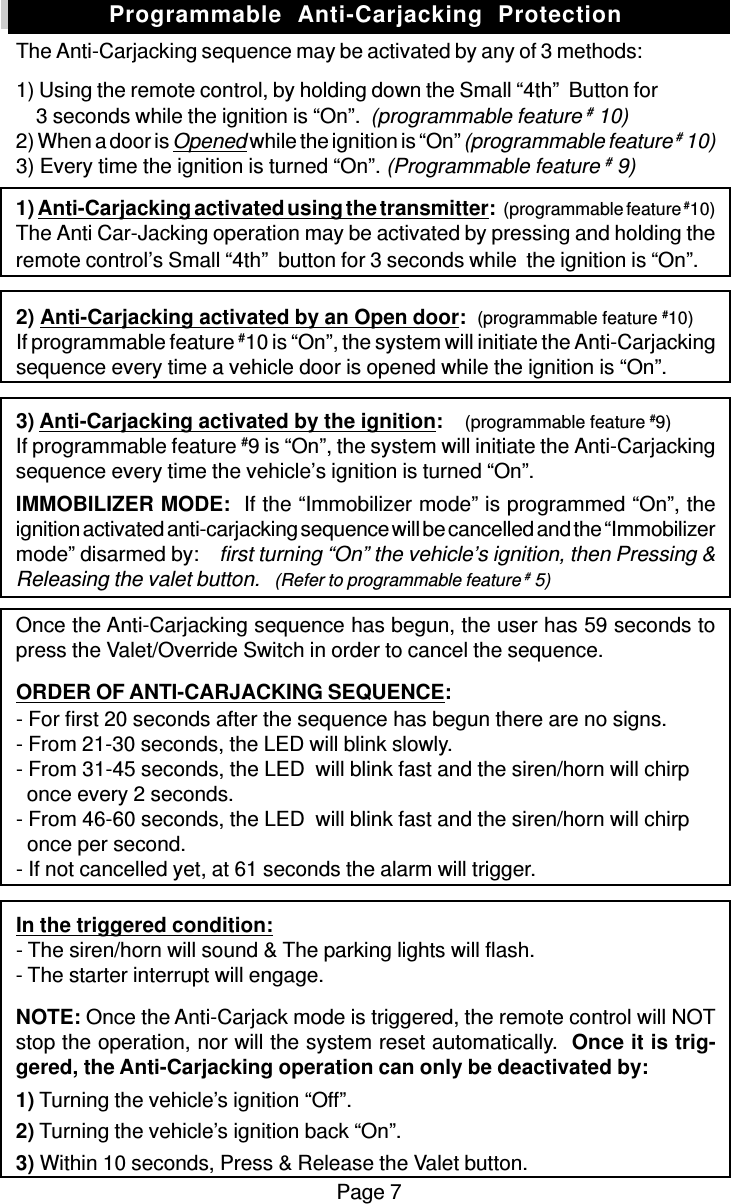
Page 7The Anti-Carjacking sequence may be activated by any of 3 methods:1) Using the remote control, by holding down the Small “4th”  Button for    3 seconds while the ignition is “On”.  (programmable feature # 10)2) When a door is Opened while the ignition is “On” (programmable feature # 10)3) Every time the ignition is turned “On”. (Programmable feature # 9)1) Anti-Carjacking activated using the transmitter:   (programmable feature #10)The Anti Car-Jacking operation may be activated by pressing and holding theremote control’s Small “4th”  button for 3 seconds while  the ignition is “On”.2) Anti-Carjacking activated by an Open door:  (programmable feature #10)If programmable feature #10 is “On”, the system will initiate the Anti-Carjackingsequence every time a vehicle door is opened while the ignition is “On”.3) Anti-Carjacking activated by the ignition:    (programmable feature #9)If programmable feature #9 is “On”, the system will initiate the Anti-Carjackingsequence every time the vehicle’s ignition is turned “On”.IMMOBILIZER MODE:  If the “Immobilizer mode” is programmed “On”, theignition activated anti-carjacking sequence will be cancelled and the “Immobilizermode” disarmed by:    first turning “On” the vehicle’s ignition, then Pressing &Releasing the valet button.   (Refer to programmable feature # 5)Once the Anti-Carjacking sequence has begun, the user has 59 seconds topress the Valet/Override Switch in order to cancel the sequence.ORDER OF ANTI-CARJACKING SEQUENCE:- For first 20 seconds after the sequence has begun there are no signs.- From 21-30 seconds, the LED will blink slowly.- From 31-45 seconds, the LED  will blink fast and the siren/horn will chirp  once every 2 seconds.- From 46-60 seconds, the LED  will blink fast and the siren/horn will chirp  once per second.- If not cancelled yet, at 61 seconds the alarm will trigger.In the triggered condition:- The siren/horn will sound & The parking lights will flash.- The starter interrupt will engage.NOTE: Once the Anti-Carjack mode is triggered, the remote control will NOTstop the operation, nor will the system reset automatically.  Once it is trig-gered, the Anti-Carjacking operation can only be deactivated by:1) Turning the vehicle’s ignition “Off”.2) Turning the vehicle’s ignition back “On”.3) Within 10 seconds, Press & Release the Valet button.Programmable  Anti-Carjacking  Protection
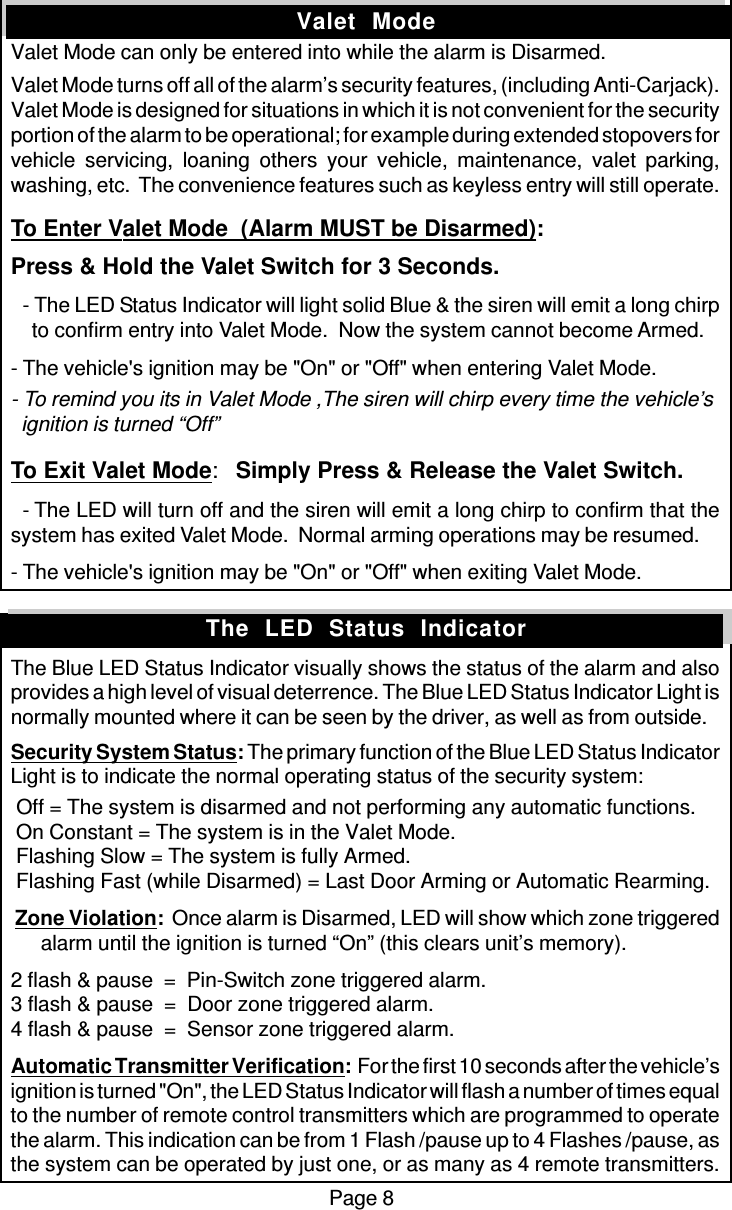
Page 8Valet  ModeValet Mode can only be entered into while the alarm is Disarmed.Valet Mode turns off all of the alarm’s security features, (including Anti-Carjack).Valet Mode is designed for situations in which it is not convenient for the securityportion of the alarm to be operational; for example during extended stopovers forvehicle servicing, loaning others your vehicle, maintenance, valet parking,washing, etc.  The convenience features such as keyless entry will still operate.To Enter Valet Mode  (Alarm MUST be Disarmed):Press & Hold the Valet Switch for 3 Seconds.  - The LED Status Indicator will light solid Blue & the siren will emit a long chirp    to confirm entry into Valet Mode.  Now the system cannot become Armed.- The vehicle's ignition may be "On" or "Off" when entering Valet Mode.- To remind you its in Valet Mode ,The siren will chirp every time the vehicle’s  ignition is turned “Off”To Exit Valet Mode:Simply Press & Release the Valet Switch.  - The LED will turn off and the siren will emit a long chirp to confirm that thesystem has exited Valet Mode.  Normal arming operations may be resumed.- The vehicle's ignition may be "On" or "Off" when exiting Valet Mode.The Blue LED Status Indicator visually shows the status of the alarm and alsoprovides a high level of visual deterrence. The Blue LED Status Indicator Light isnormally mounted where it can be seen by the driver, as well as from outside.Security System Status: The primary function of the Blue LED Status IndicatorLight is to indicate the normal operating status of the security system: Off = The system is disarmed and not performing any automatic functions. On Constant = The system is in the Valet Mode. Flashing Slow = The system is fully Armed. Flashing Fast (while Disarmed) = Last Door Arming or Automatic Rearming. Zone Violation:  Once alarm is Disarmed, LED will show which zone triggeredalarm until the ignition is turned “On” (this clears unit’s memory).2 flash & pause  =  Pin-Switch zone triggered alarm.3 flash & pause  =  Door zone triggered alarm.4 flash & pause  =  Sensor zone triggered alarm.Automatic Transmitter Verification:  For the first 10 seconds after the vehicle’signition is turned "On", the LED Status Indicator will flash a number of times equalto the number of remote control transmitters which are programmed to operatethe alarm. This indication can be from 1 Flash /pause up to 4 Flashes /pause, asthe system can be operated by just one, or as many as 4 remote transmitters.The  LED  Status  Indicator
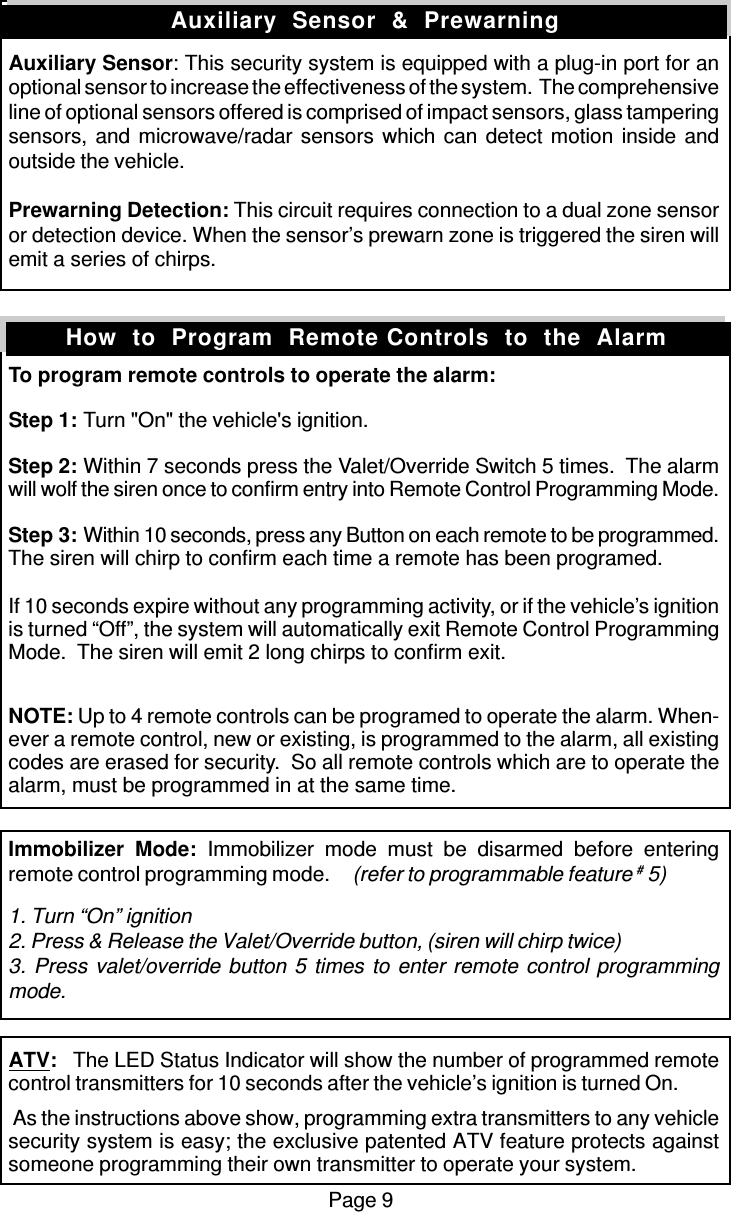
Page 9Auxiliary Sensor: This security system is equipped with a plug-in port for anoptional sensor to increase the effectiveness of the system.  The comprehensiveline of optional sensors offered is comprised of impact sensors, glass tamperingsensors, and microwave/radar sensors which can detect motion inside andoutside the vehicle.Prewarning Detection: This circuit requires connection to a dual zone sensoror detection device. When the sensor’s prewarn zone is triggered the siren willemit a series of chirps.To program remote controls to operate the alarm:Step 1: Turn "On" the vehicle's ignition.Step 2: Within 7 seconds press the Valet/Override Switch 5 times.  The alarmwill wolf the siren once to confirm entry into Remote Control Programming Mode.Step 3: Within 10 seconds, press any Button on each remote to be programmed.The siren will chirp to confirm each time a remote has been programed.If 10 seconds expire without any programming activity, or if the vehicle’s ignitionis turned “Off”, the system will automatically exit Remote Control ProgrammingMode.  The siren will emit 2 long chirps to confirm exit.NOTE: Up to 4 remote controls can be programed to operate the alarm. When-ever a remote control, new or existing, is programmed to the alarm, all existingcodes are erased for security.  So all remote controls which are to operate thealarm, must be programmed in at the same time.Immobilizer Mode: Immobilizer mode must be disarmed before enteringremote control programming mode.     (refer to programmable feature # 5)1. Turn “On” ignition2. Press & Release the Valet/Override button, (siren will chirp twice)3. Press valet/override button 5 times to enter remote control programmingmode.ATV:   The LED Status Indicator will show the number of programmed remotecontrol transmitters for 10 seconds after the vehicle’s ignition is turned On. As the instructions above show, programming extra transmitters to any vehiclesecurity system is easy; the exclusive patented ATV feature protects againstsomeone programming their own transmitter to operate your system.Auxiliary  Sensor  &  PrewarningHow  to  Program  Remote Controls  to  the  Alarm

Navigation menu