Benq MP780ST Digital Projector User Manual MP780 ST MW860USTi en
Benq Corporation Digital Projector MP780 ST MW860USTi en
Benq >
Contents
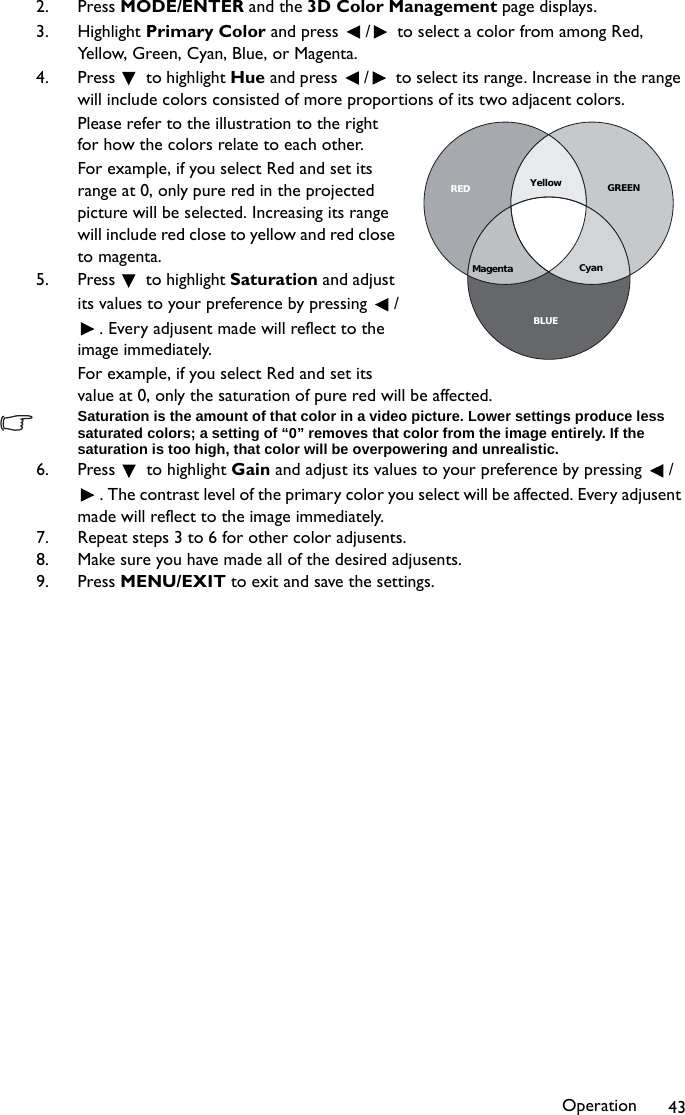
- 1. User manual
- 2. UserMan (statement)_JVPMP780ST
- 3. UserMan_JVPMP780ST
- 4. UserMan_JVPMP780ST 2
- 5. UserMan_JVPMP780ST 3
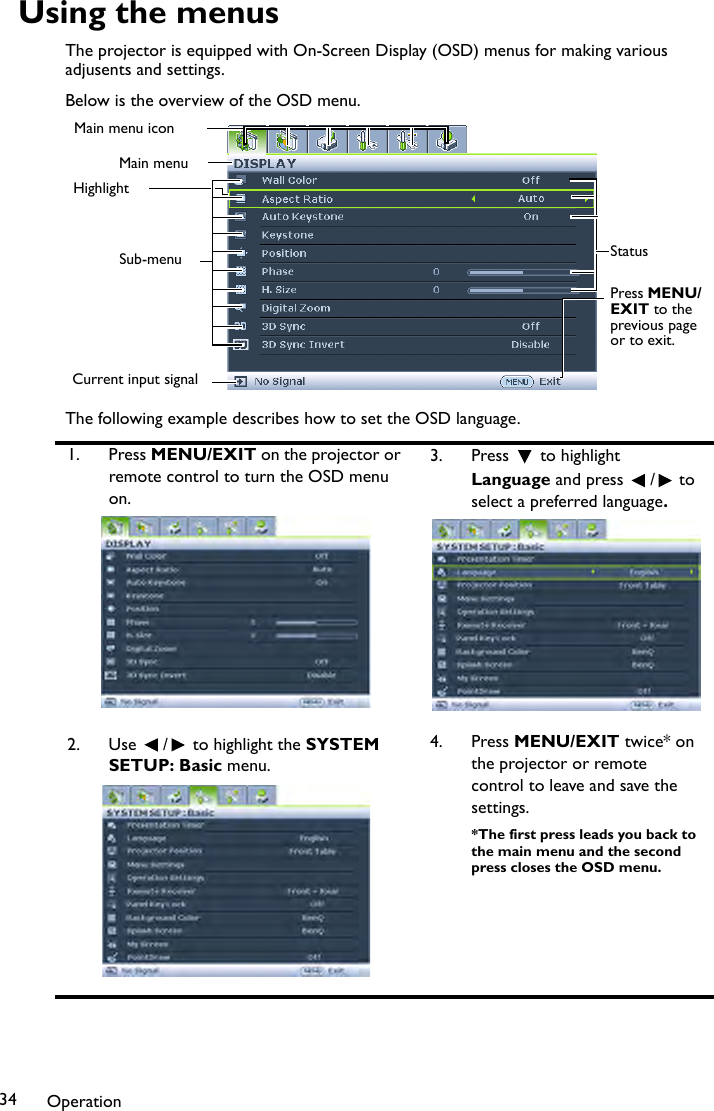
UserMan_JVPMP780ST 2