Broadcom BRCM1022-H 802.11ag/Draft 802.11n Wireless LAN PCI-E MiniCard User Manual 2
Broadcom Corporation 802.11ag/Draft 802.11n Wireless LAN PCI-E MiniCard 2
UserManual.wiki
>
Broadcom
>
BRCM1022-H User Manual
>
User Manual 2
Contents
1.
User Manual 1
2.
User Manual 2
3.
Regulatory Statement
4.
Manual 434155
5.
Manual 435751
6.
Manual 435813
7.
Regulatory Manual
8.
Manual 435748
9.
Manual 435816
User Manual 2
Navigation menu
Upload a User Manual
Namespaces
Wiki Guide
HTML
PDF
Info
Views
User Manual
Discussion / Help
Navigation
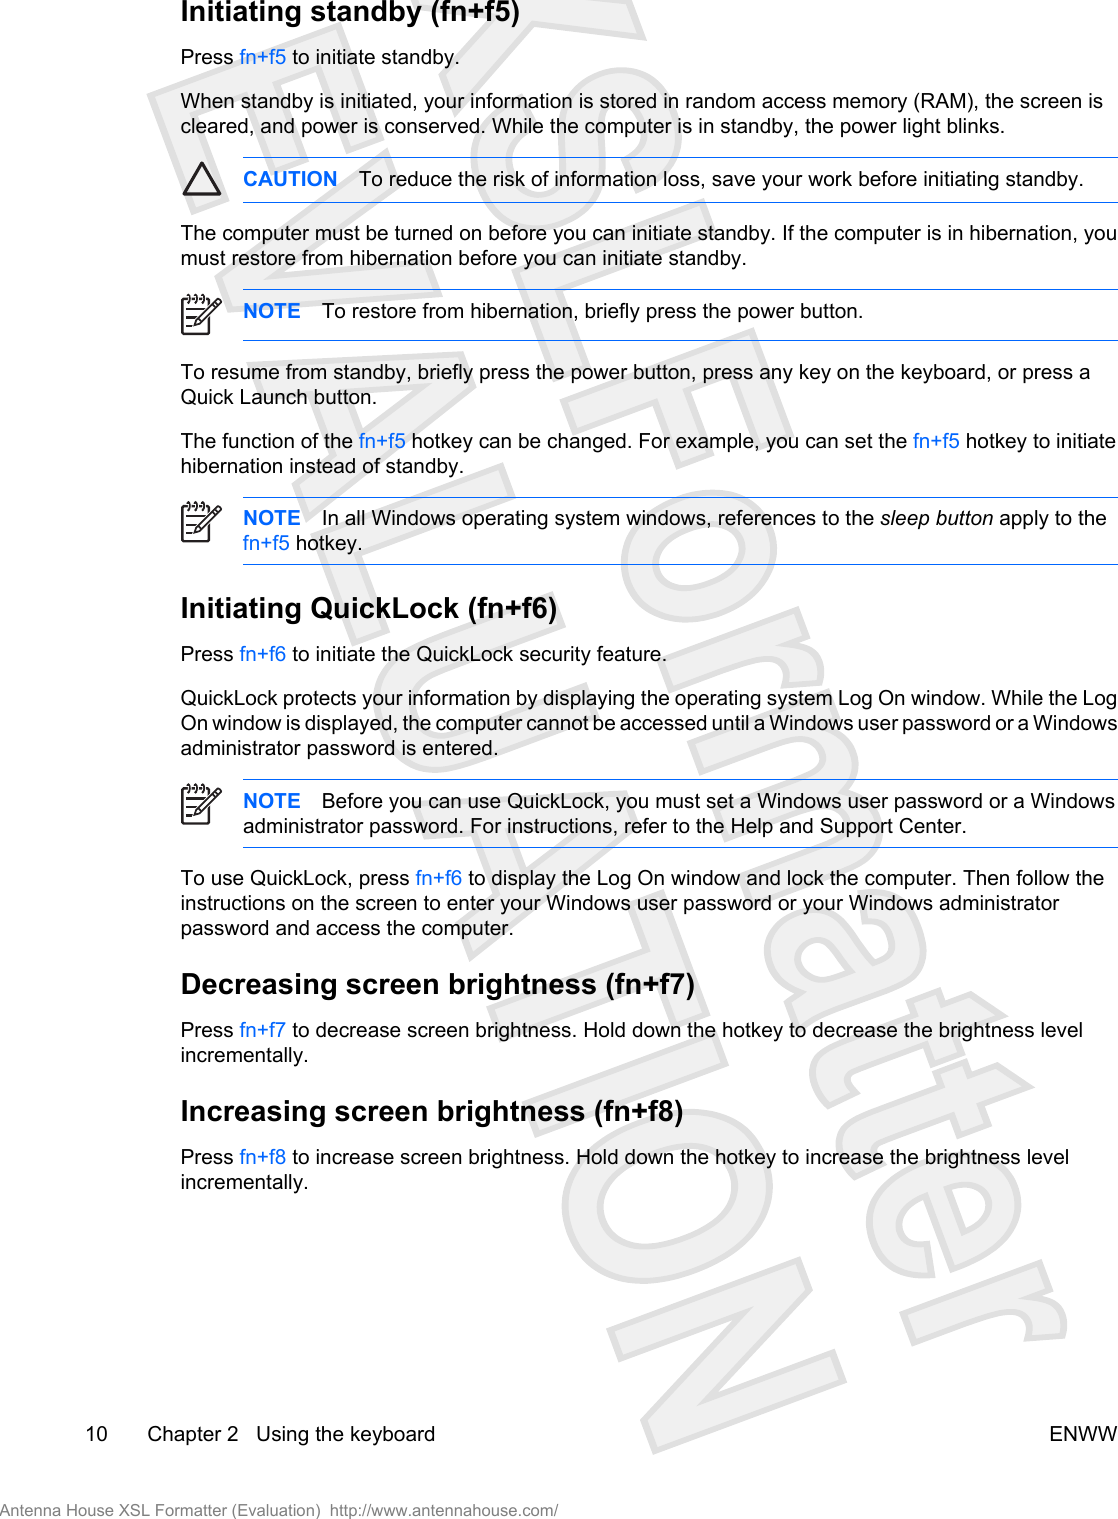
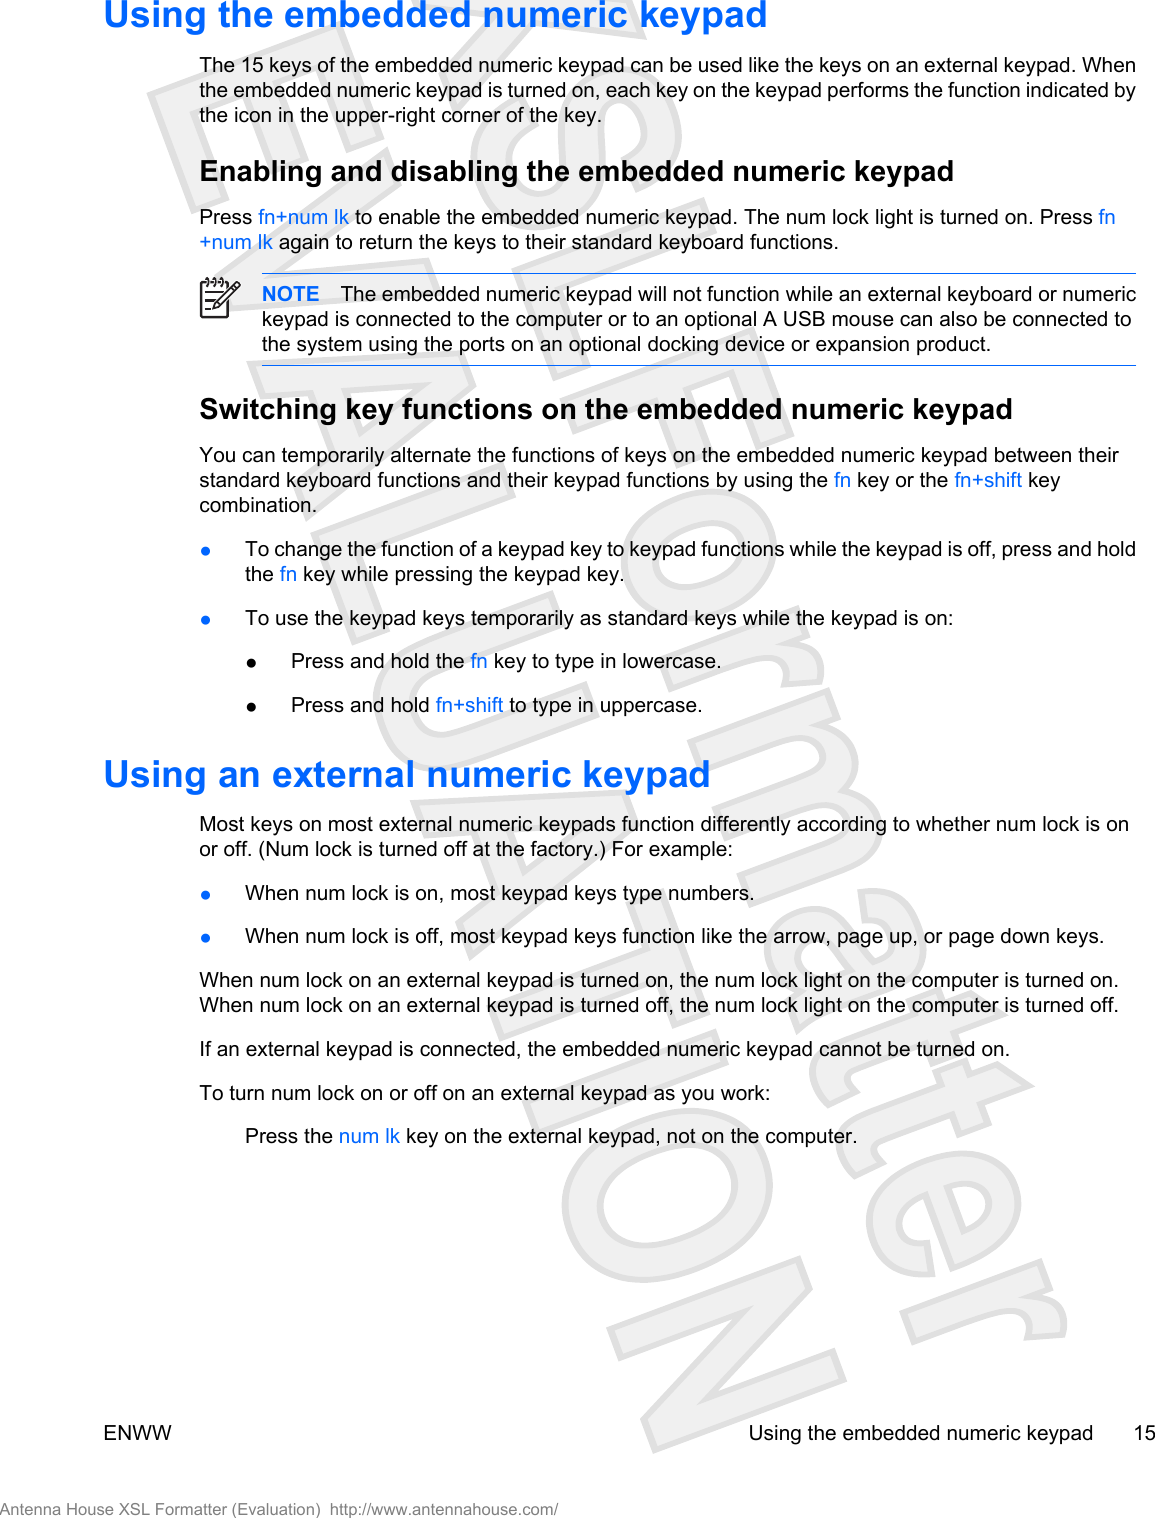
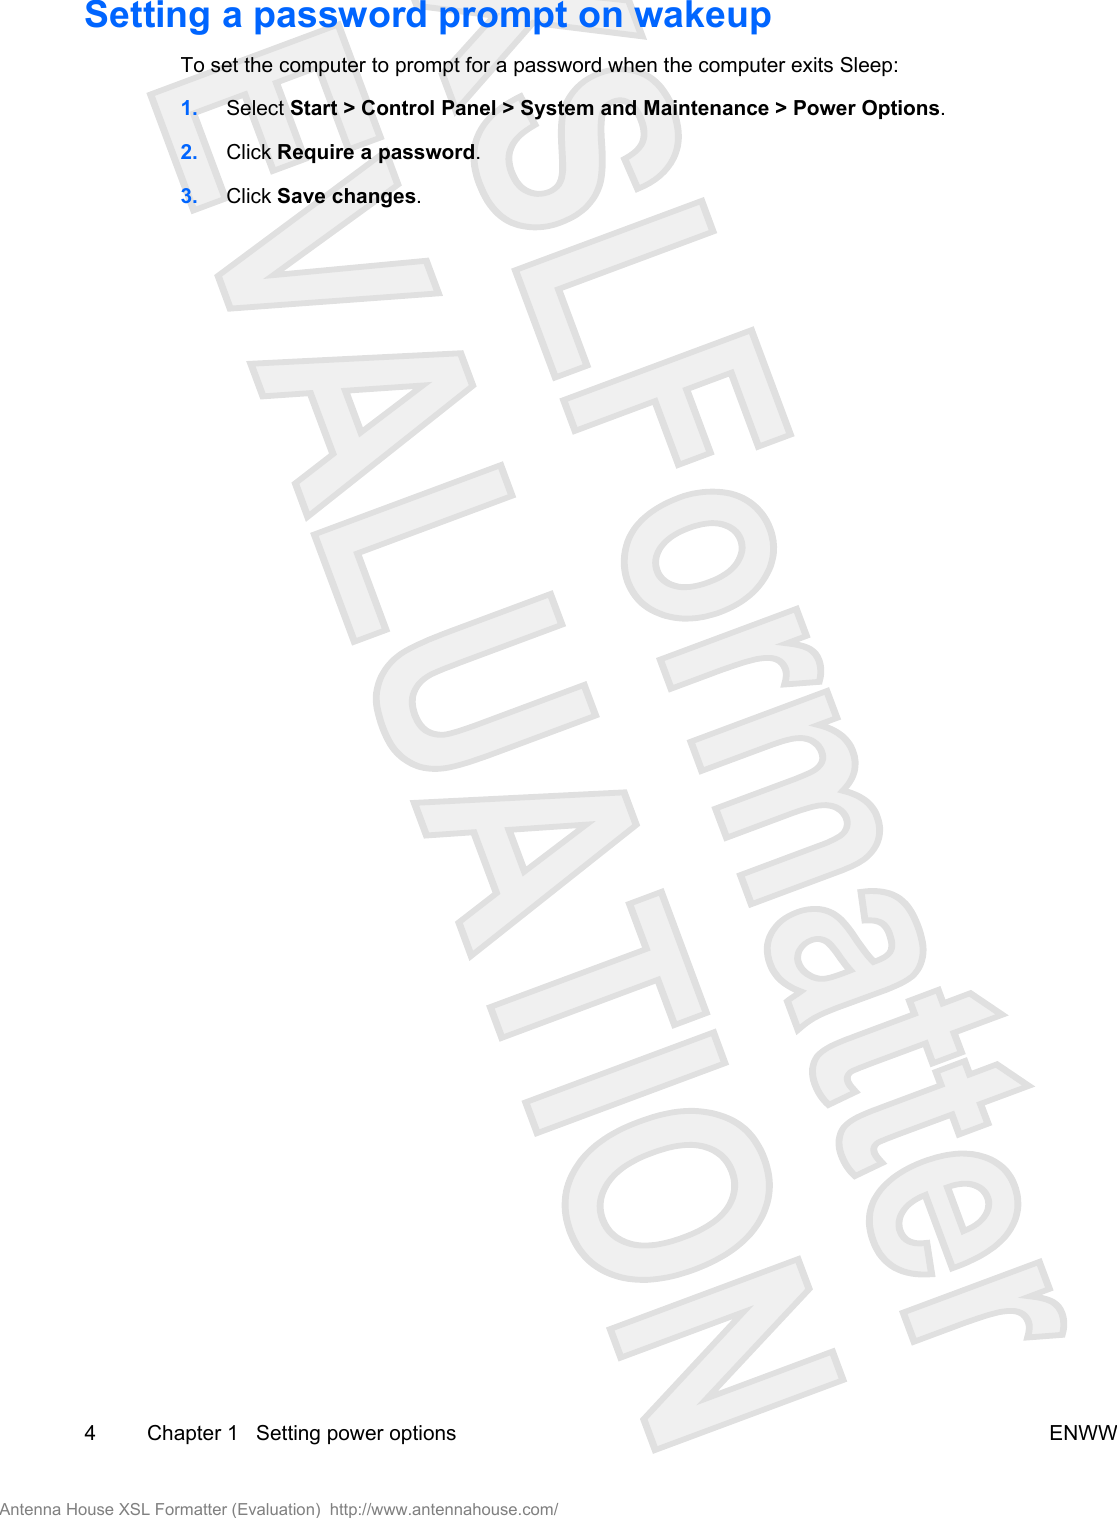
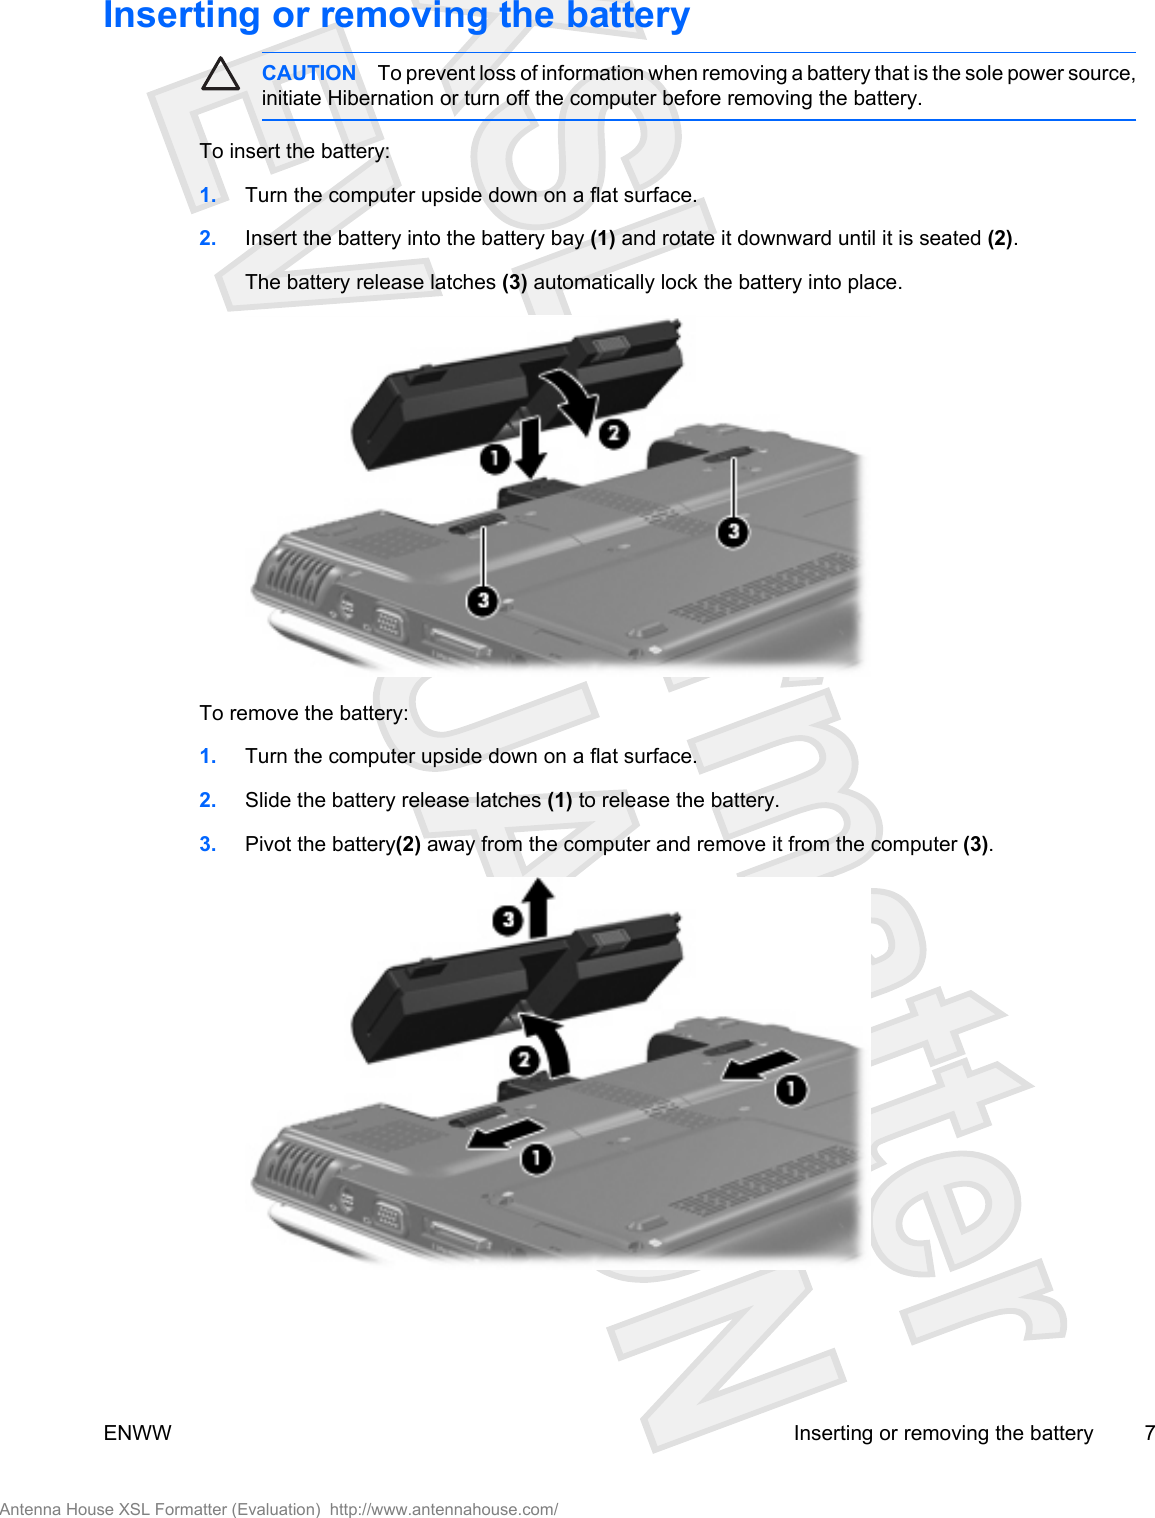
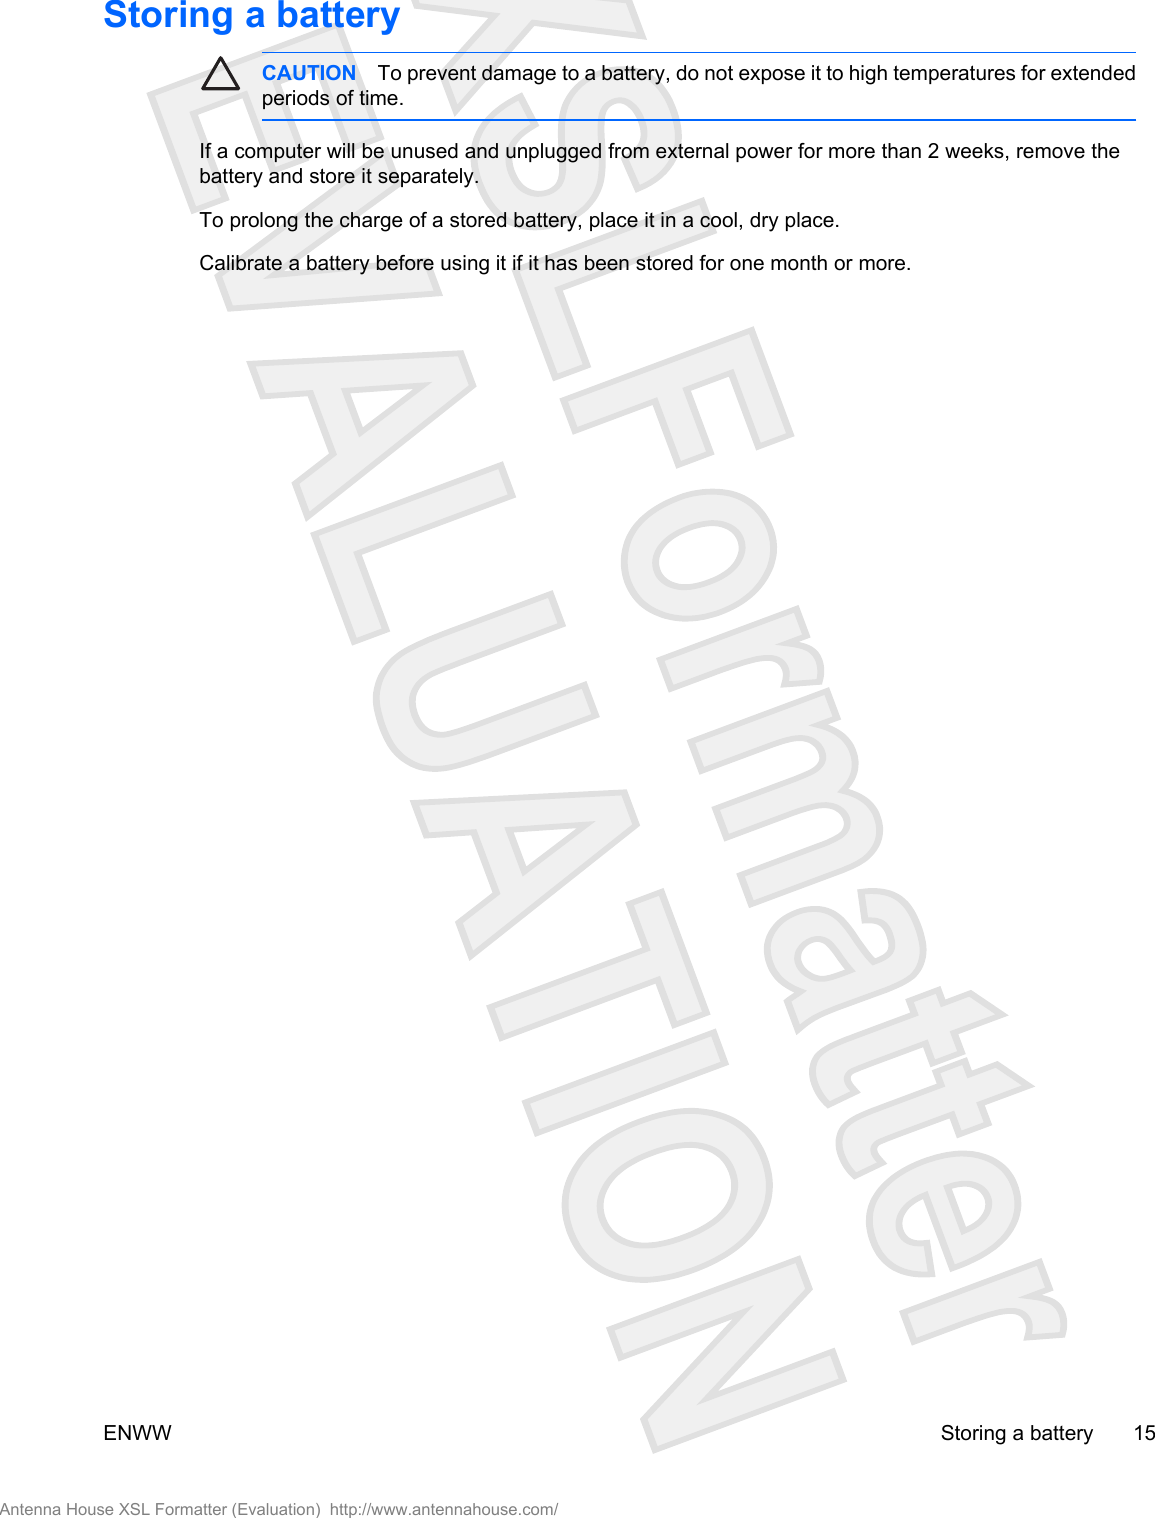
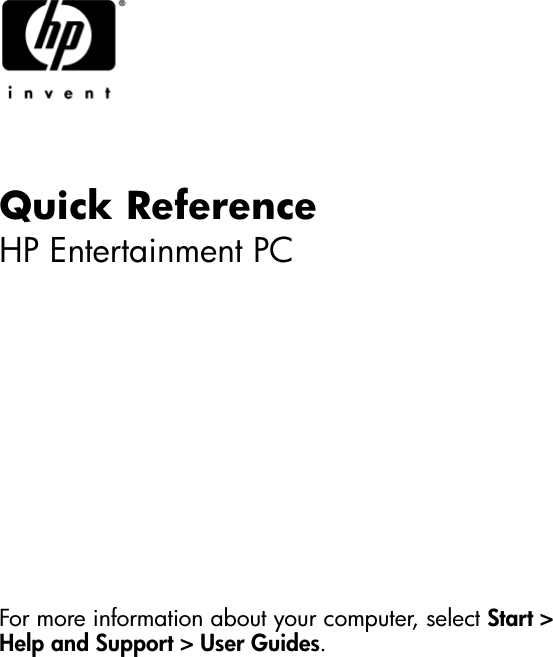
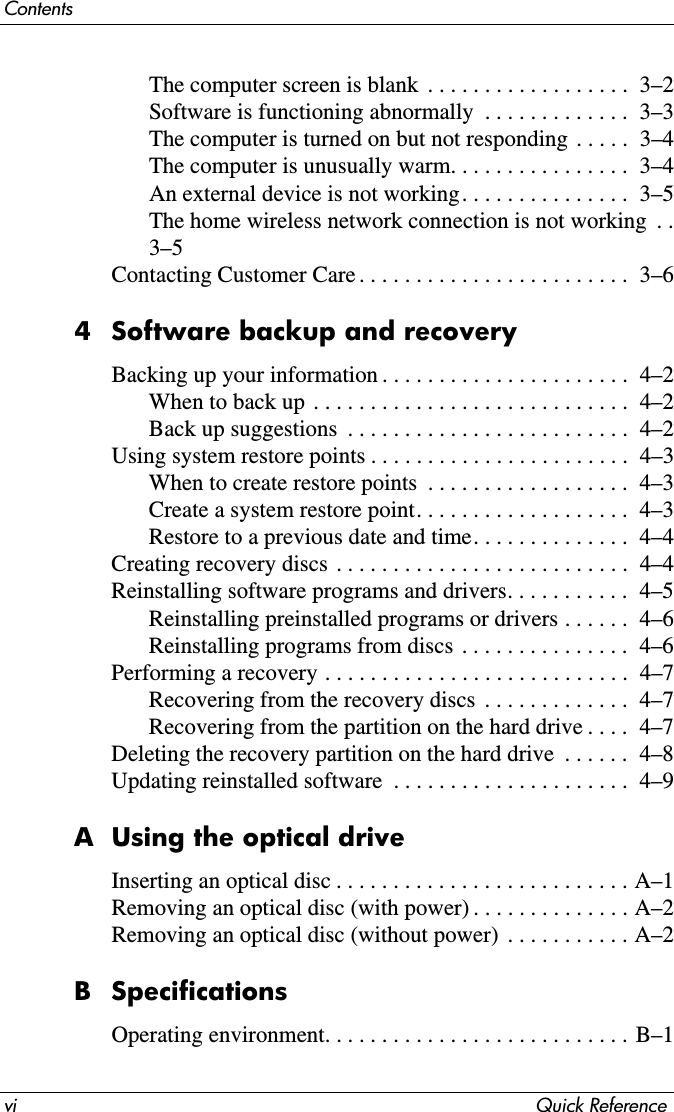
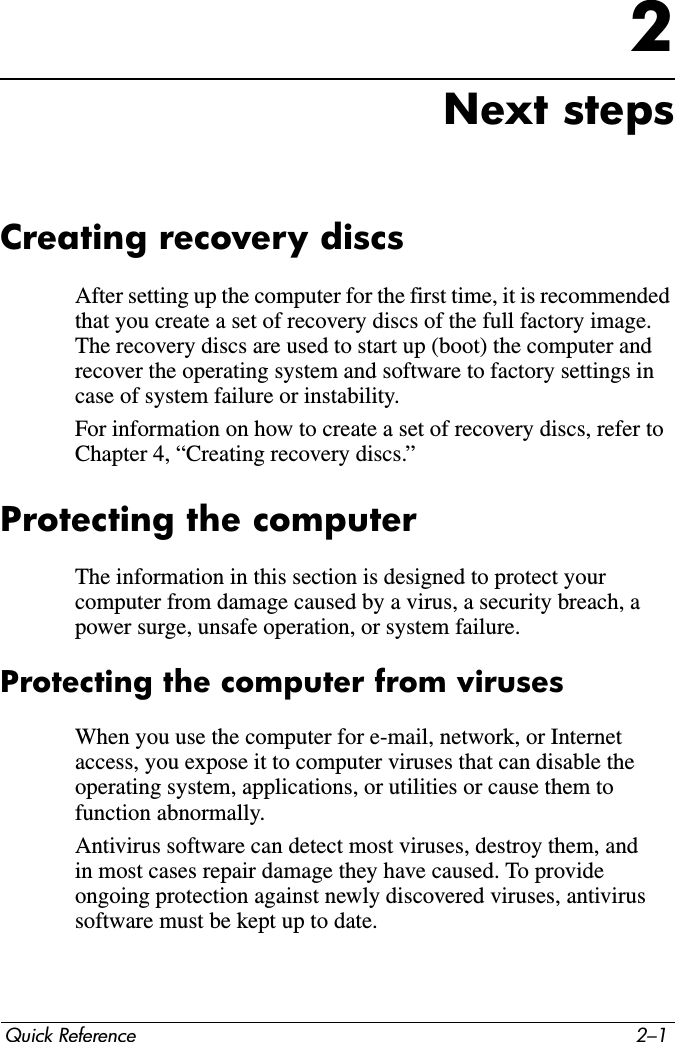
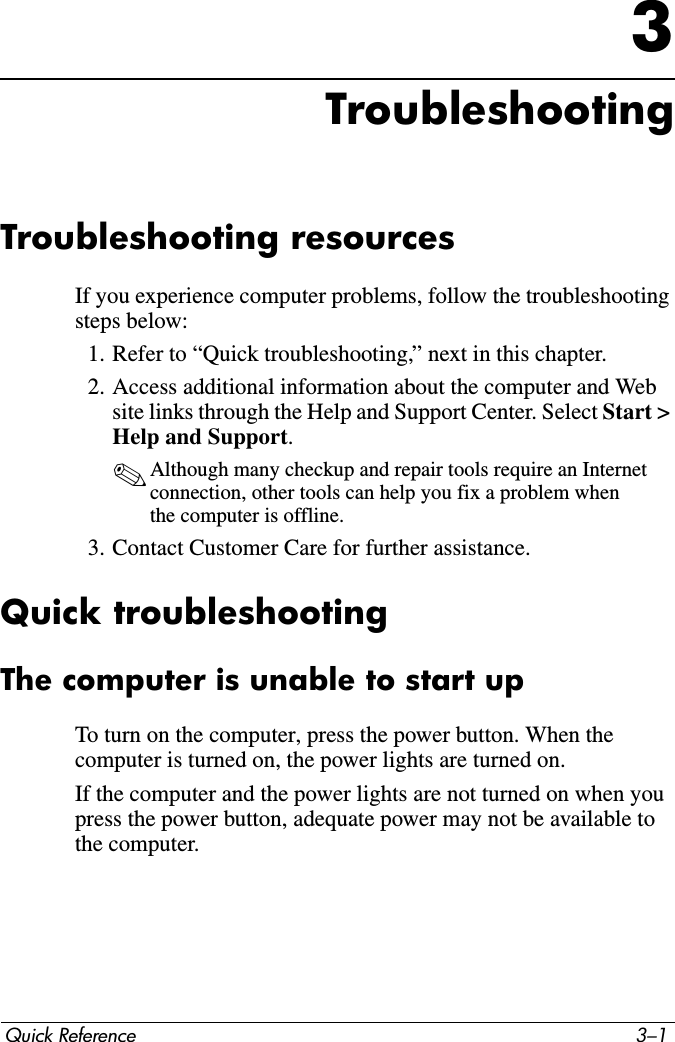
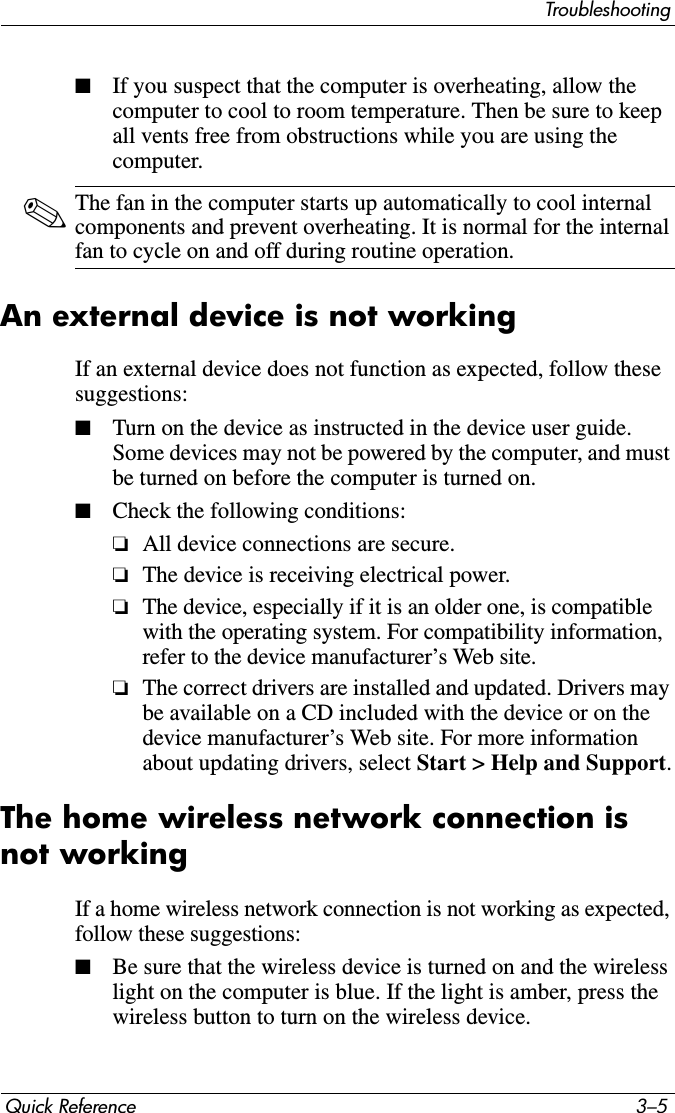
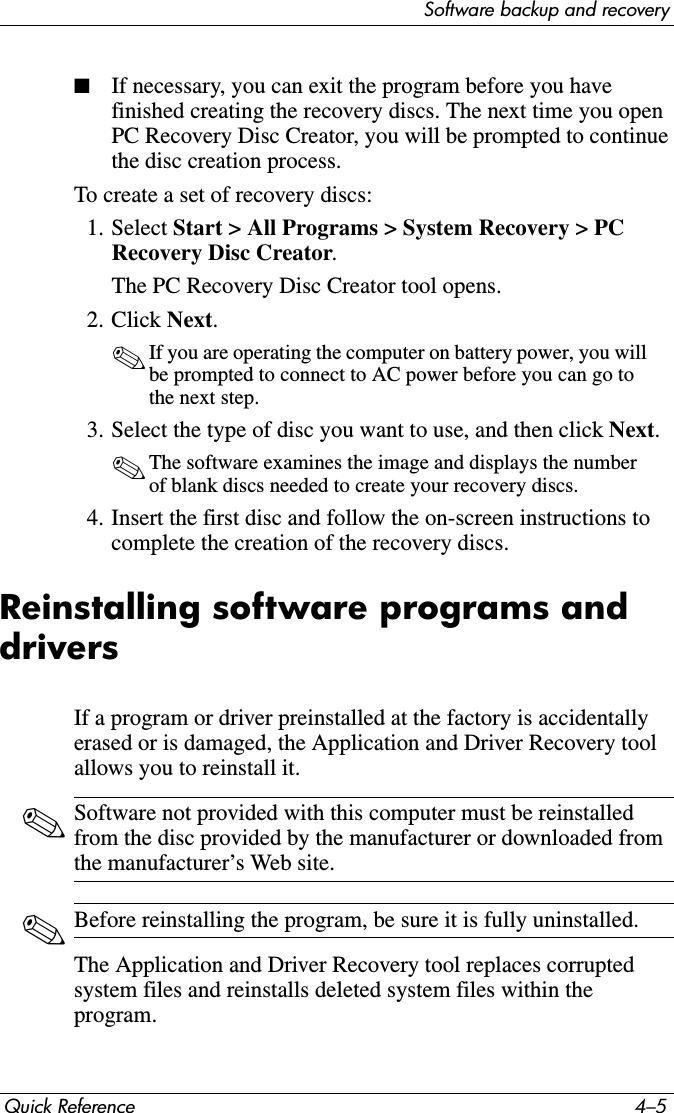
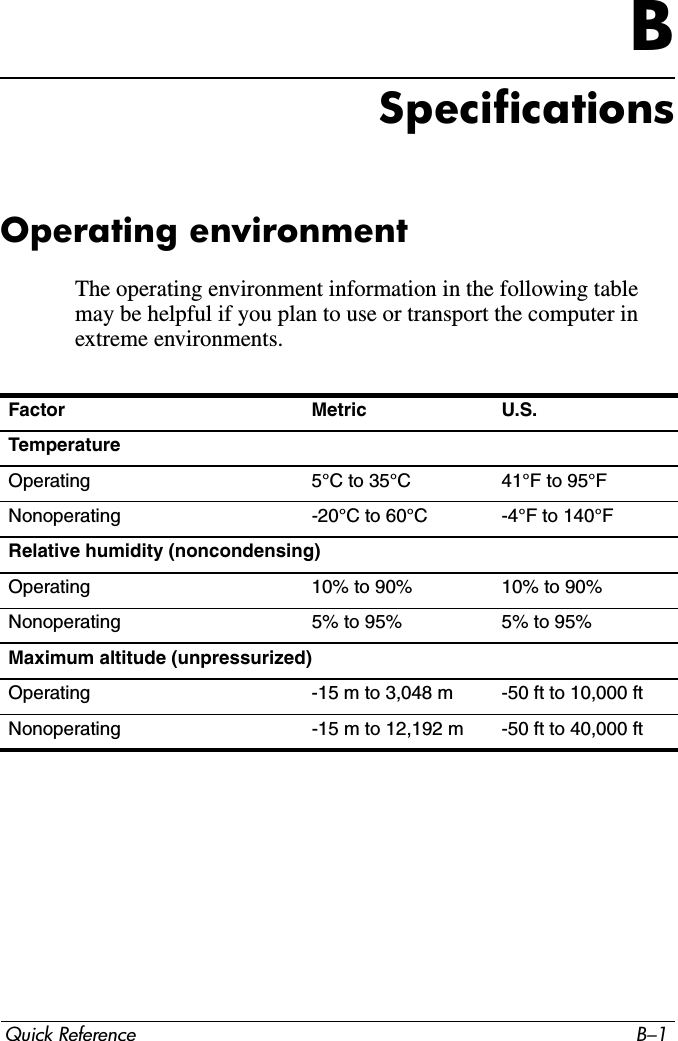
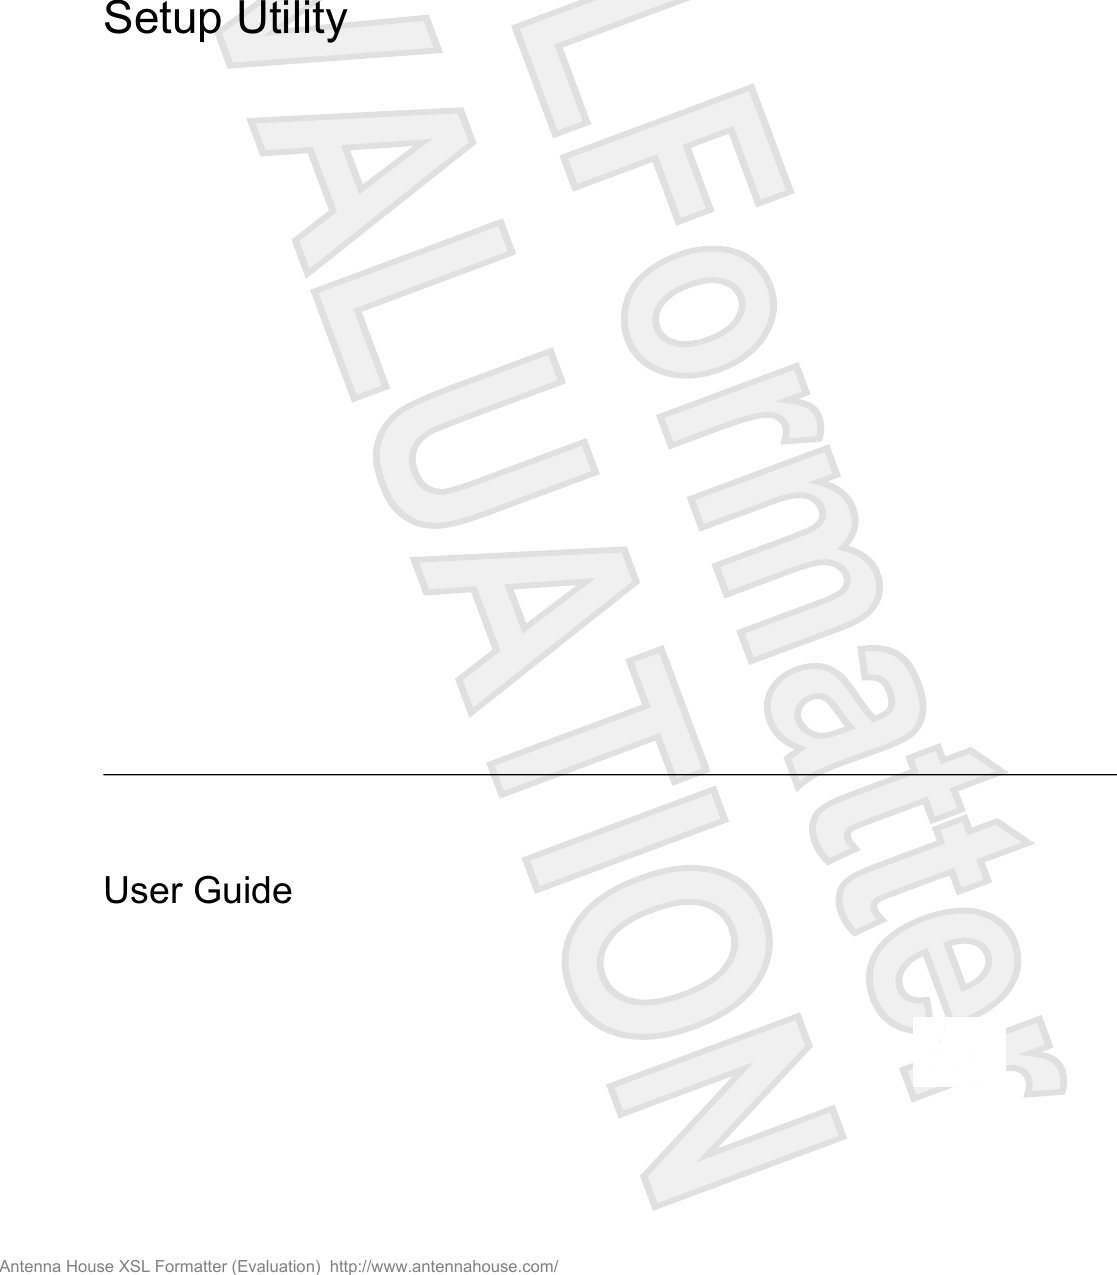
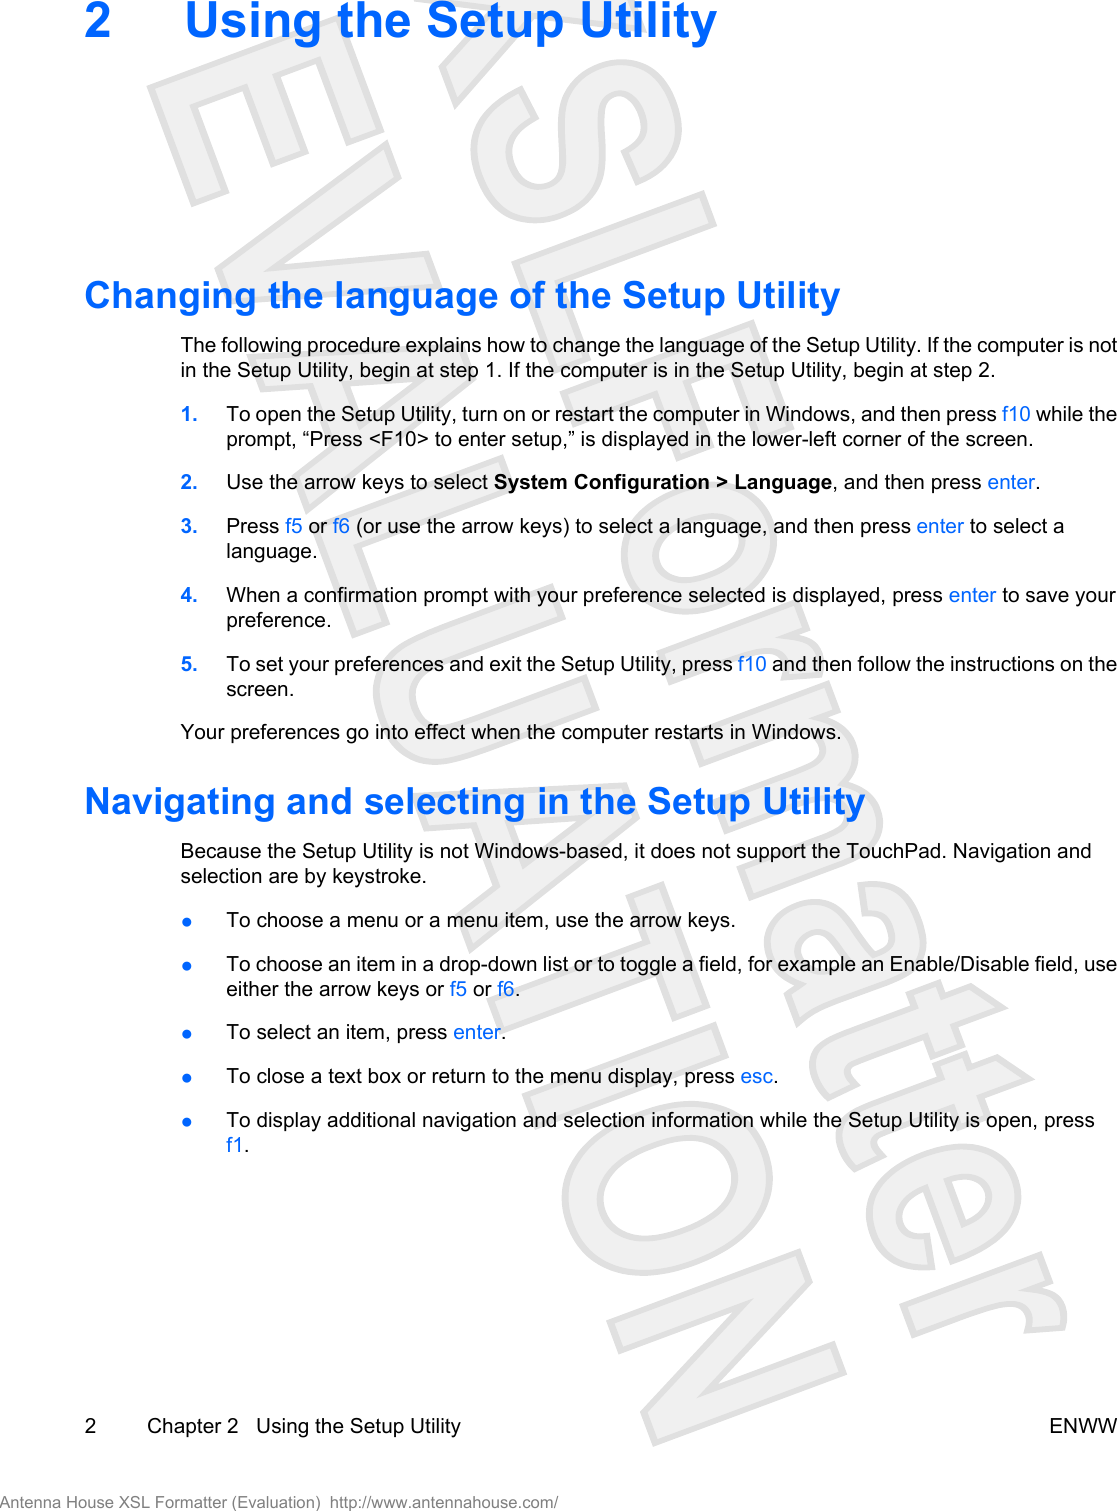
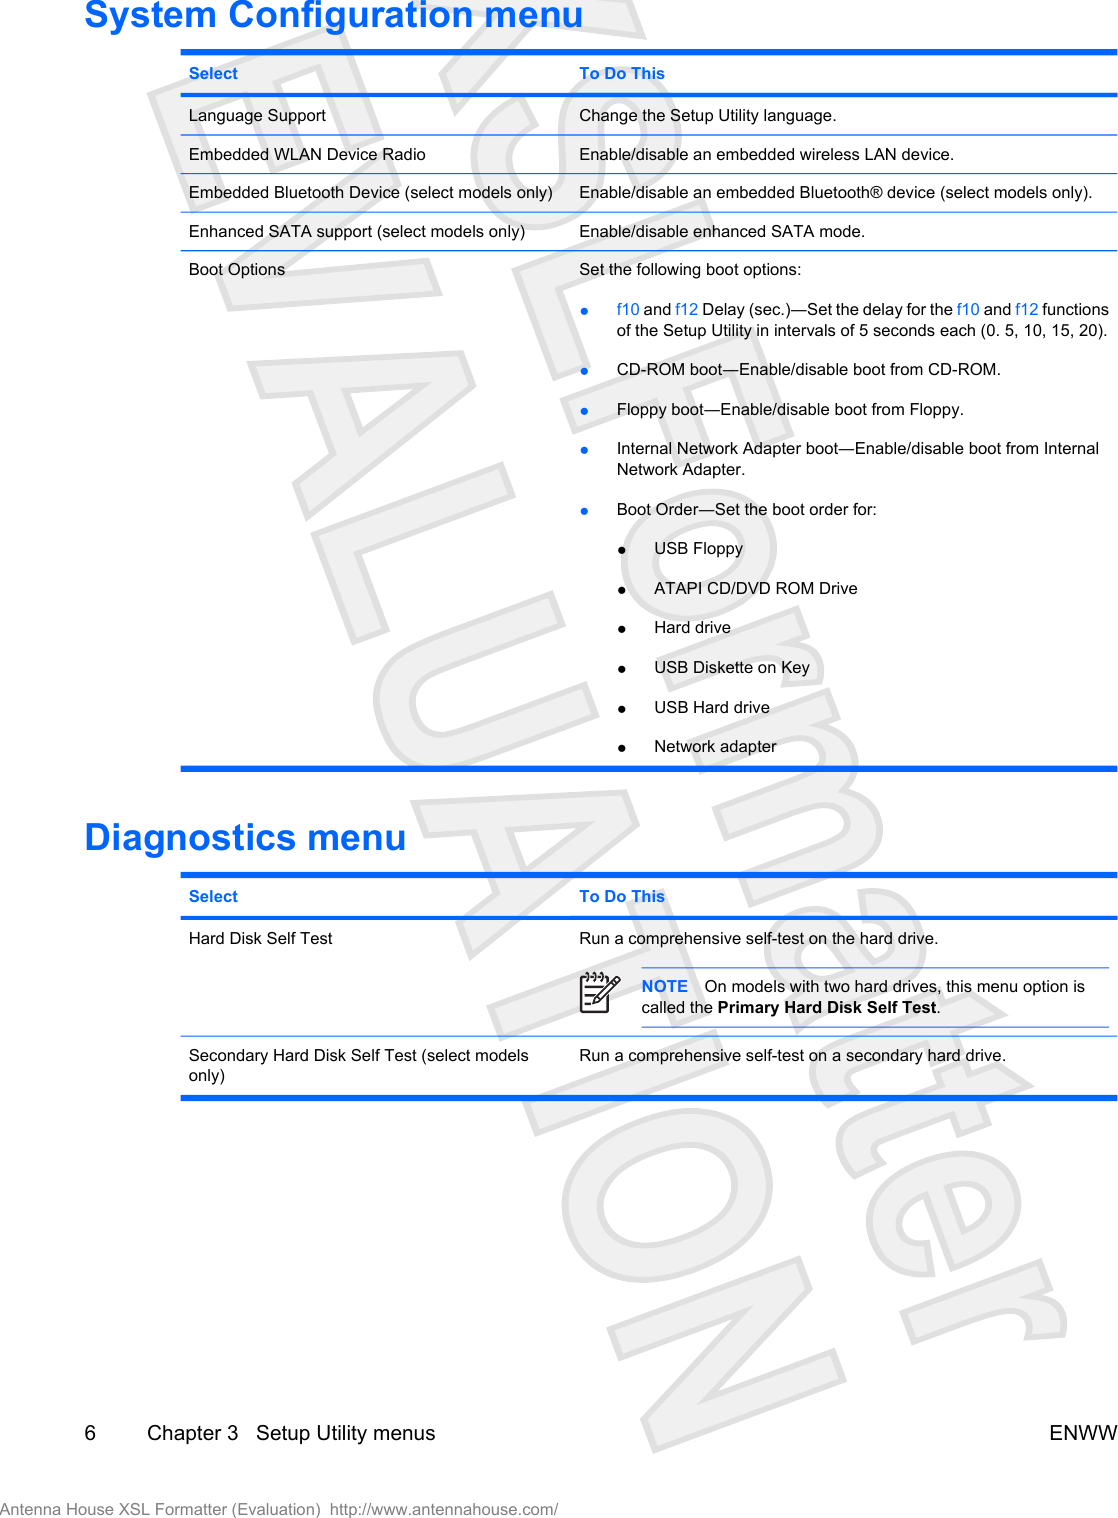
![Using the penYou can write with the pen in pen-specific programs, such as the Tablet PC Input Panel [DOES SPUTNIKSUPPORT THIS?], in all Microsoft Office applications, and in most other Windows programs and utilities.The information you write on the screen with the pen can be filed, searched, and shared among mostWindows programs.Identifying the pen componentsThe pen interacts with the computer whenever the tip (1) of the pen is approximately 1.27 cm (0.5 inch)from the screen. [IS THIS TRUE FOR SPUTNIK OR DOES THE PEN HAVE TO TOUCH THESCREEN?]The pen tether eyelet (2) allows you to connect a tether from the pen to the computer.Holding the penHold the pen as if you were writing with a standard pen or pencil. Position the pen in your hand so thatyou will not accidentally press the pen button.As you monitor the movements of the pen, focus on the pointer, not on the tip of the pen.Performing mouse clicks with the penTo select an item on the screen as you would with the left button of an external mouse:Tap the item with the tip of the pen.To double-click an item on the screen as you would with the left button of an external mouse:Tap the item twice with the tip of the pen.[HOW DOES ONE RIGHT-CLICK? DRAG & DROP?]Performing other procedures with the pen●To display the pointer location, hold the pen tip immediately over any location on the screen withouttouching the screen with the pen tip.●To display the menu options related to an item on the screen, tap the screen with the pen tip.●To write with the pen, write on the screen with the tip of the pen.●To press a pen-activated button, tap the button with the tip of the pen.ENWW Using the pen 3Antenna House XSL Formatter (Evaluation) http://www.antennahouse.com/](https://usermanual.wiki/Broadcom/BRCM1022-H.User-Manual-2/User-Guide-736514-Page-7.png)
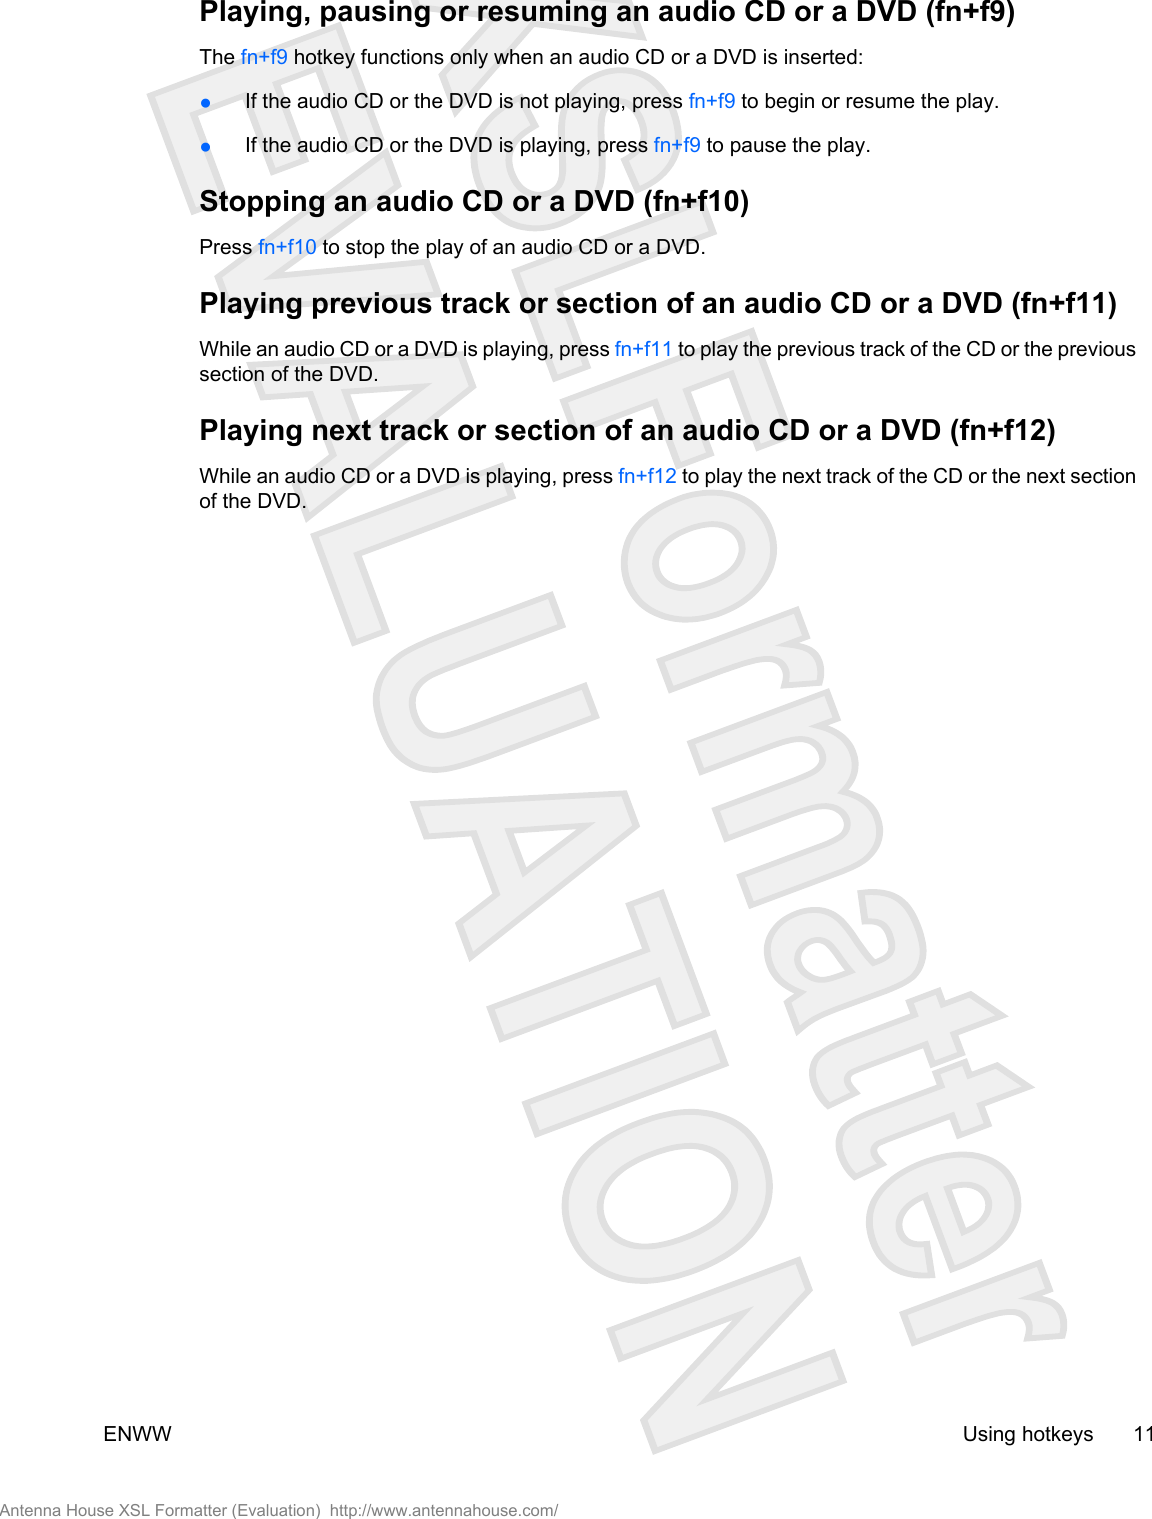
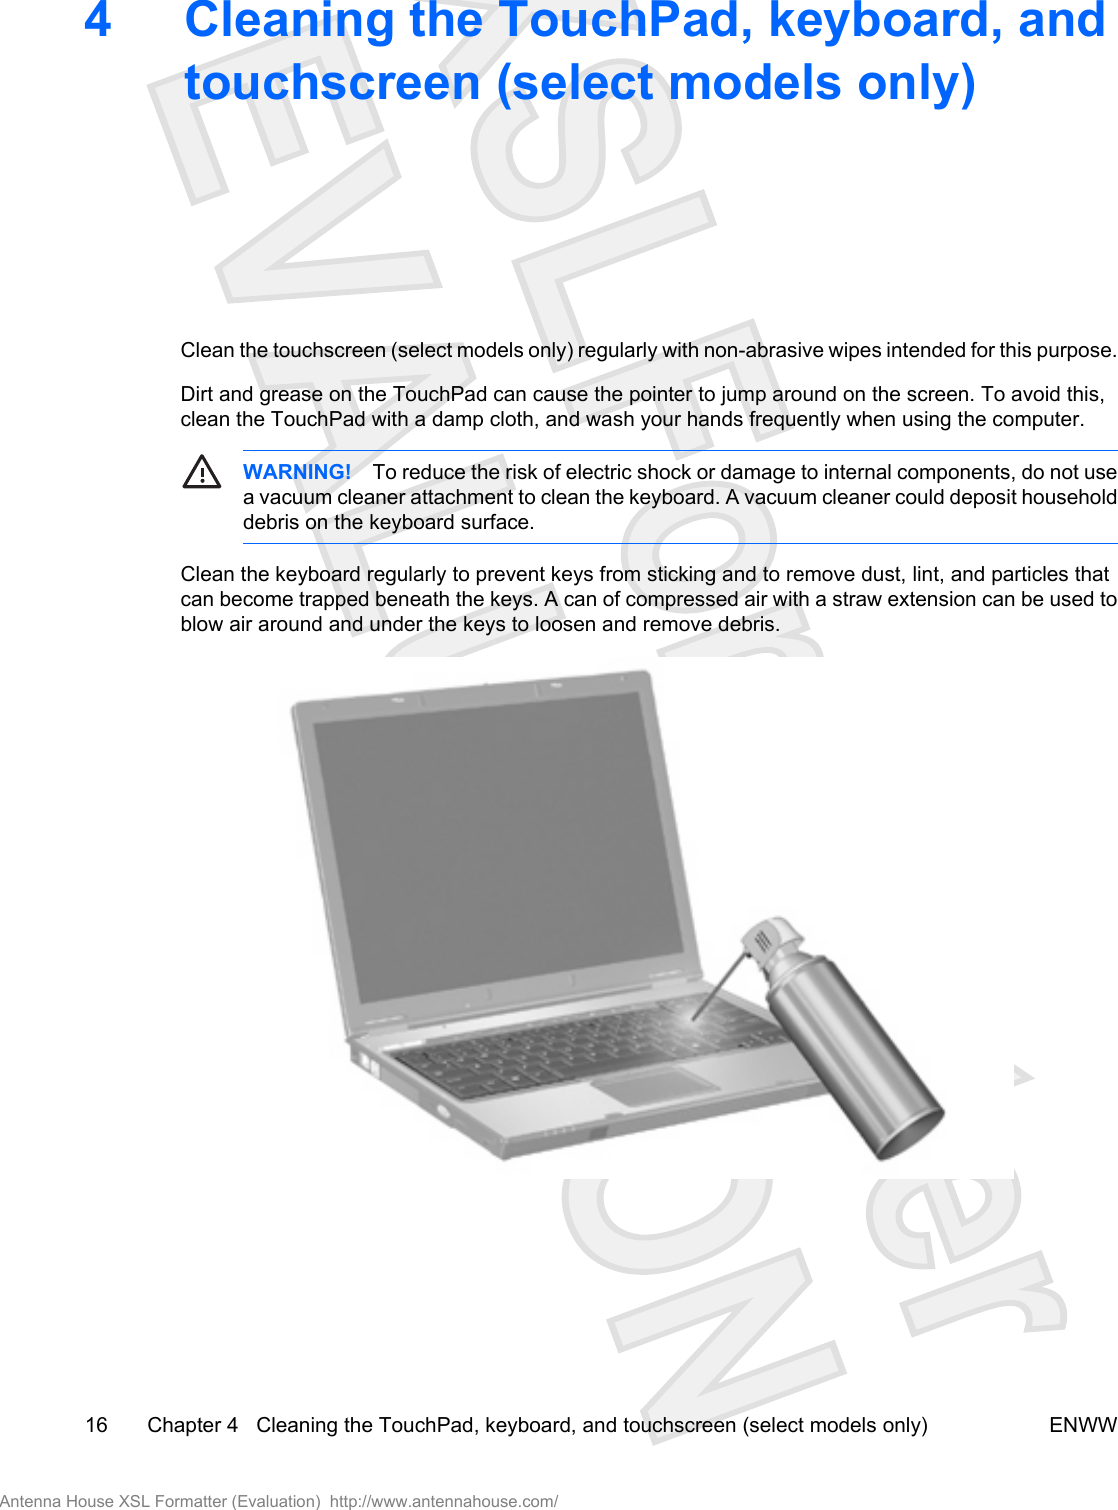
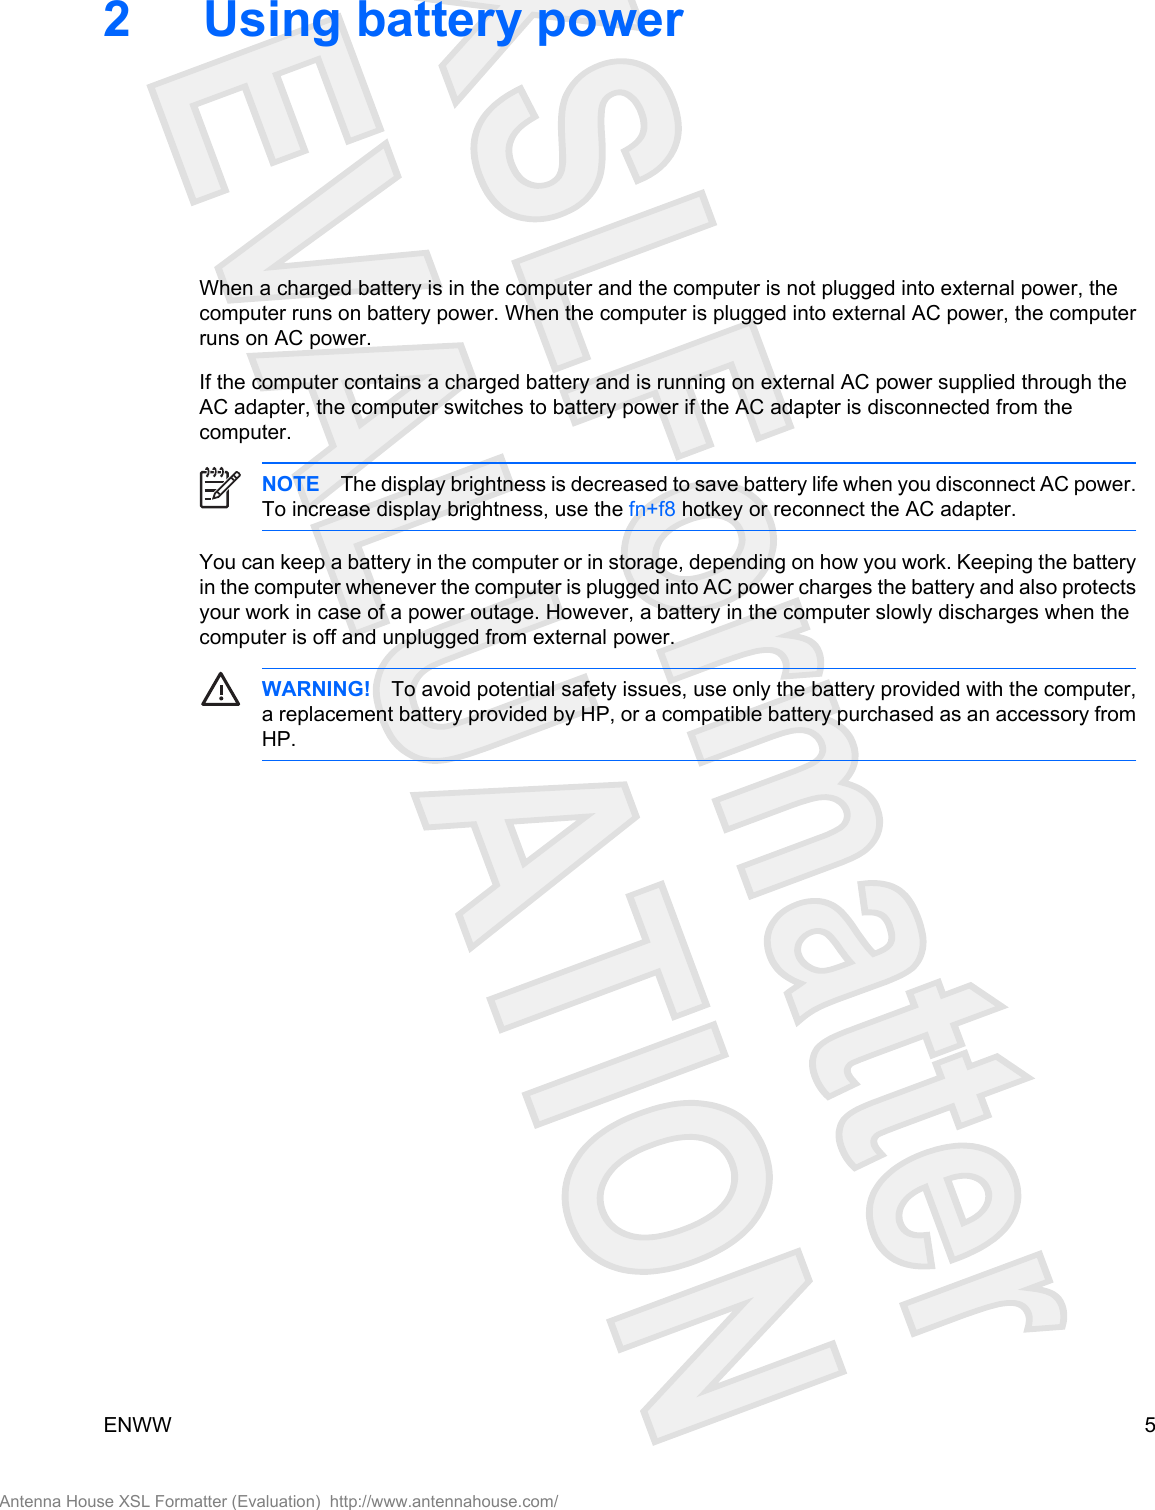
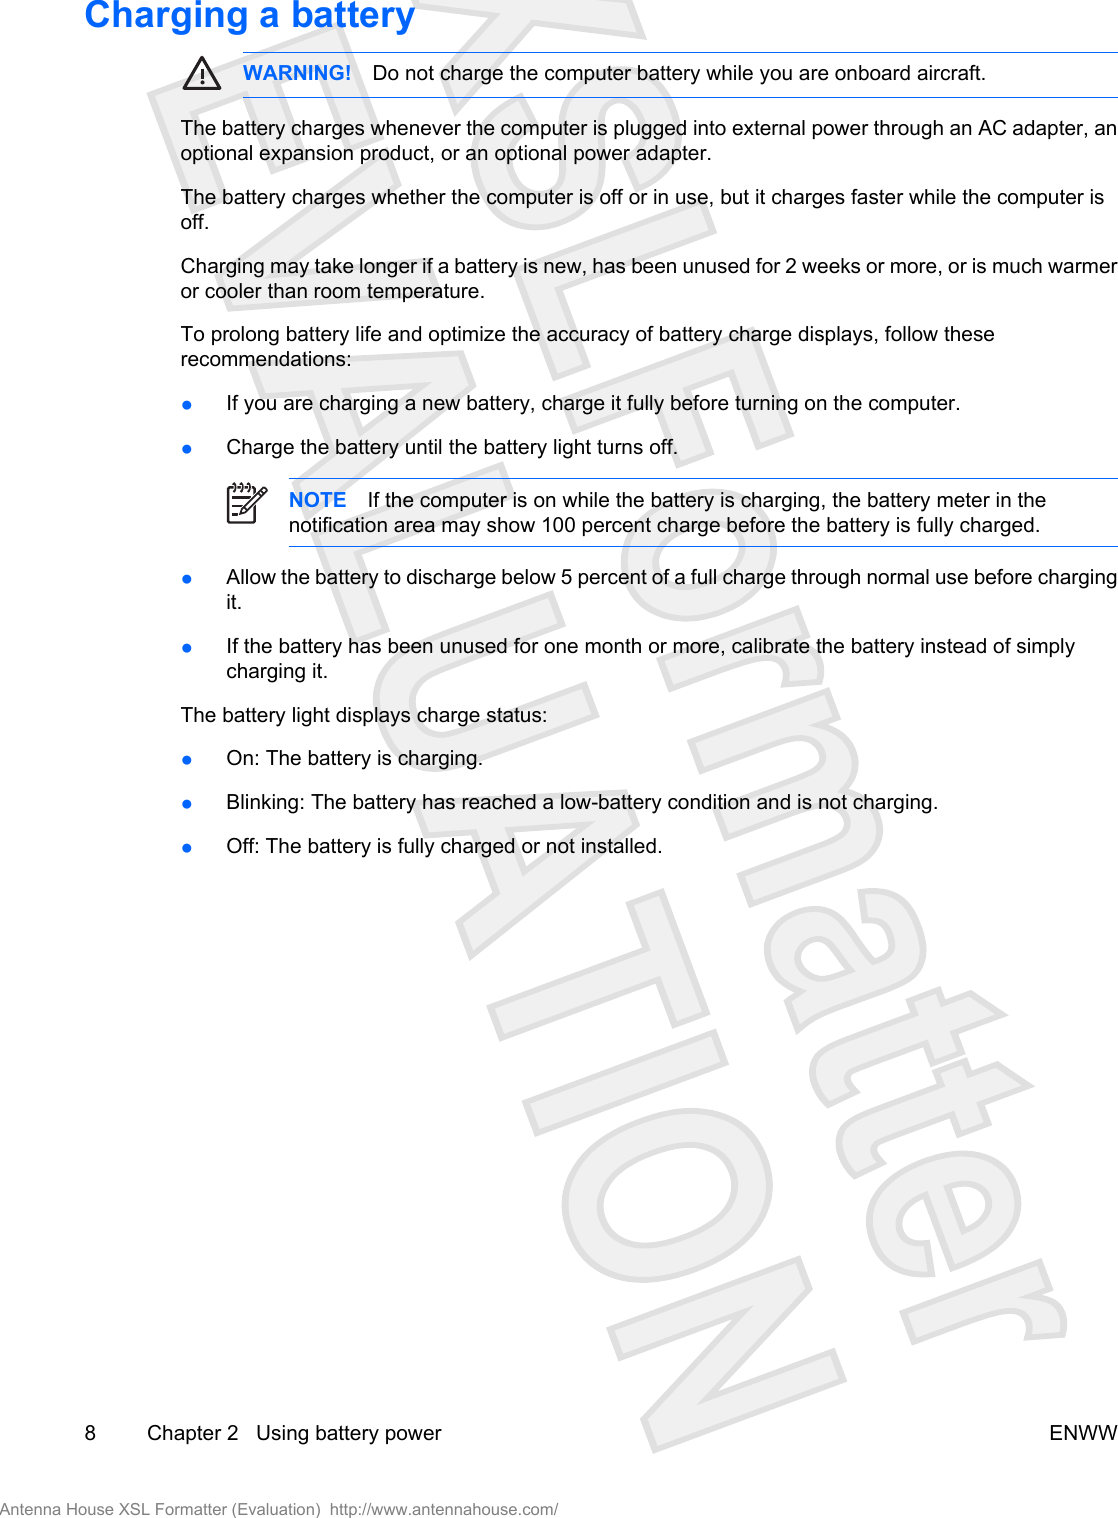
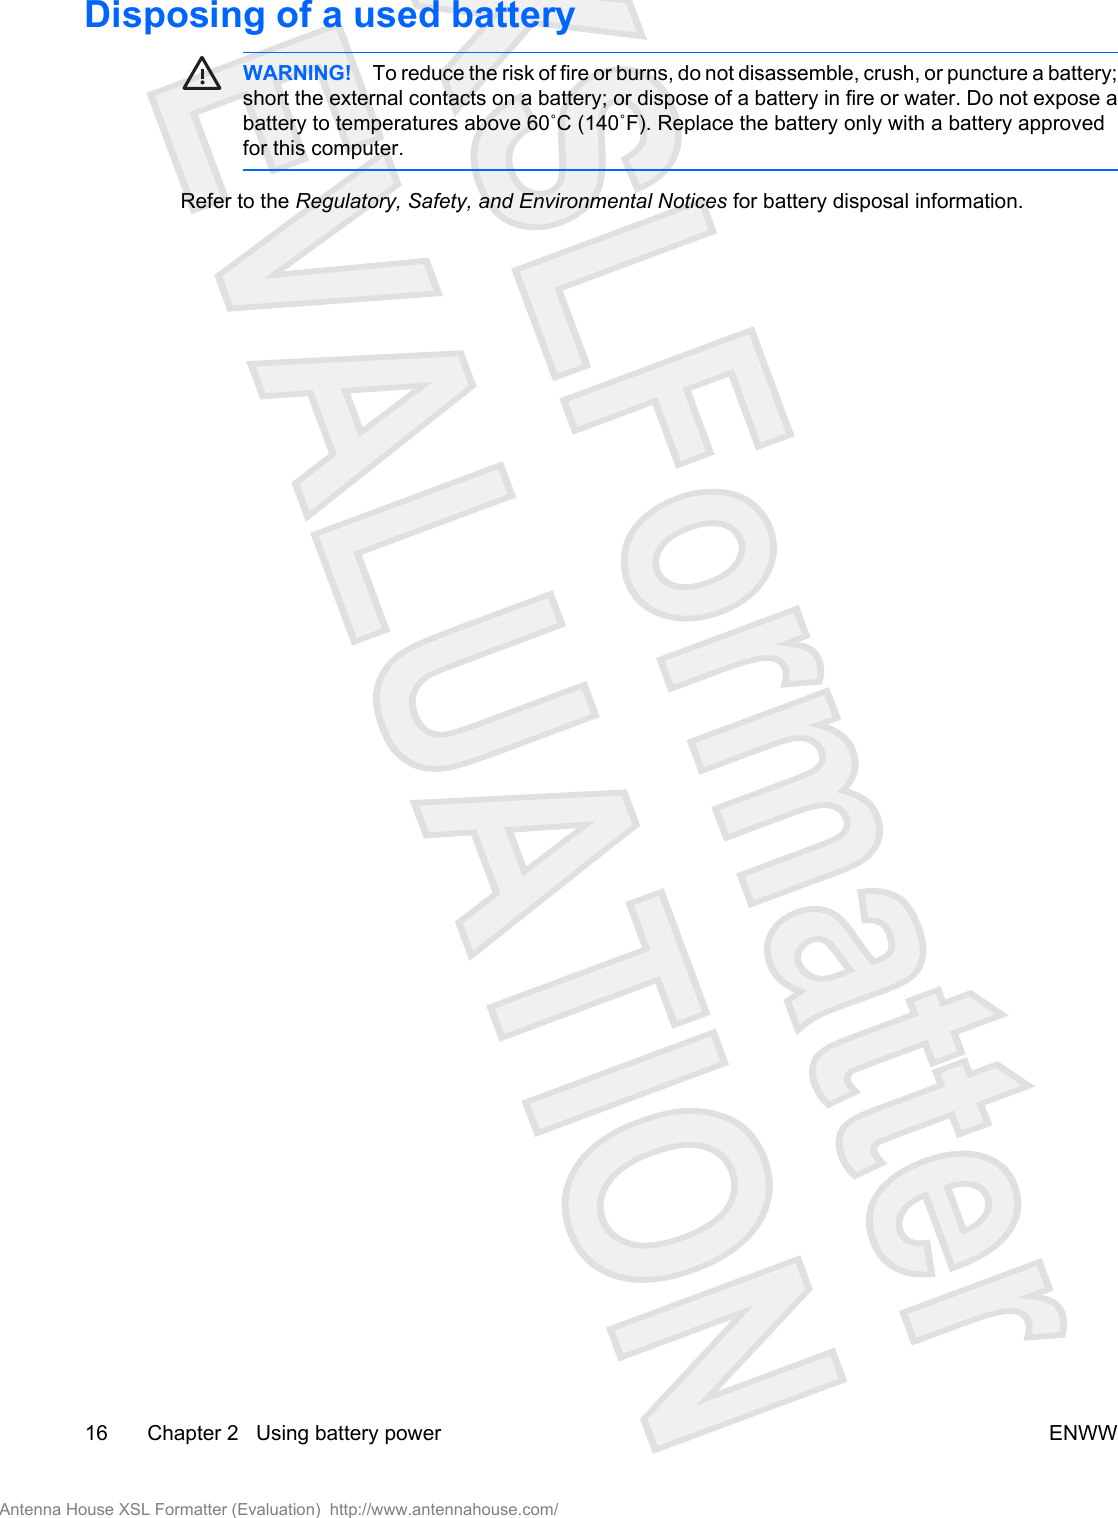
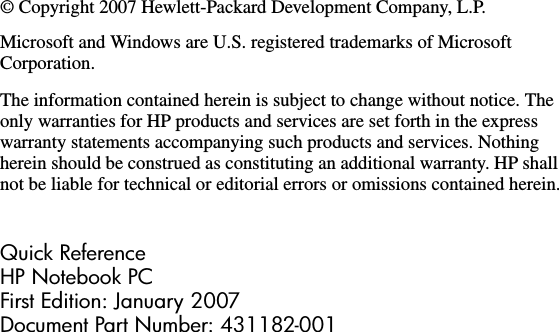
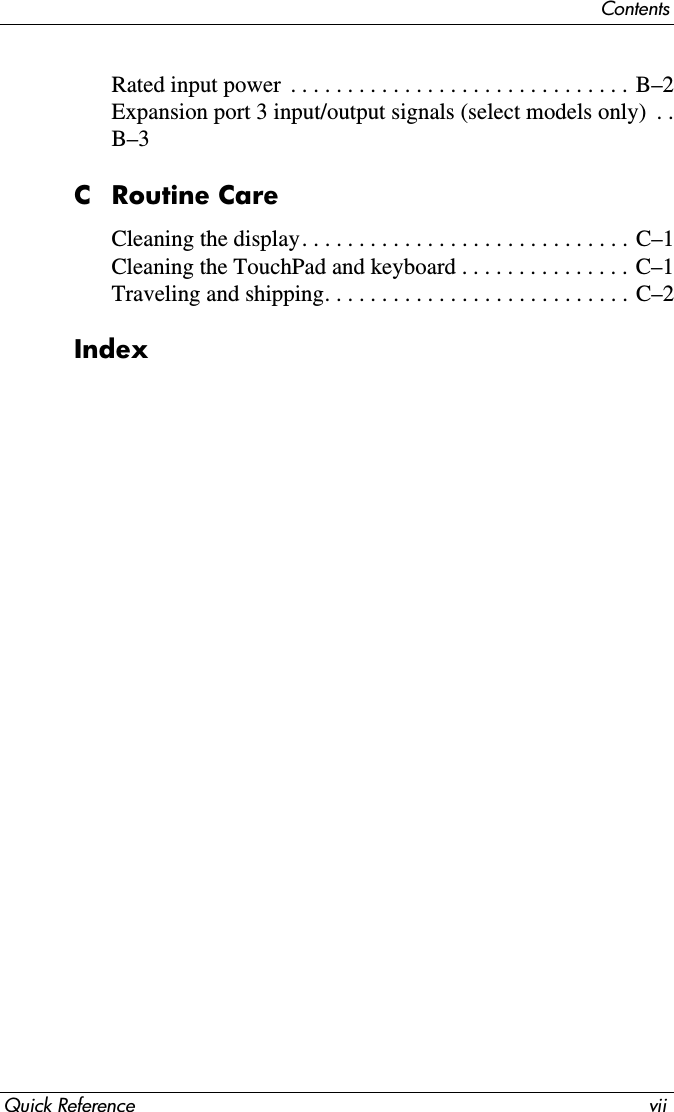
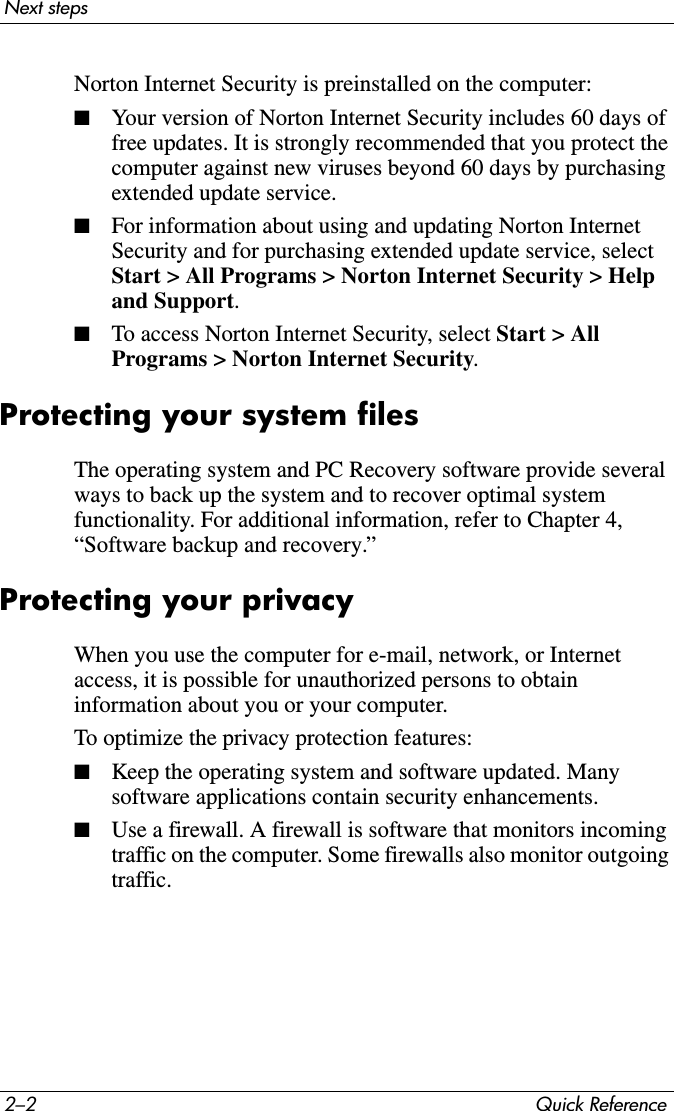
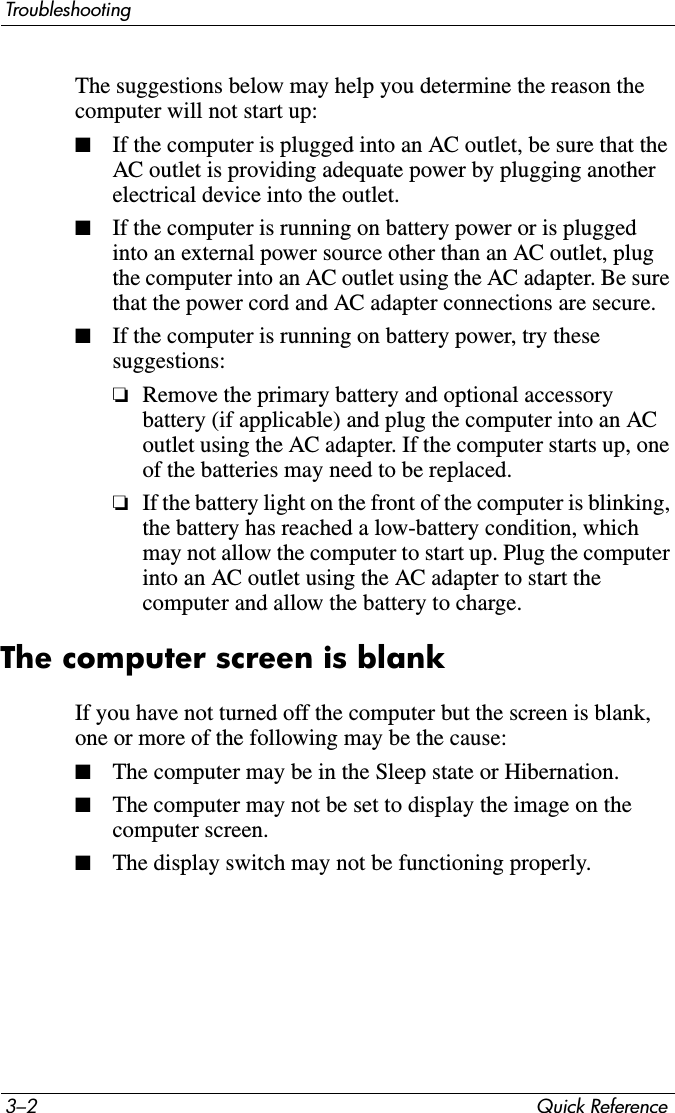
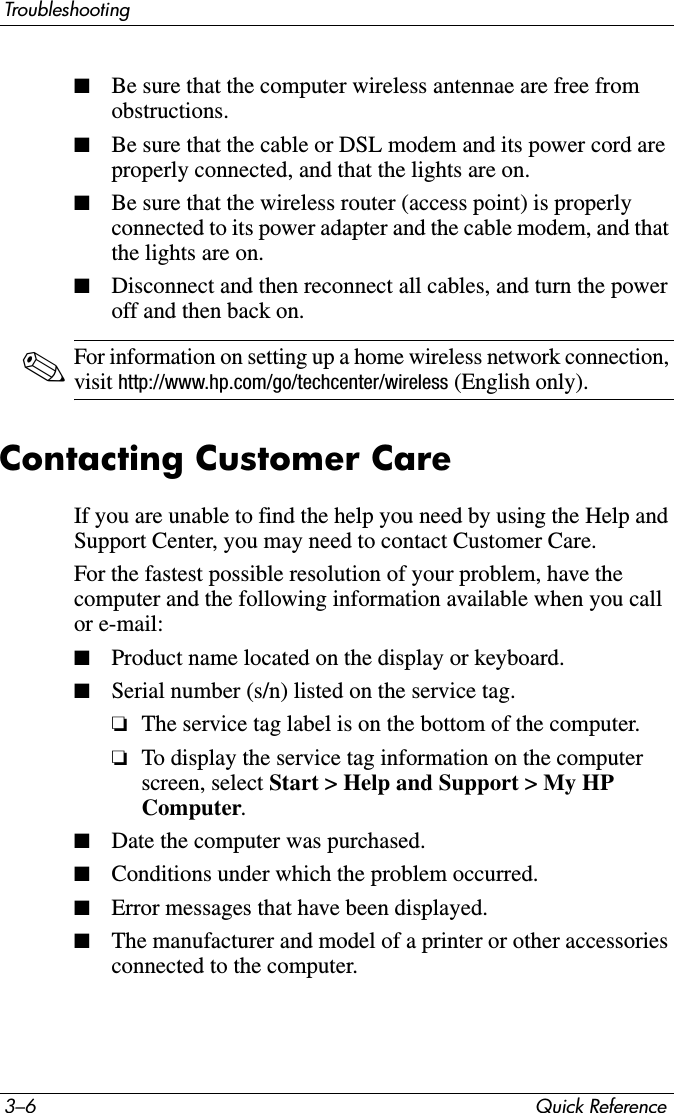
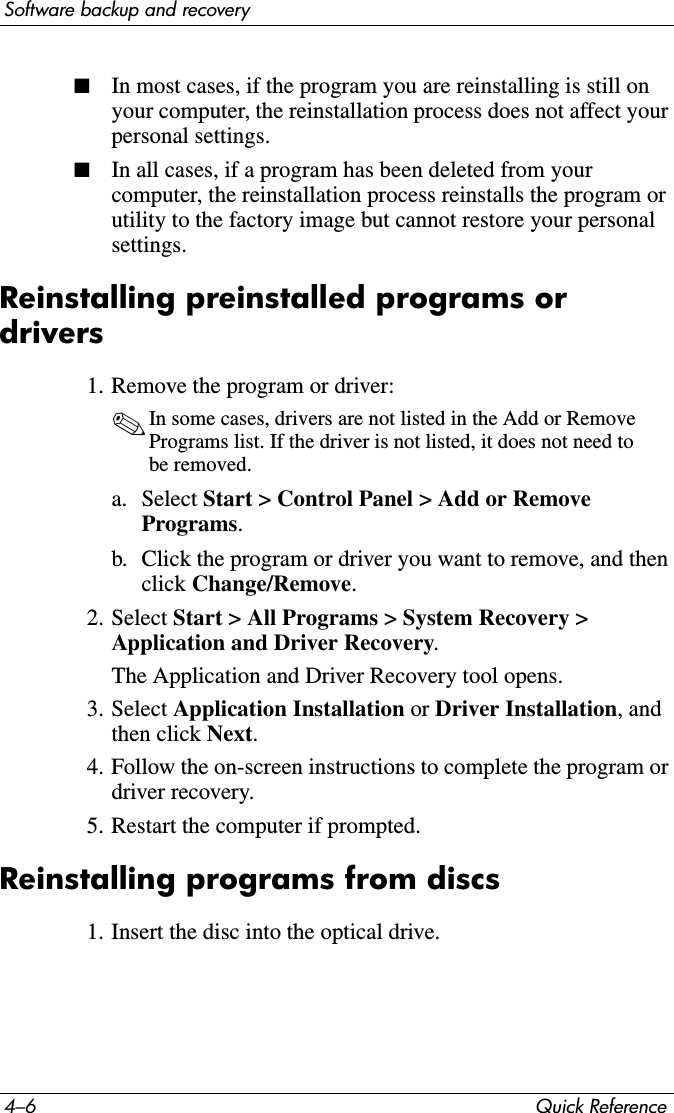
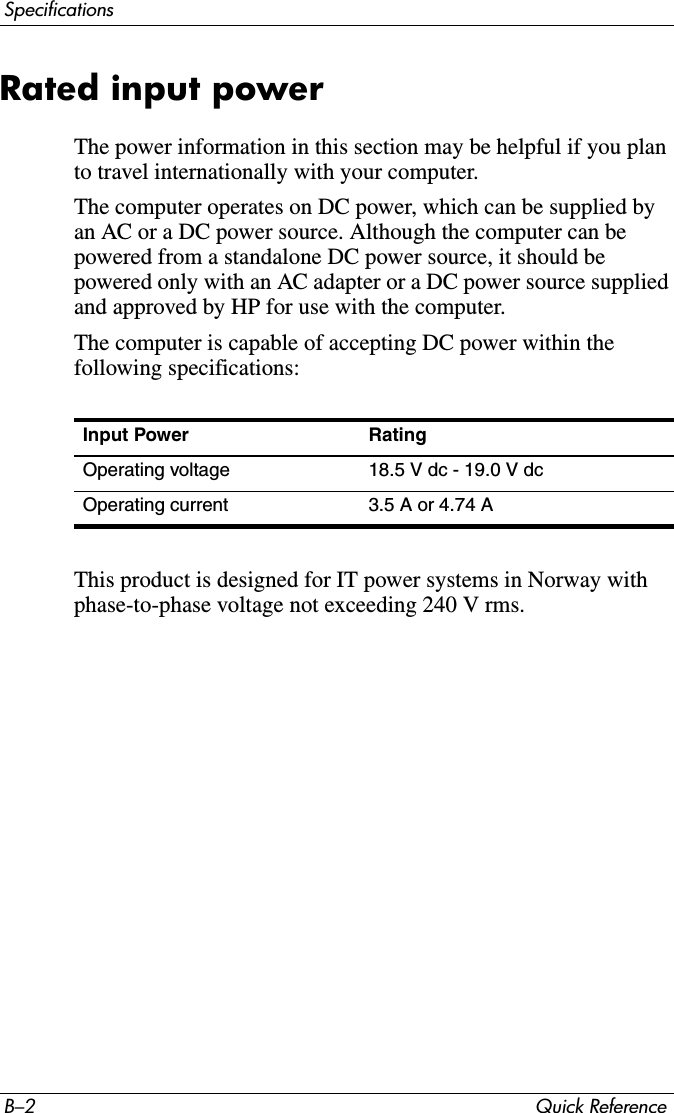
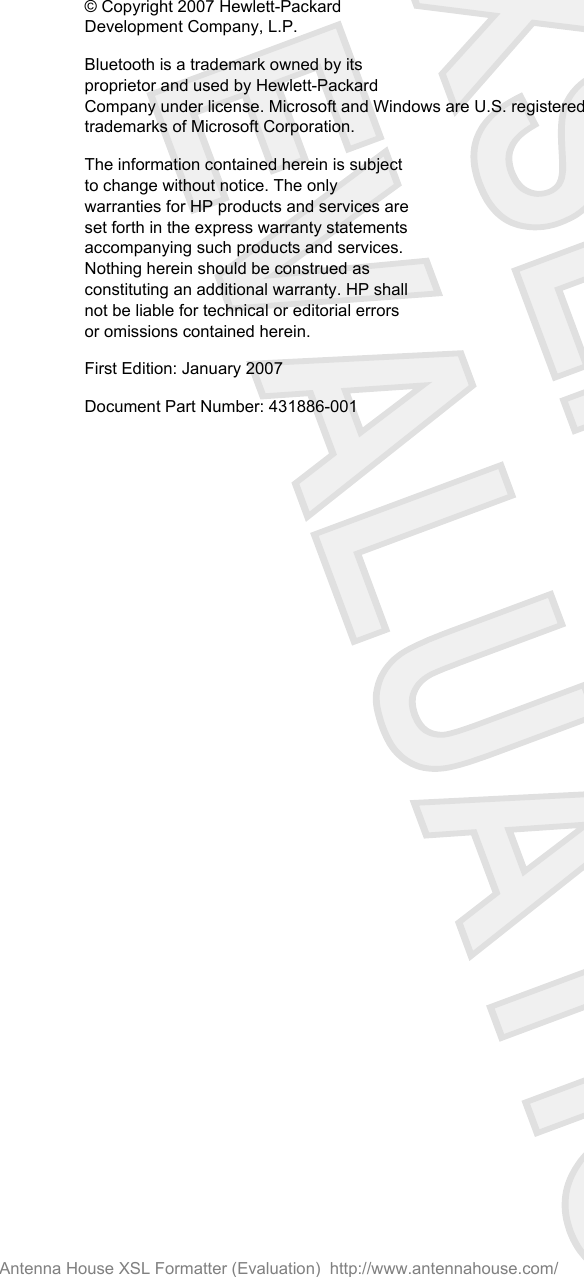
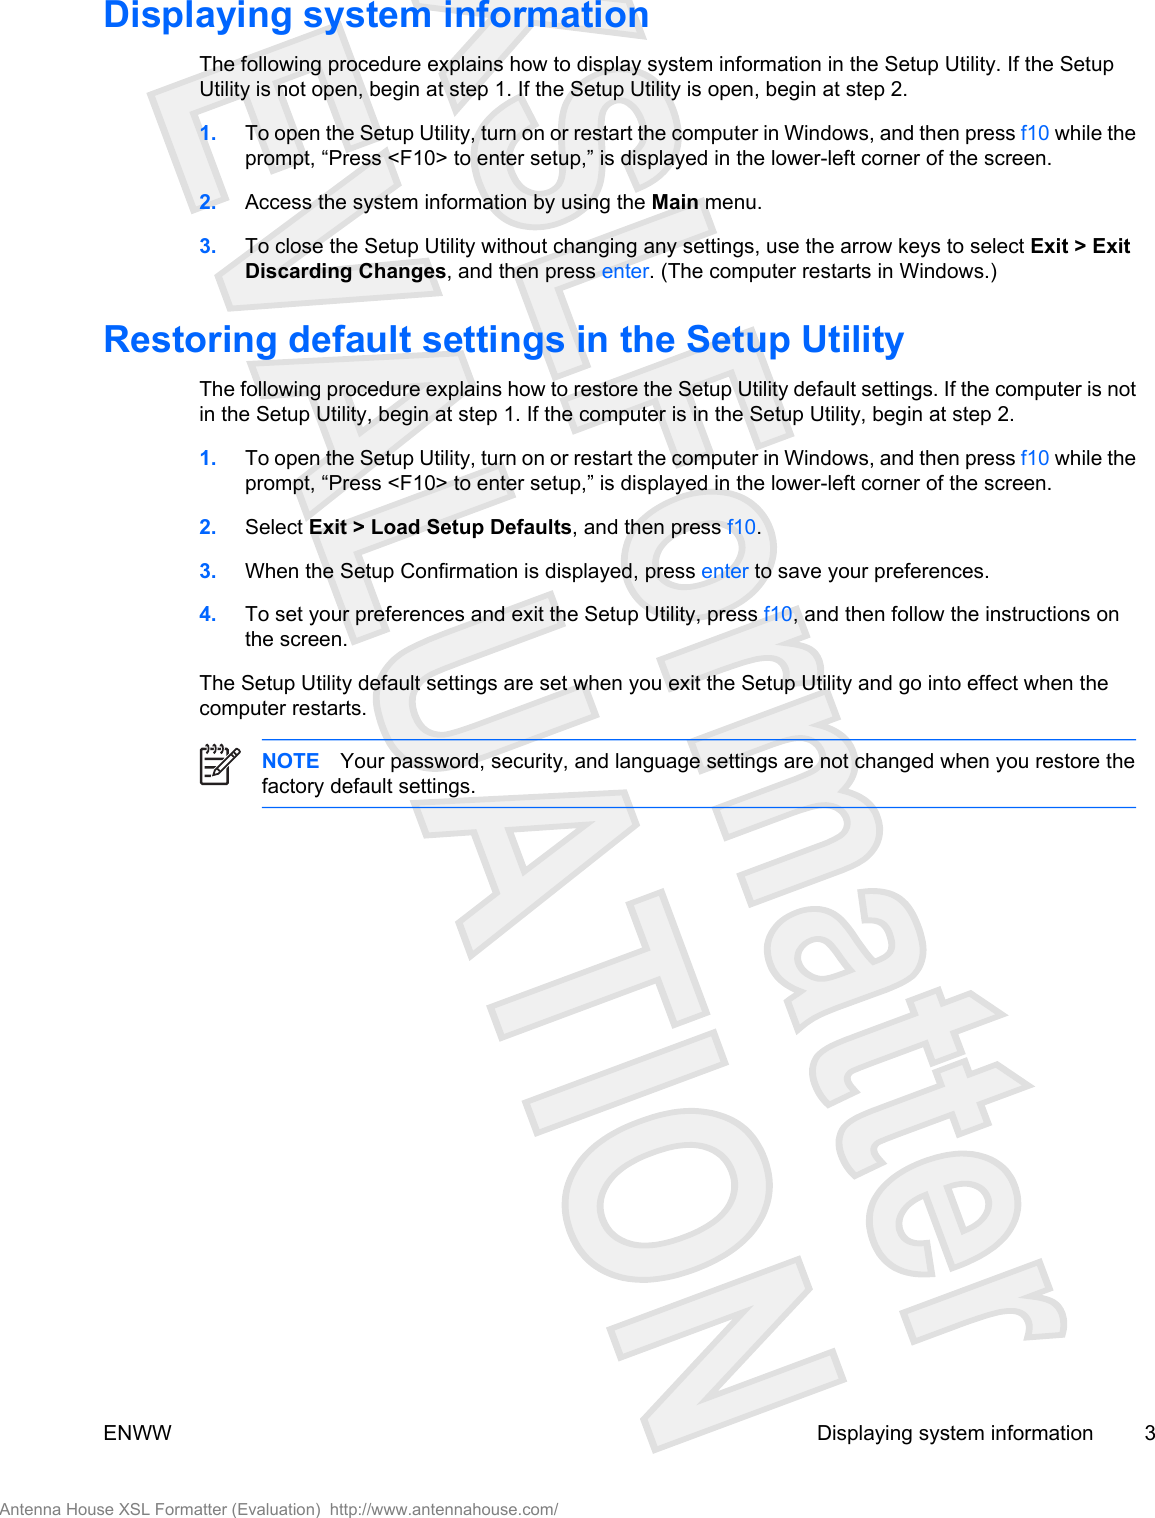
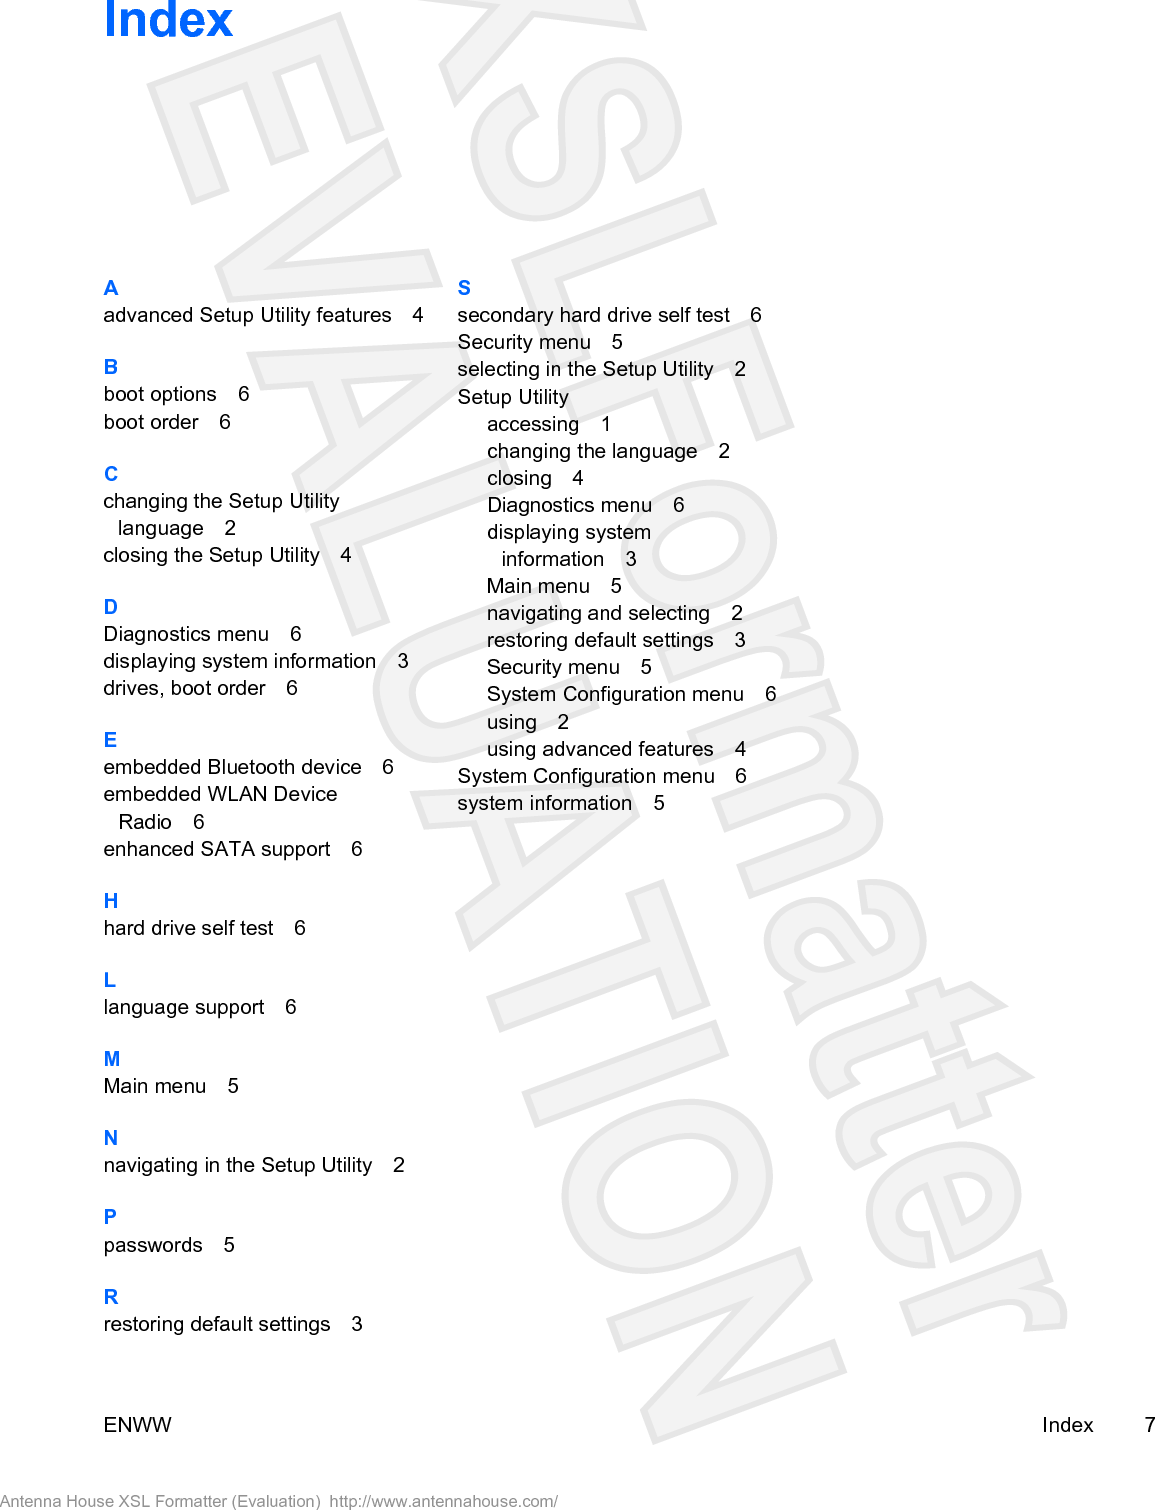
![Pressure-sensitivity[DOES THIS SECTION APPLY?] The pen is equipped with a pressure-sensitive feature. This meansthat you can manipulate the pen to create lines of various thickness, depending upon the amount ofpressure you use to write.NOTE This feature is only available if the Tablet PC Input Panel software program is enabled.Calibrating the penThe pen can function at the default calibration or at a calibration set by another user. However, HP highlyrecommends that you use the pen only while it is calibrated to your personal handwriting and mouseaction motions. Calibration optimizes pen performance for all users and particularly for left-handedusers.To calibrate the pen: [THESE STEPS MAY CHANGE WITH VISTA]1. Select Start > Control Panel > Printers and Other Hardware > Tablet and Pen Settings >Settings tab.2. Select Calibrate.3. Follow the instructions on the screen.●Tap the pen in the exact center of each of the calibration markers. The calibration markersare displayed on the screen as plus signs (+).●Be sure to calibrate the pen for use in both portrait and landscape orientations.NOTE You can display information about any setting in the Tablet and Pen Settings window byselecting the question mark button in the upper-right corner of the window, and then select asetting.4 Chapter 1 Using the Pointing Devices ENWWAntenna House XSL Formatter (Evaluation) http://www.antennahouse.com/](https://usermanual.wiki/Broadcom/BRCM1022-H.User-Manual-2/User-Guide-736514-Page-8.png)
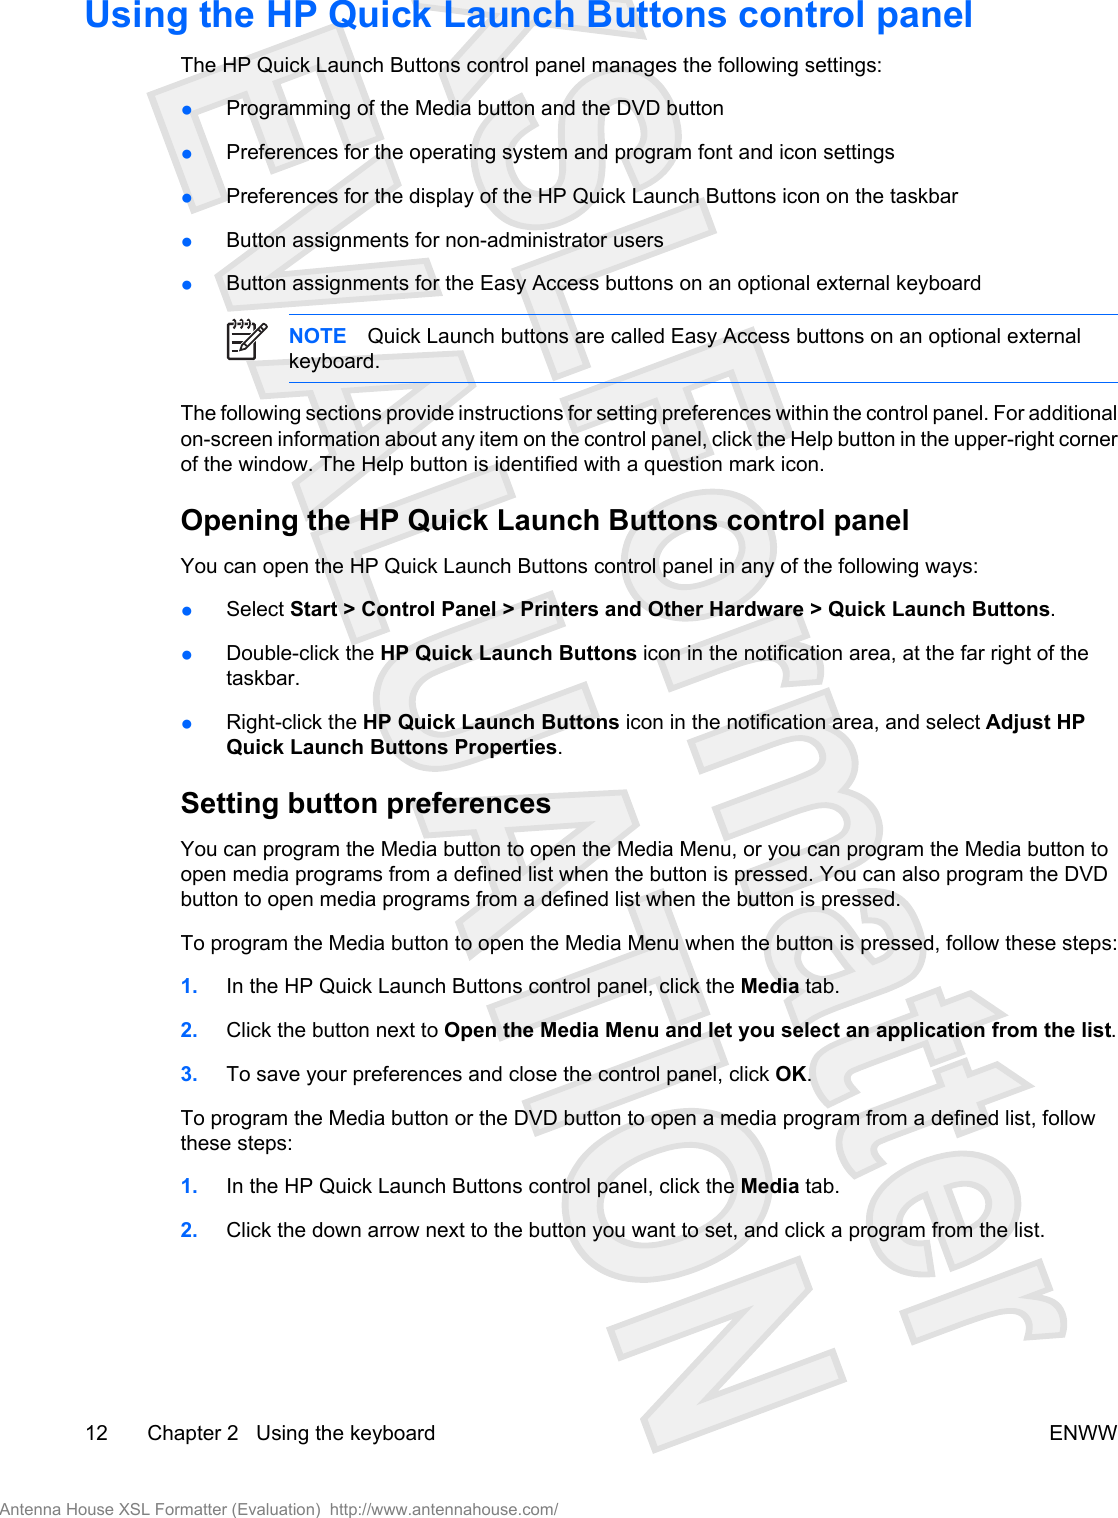
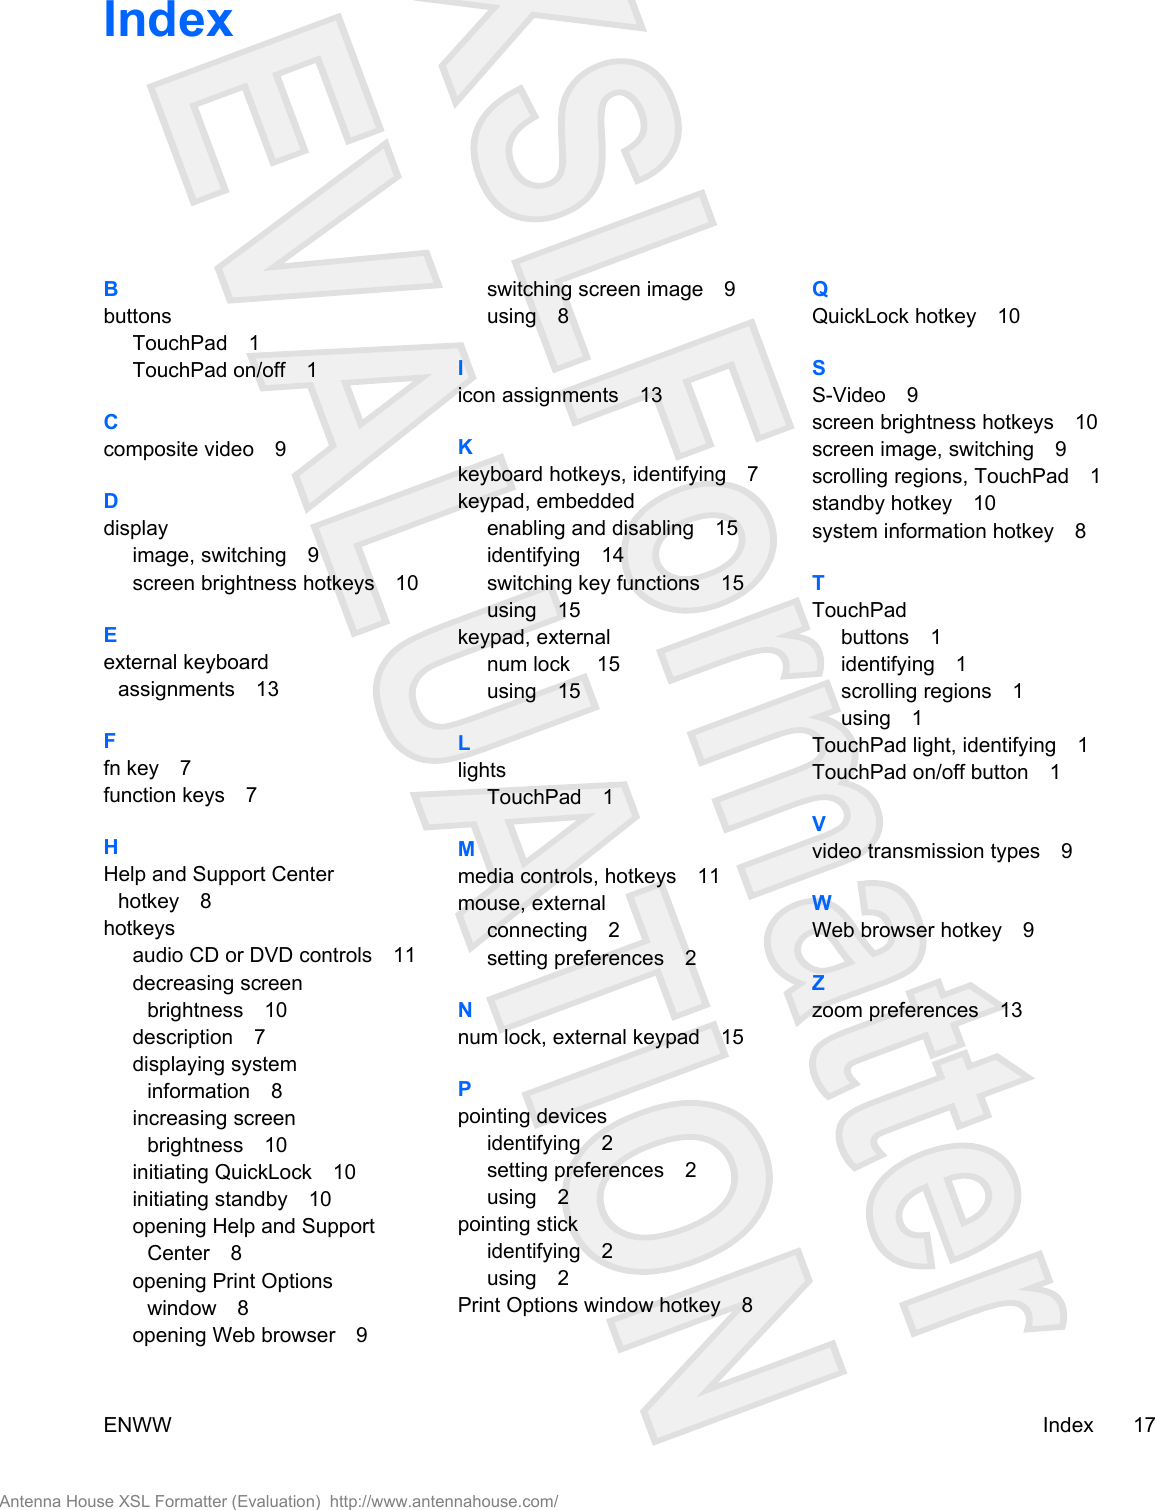
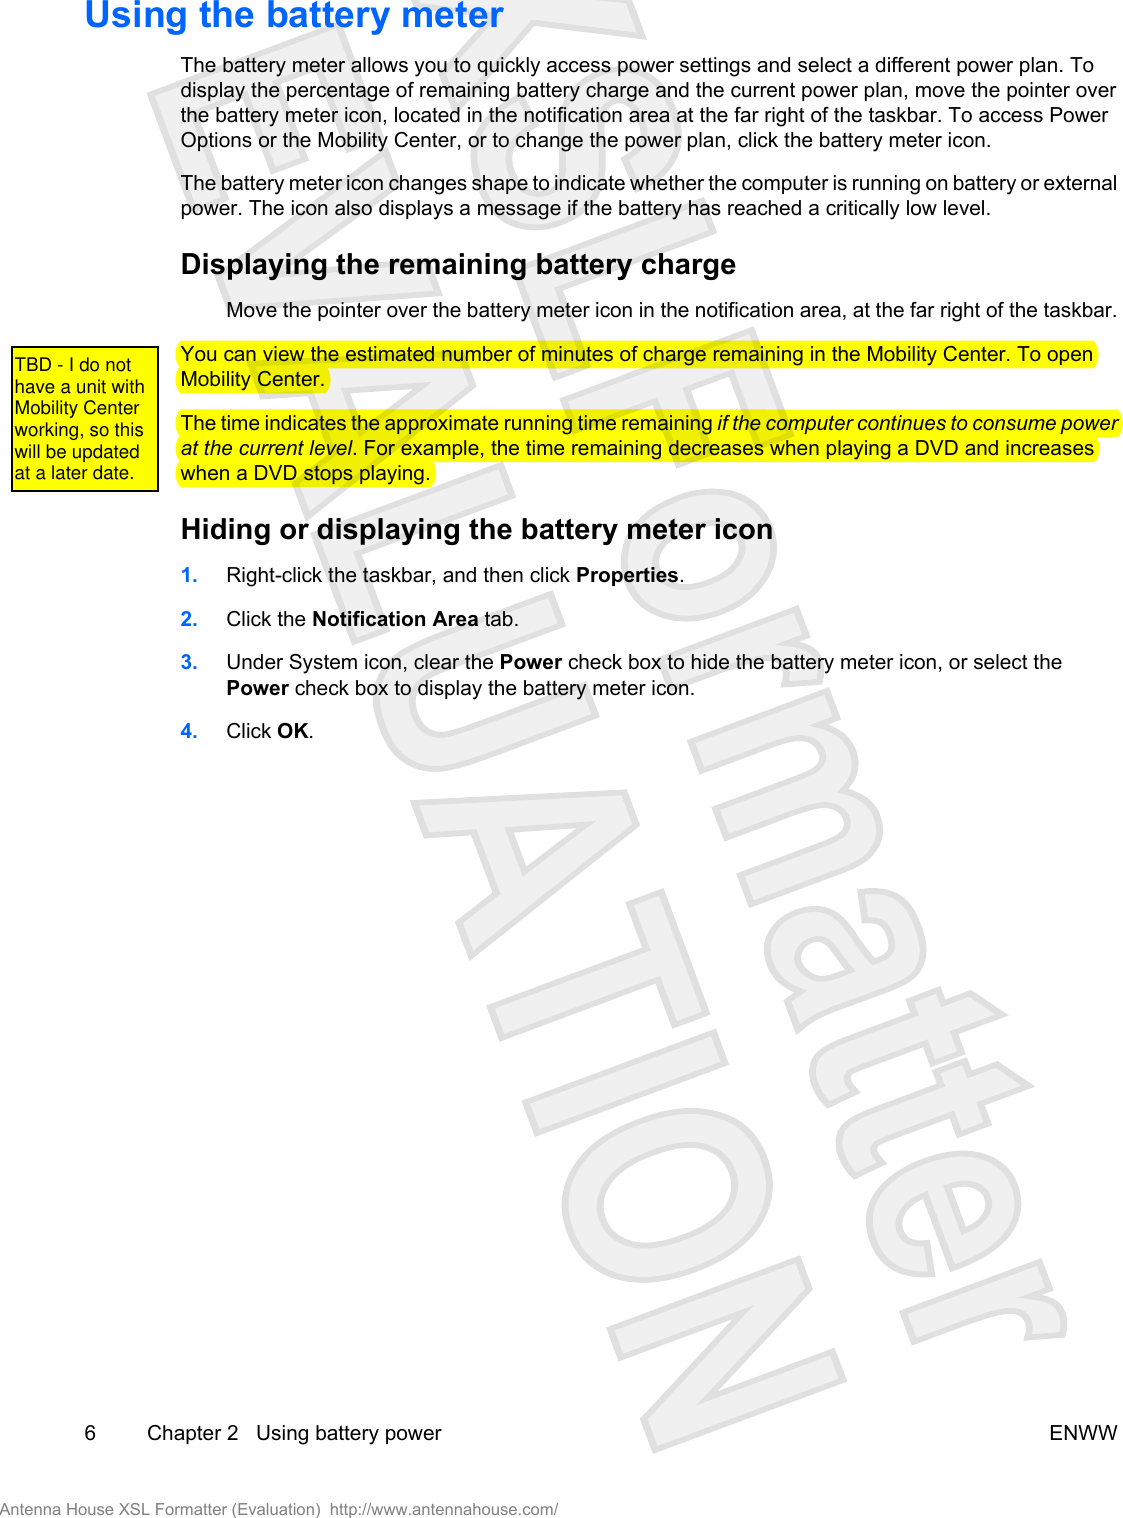
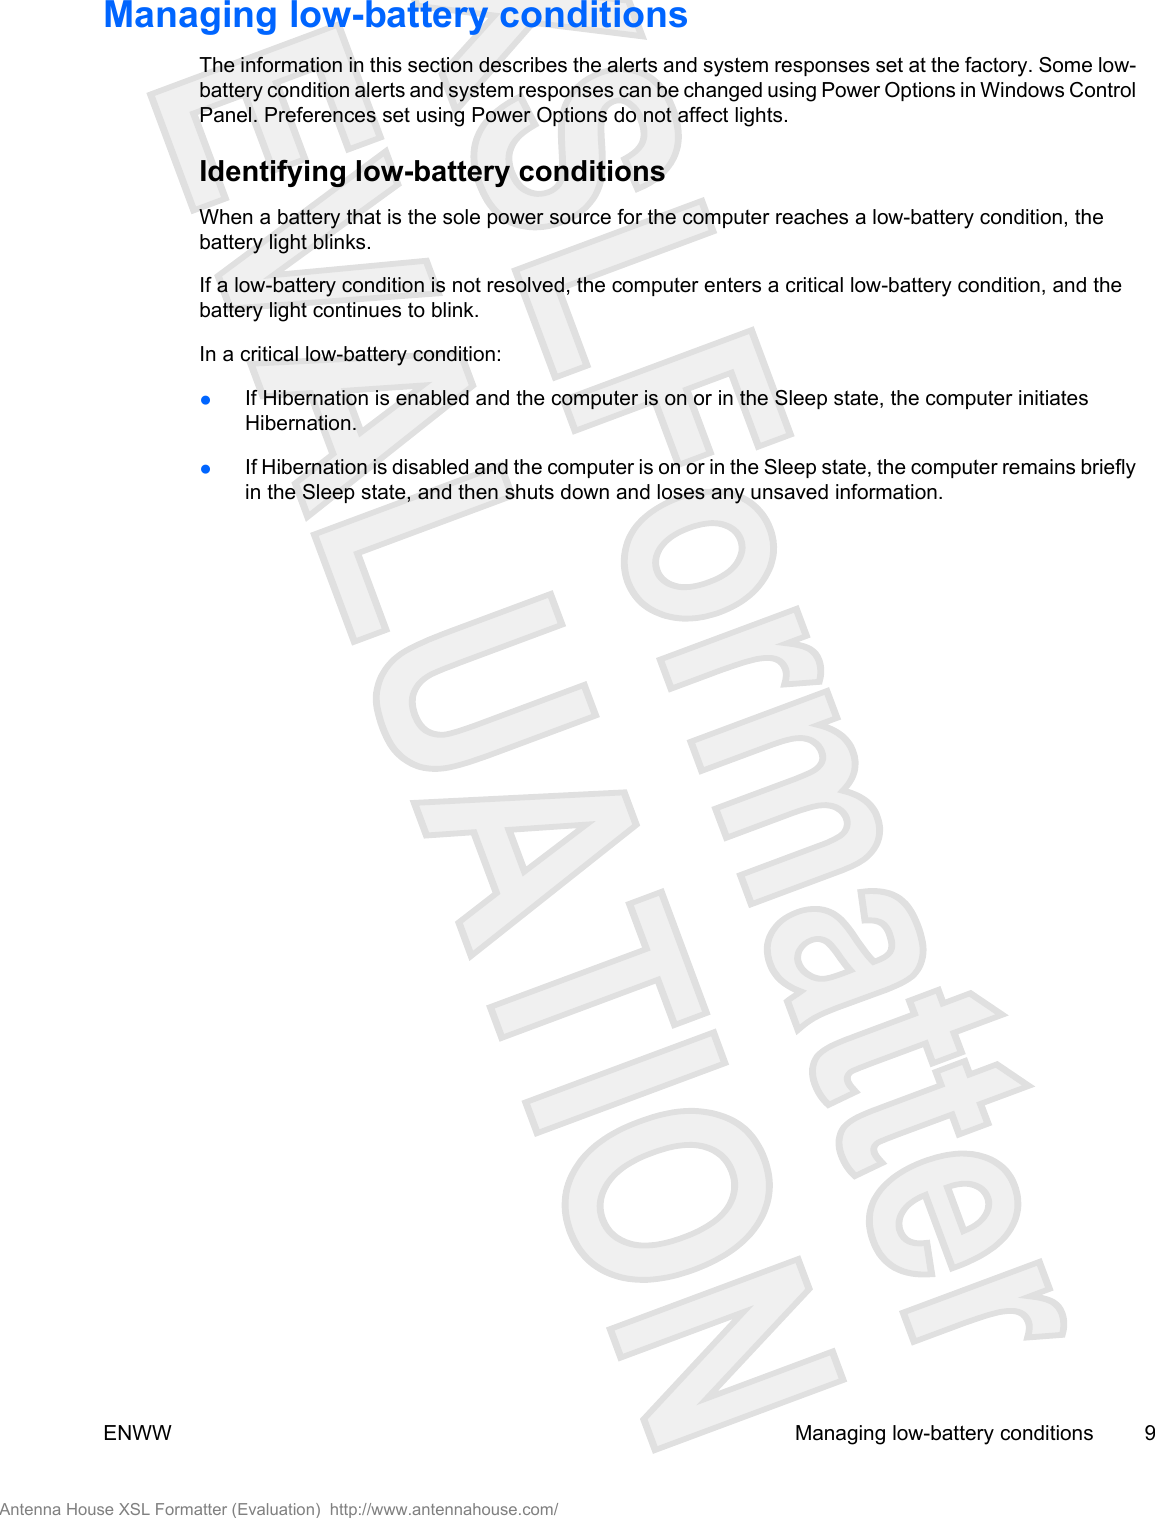
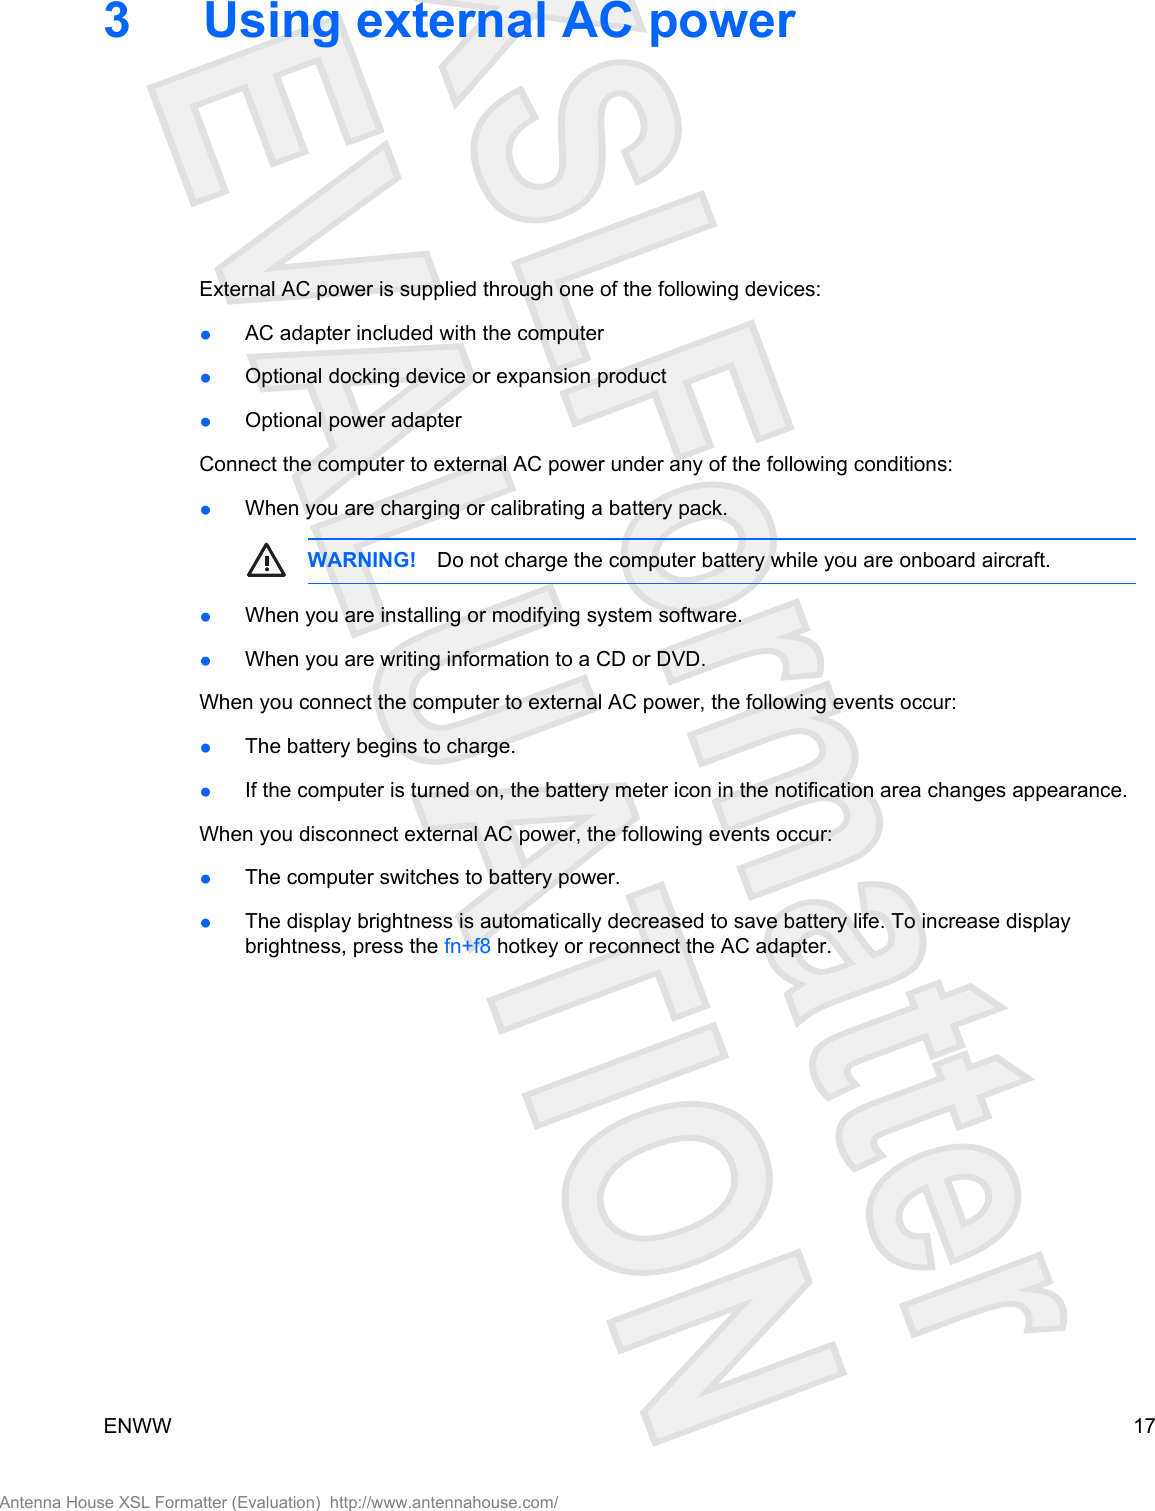
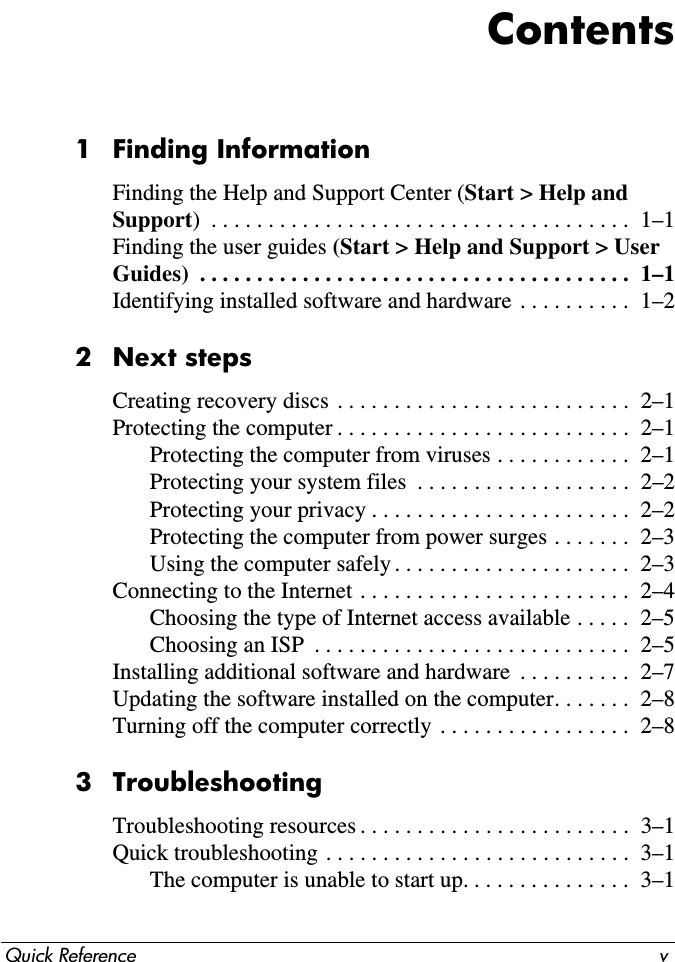
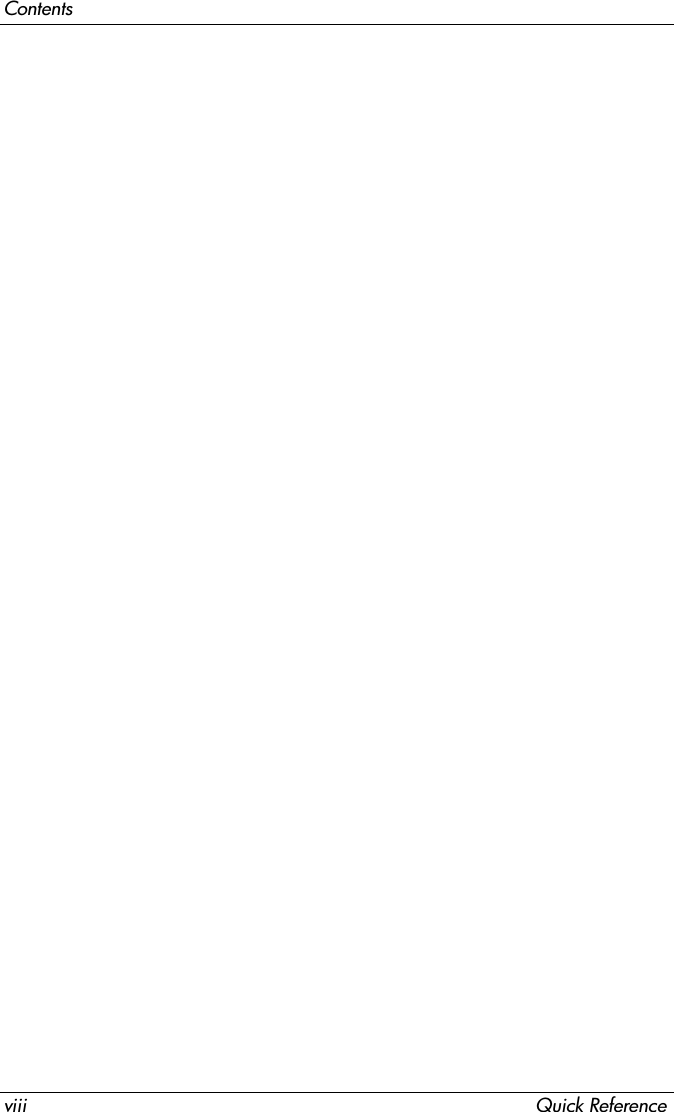
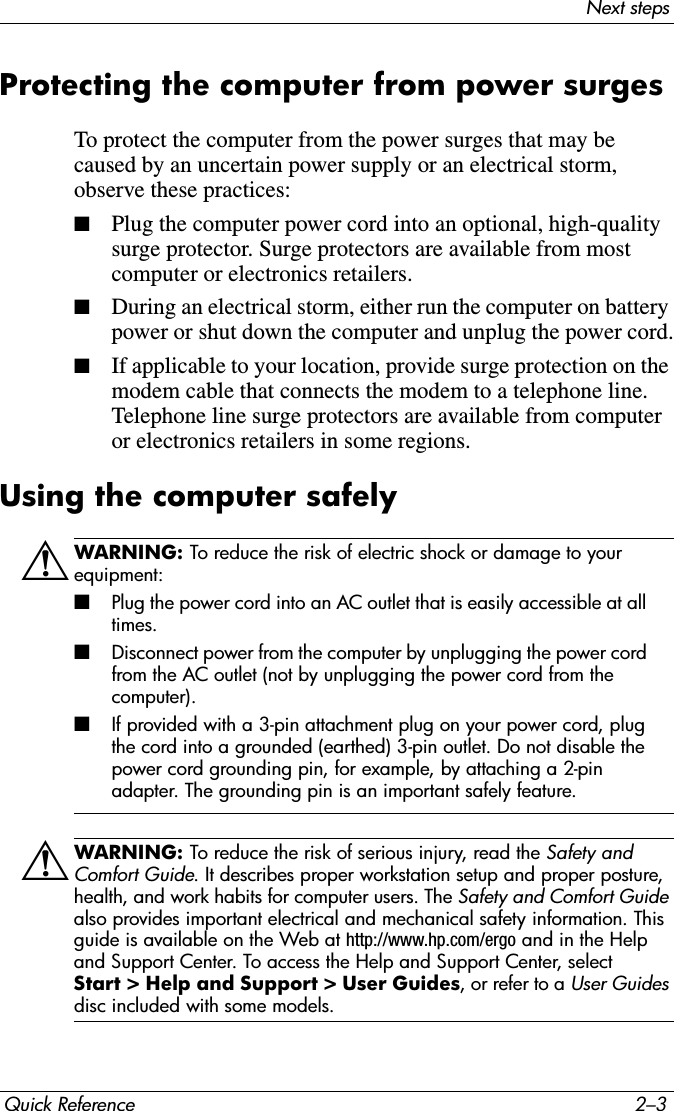
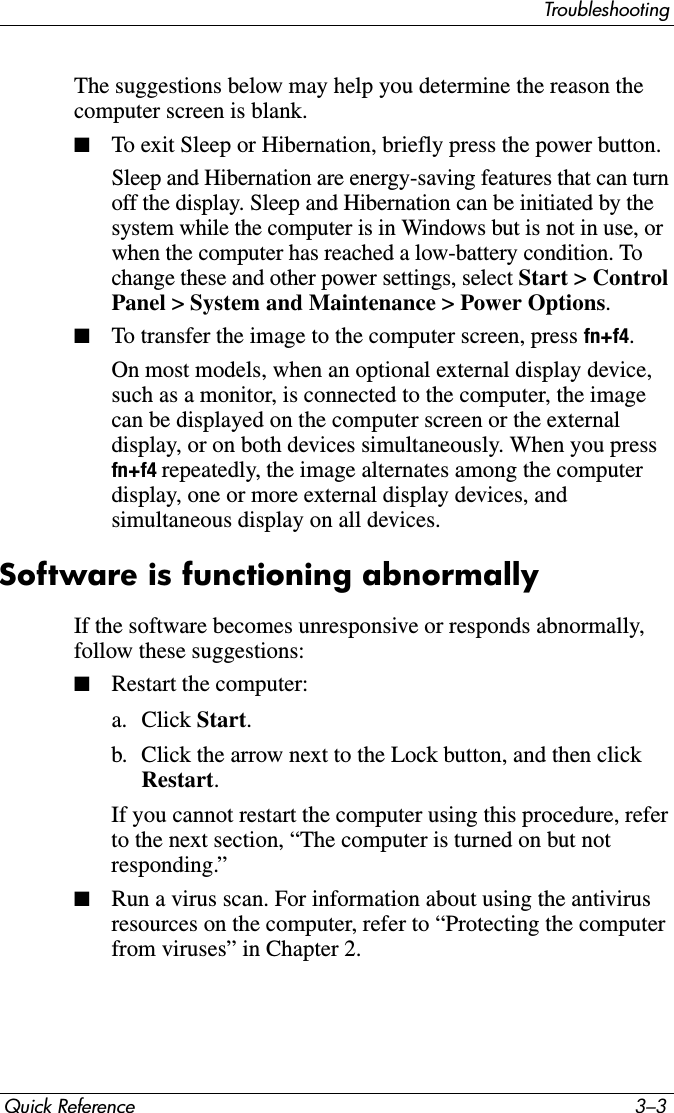
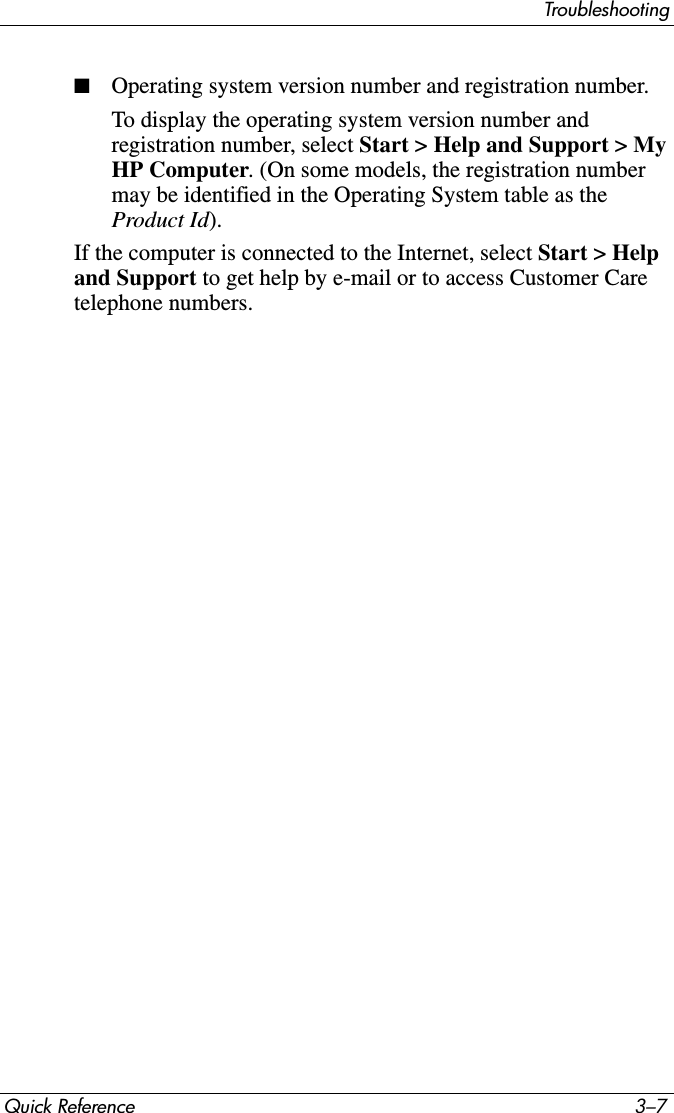
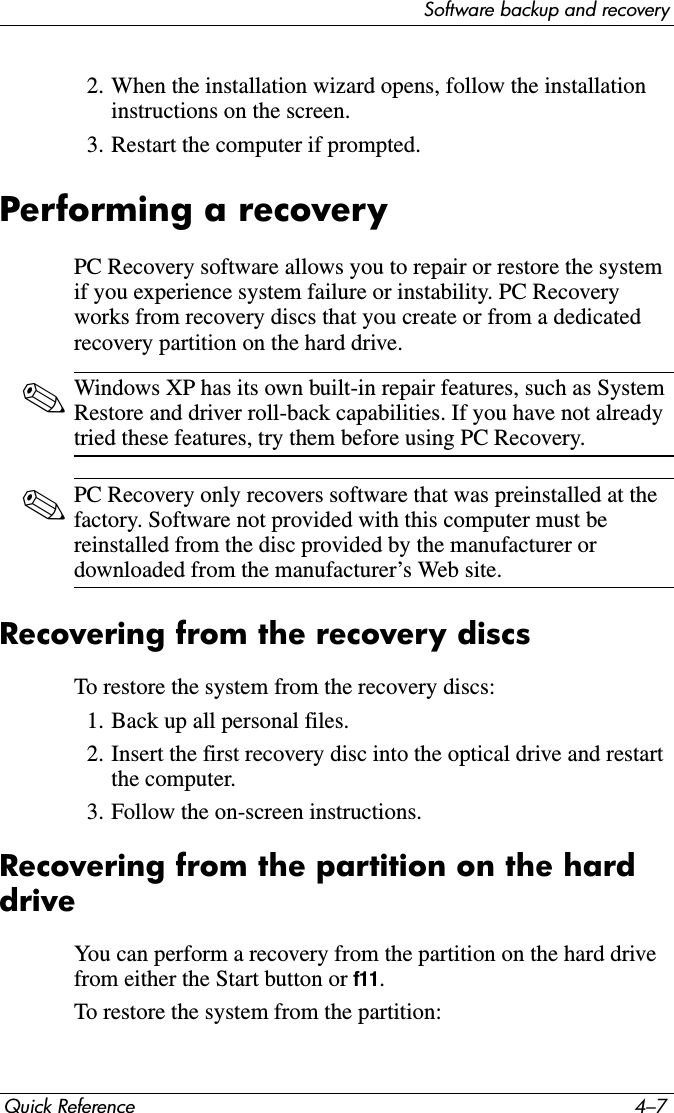
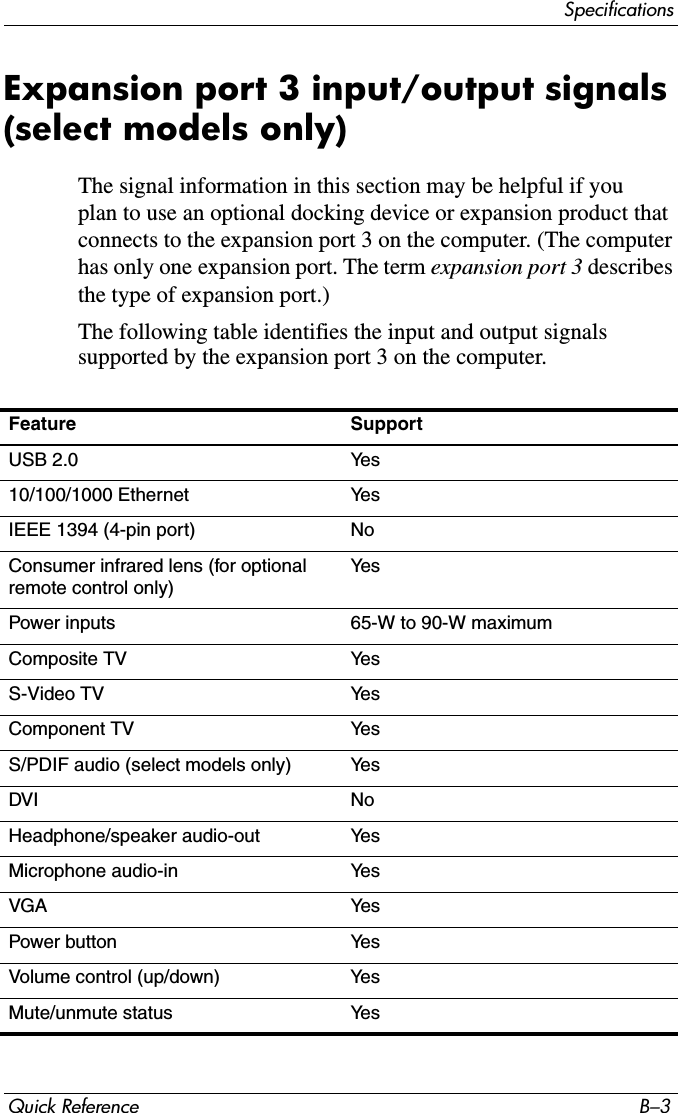
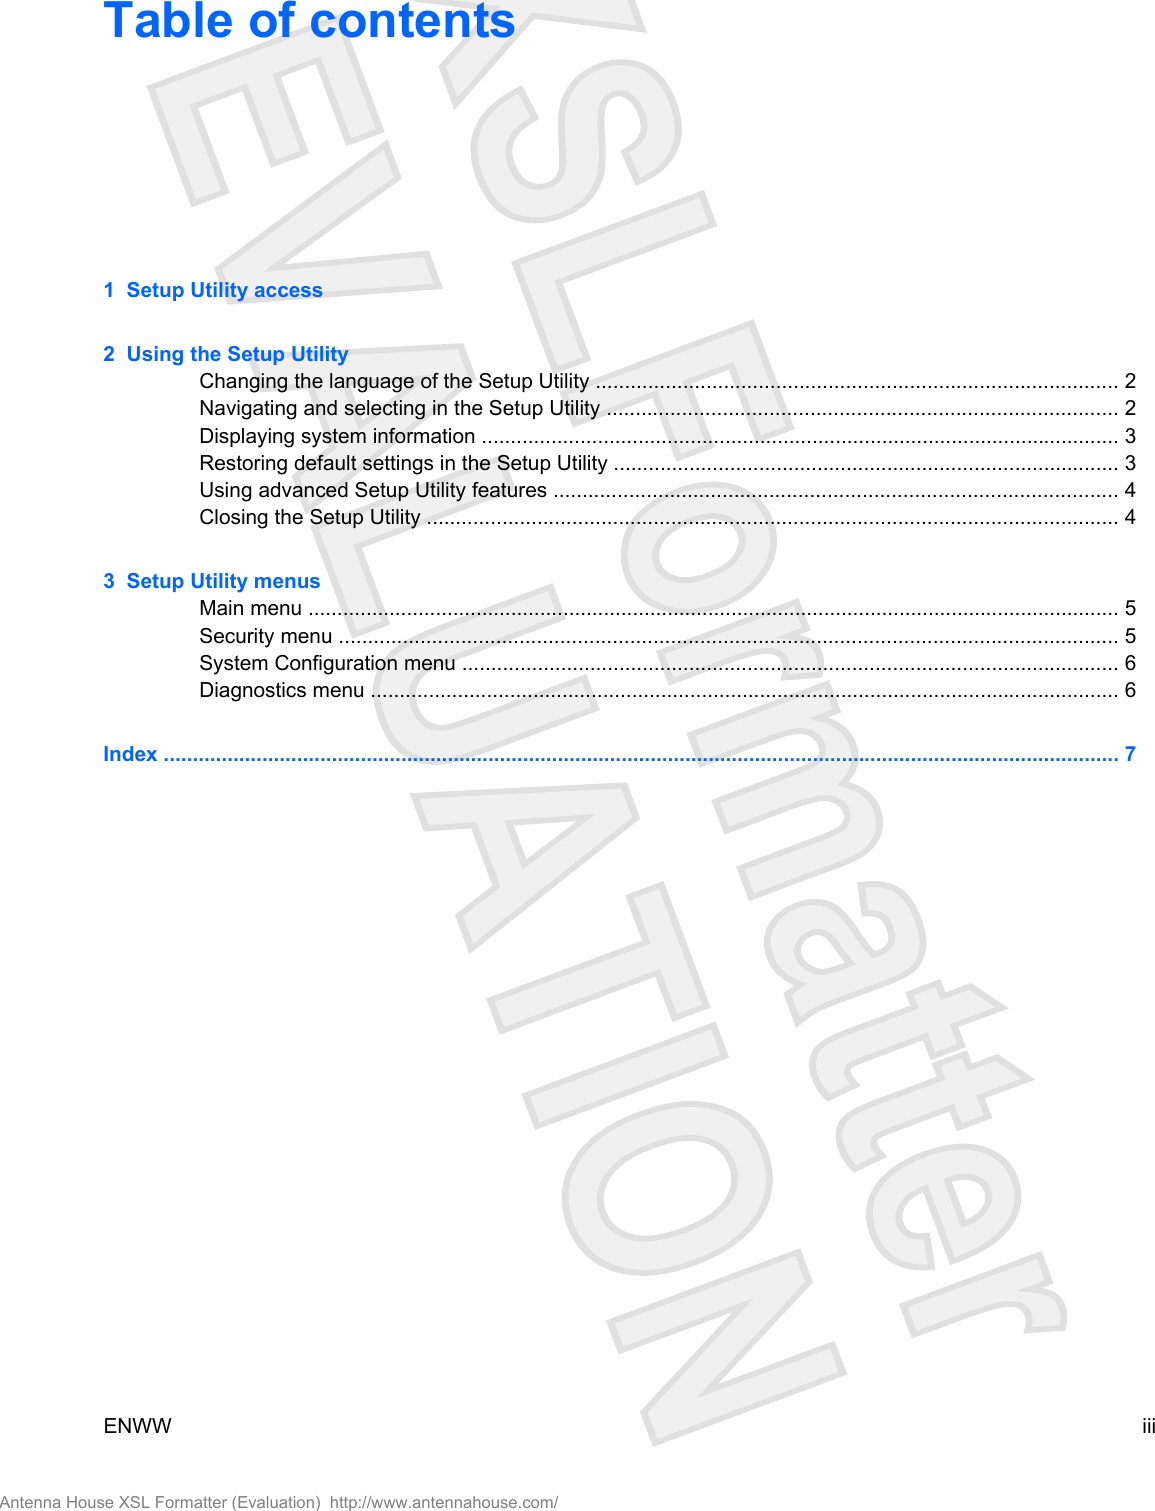
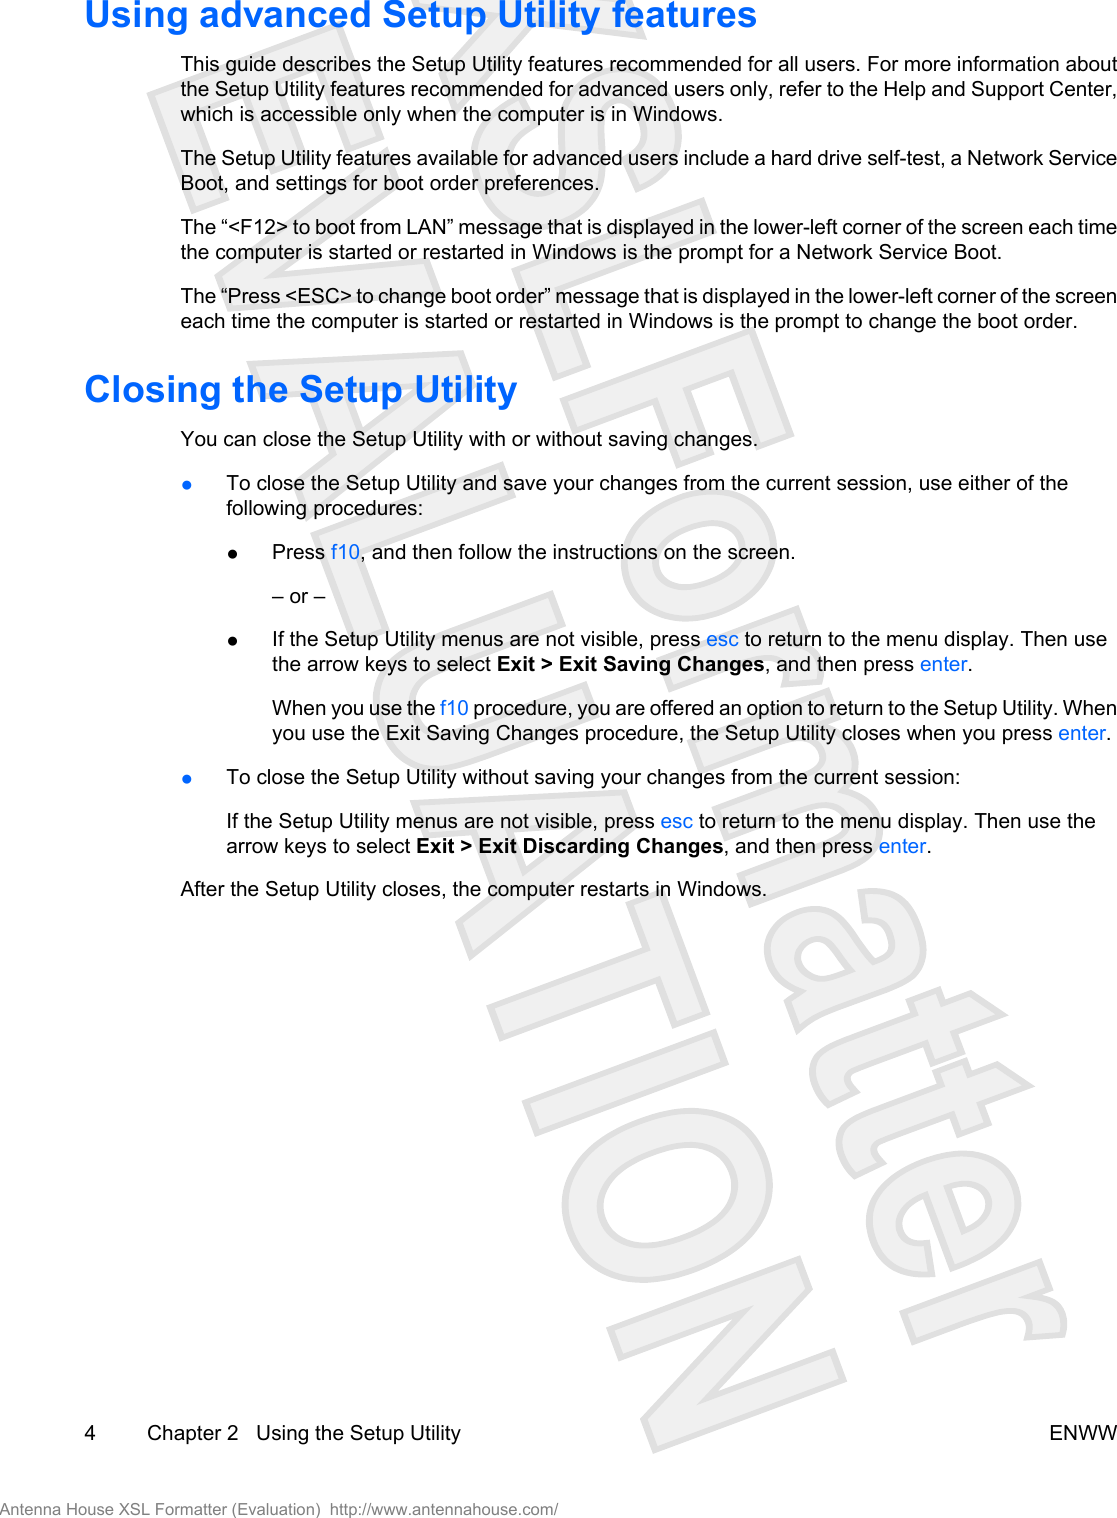
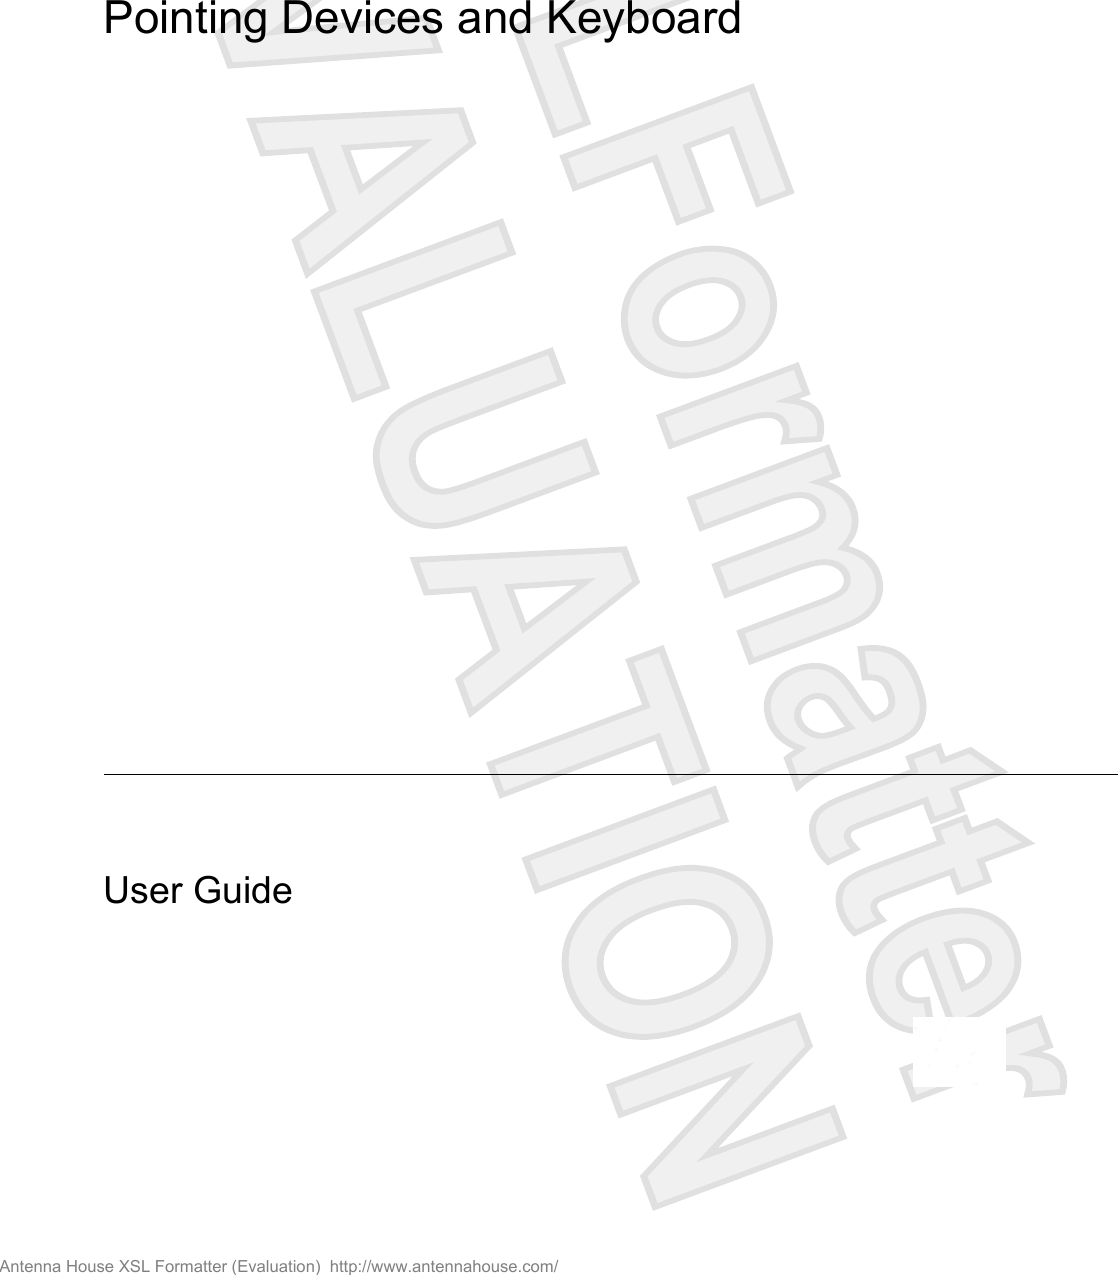
![Using the pen holderTo protect the pen when you are not using it, insert the pen, tip first, into the pen holder on the computer.[I JUST REALIZED THIS GRAPHIC SHOWS THE COMPUTER UPSIDE DOWN. I'LL HAVE ITCORRECTED FORTHE NEXT REVIEW.]Setting pen preferences[THESE STEPS MAY CHANGE WITH VISTA]Pen preferences are set in the Tablet and Pen Settings window of the operating system. The preferencesinclude settings that optimize handwriting recognition and the location of on-screen menus for eitherright-handed or left-handed users.To access the pen settings:Select Start > Control Panel > Printers and Other Hardware > Tablet and Pen Settings > PenOptions tab.The preferences you set in the Tablet and Pen Settings window are specific to the pen and the computer.Pointing device preferences, such as pointer speed, click speed, and mouse trails, are set in the MouseProperties window. These preferences apply to any pointing device in the system.To access Mouse Properties:Select Start > Control Panel > Printers and Other Hardware > Mouse.ENWW Using the pen 5Antenna House XSL Formatter (Evaluation) http://www.antennahouse.com/](https://usermanual.wiki/Broadcom/BRCM1022-H.User-Manual-2/User-Guide-736514-Page-9.png)