Broadcom BRCM1028 802.11g Wireless LAN PCI-E Mini Card User Manual book
Broadcom Corporation 802.11g Wireless LAN PCI-E Mini Card book
UserManual.wiki
>
Broadcom
>
BRCM1028 User Manual
>
Parker User Manual
Contents
1.
User Manual
2.
Hawke User Manual
3.
Parker User Manual
4.
Sebiria User Manual
5.
Spears User Manual
6.
User Manual 1
7.
User Manual 2
8.
User Manual 3
9.
User Guide
10.
Manual
11.
Manual Statement
Parker User Manual
Navigation menu
Upload a User Manual
Namespaces
Wiki Guide
HTML
PDF
Info
Views
User Manual
Discussion / Help
Navigation


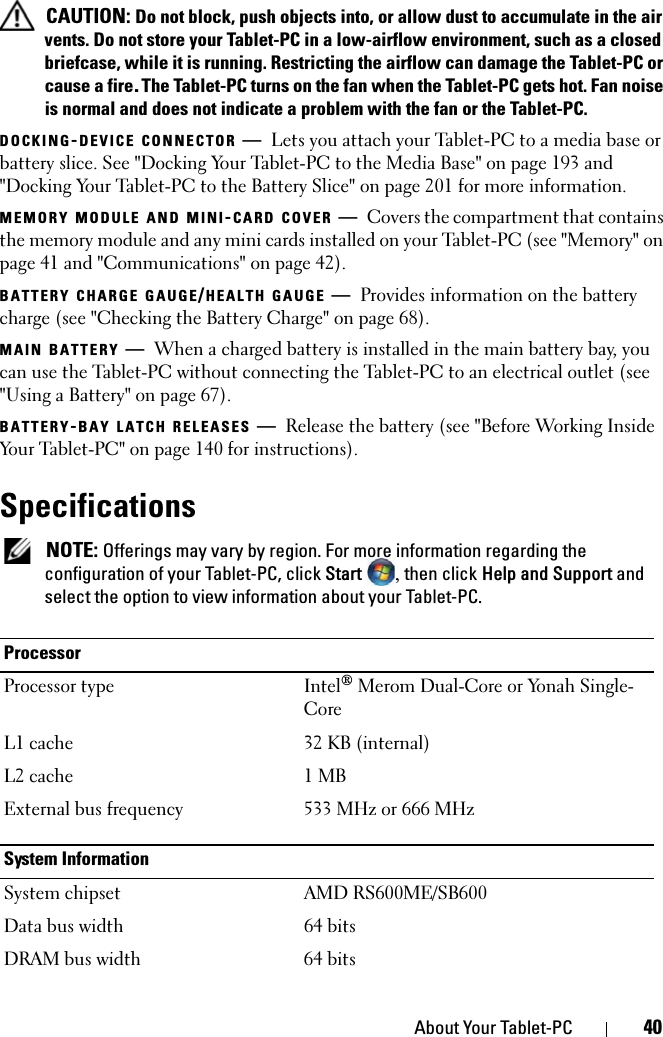


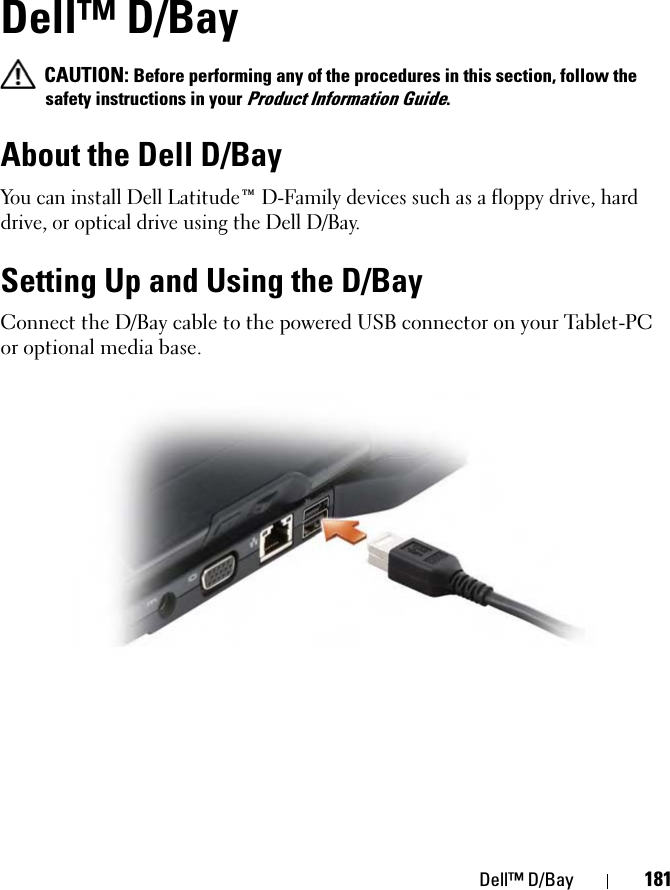
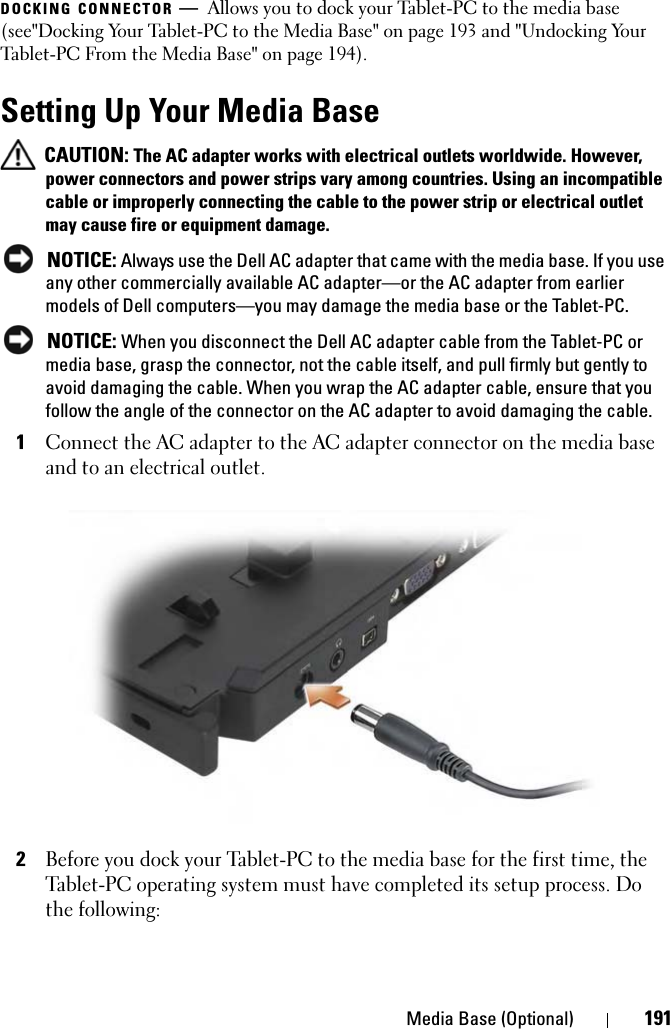
![Reinstalling Software 132 NOTE: The User Account Control window may appear. If you are an administrator on the Tablet-PC, click Continue; otherwise, contact your administrator to continue.Scroll down the list to see if any device has an exclamation point (a yellow circle with a [!]) on the device icon.If an exclamation point is next to the device name, you may need to reinstall the driver or install a new driver (see "Reinstalling Drivers and Utilities" on page 132).Reinstalling Drivers and Utilities NOTICE: The Dell Support website at support.dell.com and your Drivers and Utilities media provide approved drivers for Dell™ computers. If you install drivers obtained from other sources, your Tablet-PC might not work correctly.Using Windows Device Driver RollbackIf a problem occurs on your Tablet-PC after you install or update a driver, use Windows Device Driver Rollback to replace the driver with the previously installed version.1Click Start , and right-click Computer.2Click Properties→ Device Manager. NOTE: The User Account Control window may appear. If you are an administrator on the Tablet-PC, click Continue; otherwise, contact your administrator to enter the Device Manager.3Right-click the device for which the new driver was installed and click Properties.4Click the Drivers tab→ Roll Back Driver.If Device Driver Rollback does not resolve the problem, then use System Restore (see "Restoring Your Operating System" on page 134) to return your Tablet-PC to the operating state that existed before you installed the new driver.Using the Drivers and Utilities MediaIf using Device Driver Rollback or System Restore (see "Restoring Your Operating System" on page 134) does not resolve the problem, then reinstall the driver from the Drivers and Utilities media.](https://usermanual.wiki/Broadcom/BRCM1028.Parker-User-Manual/User-Guide-846468-Page-132.png)


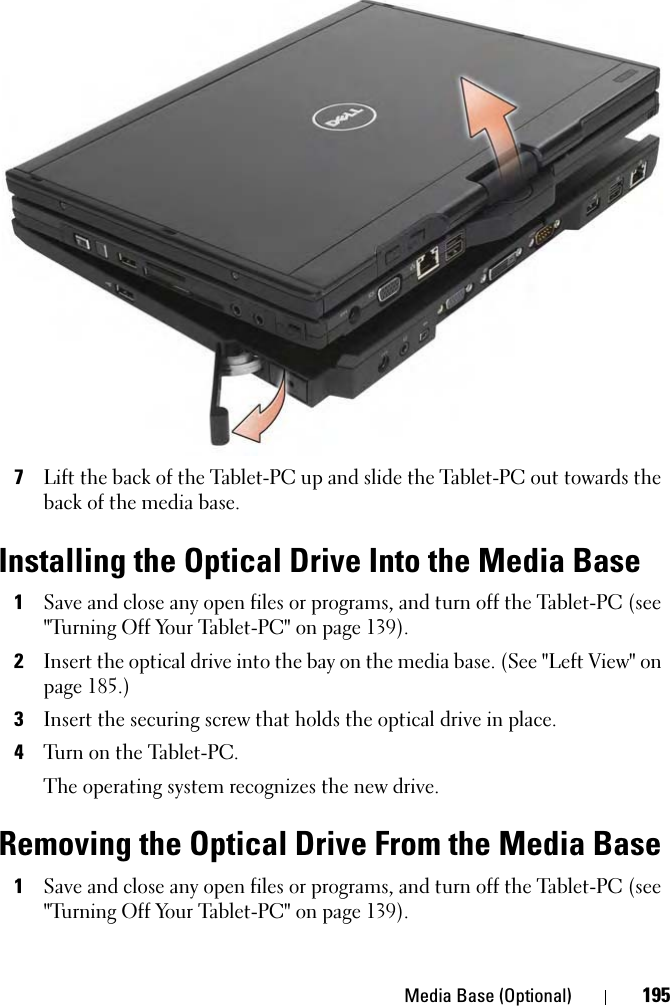


![212battery operating time — The length of time (minutes or hours) that a portable computer battery powers the computer.biometric reader — A strip sensor that uses your unique fingerprint to authenticate your user identity to help secure your computer. BIOS — basic input/output system — A program (or utility) that serves as an interface between the computer hardware and the operating system. Unless you understand what effect these settings have on the computer, do not change them. Also referred to as system setup.bit — The smallest unit of data interpreted by your computer.Blu-ray Disc™ (BD)— An optical storage technology offering storage capacity of up to 50 GB, full 1080p video resolution (HDTV required), and as many as 7.1 channels of native, uncompressed surround sound.Bluetooth® wireless technology — A wireless technology standard for short-range (9 m [29 feet]) networking devices that allows for enabled devices to automatically recognize each other.boot sequence — Specifies the order of the devices from which the computer attempts to boot.bootable media — A CD or DVD that you can use to start your computer. In case your hard drive is damaged or your computer has a virus, ensure that you always have a bootable CD or DVD available. Your Drivers and Utilities media is an example of bootable media.bps — bits per second — The standard unit for measuring data transmission speed.BTU — British thermal unit — A measurement of heat output.bus — A communication pathway between the components in your computer.bus speed — The speed, given in MHz, that indicates how fast a bus can transfer information.byte — The basic data unit used by your computer. A byte is usually equal to 8 bits.CC — Celsius — A temperature measurement scale where 0° is the freezing point and 100° is the boiling point of water.cache — A special high-speed storage mechanism which can be either a reserved section of main memory or an independent high-speed storage device. The cache enhances the efficiency of many processor operations.L1 cache — Primary cache stored inside the processor.](https://usermanual.wiki/Broadcom/BRCM1028.Parker-User-Manual/User-Guide-846468-Page-212.png)