Cambium Networks XS35004 XS-3500 Wireless LAN Array User Manual xirrus
Xirrus, Inc. XS-3500 Wireless LAN Array xirrus
Contents
- 1. Users Manual Part 1
- 2. Users Manual Part 2
- 3. Users Manual Part 3
- 4. Users Manual Part 4
- 5. Users Manual Part 5
Users Manual Part 4

![Wireless LAN Array150 The Command Line InterfaceadministratorDESCRIPTIONAdds and edits administrator accounts and privileges—available from the config command mode.SYNTAXadministrator [add <uid> password [enc] <passwd> {read_only | read_write} | del <uid> ]PARAMETERSadd <uid> Add user IDread_only Read only permissionsread_write Read/write permissionspassword Define user passwordenc Enter password in encrypted form (must be in quotes)DEFAULTSNone.USAGE GUIDELINESThe show command within the config-admin mode will display all administrator accounts and privileges.](https://usermanual.wiki/Cambium-Networks/XS35004.Users-Manual-Part-4/User-Guide-609617-Page-32.png)
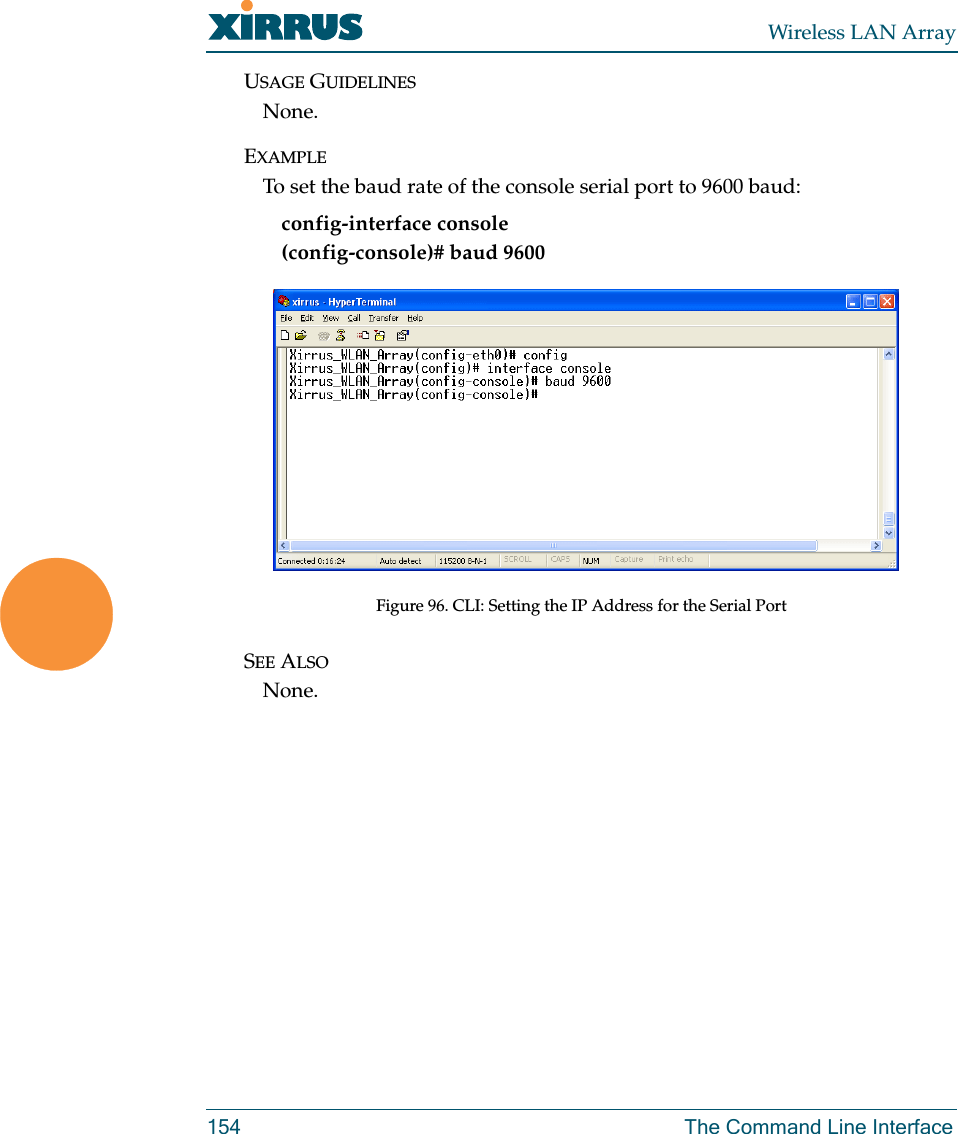
![Wireless LAN ArrayThe Command Line Interface 155contact-infoDESCRIPTIONSets the contact information for this Array—available from the config command mode.SYNTAXcontact-info {name [<conname>] | email [<emailcontact>] | phone [<contele>]}@PARAMETERScontact-info Contact information for assistance on this Arrayname Contact name (must be within quotes)email Contact email address (must be within quotes)phone Contact telephone number (must be within quotes)DEFAULTSNone.USAGE GUIDELINESNone.EXAMPLETo add new contact information (name and telephone number):config-contact-info (config-contact-info)# name Bill phone 8181239876Figure 97. CLI: Adding a New Administrator Account](https://usermanual.wiki/Cambium-Networks/XS35004.Users-Manual-Part-4/User-Guide-609617-Page-37.png)
![Wireless LAN ArrayThe Command Line Interface 161dnsDESCRIPTIONUsed to configure the DNS settings—available from the Config-> dns command mode.SYNTAXdns { domain [<dom>] | server1 [<srv1>] | server2 [<srv2>] | server3 [<srv3>]}PARAMETERSdomain Enter your domain name (Example: www.mydomain.com)server1 Enter the first DNS server IP addressserver2 Enter the second DNS server IP addressserver3 Enter the third DNS server IP addressDEFAULTSNone.USAGE GUIDELINESServer1, Server2, and Server3 IP addresses must be entered using the standard A.B.C.D notation.EXAMPLETo configure the first DNS server, type:Xirrus_WLAN_Array(config)# dnsyXirrus_WLAN_Array(config-dns)# server1 10.10.10.1SEE ALSONone.](https://usermanual.wiki/Cambium-Networks/XS35004.Users-Manual-Part-4/User-Guide-609617-Page-43.png)
![Wireless LAN ArrayThe Command Line Interface 163eth0DESCRIPTIONConfigures the 10/100 Ethernet Interface Settings—available from the config-interface command mode.SYNTAXeth0 {[no] autoneg [on | off] | defaults | duplex {half | full} | speed <spdsel> | mtu <mtusz> | down | up | ip {dhcp | {addr <statip> | mask <ipmask> | gateway <gway>}@}}PARAMETERShalf Half duplexfull Full duplexmtu Set the maximum MTU size allowed (64-17940)defaults Reset the interface to default valuesduplex Half or full duplex modespeed 10M or 100M operationsdown Shut this interface downup Bring this interface upip Set IP address (A.B.C.D)dhcp IP address, mask and gateway are obtained through DHCPaddr <IP Address> Static IP address (A.B.C.D)gateway <IP Address> Gateway IP address (A.B.C.D)mask <mask> IP mask (A.B.C.D)autoneg Autonegotiation on or offon Enable autonegotiationoff Disable autonegotiationDEFAULTSNone.USAGE GUIDELINESNone.](https://usermanual.wiki/Cambium-Networks/XS35004.Users-Manual-Part-4/User-Guide-609617-Page-45.png)
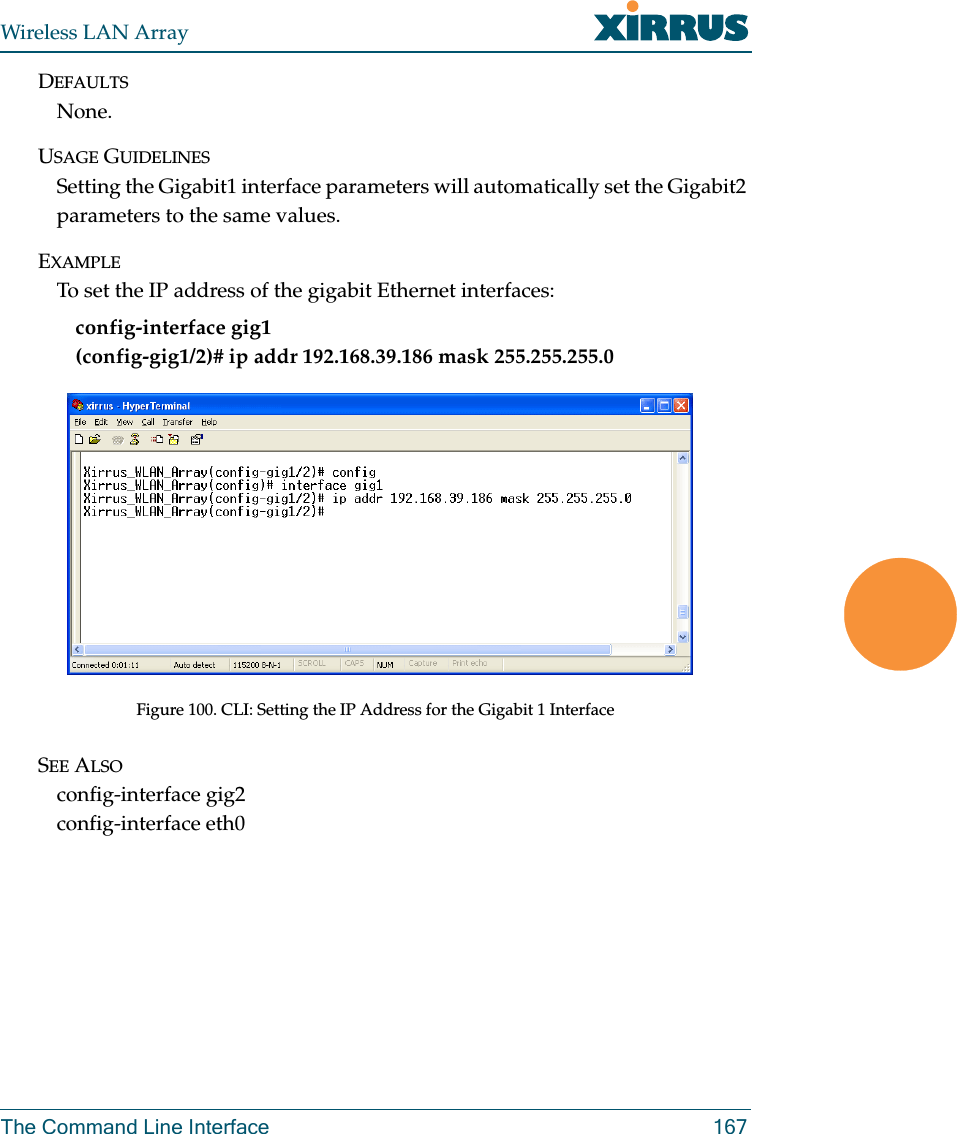
![Wireless LAN Array166 The Command Line Interfacegig1DESCRIPTIONConfigures the Gigabit 1 Ethernet Interface Settings—available from the config-interface command mode.SYNTAXgig1 {[no] autoneg [on | off]; | [no] management [on | off] | down | up | defaults | duplex {half | full} | speed <spdsel> | mtu <mtusz> | ip {dhcp | {addr <statip> | mask <ipmask> | gateway <gway>}@}}PARAMETERShalf Half duplexfull Full duplexmtu Set the maximum MTU size alloweddefaults Reset the interface to default valuesduplex Half or full duplex modespeed <speed> 100M or 1000M operationdown Shut this interface downup Bring this interface upip Set the IP addressdhcp IP address, mask and gateway are obtained through DHCPaddr <IP Address> Static IP address (A.B.C.D)gateway <IP Address> Gateway IP address (A.B.C.D)mask <mask> IP mask (A.B.C.D)management Enable or disable management via interfaceno Managed elsewhereon Enable managementoff Disable management autoneg Autonegotiation on or offno Disable selected featureon Enable autonegotiationoff Disable autonegotiation](https://usermanual.wiki/Cambium-Networks/XS35004.Users-Manual-Part-4/User-Guide-609617-Page-48.png)
![Wireless LAN Array168 The Command Line Interfacegig2DESCRIPTIONConfigures the Gigabit 2 Ethernet Interface Settings—available from the config-interface command mode.SYNTAXgig2 {[no] autoneg [on | off]; | [no] management [on | off] | down | up |defaults | duplex {half | full} | speed <spdsel> | mtu <mtusz> |ip {dhcp | {addr <statip> | mask <ipmask> | gateway <gway>}@}}PARAMETERShalf Half duplexfull Full duplexmtu Set the maximum MTU size alloweddefaults Reset the interface to the default valuesduplex Half or full duplex modespeed <speed> 100M or 1000M operationdown Shut this interface downup Bring this interface upip Set the IP addressdhcp IP address, mask and gateway are obtained through DHCPaddr <IP Address> Static IP address (A.B.C.D)gateway <IP Address> Gateway IP address (A.B.C.D)mask <mask> IP mask (A.B.C.D)management Enable or disable management via interfaceno Managed elsewhereon Enable managementoff Disable management autoneg Autonegotiation on or offno Disable selected featureon Enable autonegotiationoff Disable autonegotiationDEFAULTSNone.](https://usermanual.wiki/Cambium-Networks/XS35004.Users-Manual-Part-4/User-Guide-609617-Page-50.png)