CeoTronics CTMUPTTBT CT-Multi-PTT User Manual Handmikrofon SM 3 mit integriertem Lautsprecher
CeoTronics AG CT-Multi-PTT Handmikrofon SM 3 mit integriertem Lautsprecher
UserManual.wiki
>
CeoTronics
>
CTMUPTTBT User Manual
user manual
Navigation menu
Upload a User Manual
Namespaces
Wiki Guide
HTML
PDF
Info
Views
User Manual
Discussion / Help
Navigation
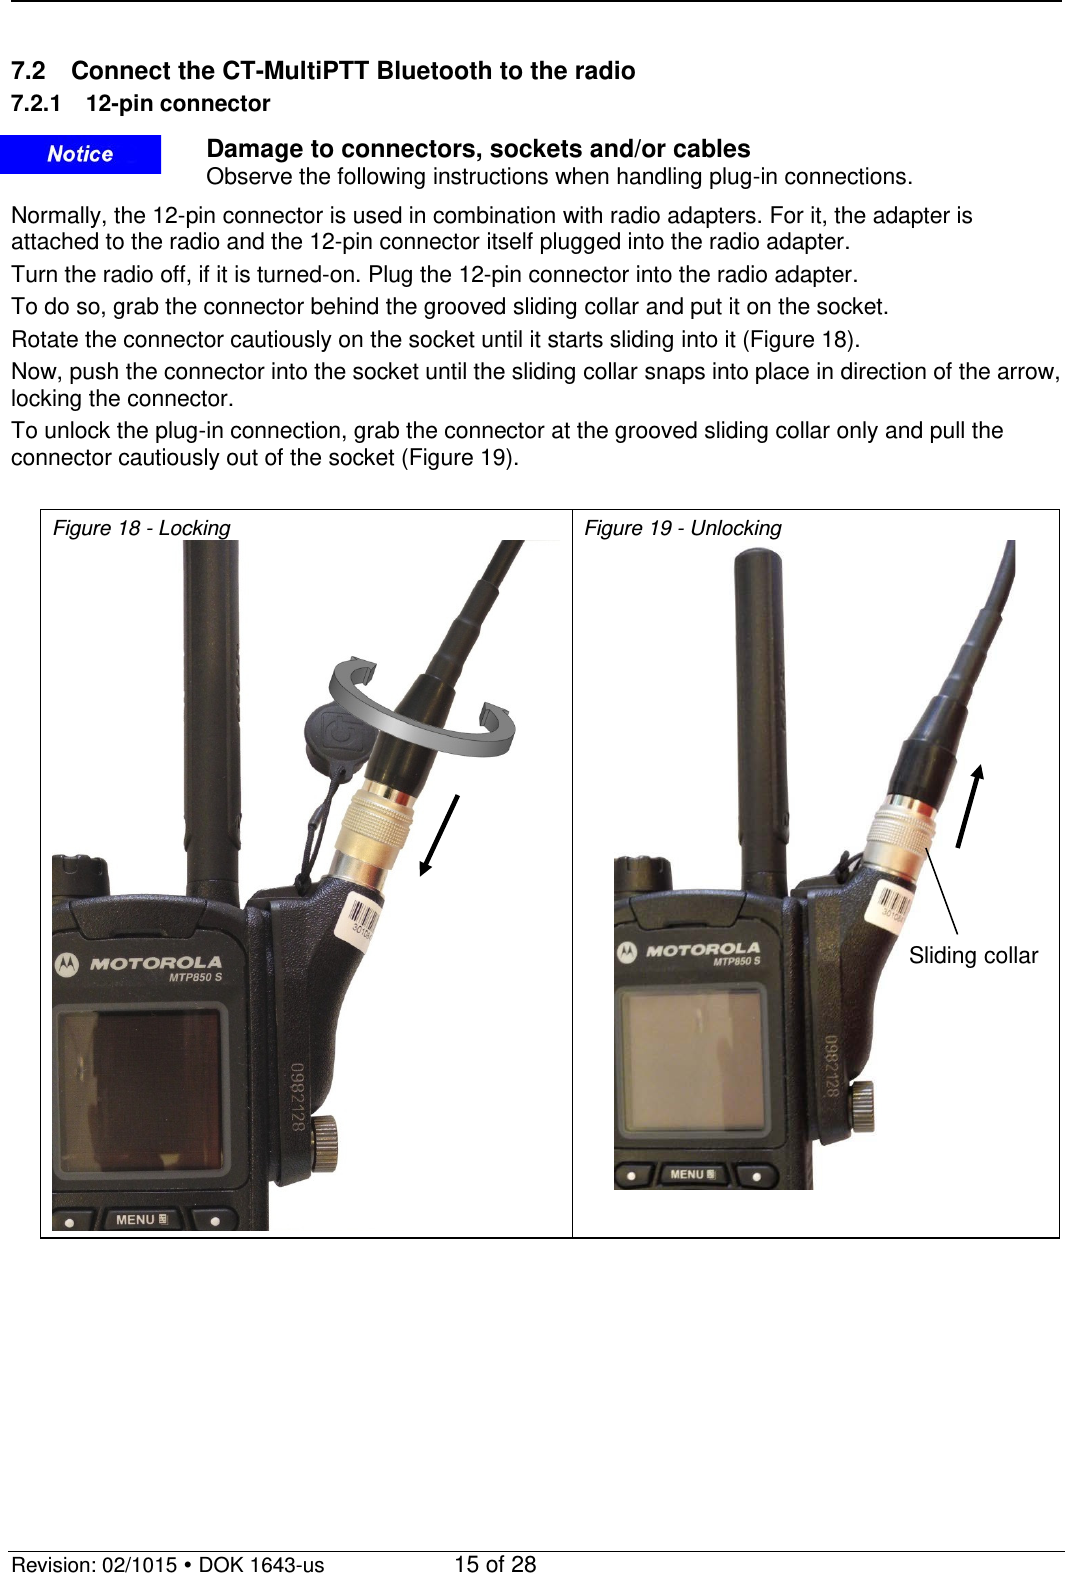
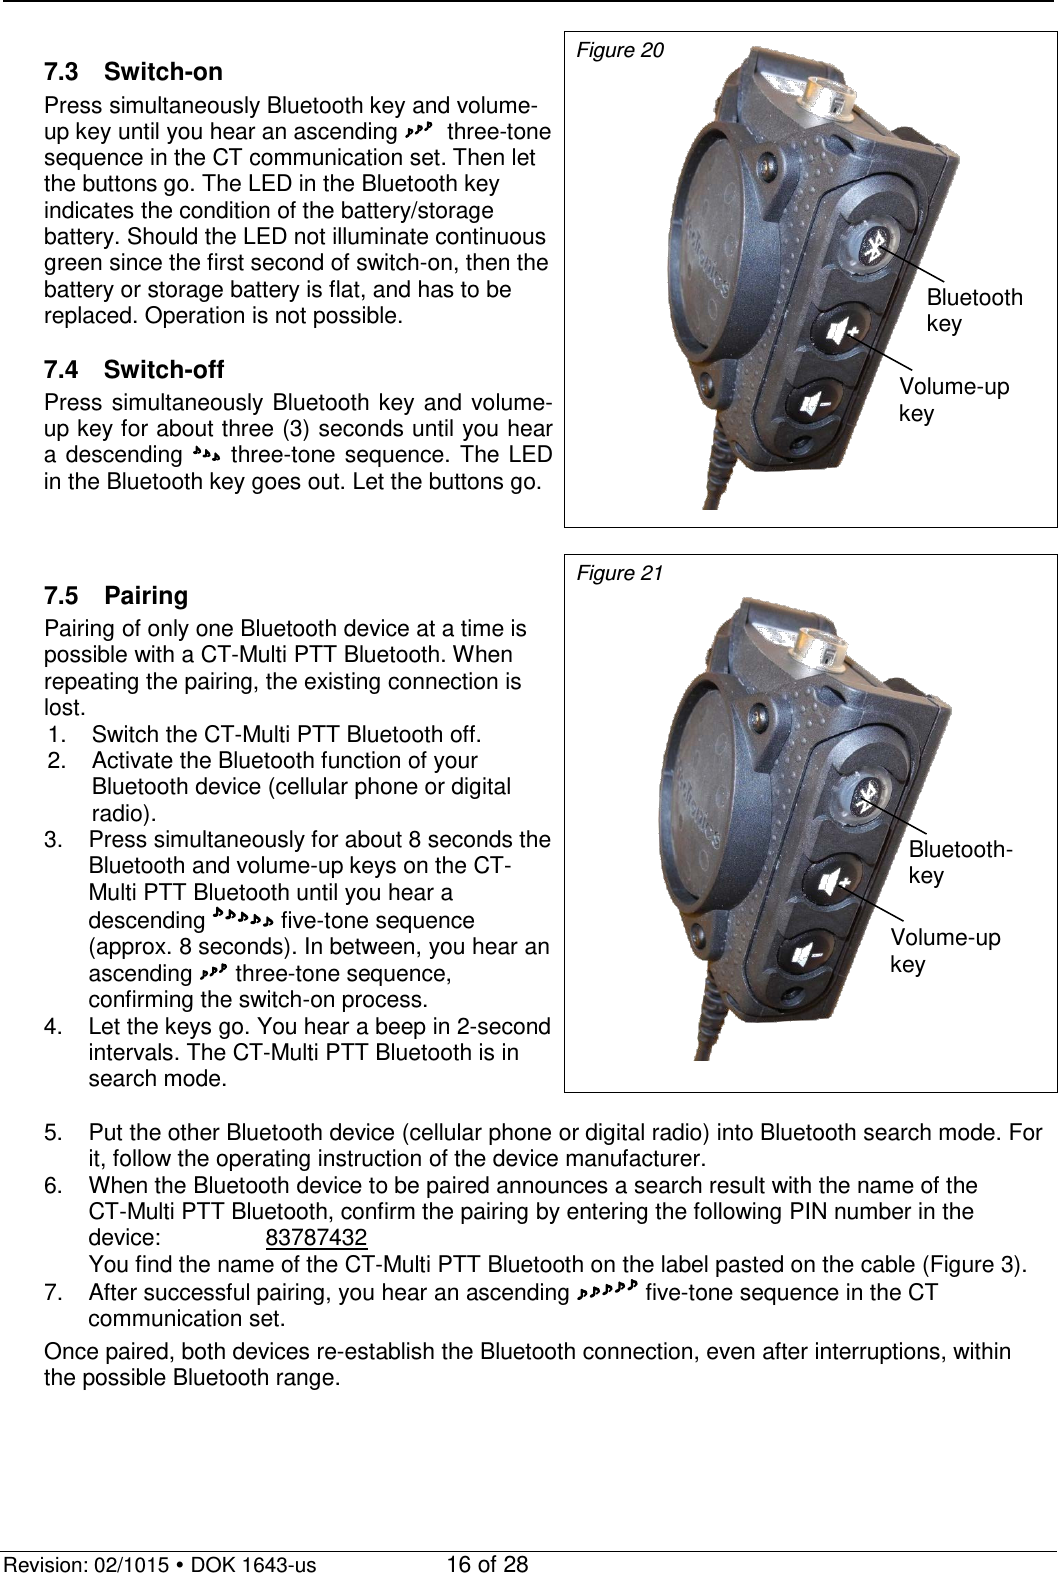
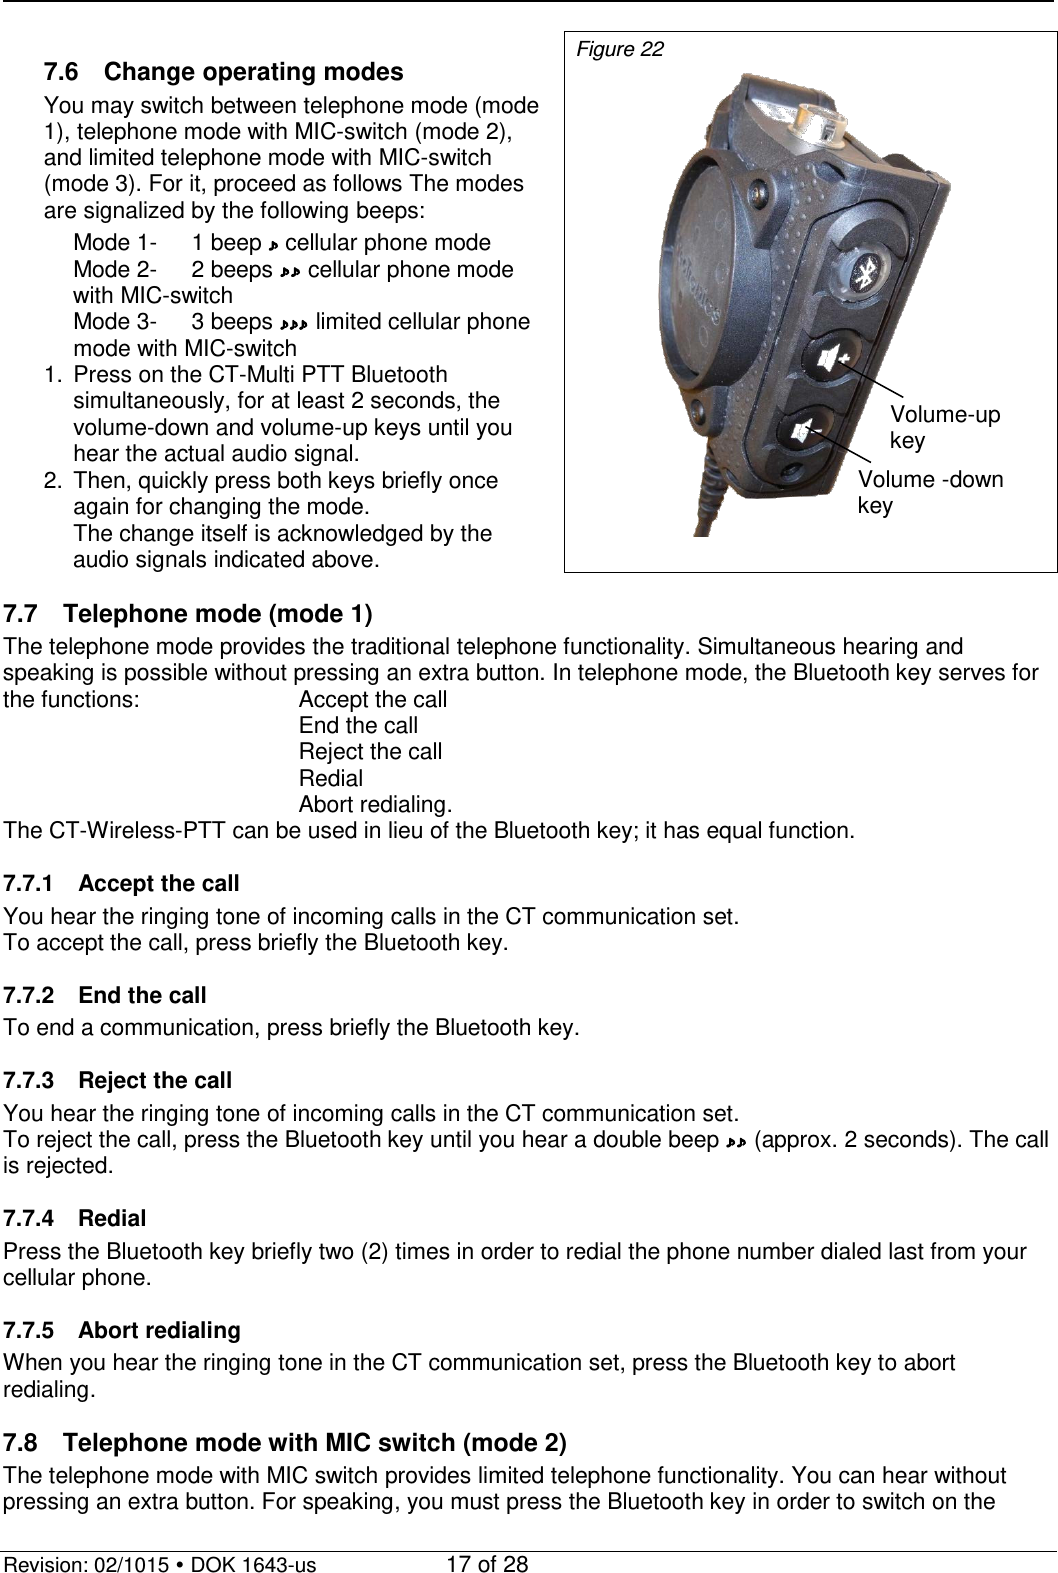

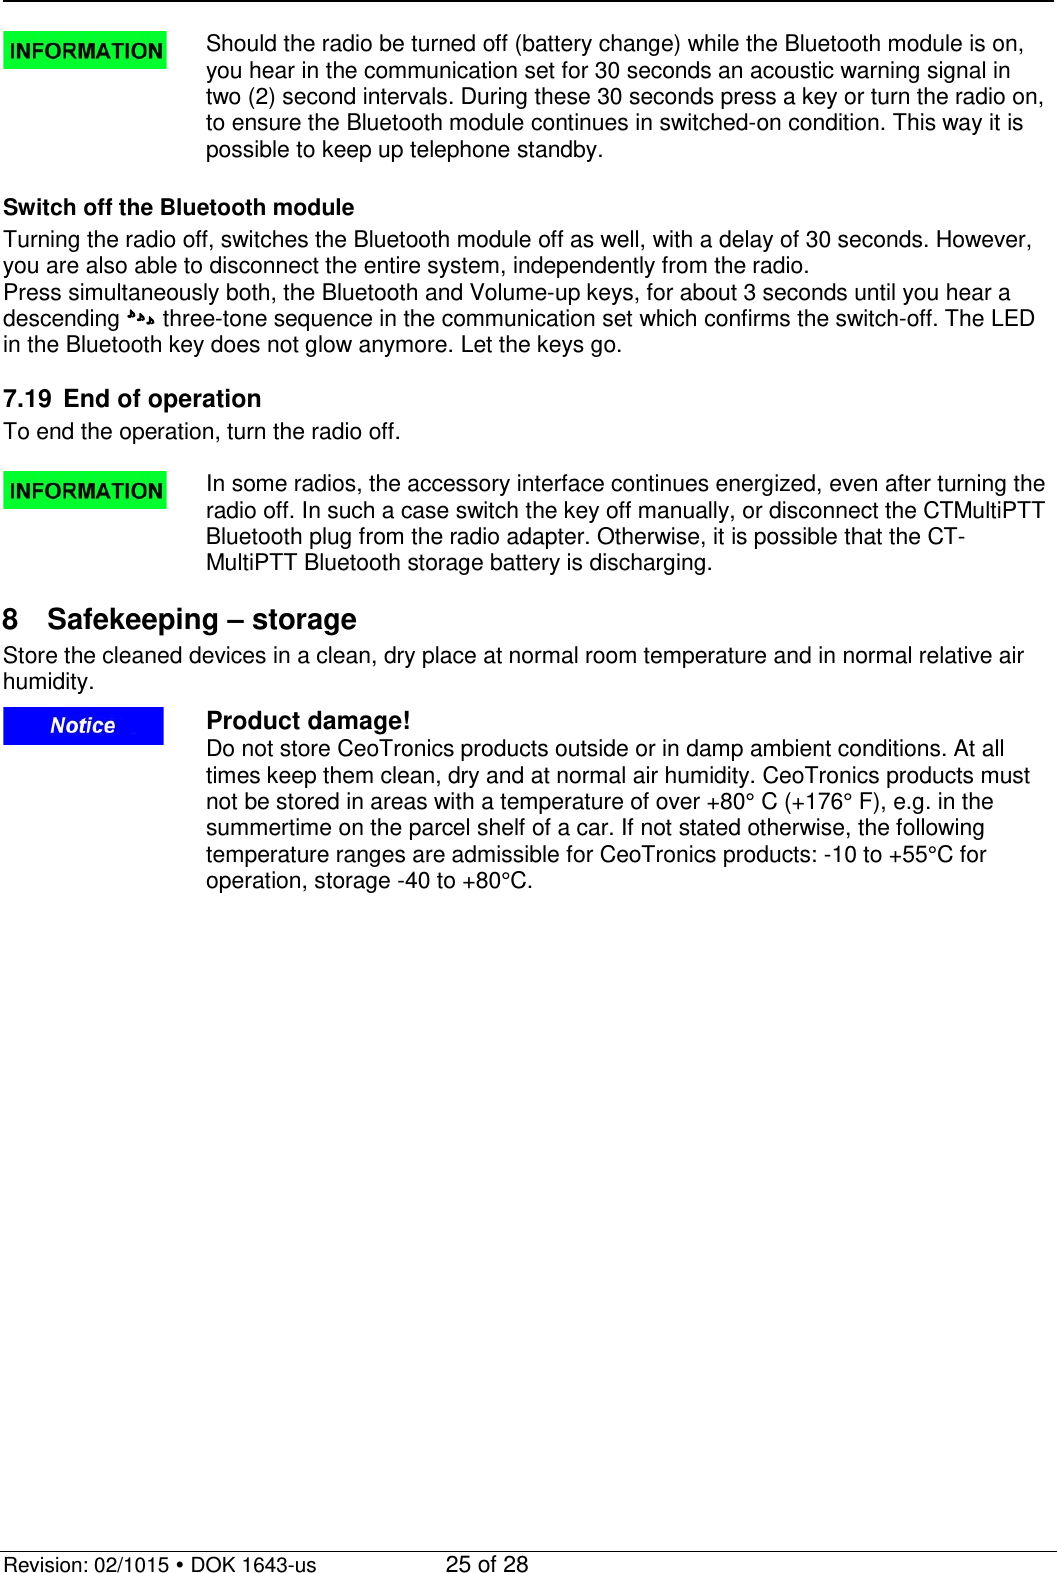
![Revision: 02/1015 DOK 1643-us 26 of 28 8.1 Cleaning Product damage! Pay attention that no humidity could penetrate into the device during cleaning. Do not use solvents (e.g. benzene, alcohol, etc.) for cleaning! Safe operation requires clean devices. Ensure that the devices (microphones, connectors etc.) are clean and in good condition at all times. Remove loose dust with a soft brush. Clean the outside of components, if necessary, with an appropriate clean cloth, only lightly moistened with clear water, and then rub it down thoroughly. If heavily soiled, a few drops of rinsing agent may be added. Clean the connector pins with a commercial cleaning agent. 9 Disposal Should equipment, supplied by CeoTronics, be definitely put out of service you may return it to CeoTronics. We ensure recycling and/or disposal of outdated equipment in compliance with the applicable environment protection law. 10 Technical data Electrical values min typical max unit Supply voltage 1.1 1.25 1.6 V Accessory speaker 16 - - Ohm Induction coil Type „B“ Mechanical values Specifications without plugs and cable sleeves LxWxH [mm] Weight [g] Housing 54 x 88 x 84 Housing with cable 54 x 88 x 700 270g](https://usermanual.wiki/CeoTronics/CTMUPTTBT/User-Guide-2806746-Page-26.png)