Cisco Systems 102040 User Manual Manual
Cisco Systems Inc Manual
UserManual.wiki
>
Cisco Systems
>
102040 User Manual
>
Manual
Contents
1.
Manual
2.
Corrected Manual Page showing MPE Separation Distance
3.
Quick Ref Guide Additions
4.
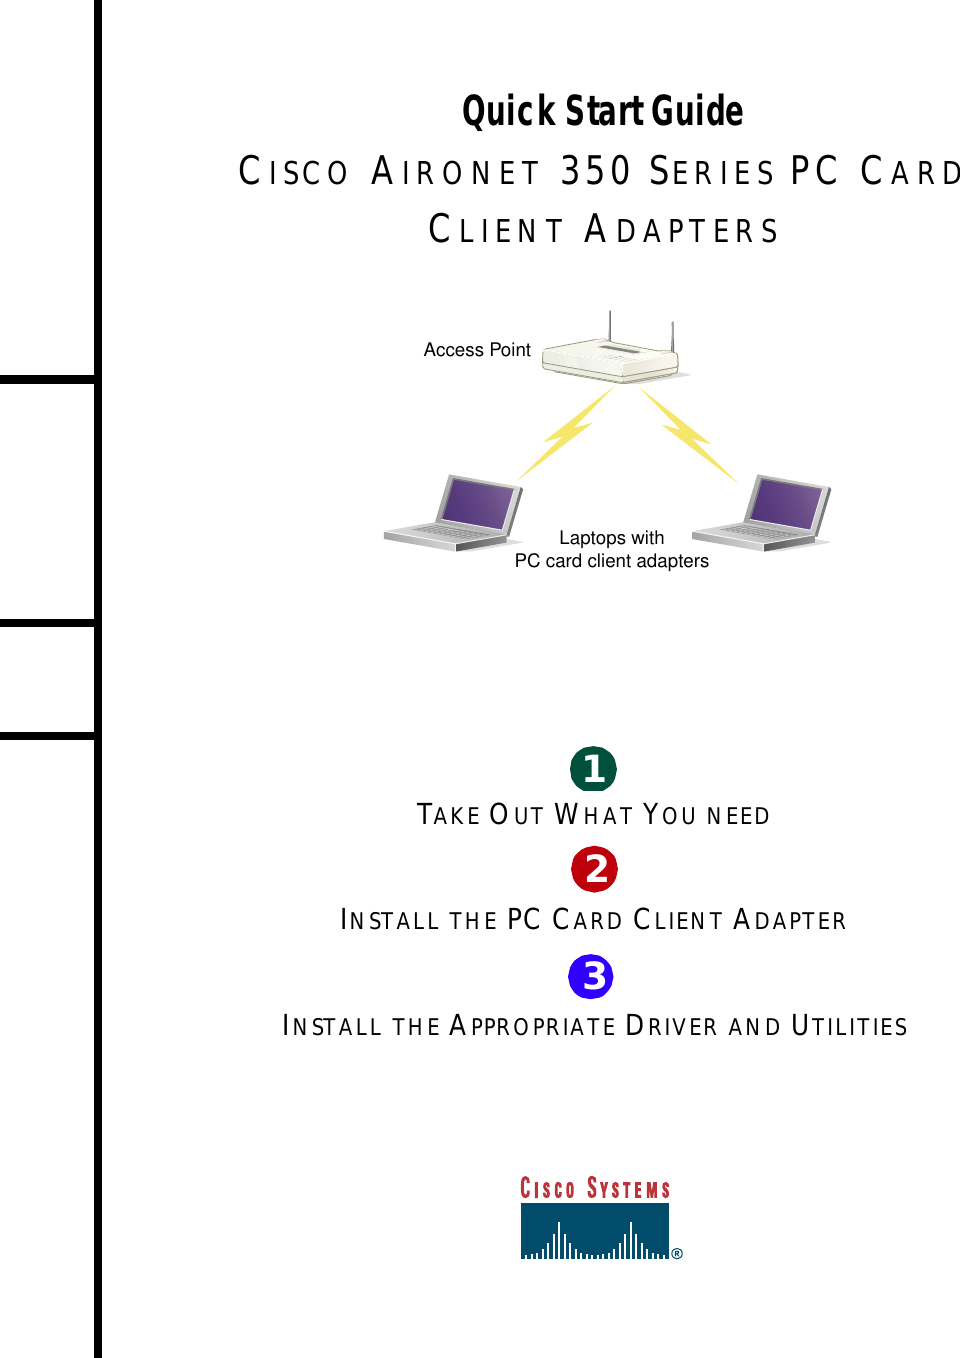
Quick Ref Guide
5.
Teampad 500 System Users Guide
6.
Guide Corrections
7.
Revised Manual
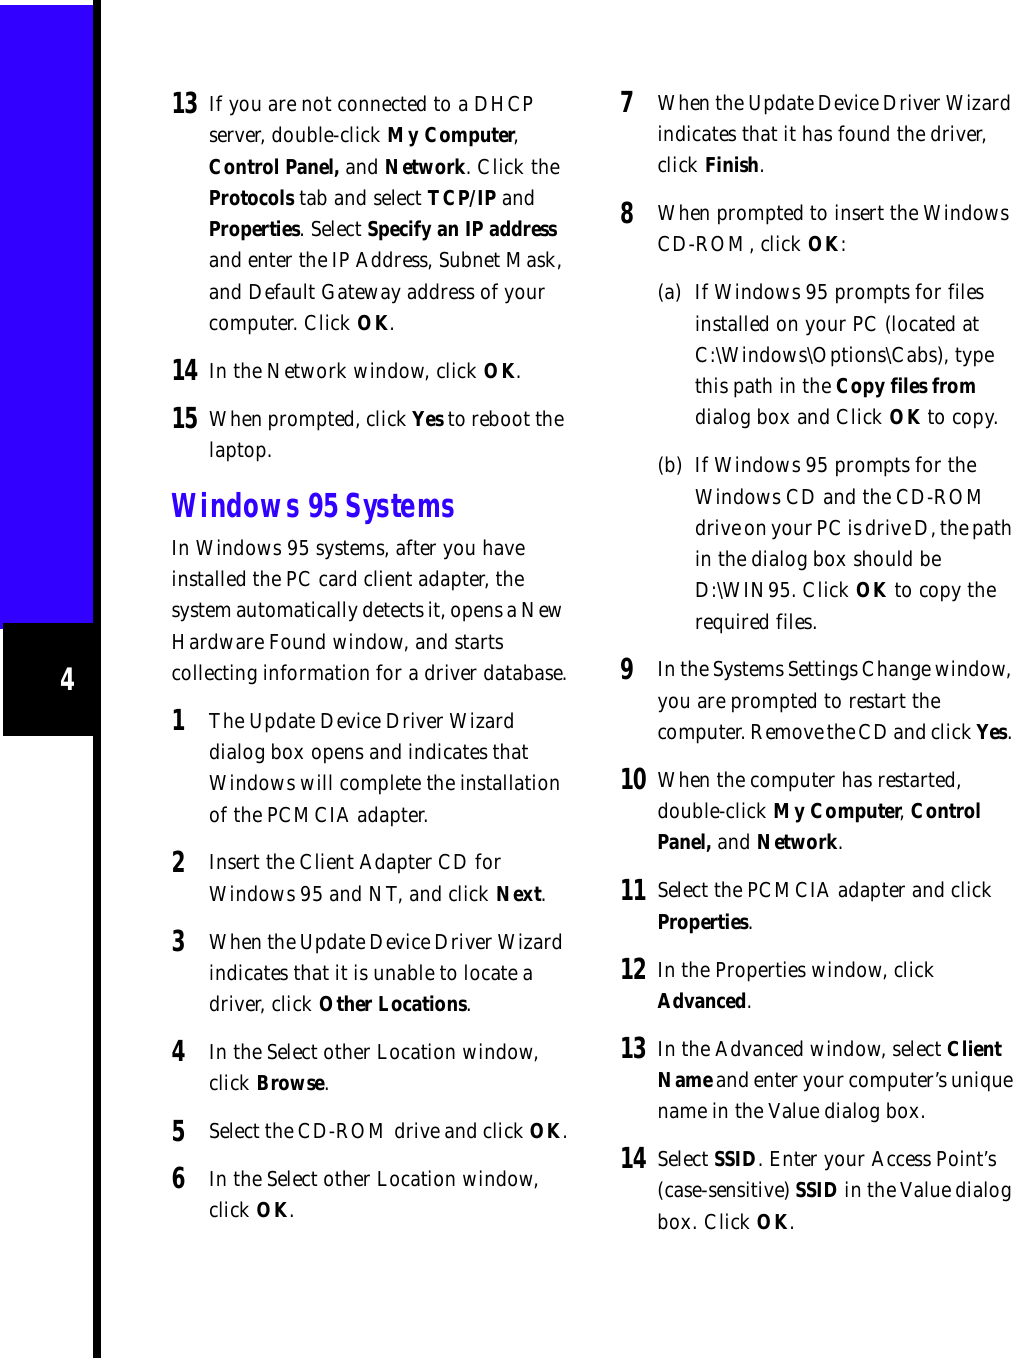
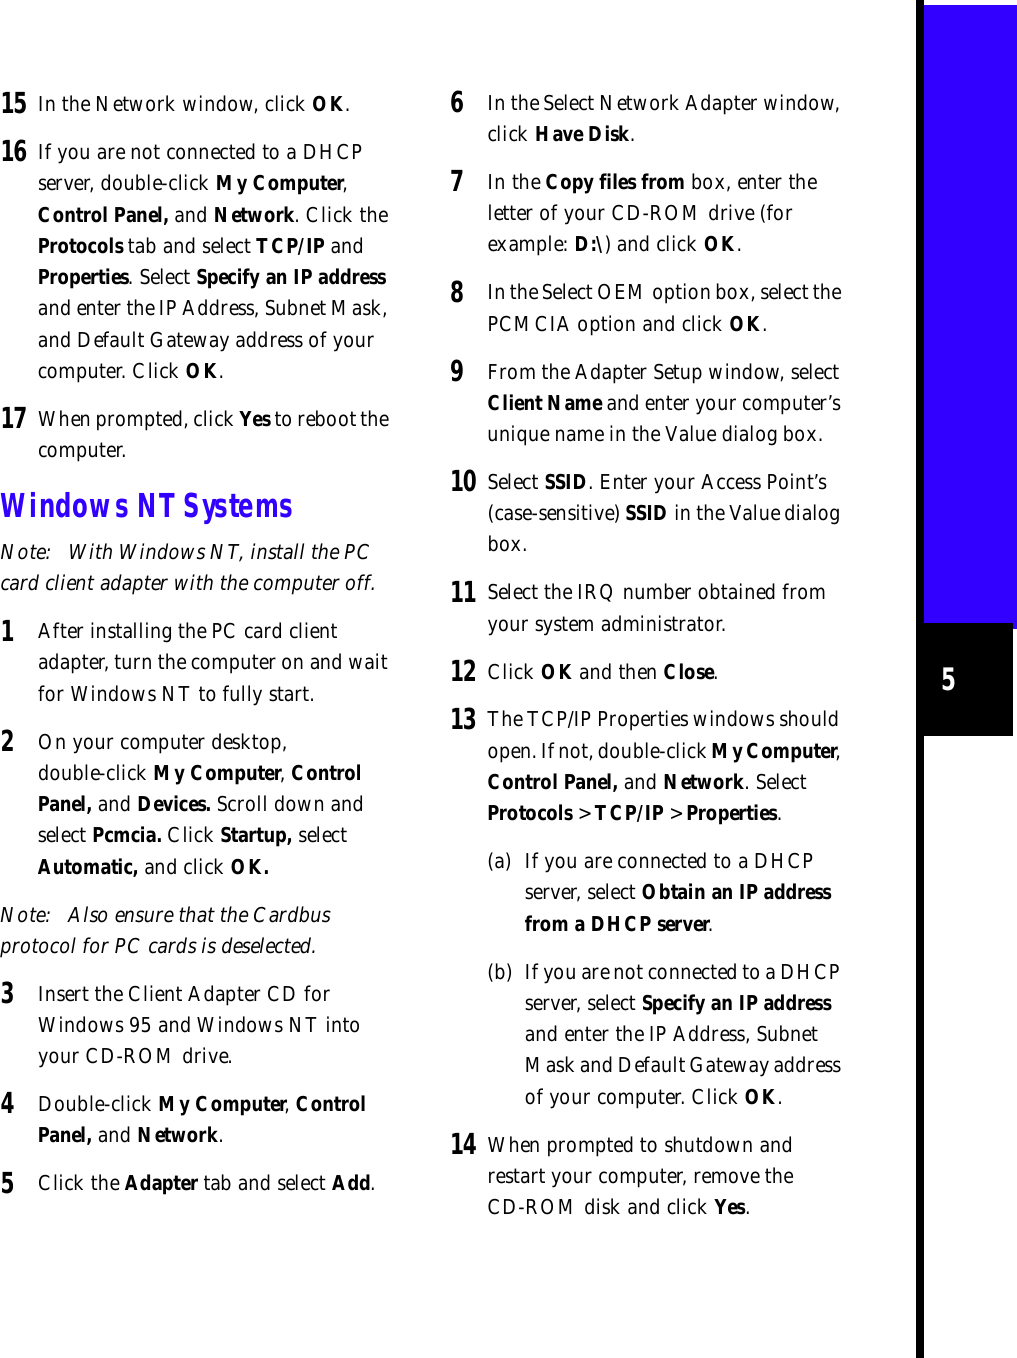
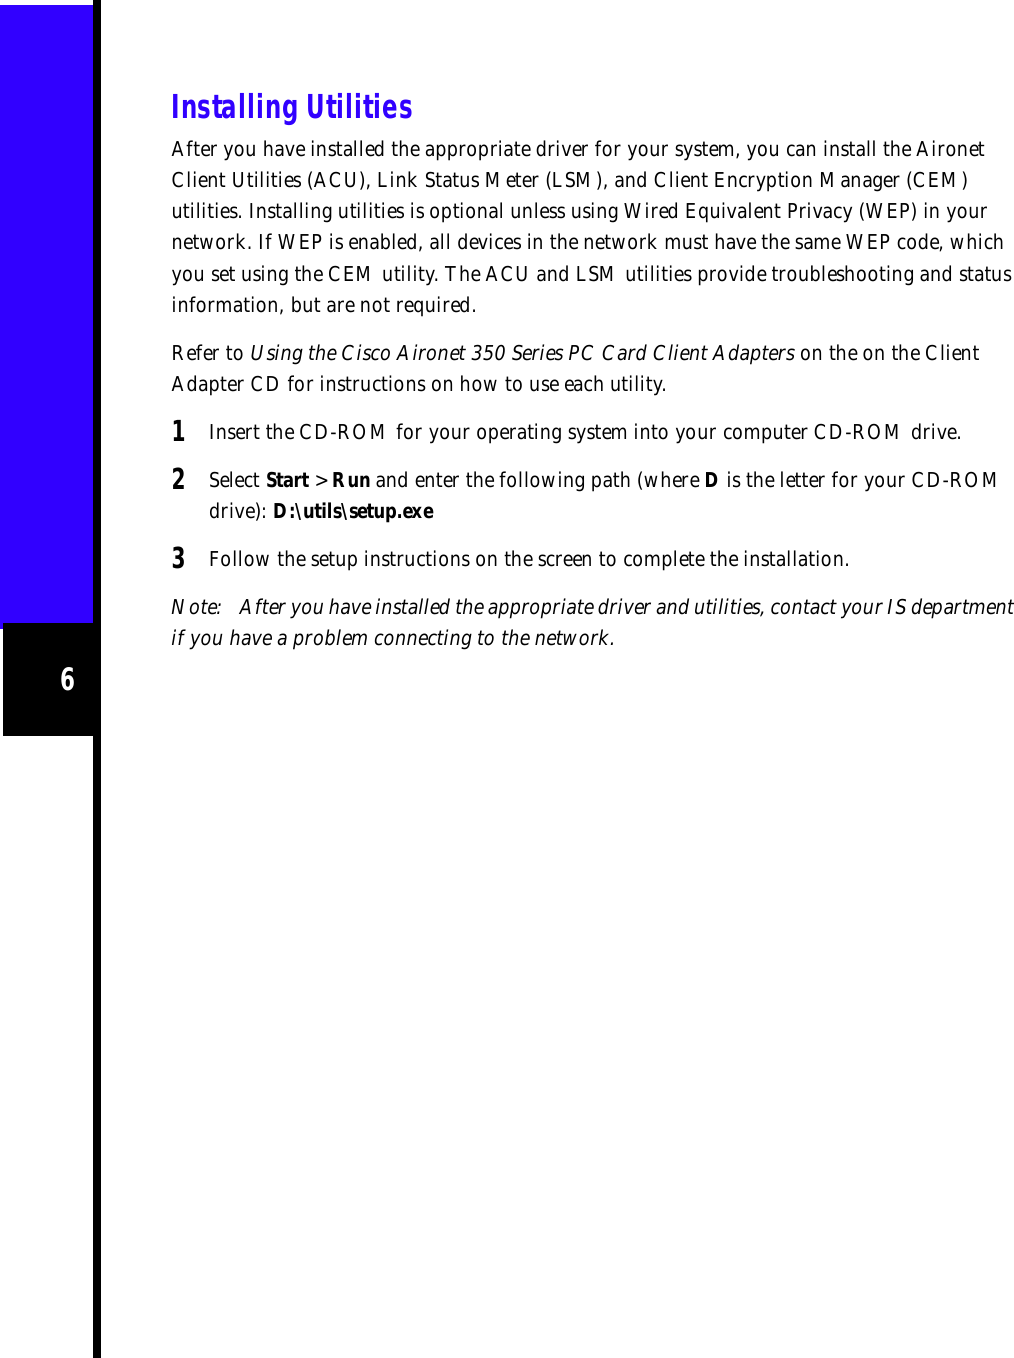
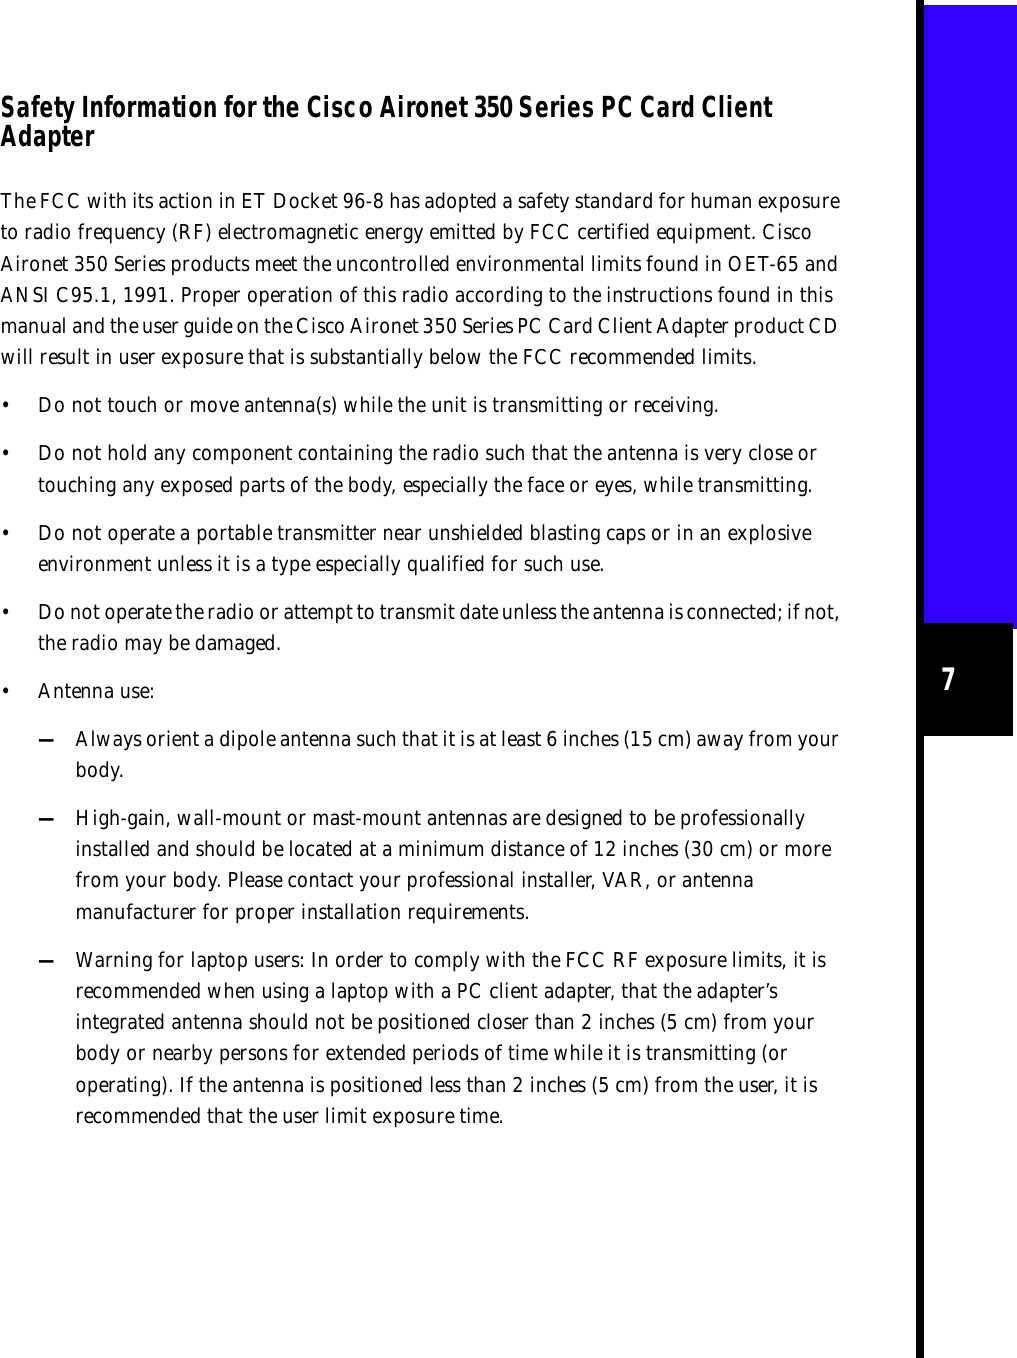
Manual
Navigation menu
Upload a User Manual
Namespaces
Wiki Guide
HTML
PDF
Info
Views
User Manual
Discussion / Help
Navigation