Cobra Electronics MRHH425 Handheld Marine Transceiver with GMRS User Manual
Cobra Electronics Corporation Handheld Marine Transceiver with GMRS
UserManual.wiki
>
Cobra Electronics
>
MRHH425 User Manual
>
users manual 3
Contents
1.
users manual 1
2.
users manual 2
3.
users manual 3
users manual 3
Navigation menu
Upload a User Manual
Namespaces
Wiki Guide
HTML
PDF
Info
Views
User Manual
Discussion / Help
Navigation


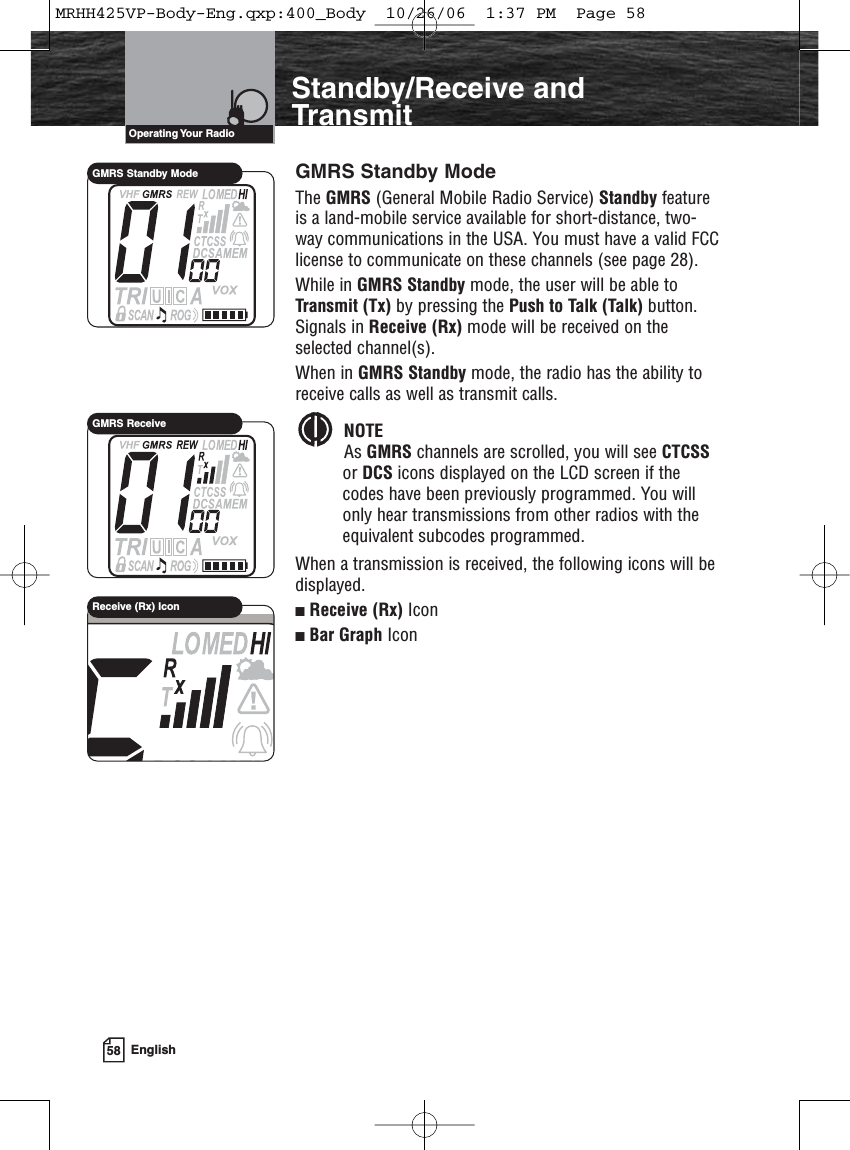
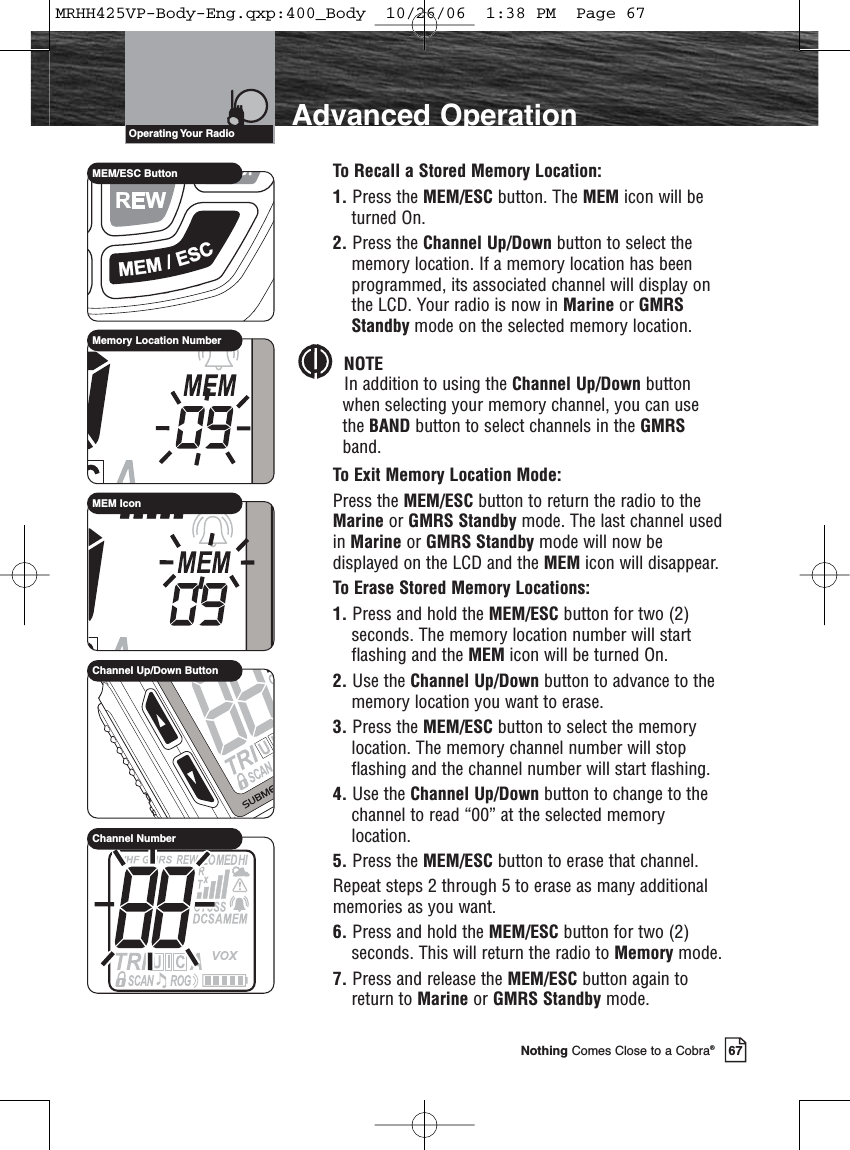
![Introduction59Nothing Comes Close to a Cobra®Standby/Receive andTransmitTransmit (Tx) and Receive (Rx) ModesTransmit (Tx) and Receive (Rx) modes gives you the abilityto interact with other GMRS radios. When you use thiscapability, be sure to follow the procedures and to observethe courtesies that govern its use so everyone benefits. (Seepages 18 through 27) to help you select the properchannels.When a talk transmission occurs, the following icons will bedisplayed.Transmit (Tx) Icon Bar Graph IconTo Transmit a Message:1. Check to see that your radio is set to a properchannel for the type of message you plan to send.2. Toggle to the Low Power setting.3. With the microphone about 2 in. [5 cm] from yourmouth, press and hold the Talk button and speakinto the microphone. The Tx icon will appear on theLCD.4. Release the Talk button when you are finishedspeaking. Your radio can only operate in eitherTransmit (Tx) or Receive (Rx) mode at any giventime. You will not hear the response to yourmessage unless the Talk button is released. If theBattery Power icon begins blinking on the LCDwhen the Talk button is pressed, the radio will NOTtransmit.NOTEIf the Talk button is held down for five (5) minutes,the radio will automatically sound a series of beepsand cease transmitting to prevent unwanted signalgeneration and battery drain. As soon as the Talkbutton is released, it can be pressed again to resumetransmission.Operating Your RadioLow Power ModeCheck Channel NumberTalk ButtonGMRS TransmitTransmit (Tx) IconMRHH425VP-Body-Eng.qxp:400_Body 10/26/06 1:37 PM Page 59](https://usermanual.wiki/Cobra-Electronics/MRHH425.users-manual-3/User-Guide-763318-Page-9.png)