Compal Electronics MPX001 Portable Cellular / PCS GSM Transceiver User Manual Exhibit 8 Users Manual
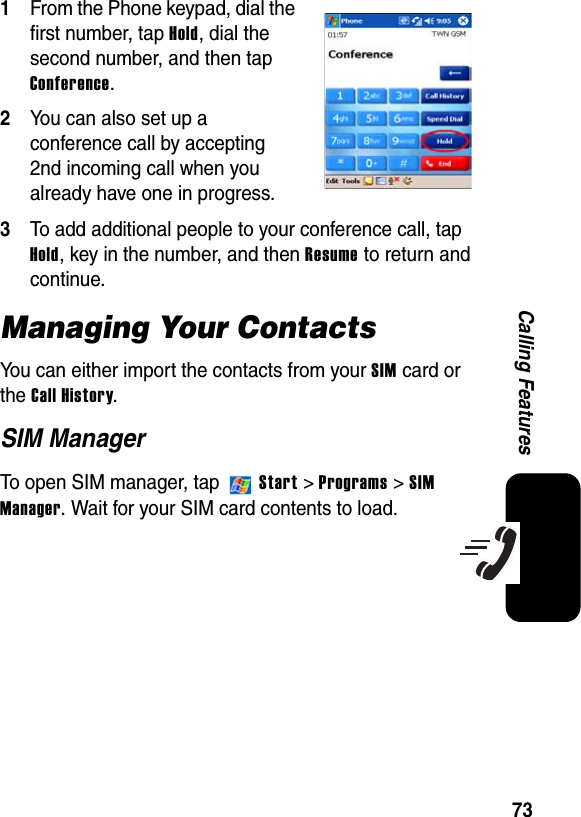
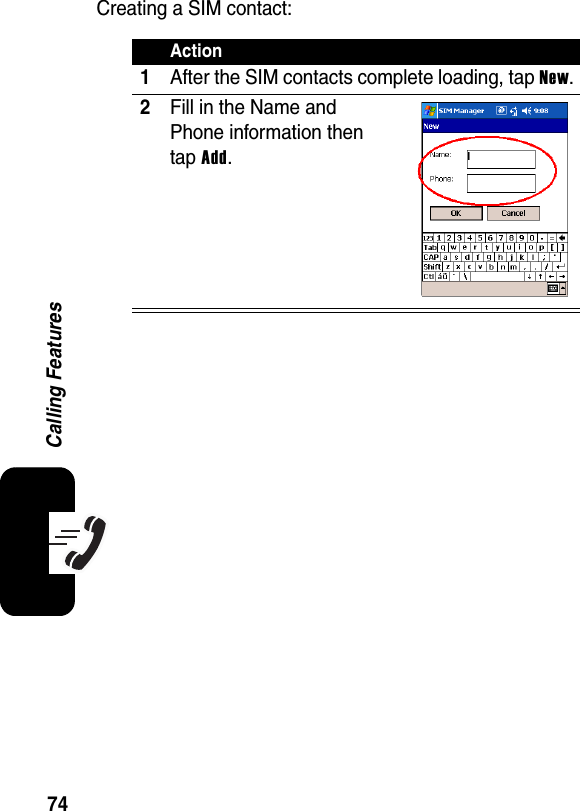
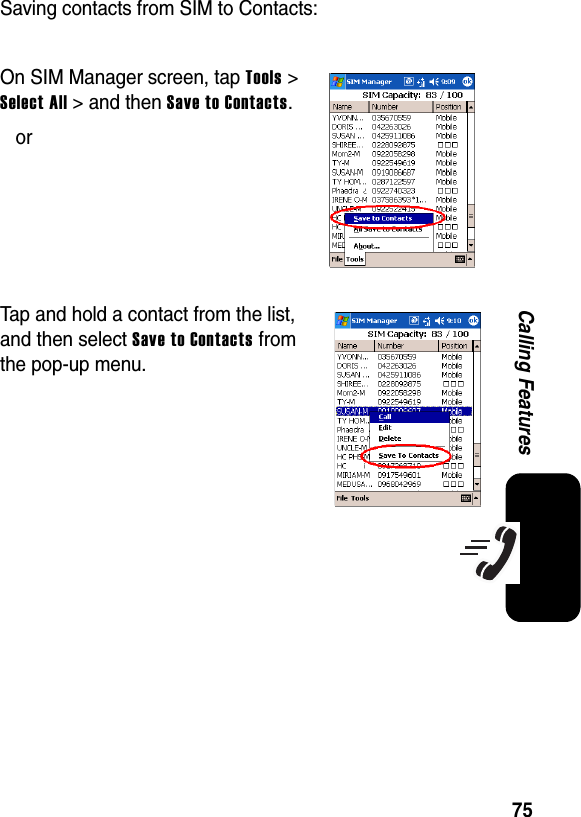
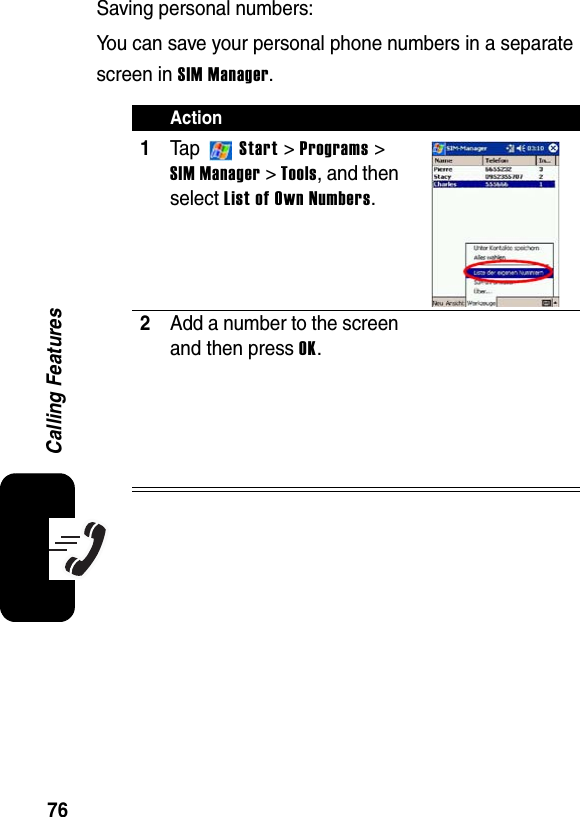
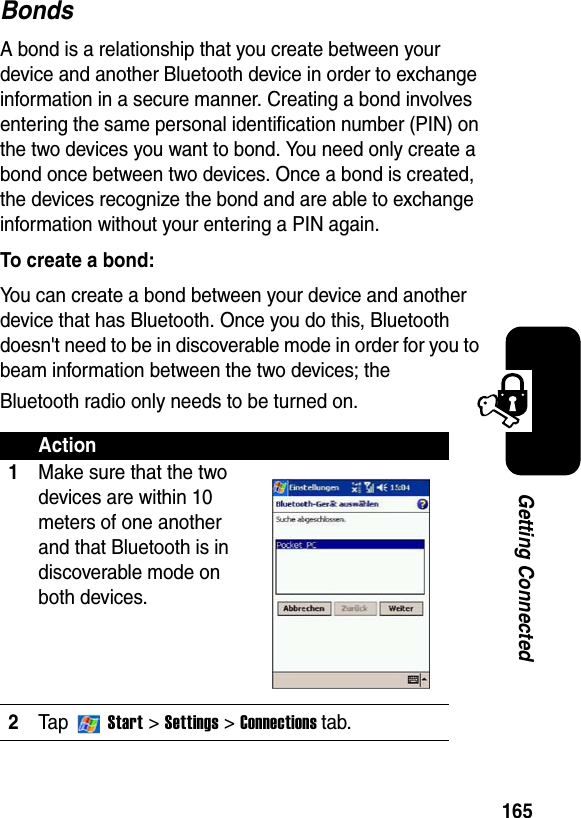
Compal Electronics Inc Portable Cellular / PCS GSM Transceiver Exhibit 8 Users Manual
UserManual.wiki
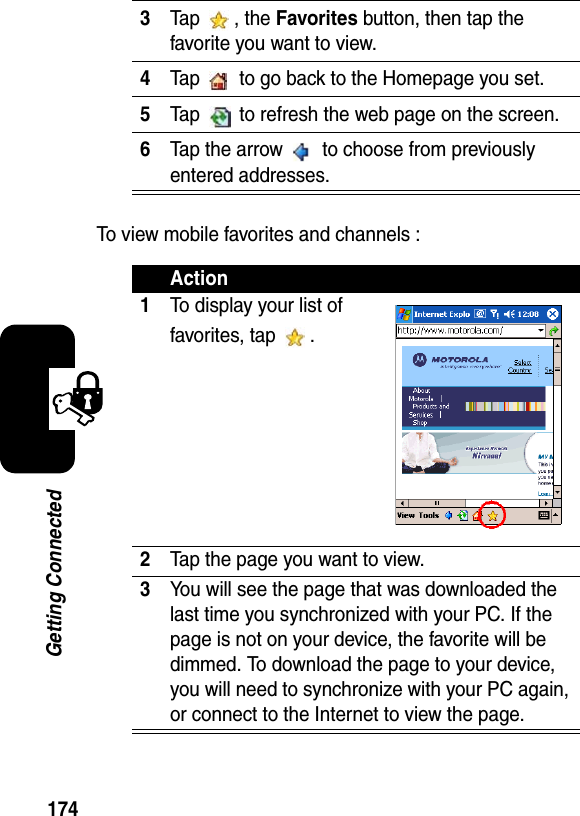
>
Compal Electronics
>
MPX001 User Manual
>
Exhibit 8 Users Manual
Contents
1.
Exhibit 8 Users Manual
2.
Exhibit 8A updated users manual RESPONSE TO CRN27896
3.
Exhibit 8A Updated Users Manual RESPONSE TO CRN27893
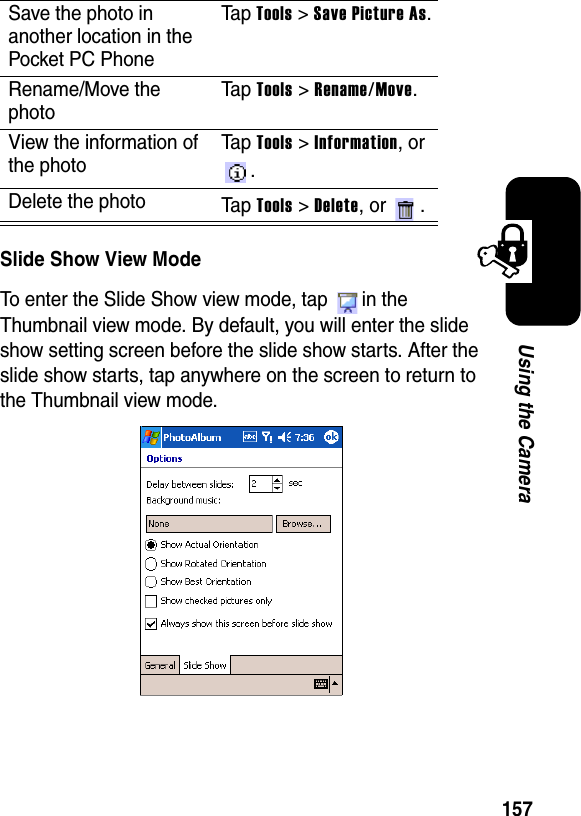
Exhibit 8 Users Manual
Navigation menu
Upload a User Manual
Namespaces
Wiki Guide
HTML
PDF
Info
Views
User Manual
Discussion / Help
Navigation


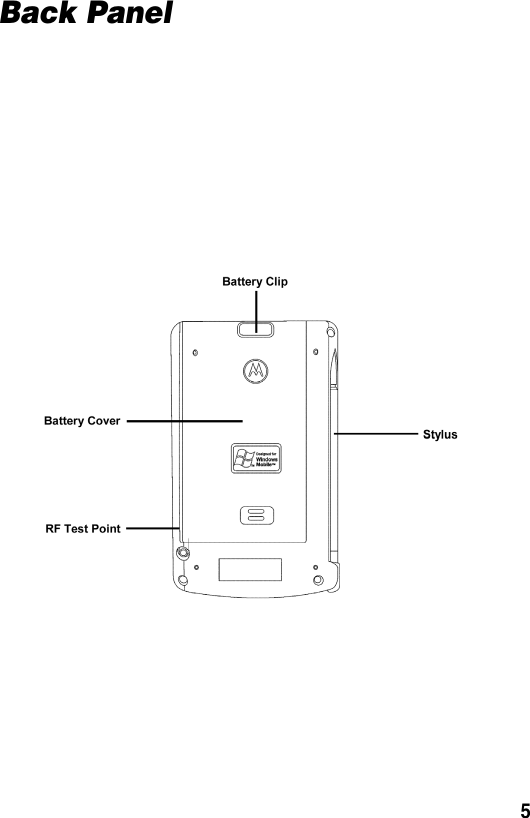
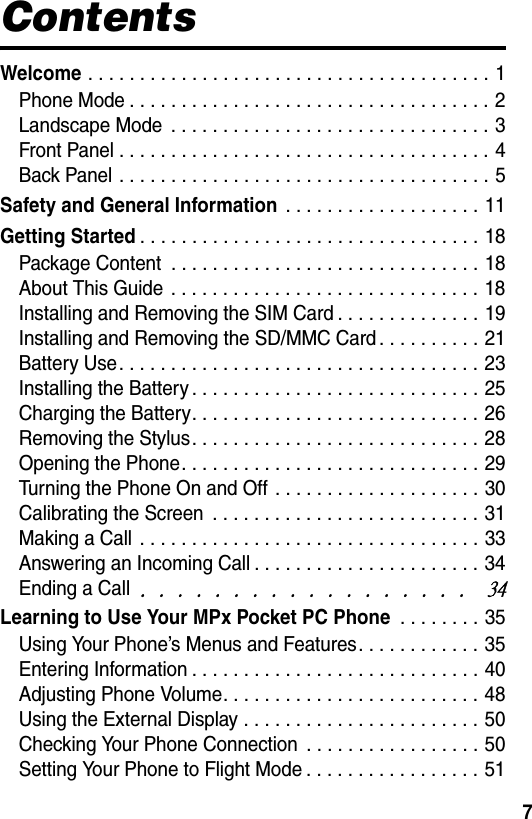


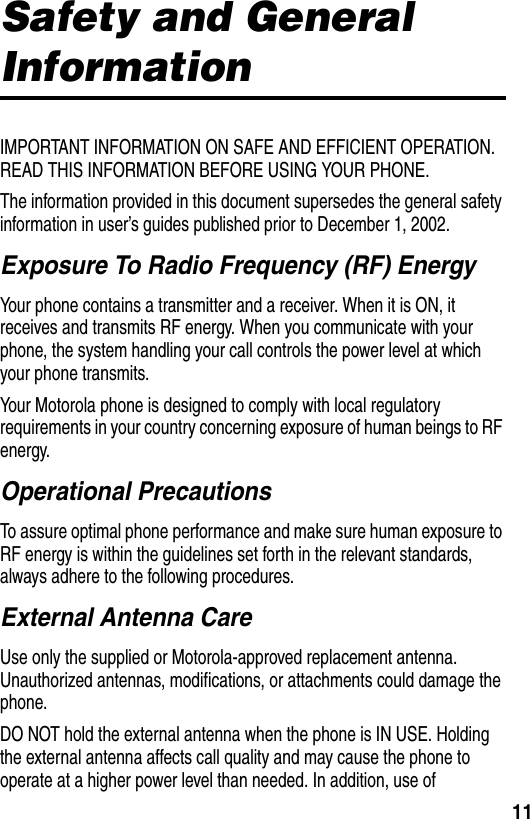

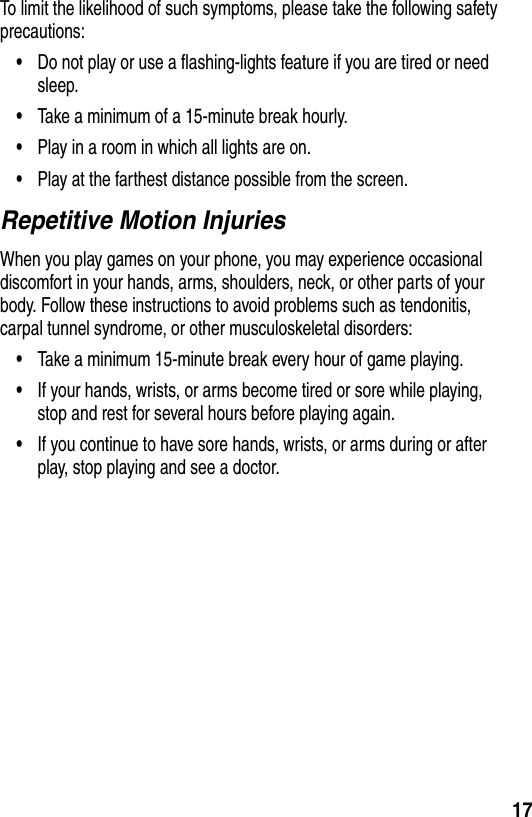
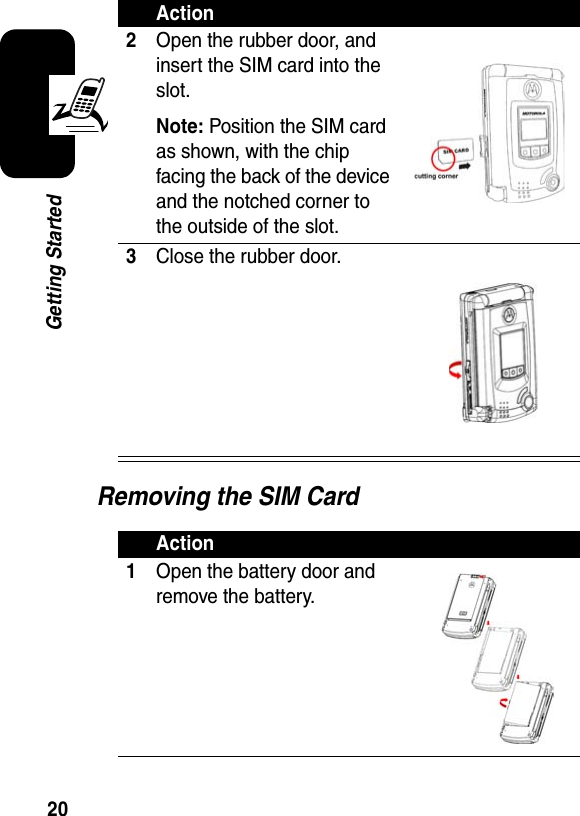

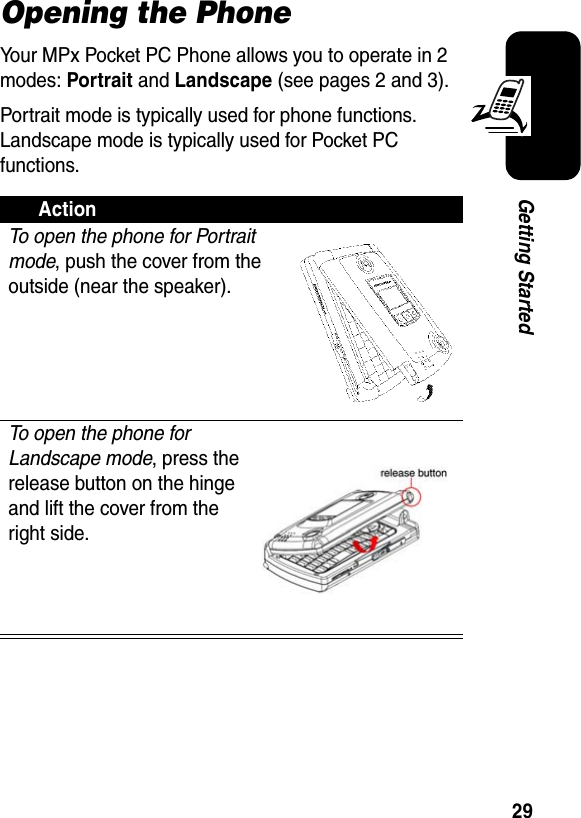
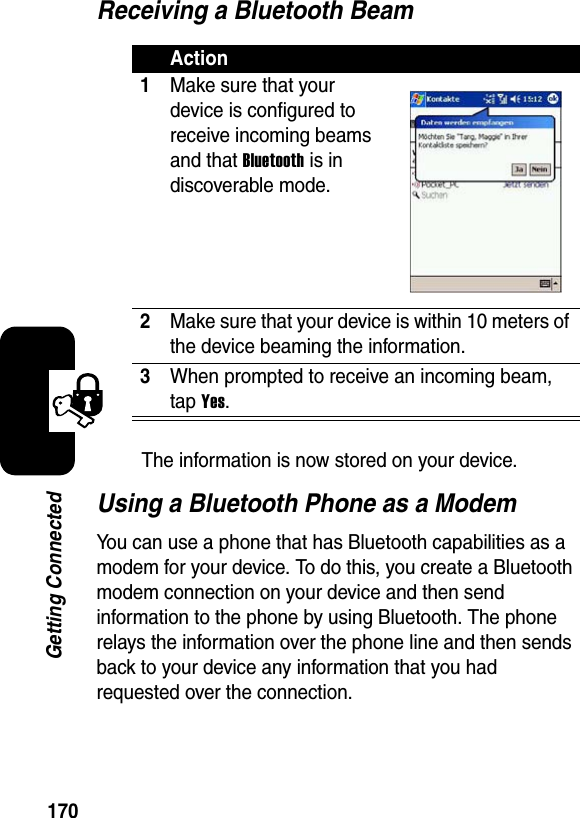
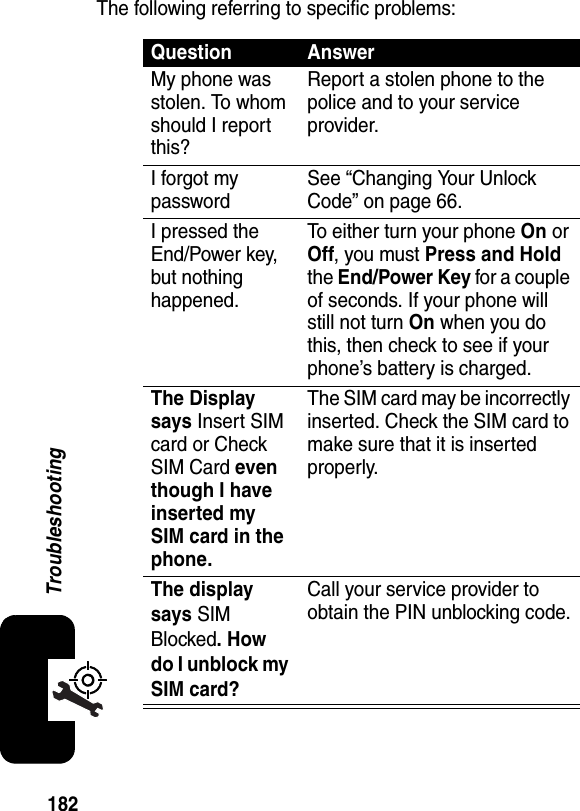
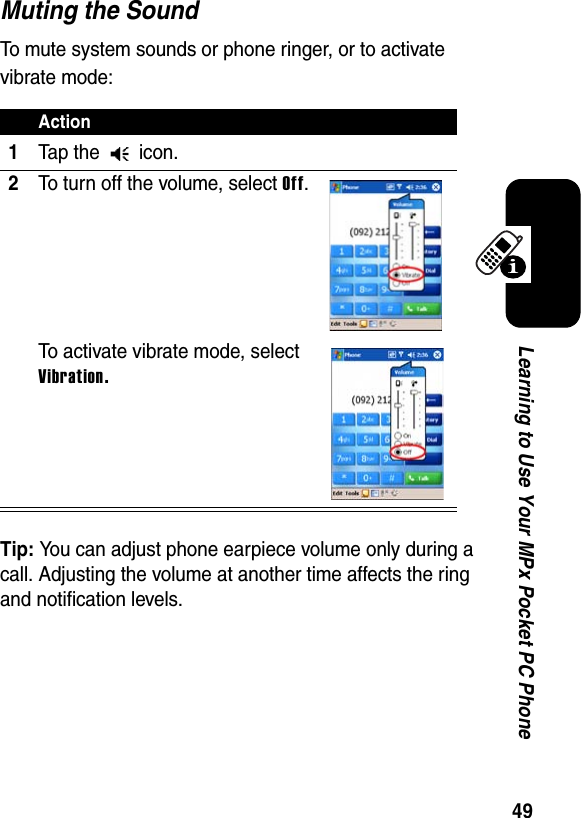
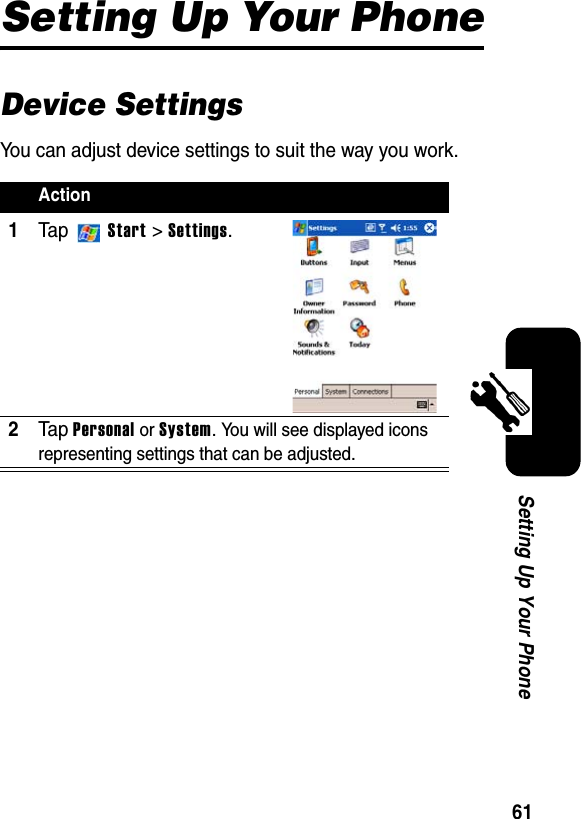
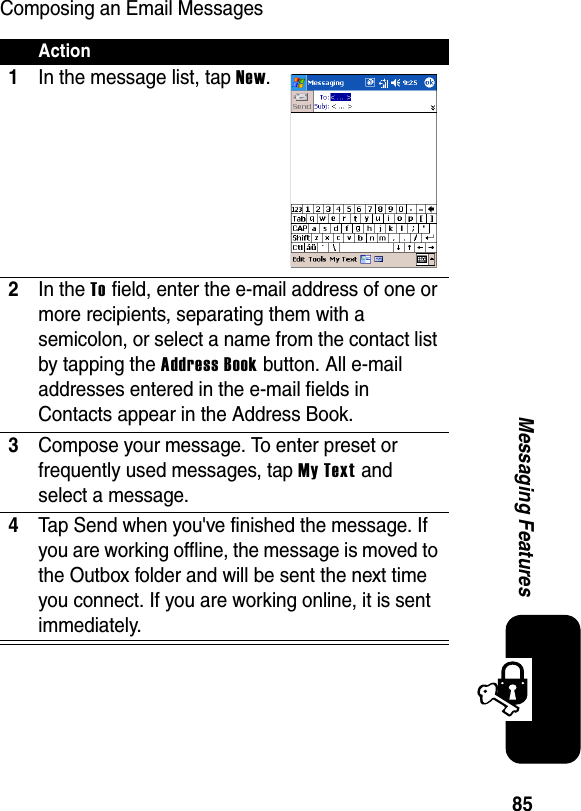
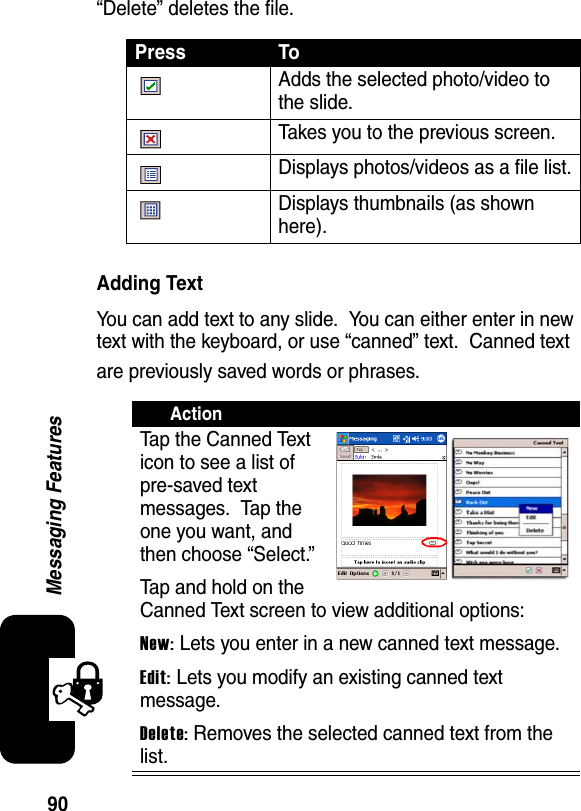
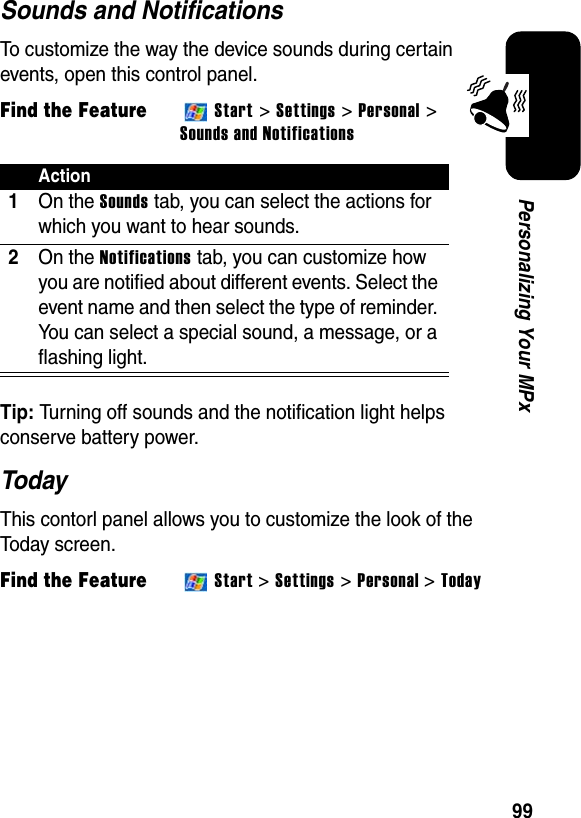
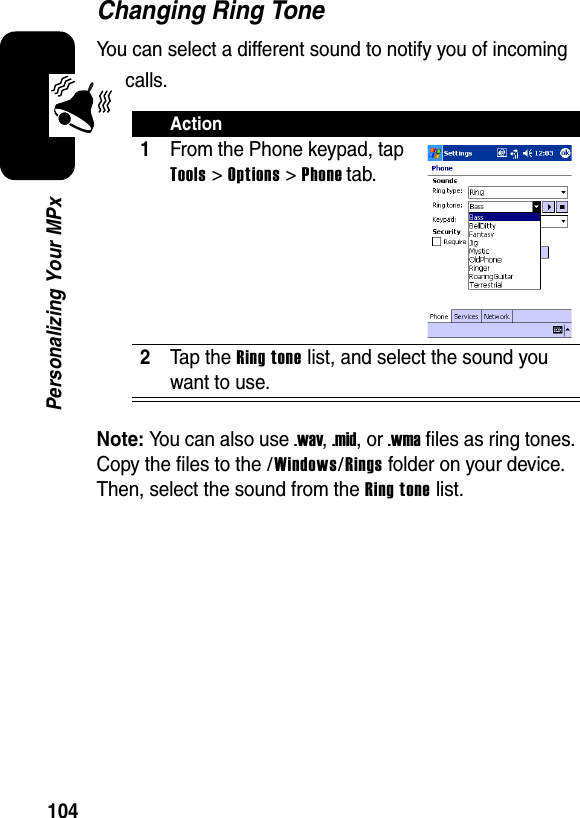
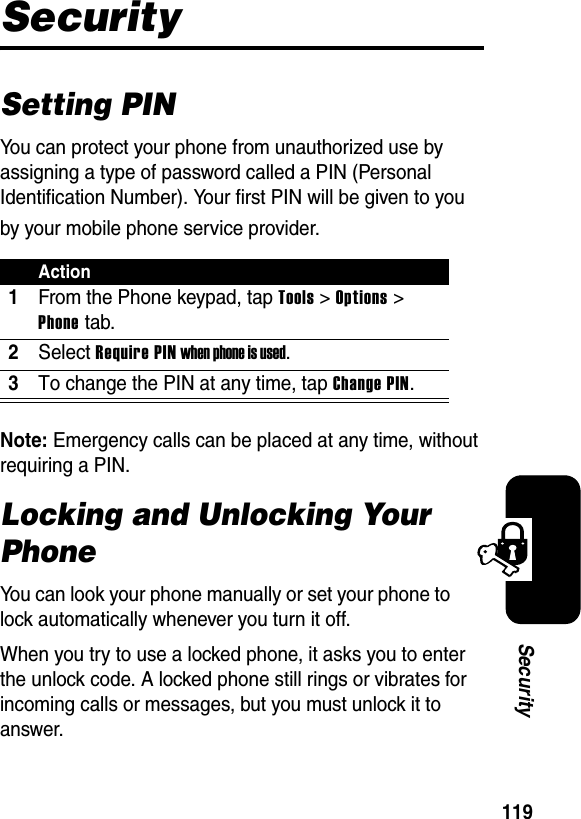
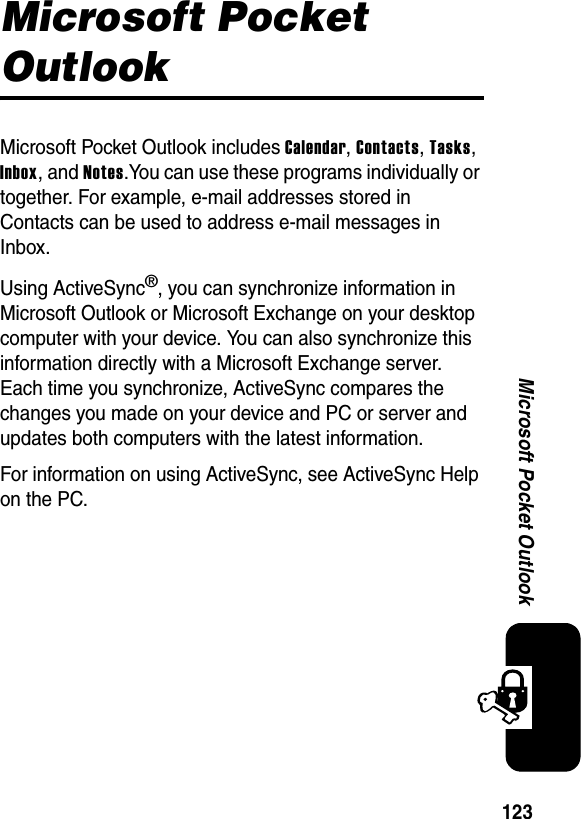
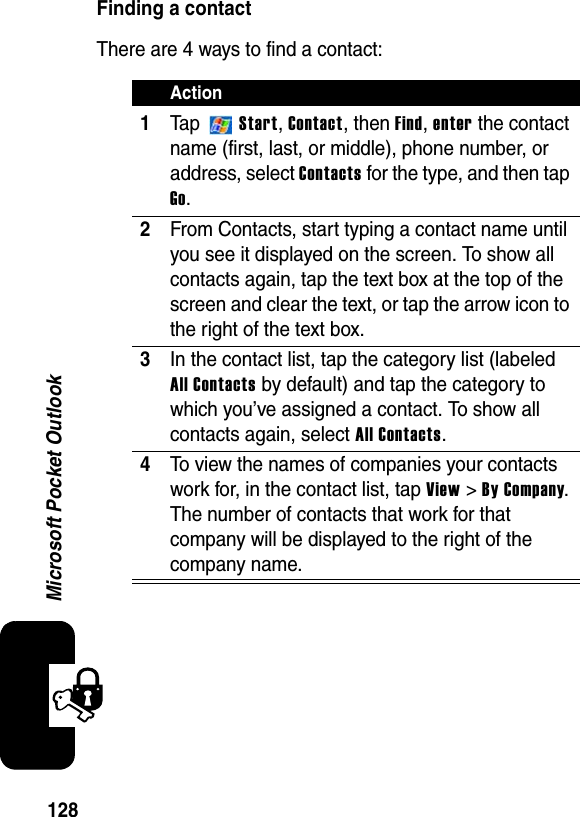
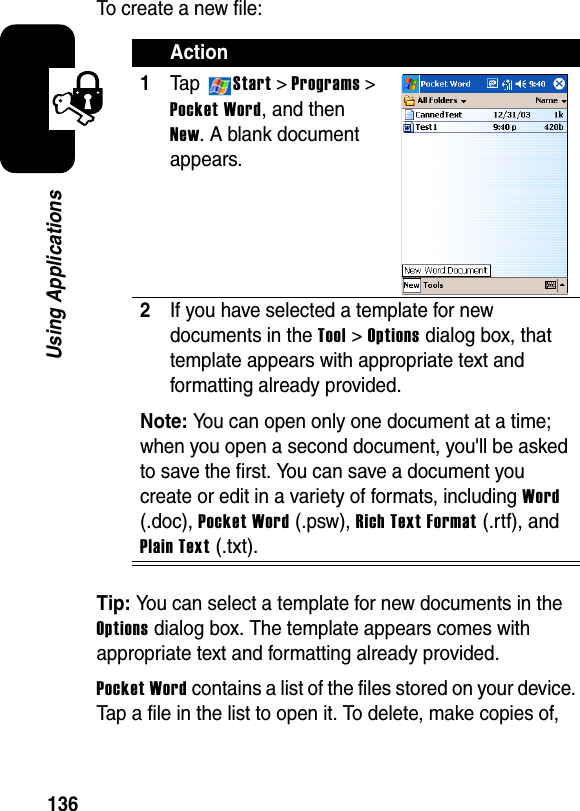
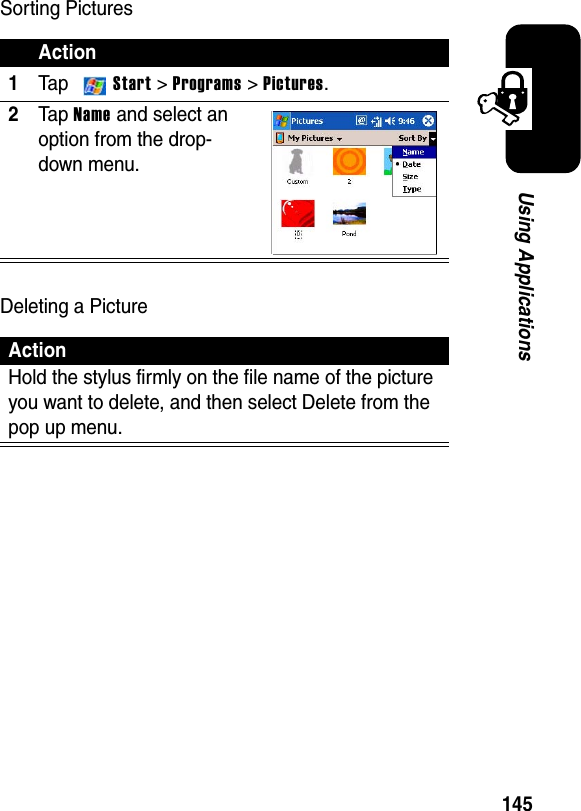
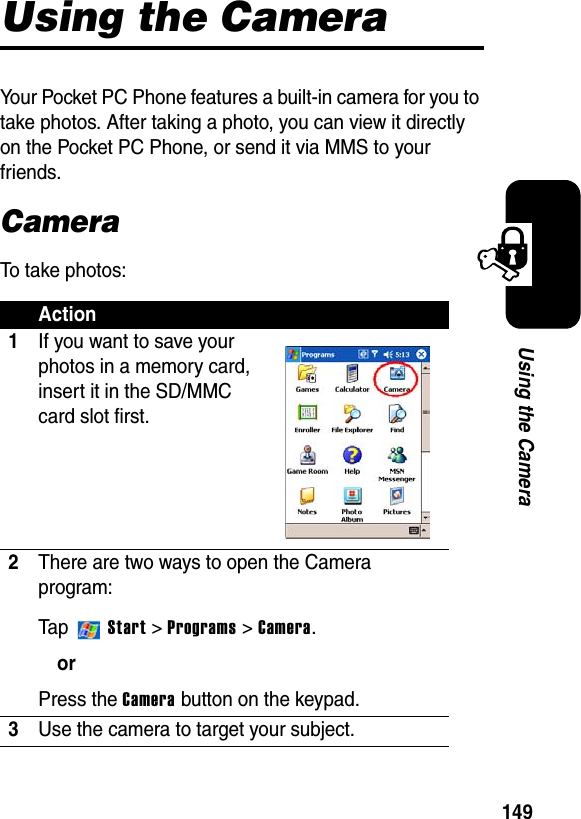
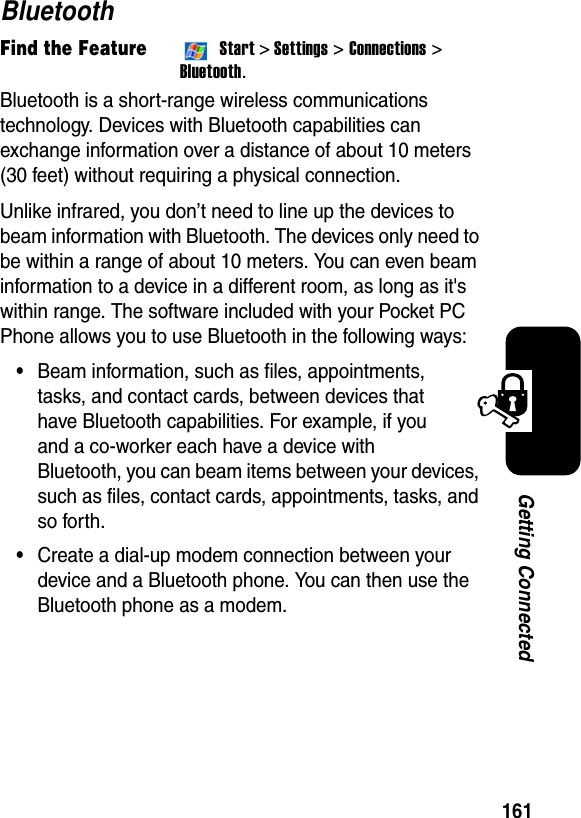
![33Getting StartedMaking a Call4Ta p t he Align Screen button.5Using your stylus, tap the center of the cross as it moves around the screen.Action1On the phone’s keypad, press the number keys to enter the number you want to call.Note:Make sure the phone is set to Symbolic input mode . (Press [Fn] + [Shift] to change between Symbolic and Alpha input mode .)2Press the button.Action](https://usermanual.wiki/Compal-Electronics/MPX001.Exhibit-8-Users-Manual/User-Guide-467121-Page-36.png)

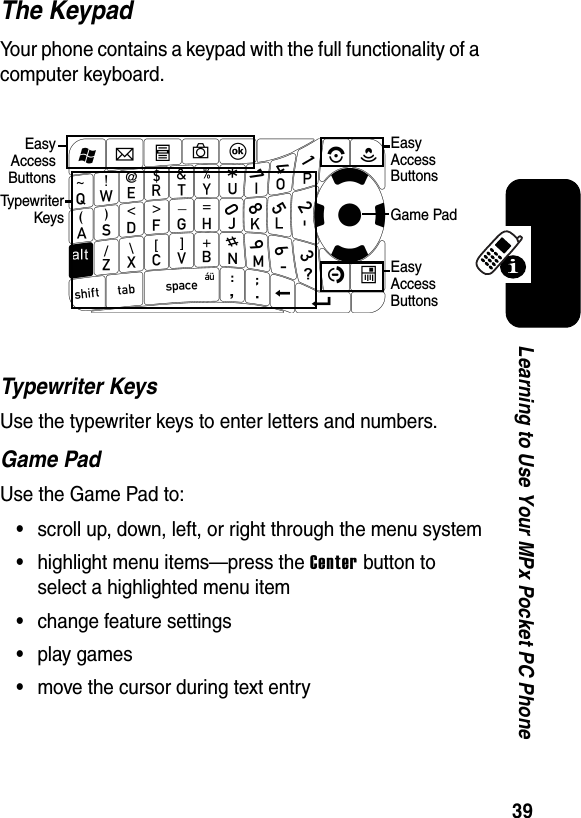
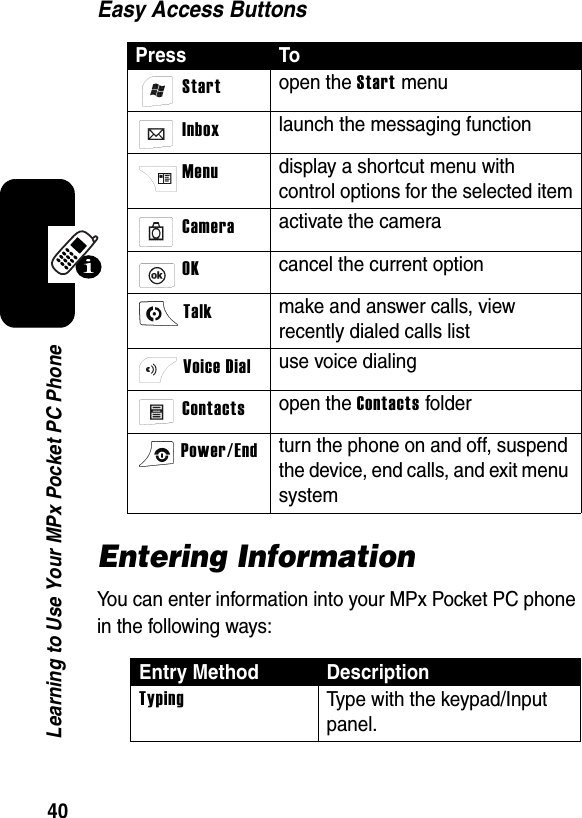
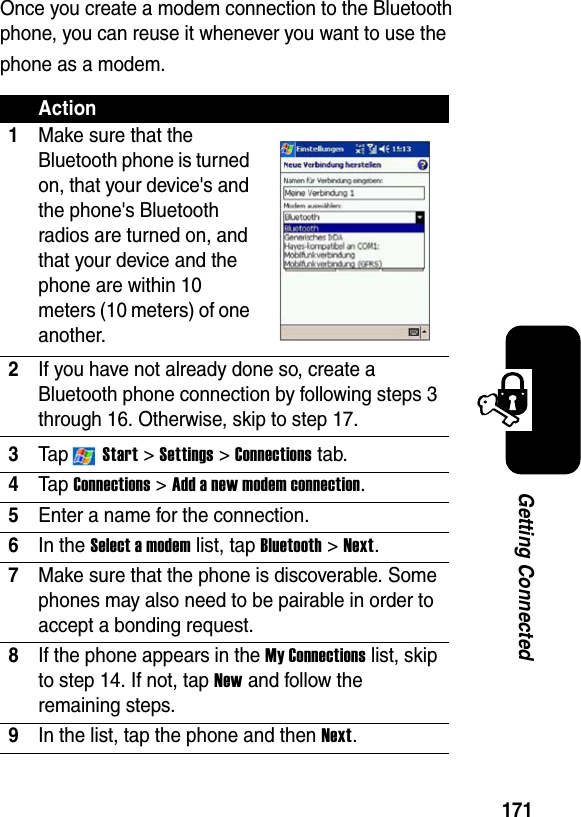
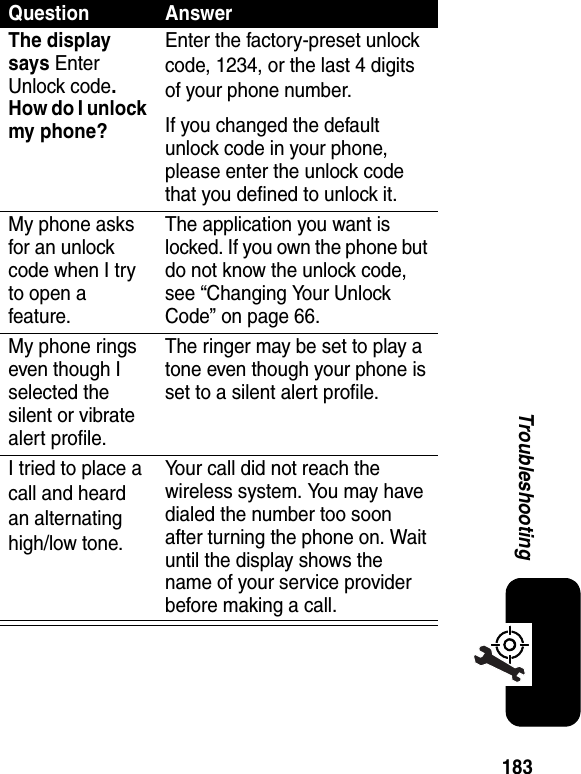
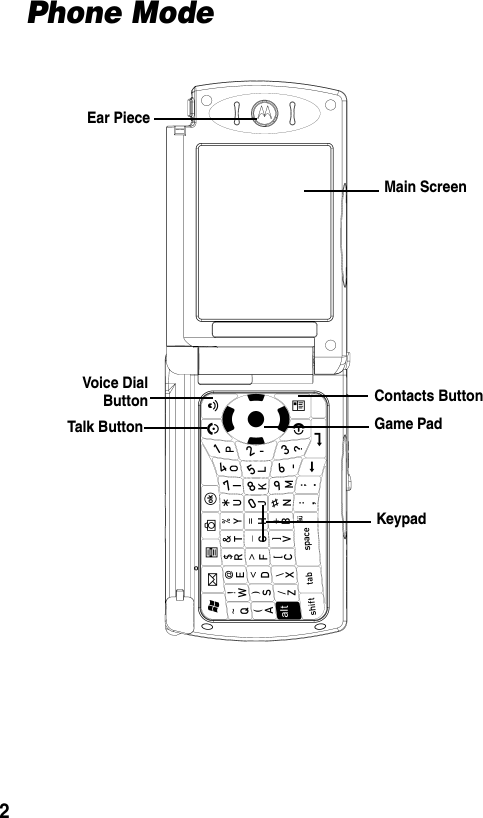
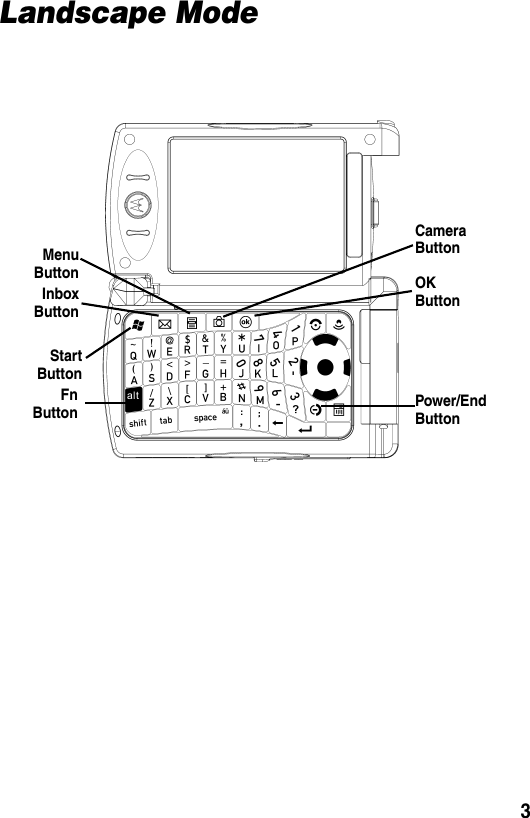
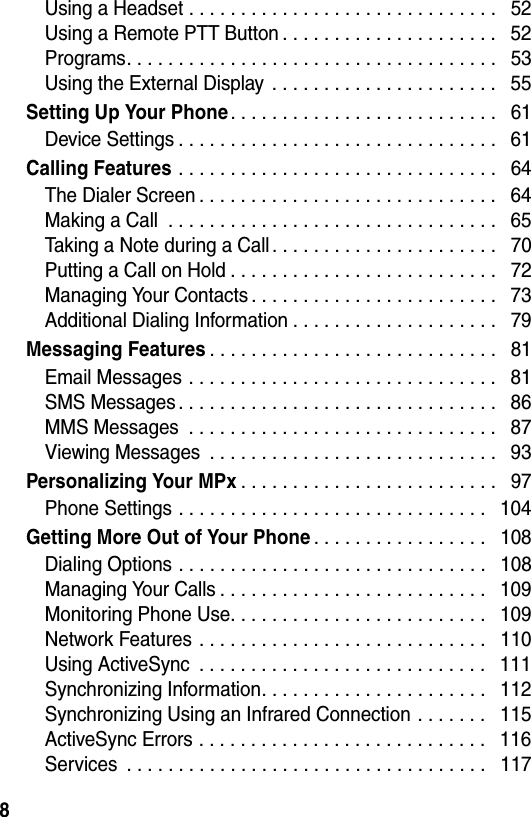
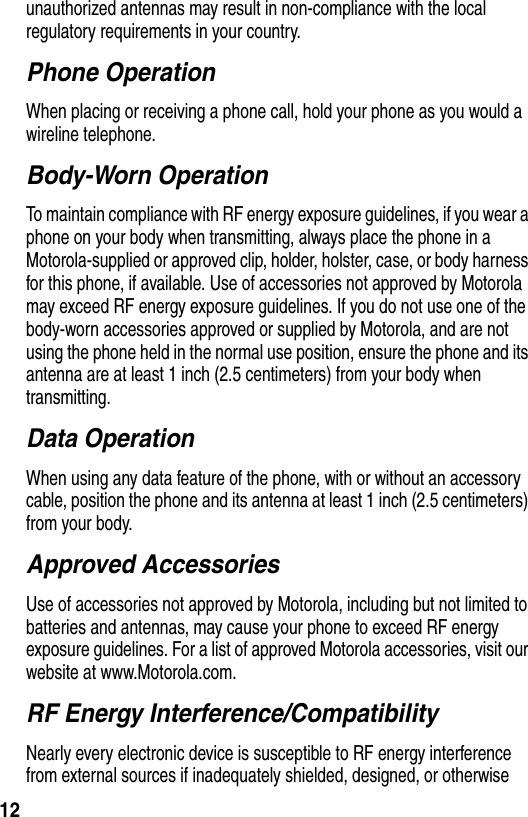
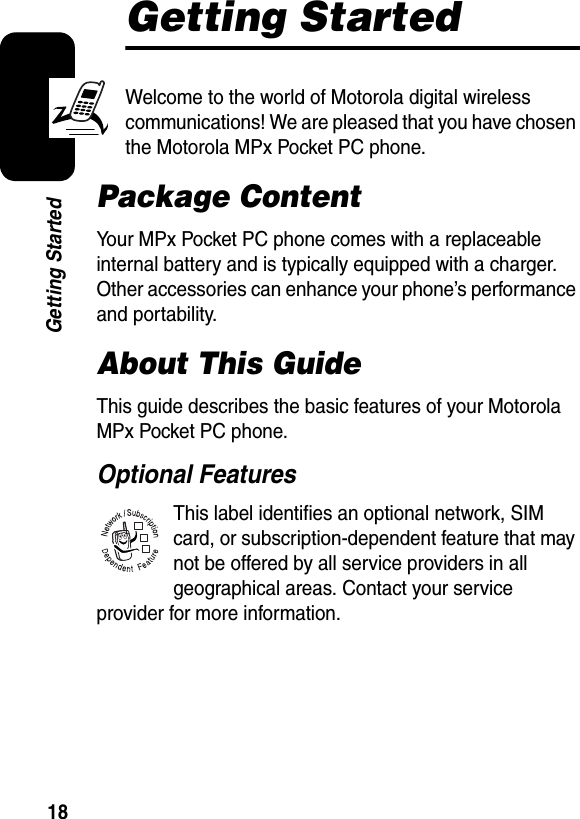
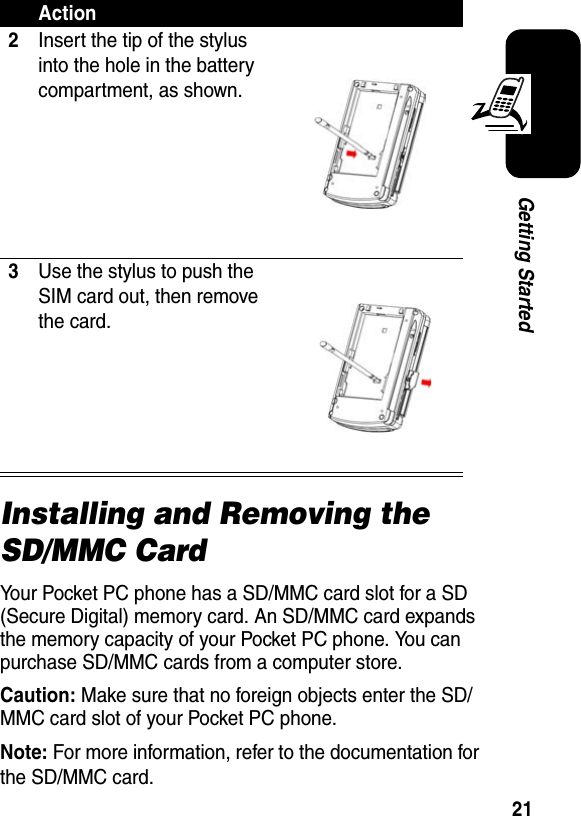
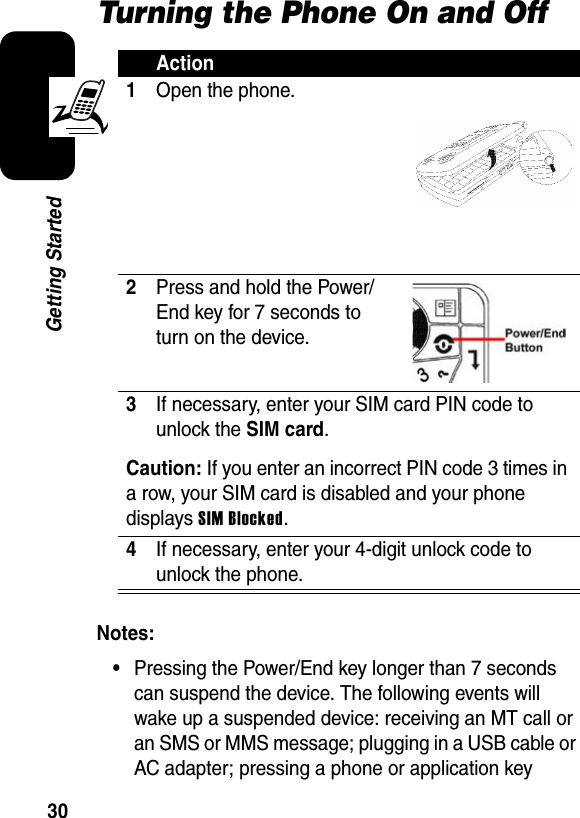
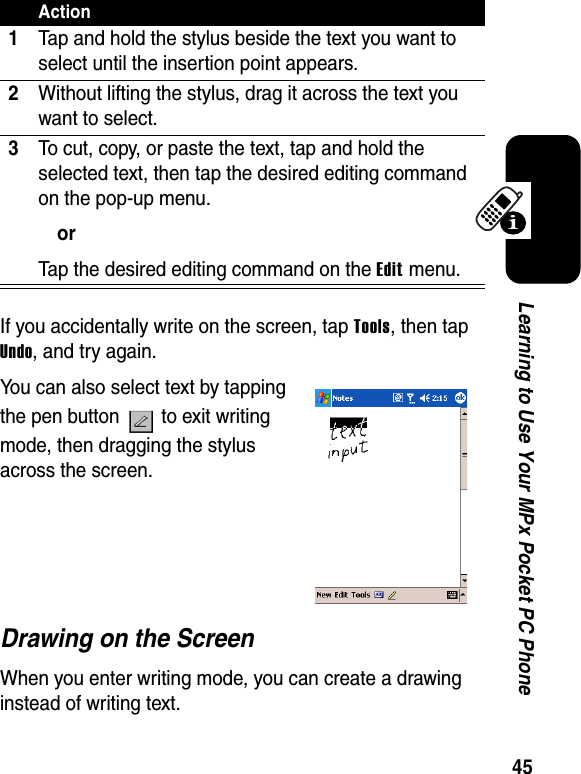
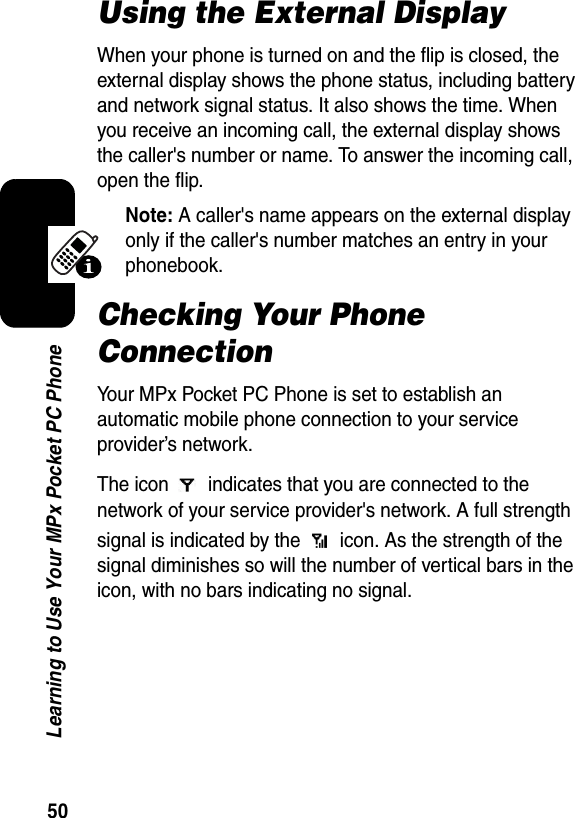
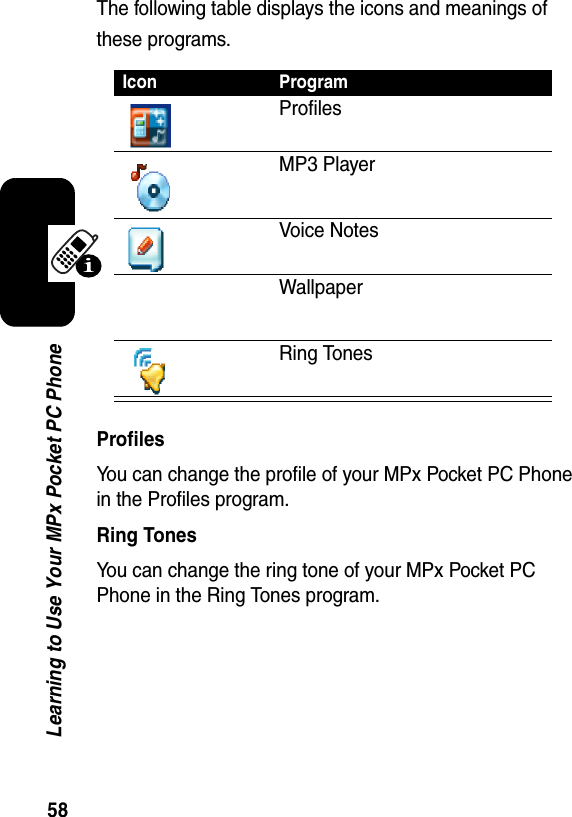
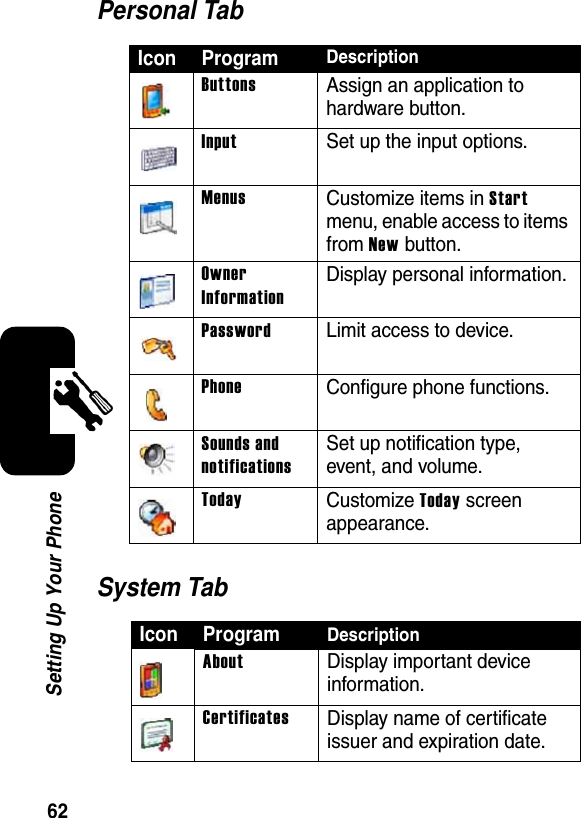
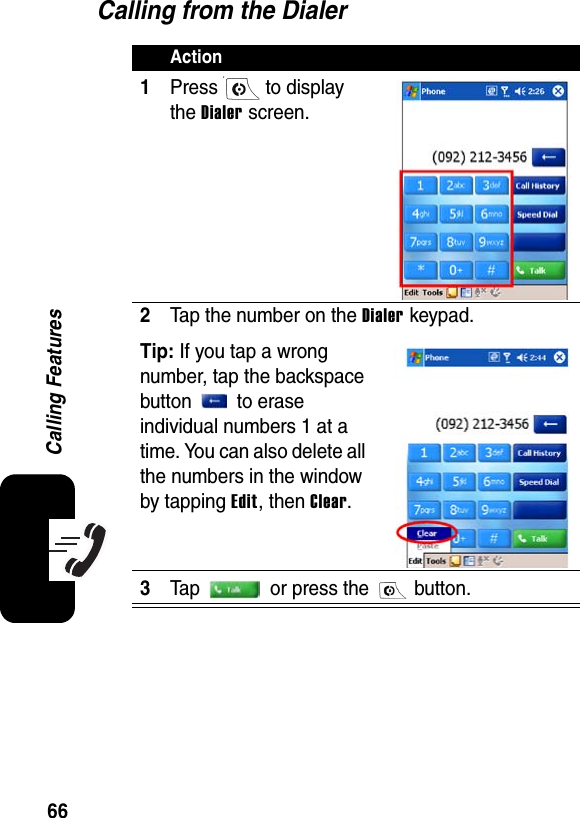
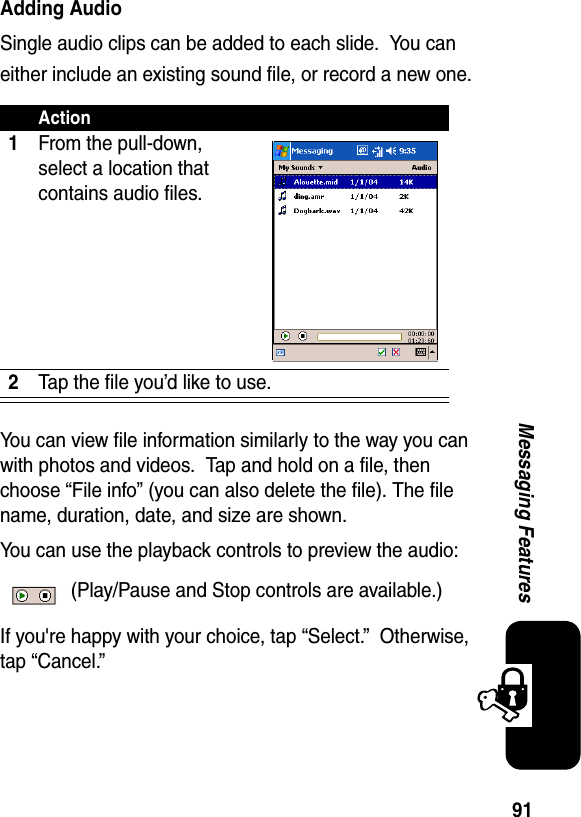
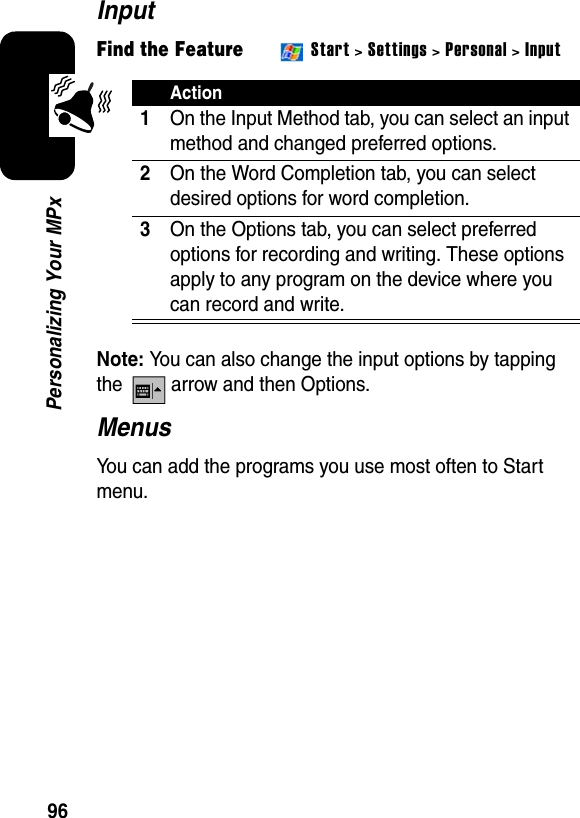
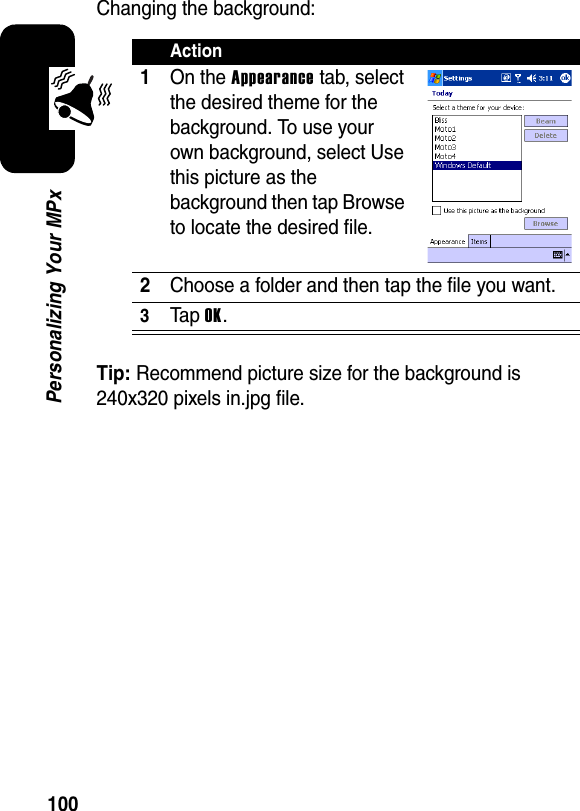
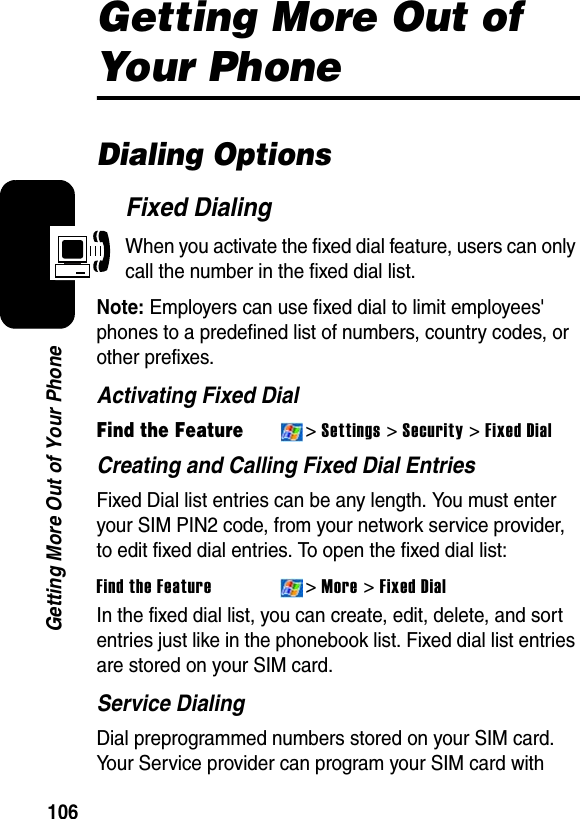
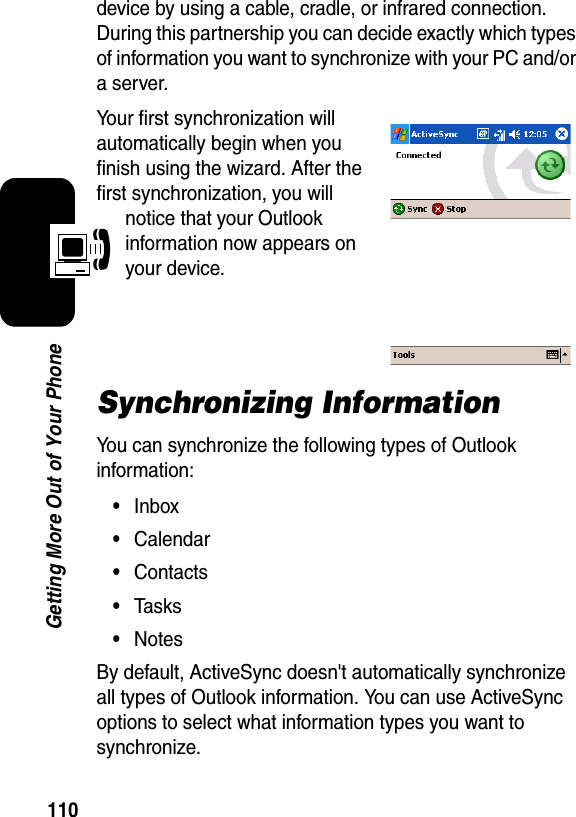
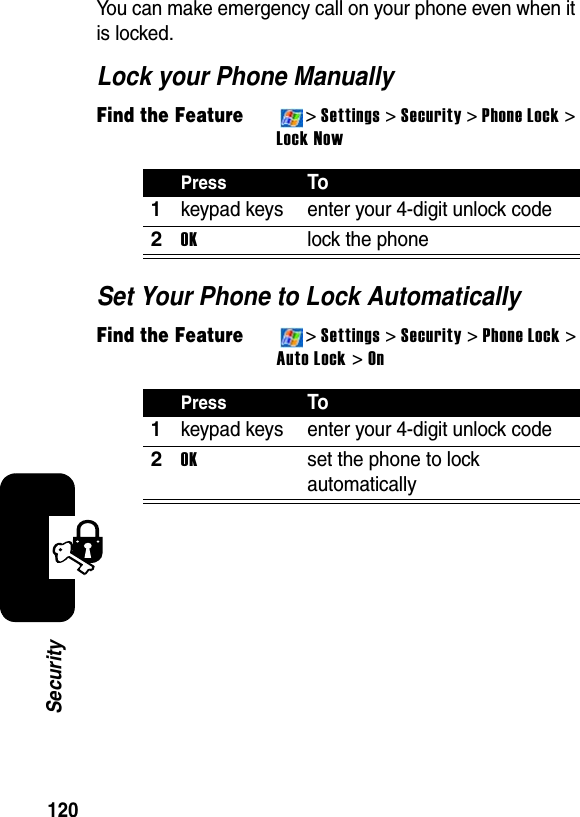
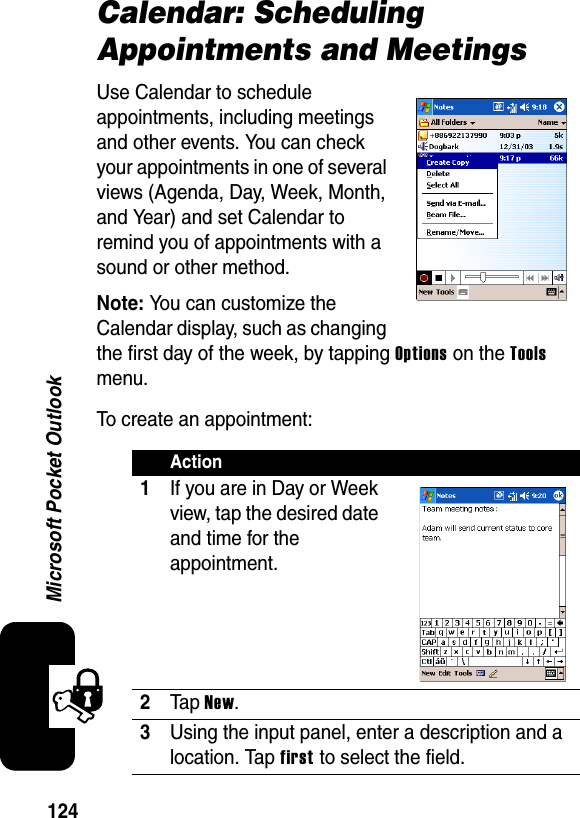
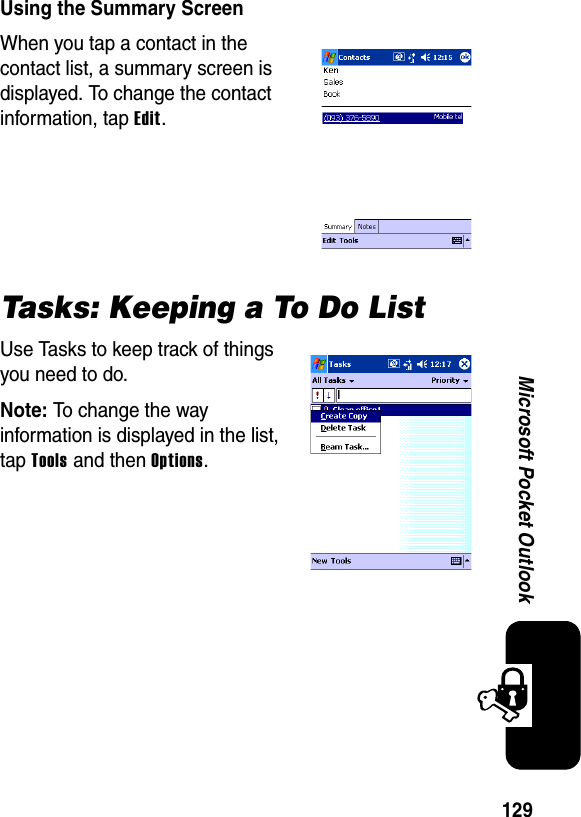
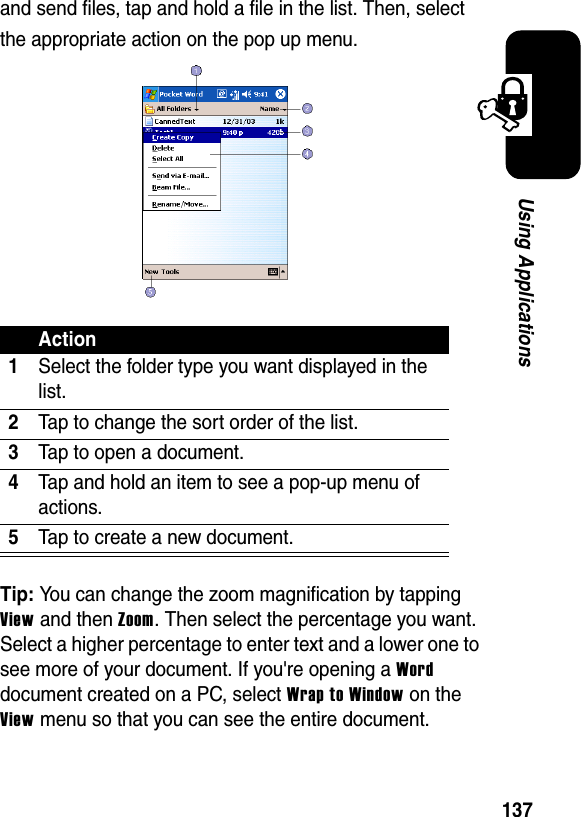
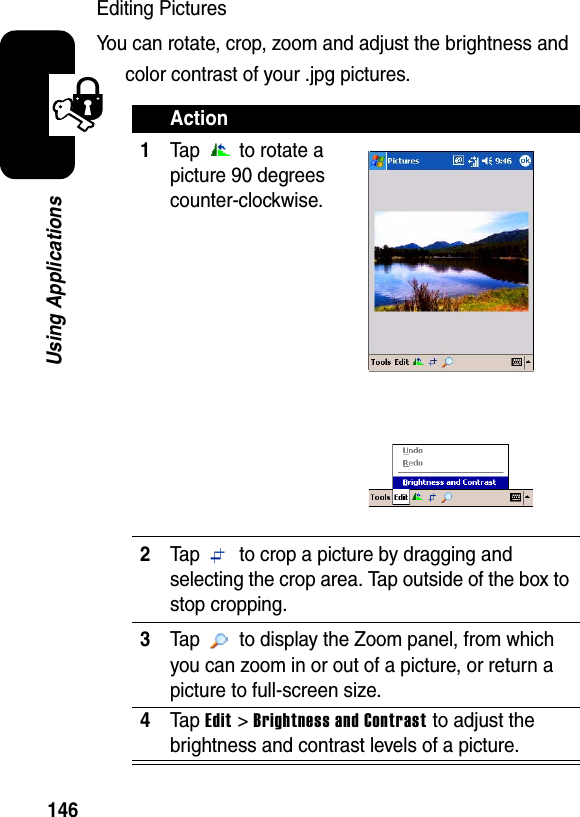
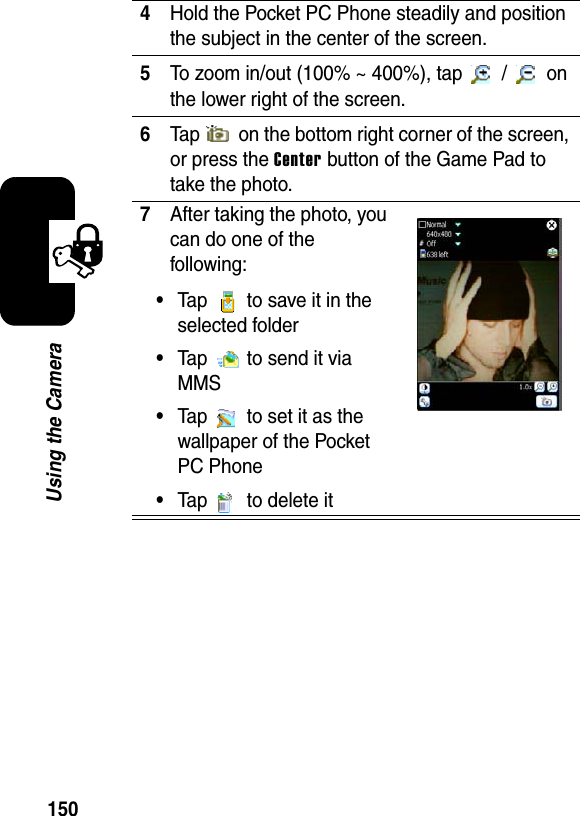
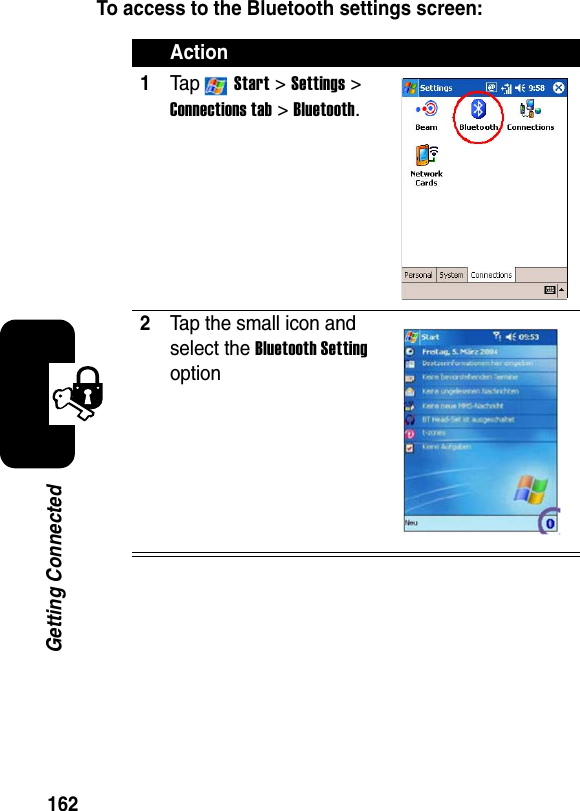
![41Learning to Use Your MPx Pocket PC PhoneEntering Text with the Typewriter KeysYou can type letters and numbers on the keypad just as you would on a typical computer keyboard. Use the 4-way navigation keys on the Game Pad to move the cursor as you type.A 12-key numeric keypad is embedded in the keypad. To enter a number, press and hold [Fn], then press the desired digit(s).WritingWrite directly on the screen with the stylus.DrawingDraw directly on the screen with the stylus.RecordingUse the microphone to record a spoken message or note.SynchronizingUse Microsoft ActiveSync to exchange or copy information between your PC and device.Entry Method DescriptionMove the cursor up for one line.Move the cursor down for one line.Game Pad (Landscape Mode)Move the cursor leftfor one space.Move the cursor right for one space.](https://usermanual.wiki/Compal-Electronics/MPX001.Exhibit-8-Users-Manual/User-Guide-467121-Page-44.png)
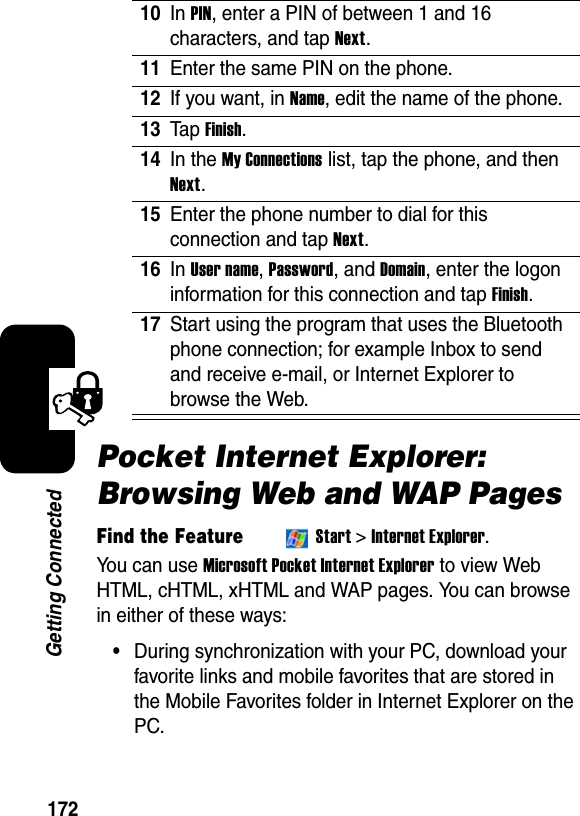
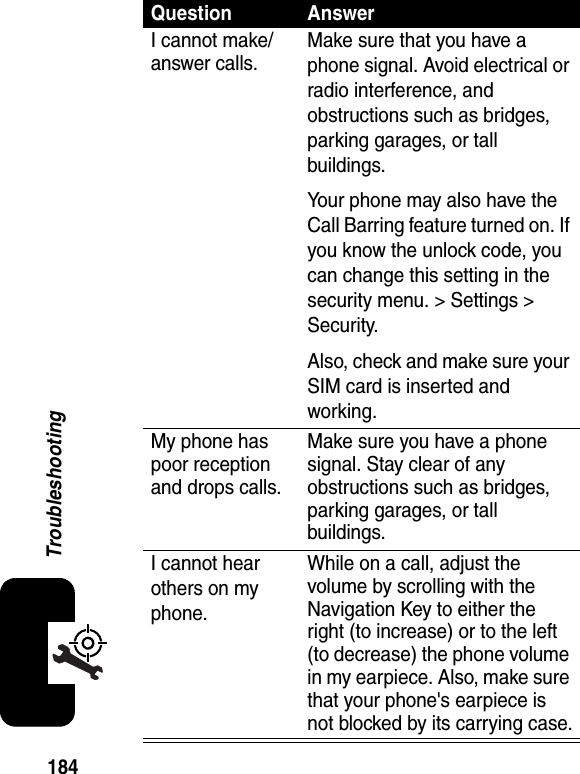
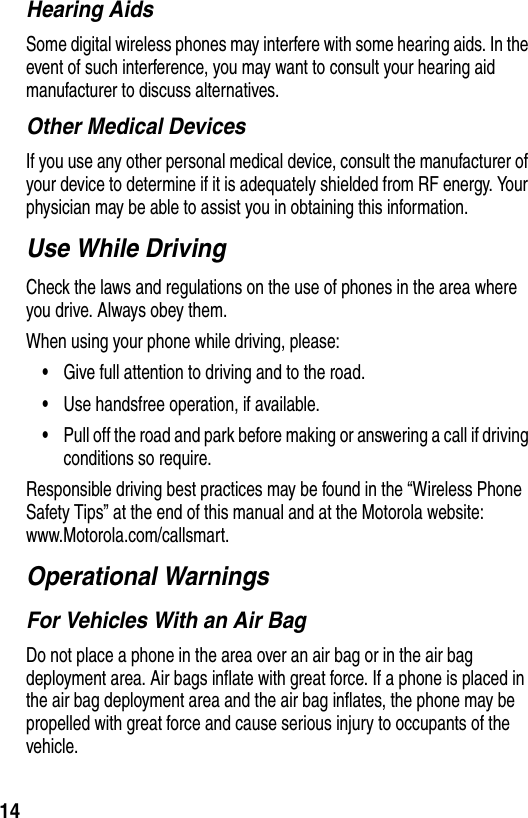
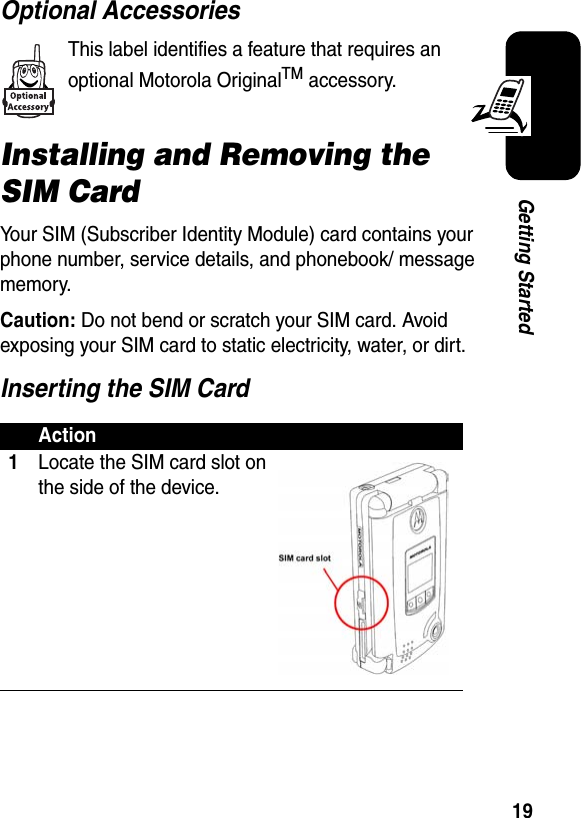
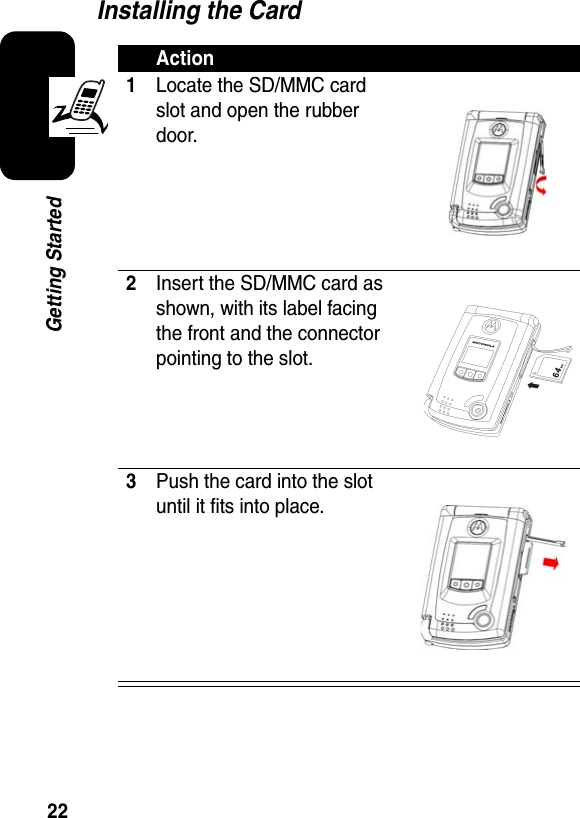
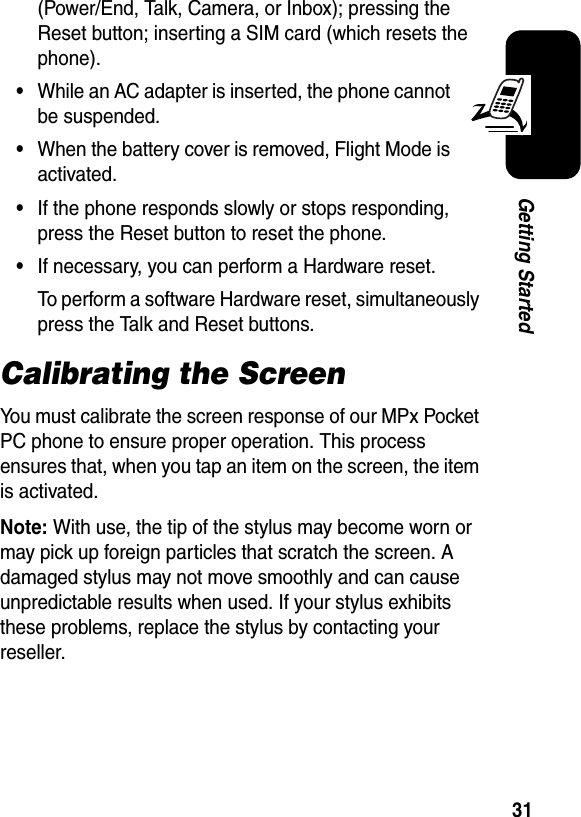
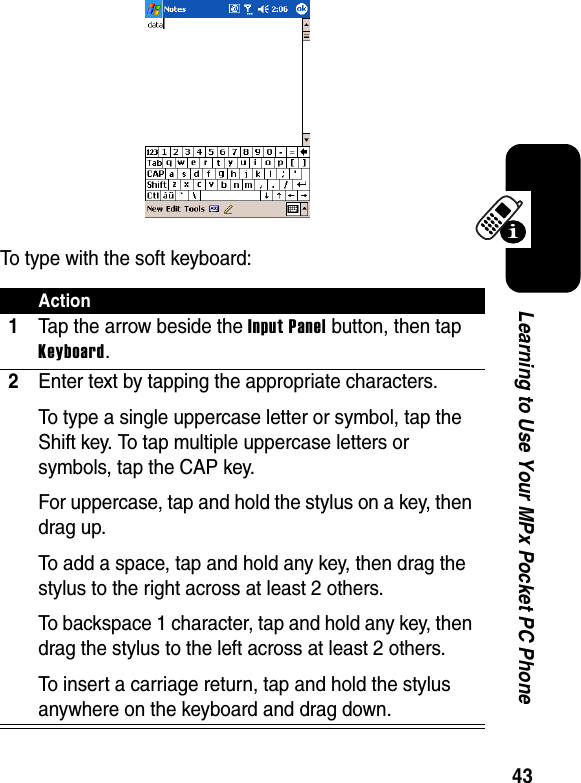
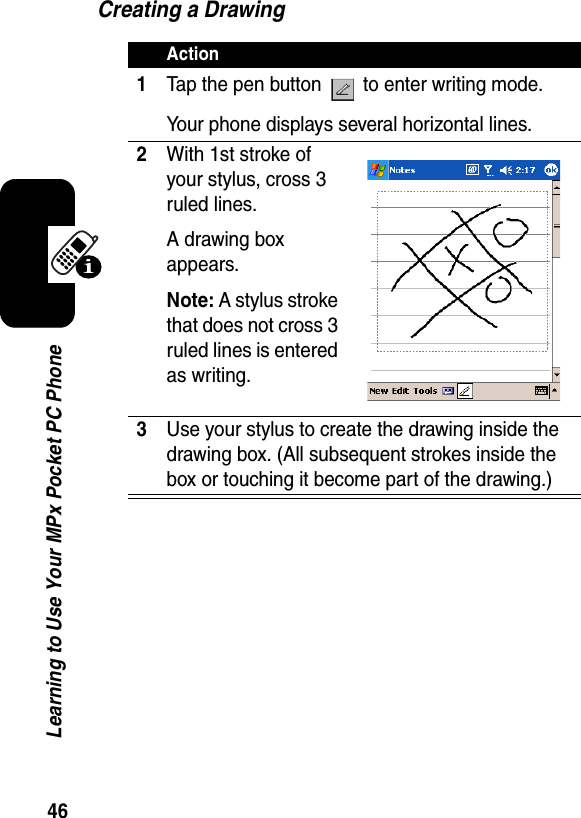
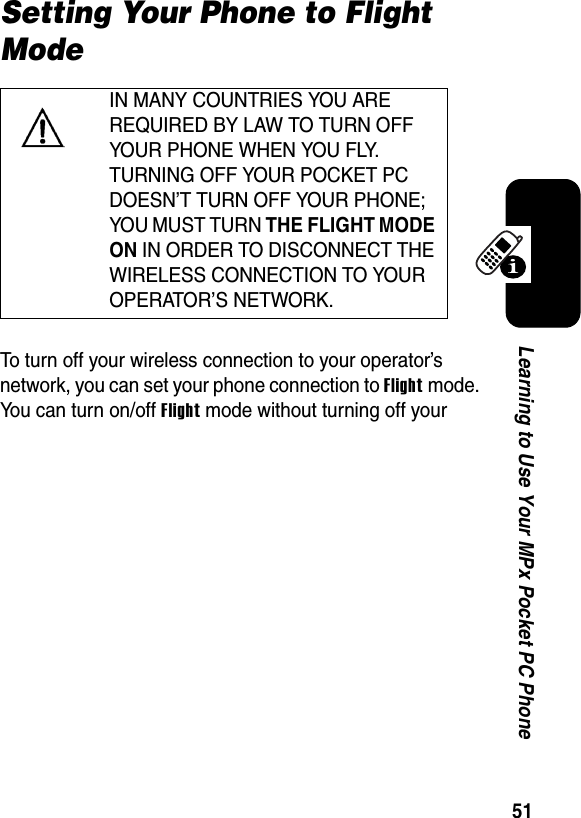
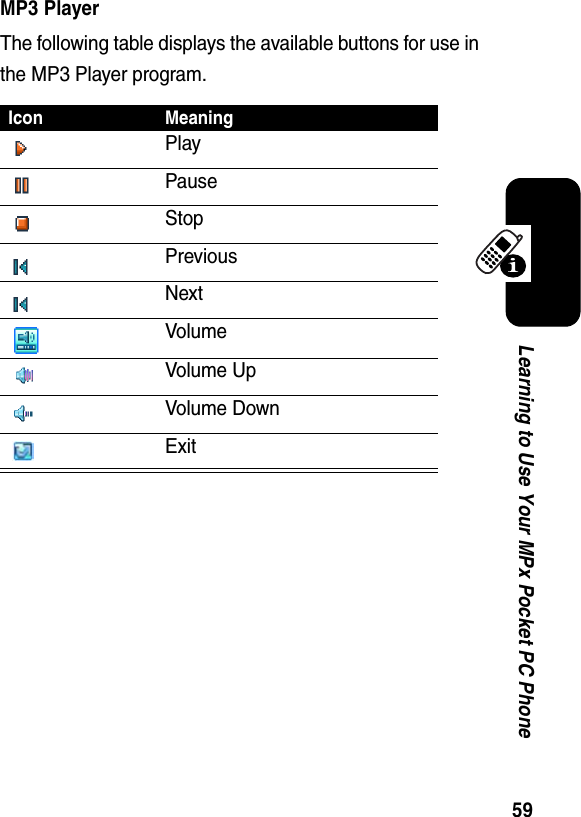
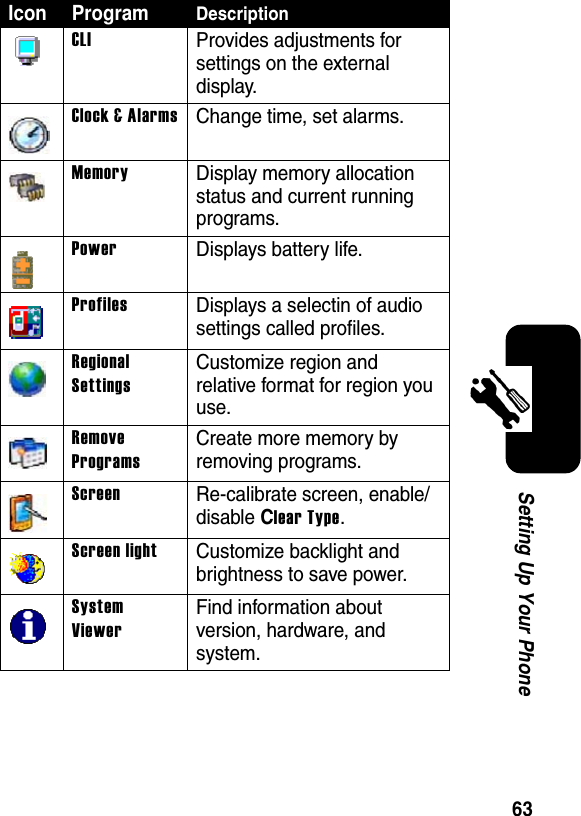
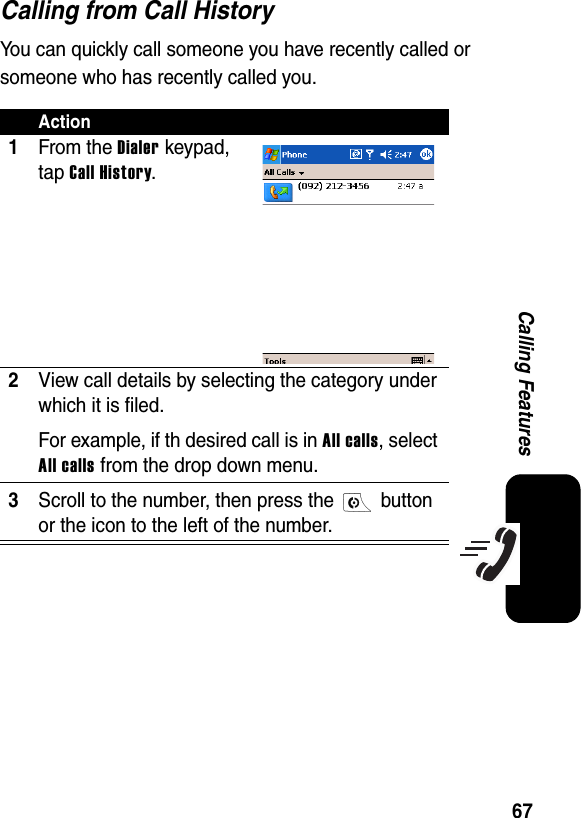
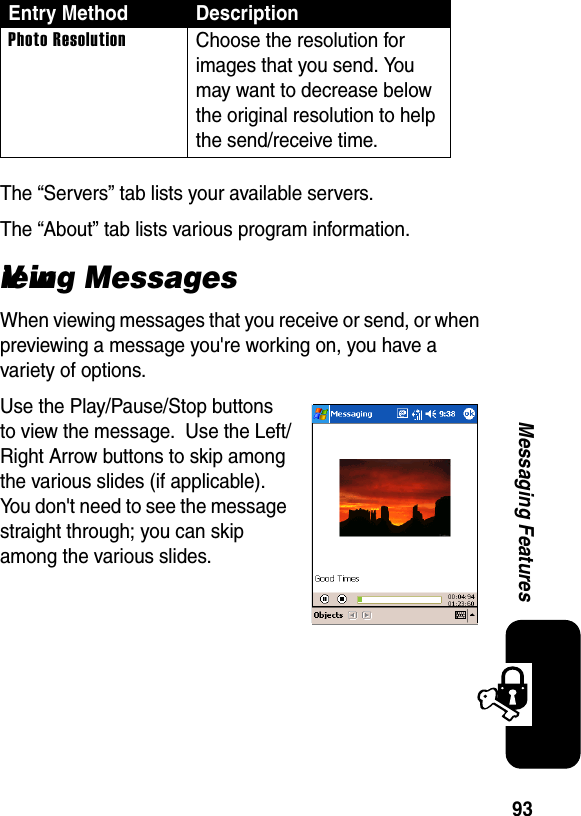
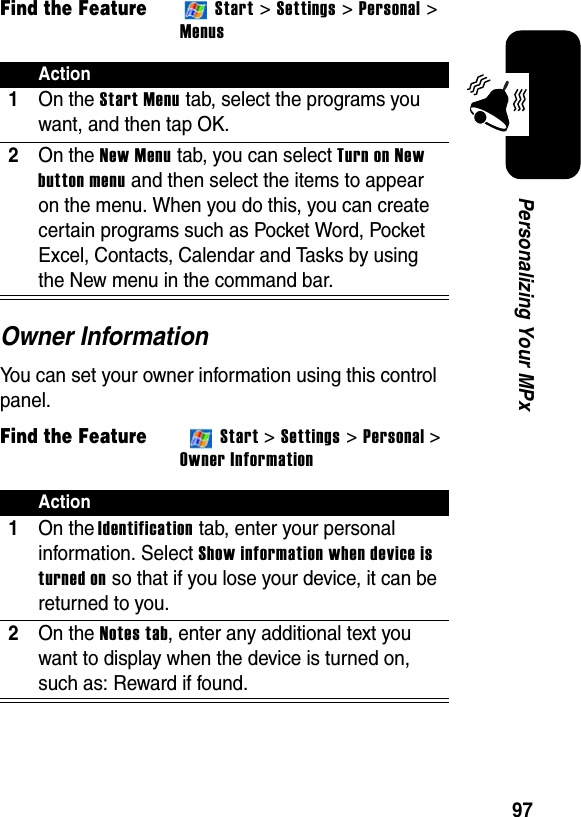
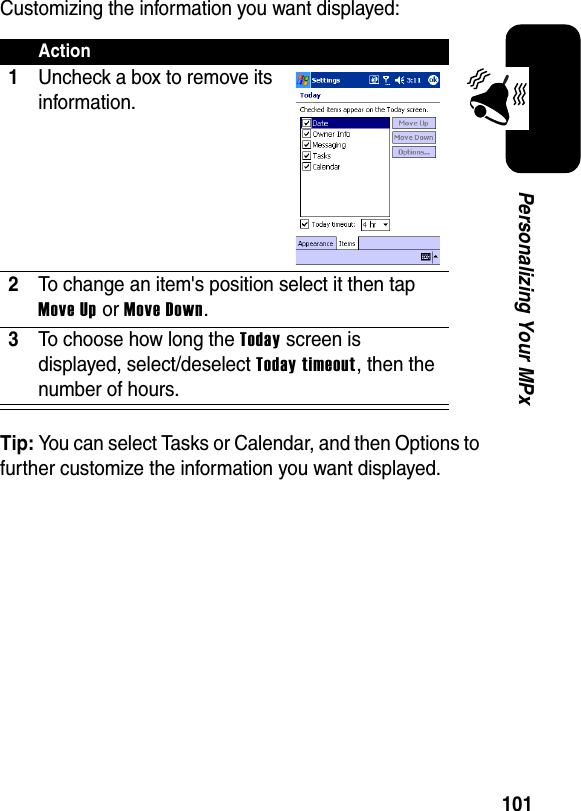
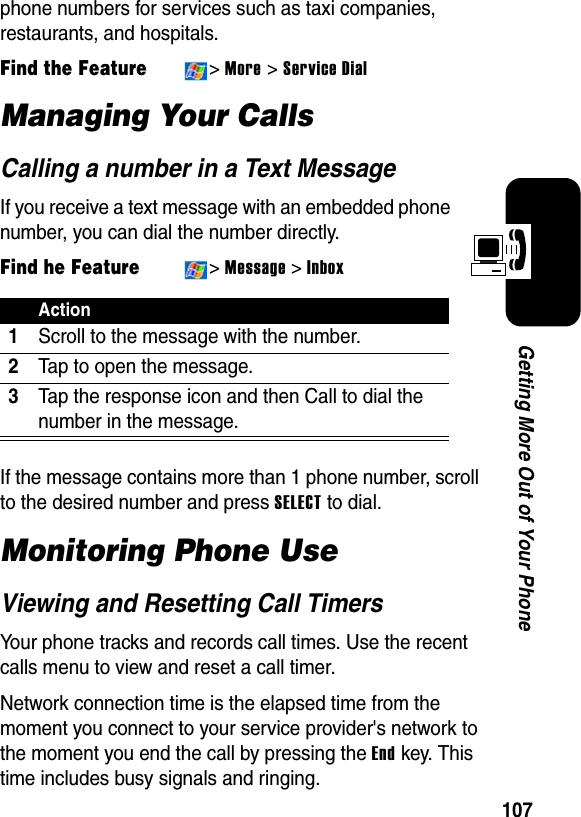
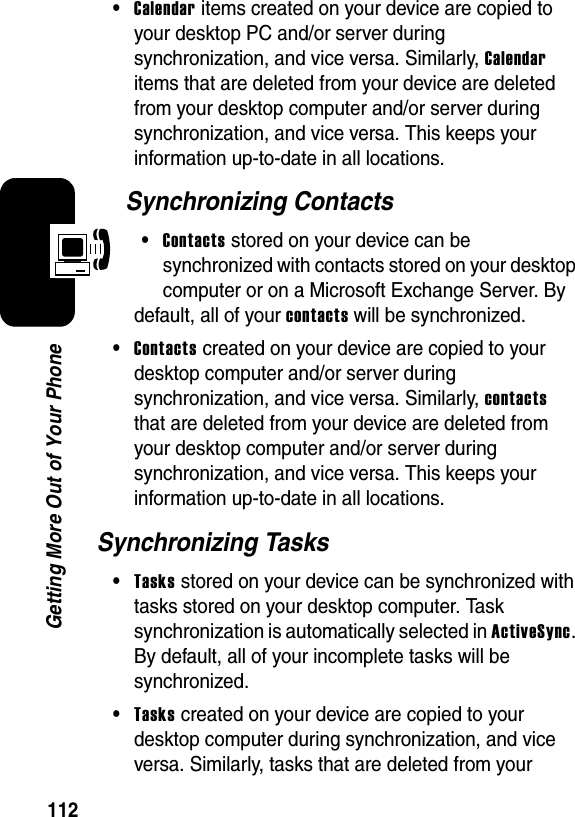
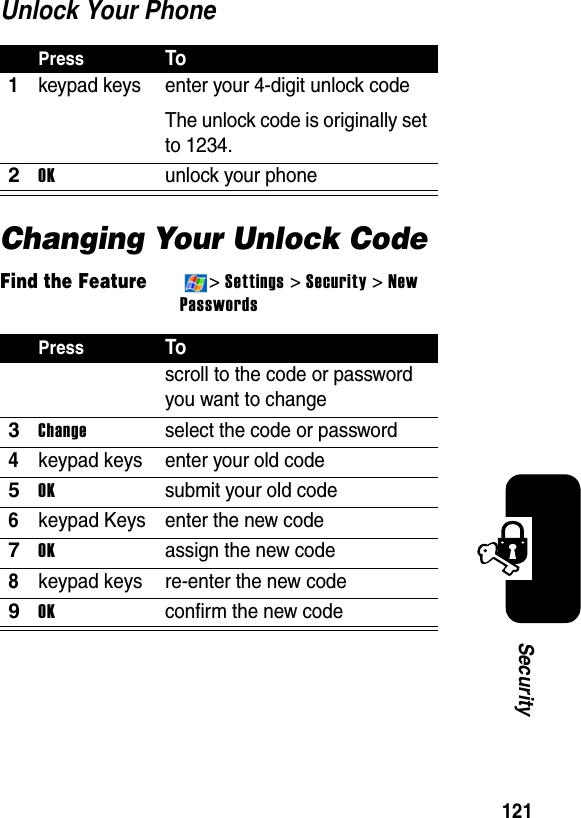
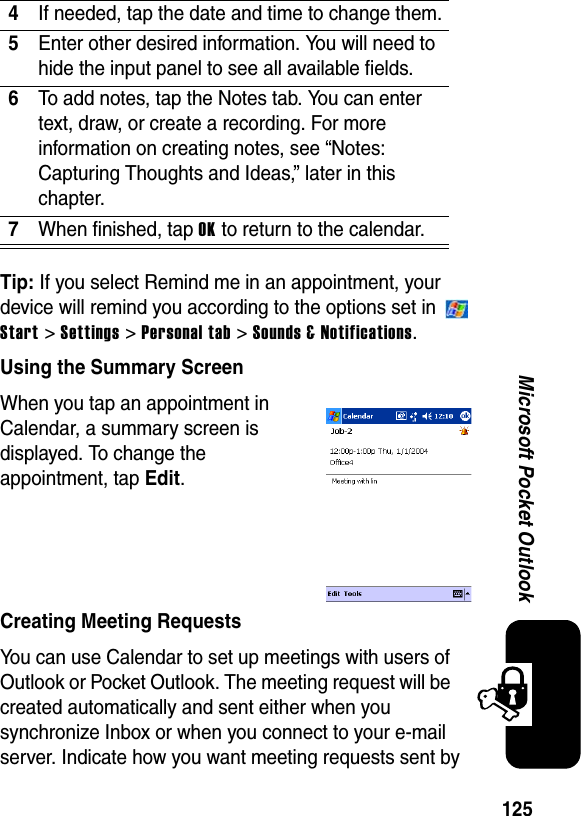
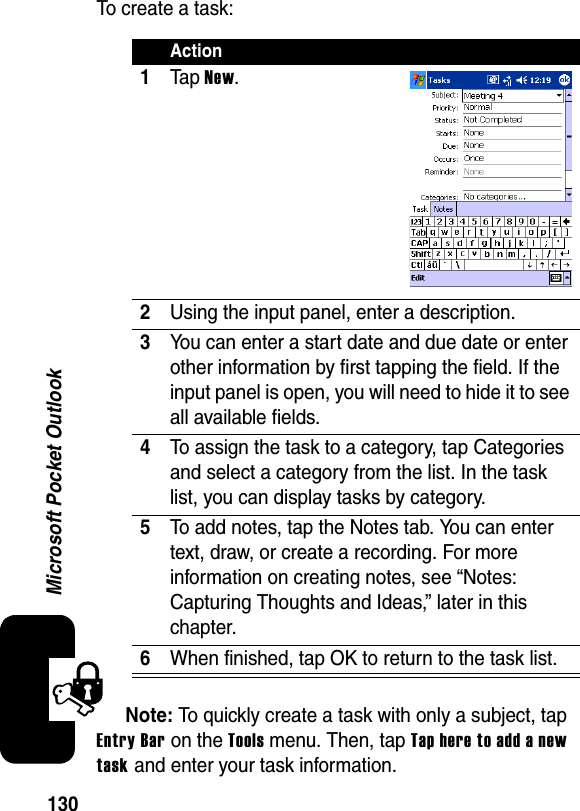
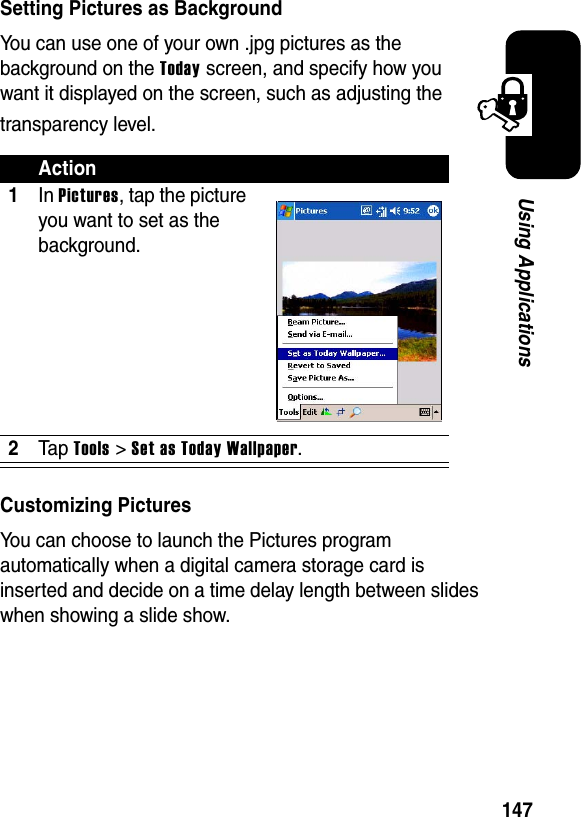
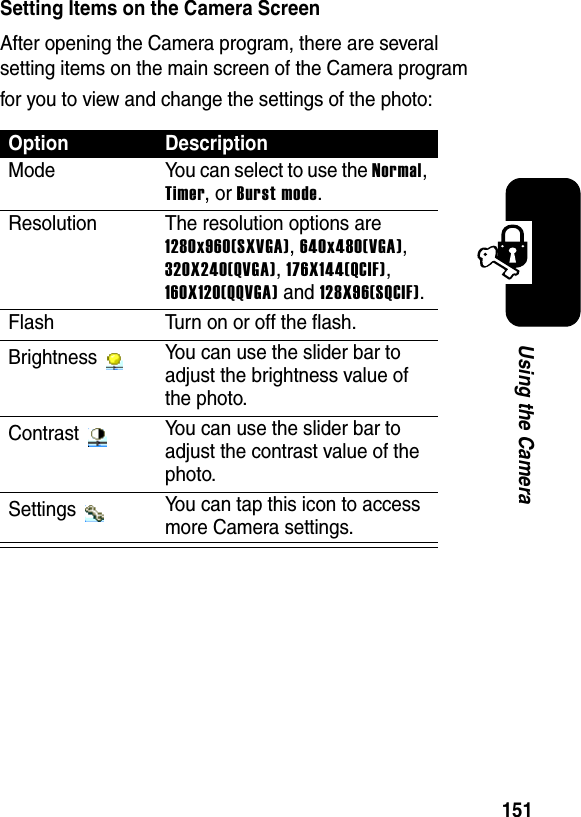
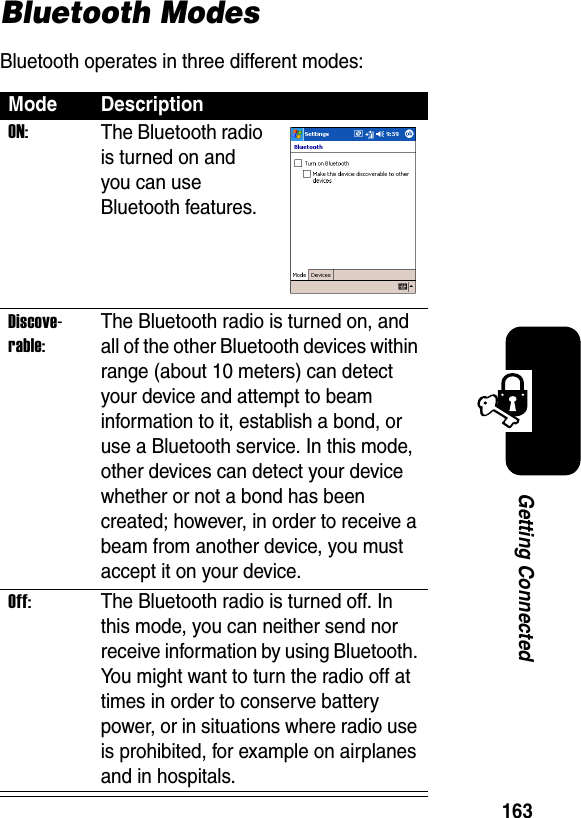
![42Learning to Use Your MPx Pocket PC PhoneThe following table lists all special keys and their functions:Entering Text with the Input PanelTo show or hide the selected input method, tap on the command bar. To select a different input panel, tap the arrow and then tap the input panel that you want.When you use the input panel, your device anticipates the word you are typing or writing and displays it above the input panel. When you tap the displayed word, it is inserted into your text at the insertion point. The more you use your device, the more words it learns to anticipate.Press To[Fn] toggle between letters and numbers[shift] toggle between uppercase and lowercase[tab] insert a tab](https://usermanual.wiki/Compal-Electronics/MPX001.Exhibit-8-Users-Manual/User-Guide-467121-Page-45.png)
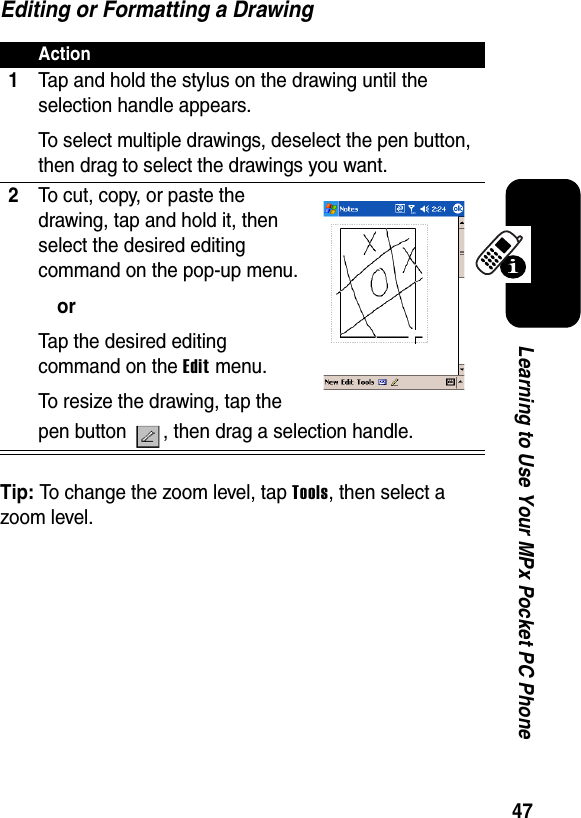
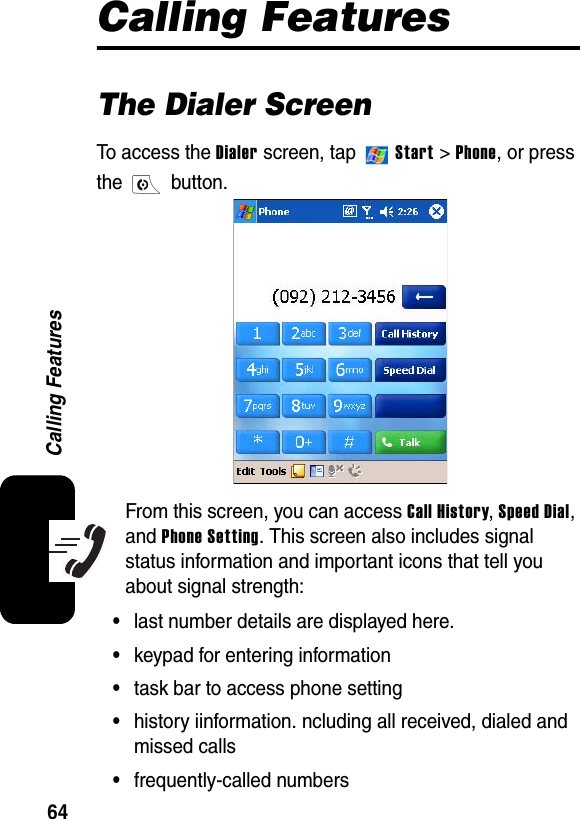


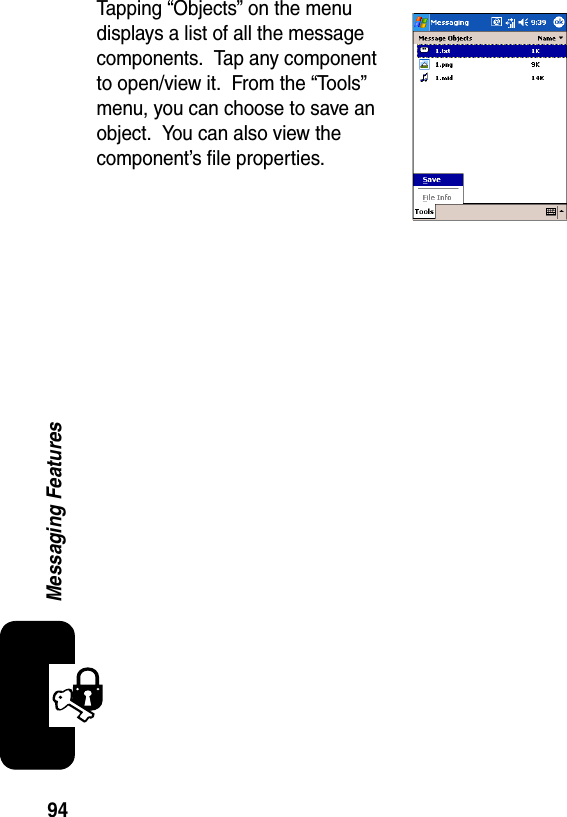

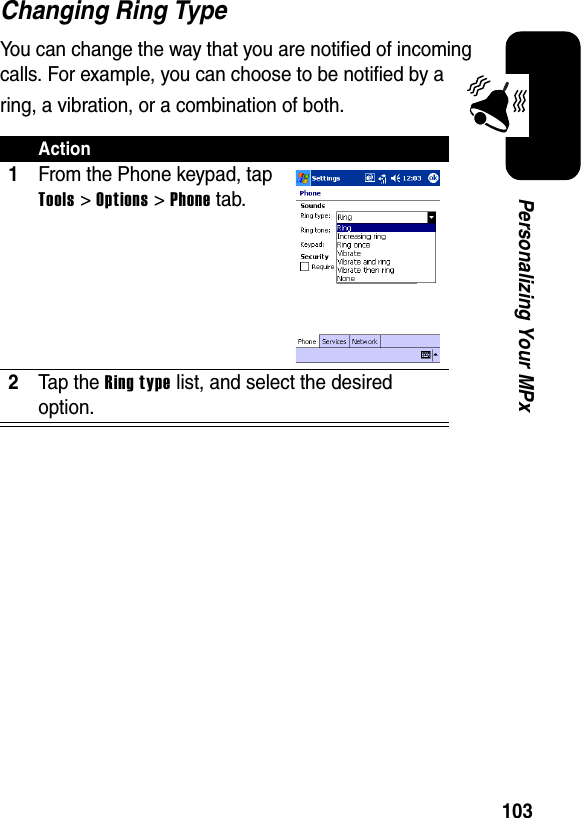

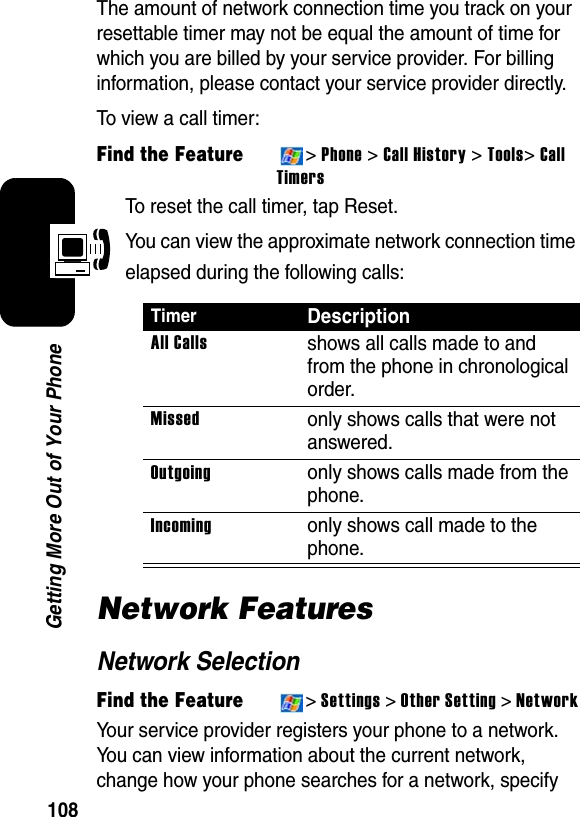

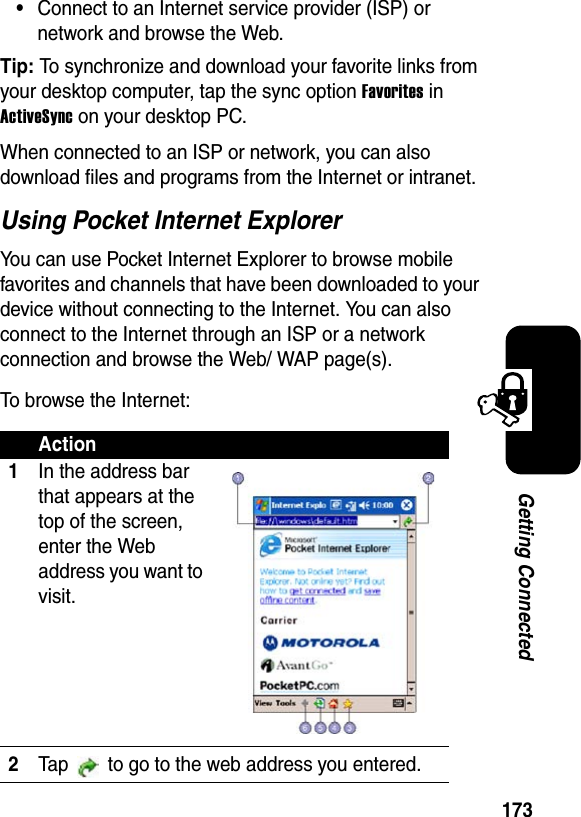
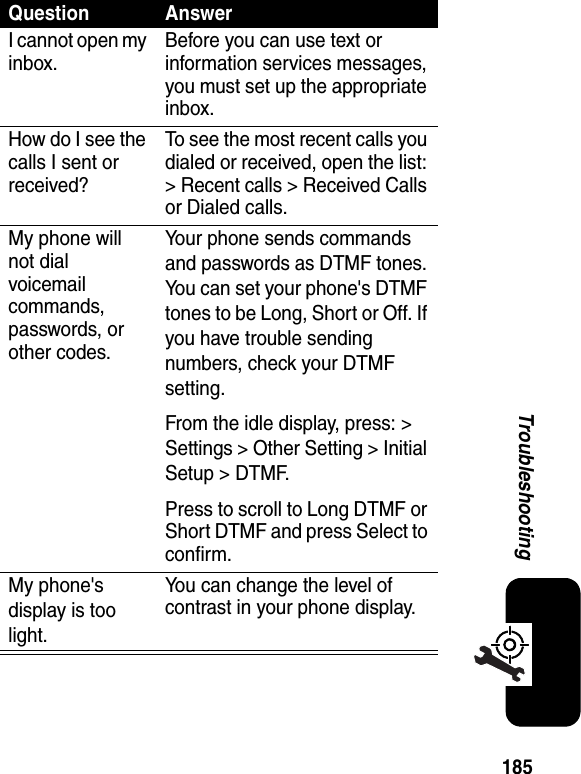
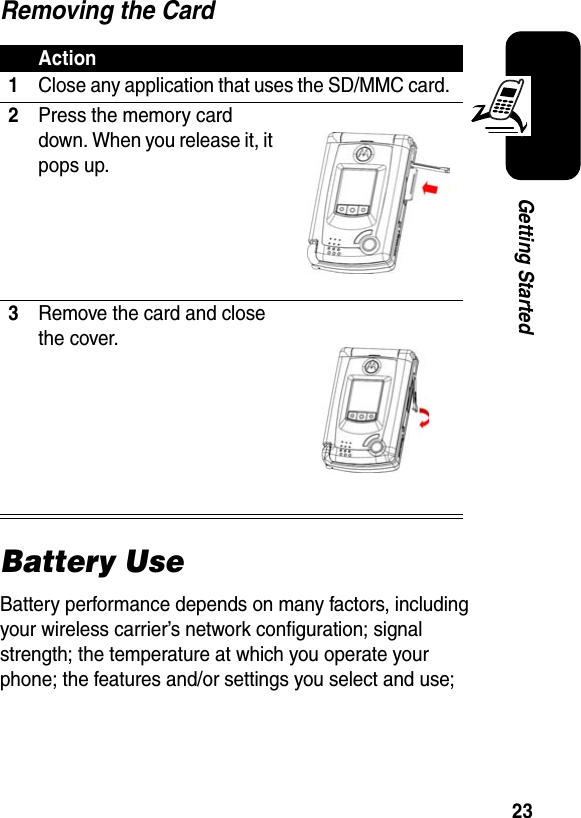
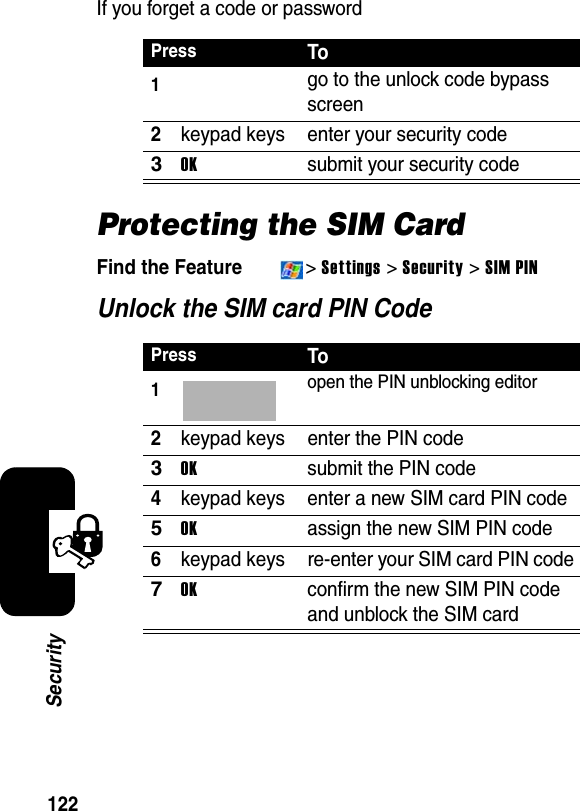
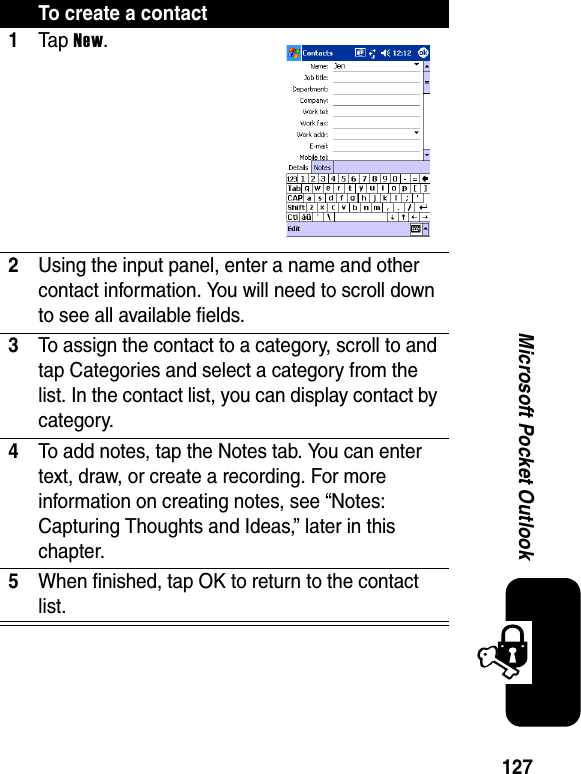
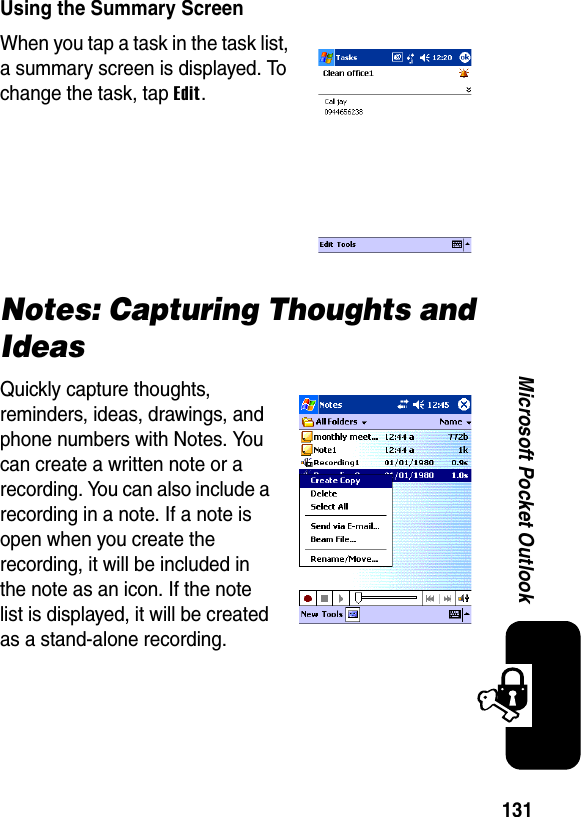
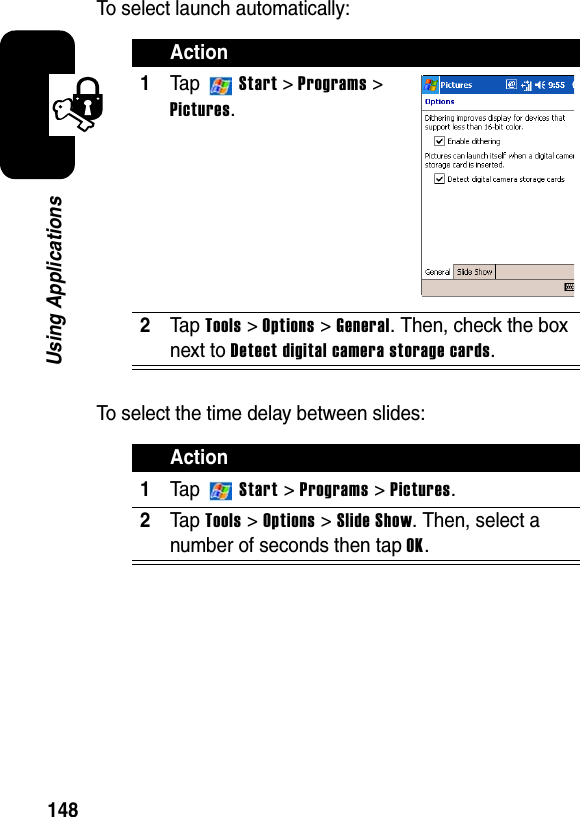
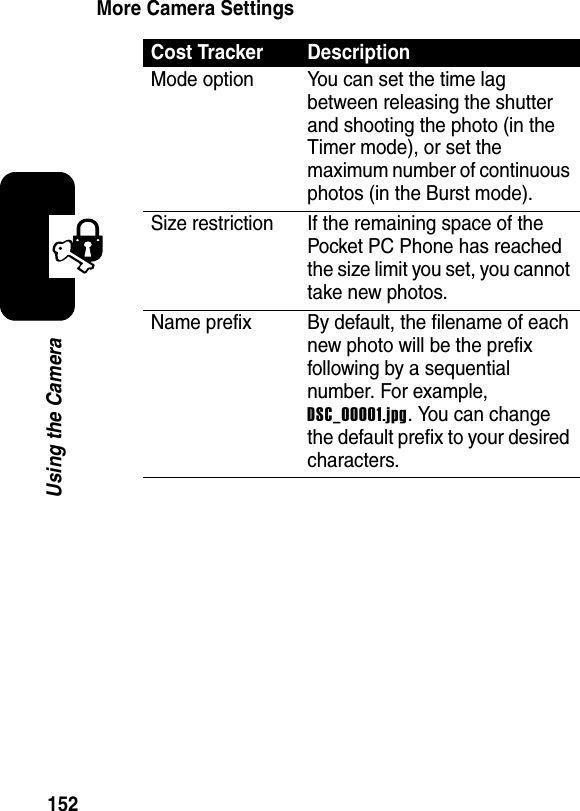
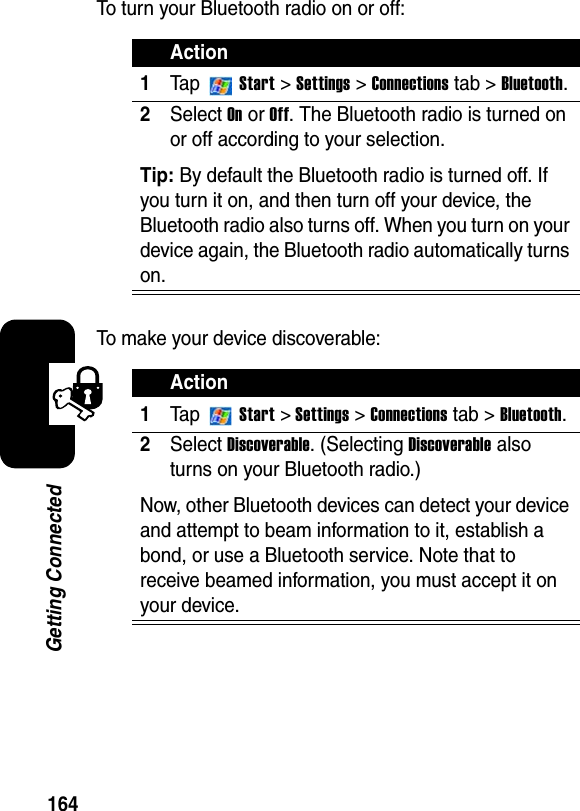
![117Personal Organizer FeaturesPersonal Organizer FeaturesAlarm ClockFind the Feature>Alarm SetNote:Your phone must be powered On in order for any alarm that you may have set to be activated.PressTo1>select[New Alarm]create/edit alarm itemAlarm content list:Name :Time:Alert:Volume:2>EDITsame as above3>DELECTdelete 1 alarm item4>DELECT ALLdelete all alarm items](https://usermanual.wiki/Compal-Electronics/MPX001.Exhibit-8-Users-Manual/User-Guide-467121-Page-120.png)


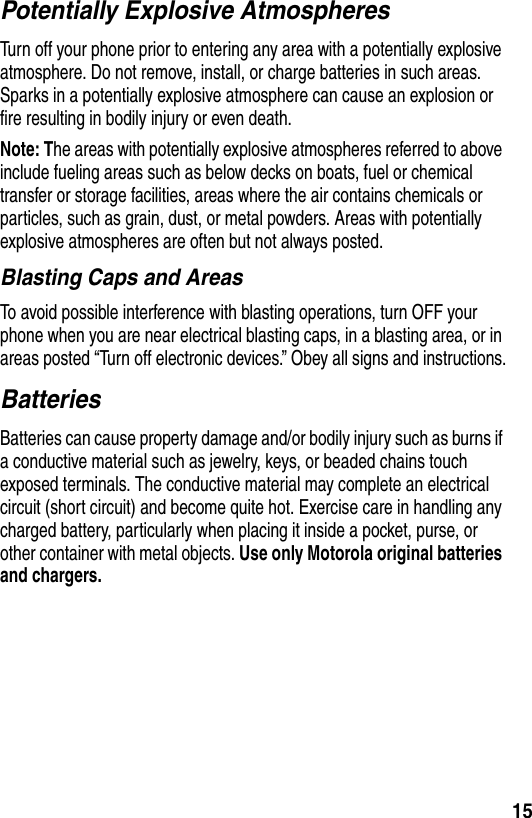
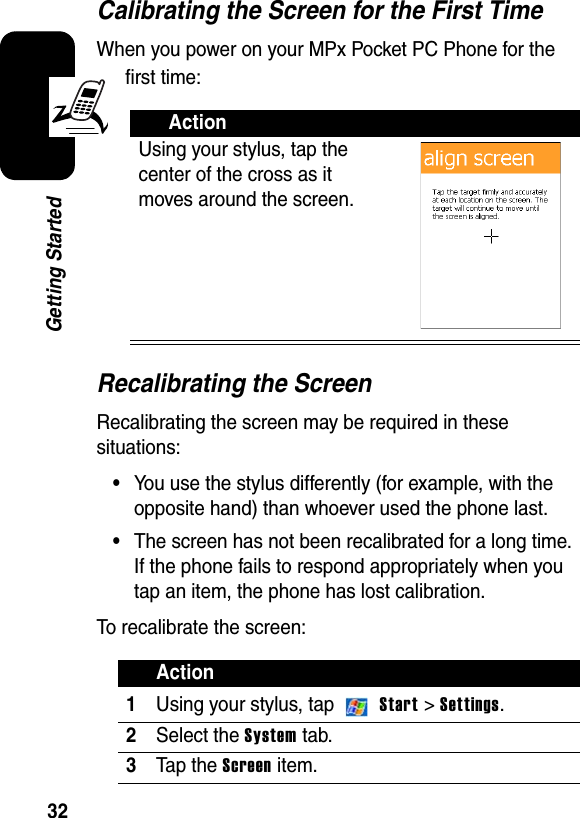
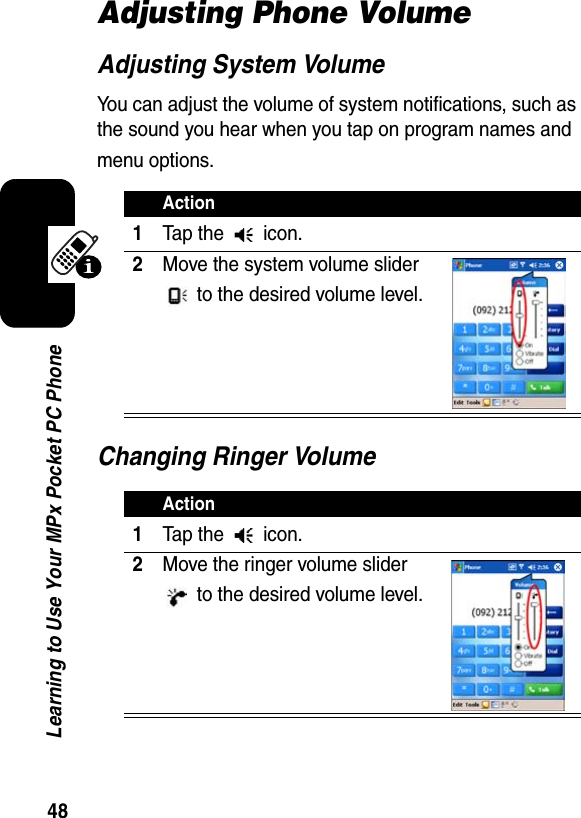
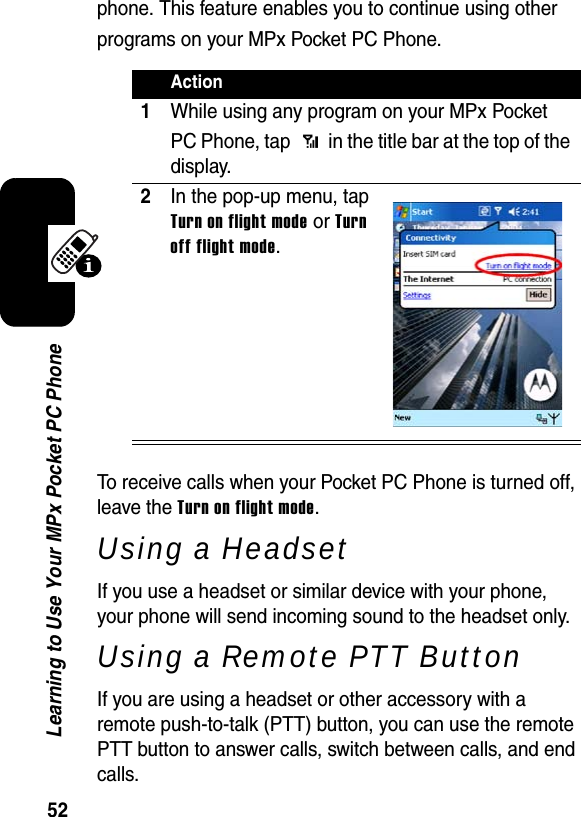
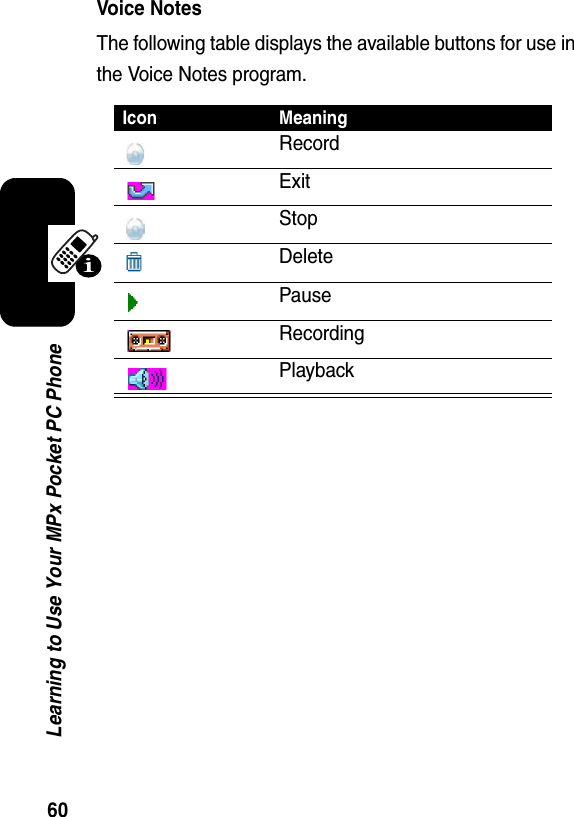
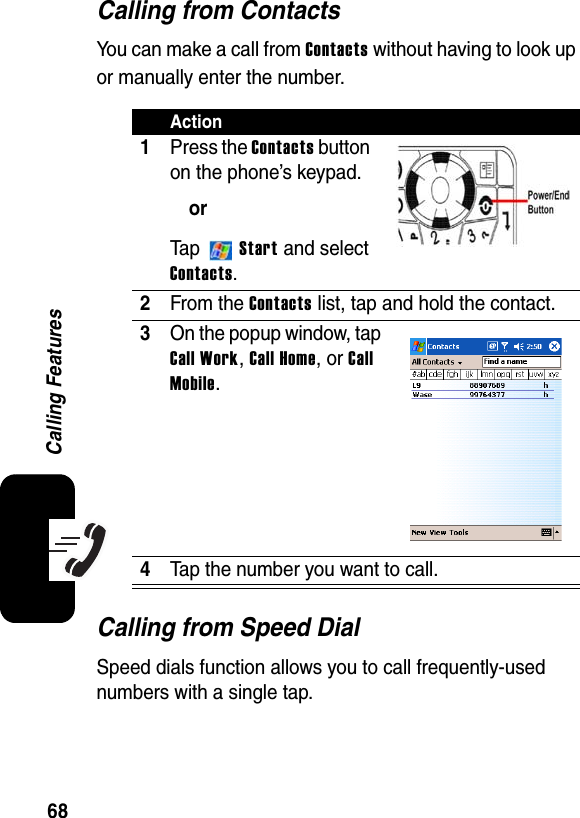
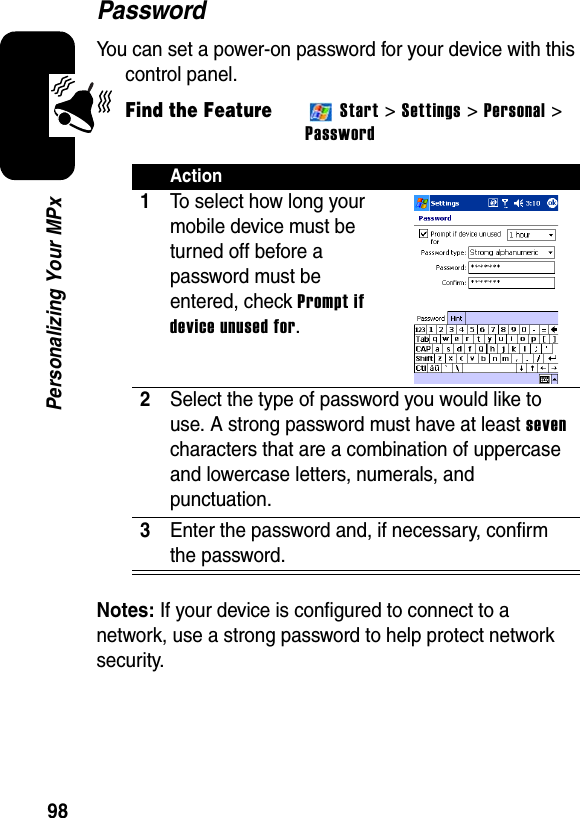
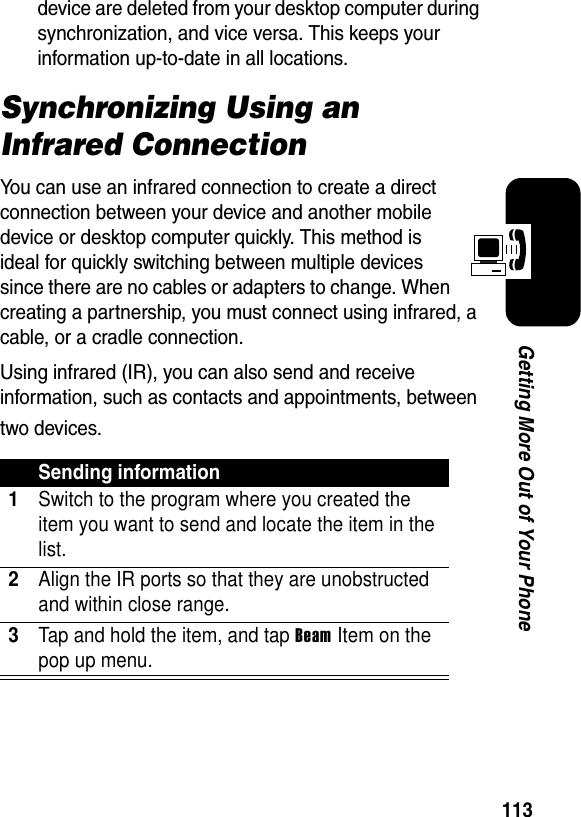
![169Getting ConnectedBeaming Information with BluetoothTip: If the device that you want to beam to does not appear in the list, make sure that it is turned on, in discoverable mode, and within 10 meters (10 meters) of your device. Also, make sure you're your Bluetooth radio is turned on.Action1Tap and hold an item to beam, such as an appointment in Calendar, a task in Tasks, a contact card in Contacts, or a file in File Manager.2Ta p Beam [type of item].3Tap the device to which you want to send the beam.The item is beamed to the device you selected.](https://usermanual.wiki/Compal-Electronics/MPX001.Exhibit-8-Users-Manual/User-Guide-467121-Page-172.png)