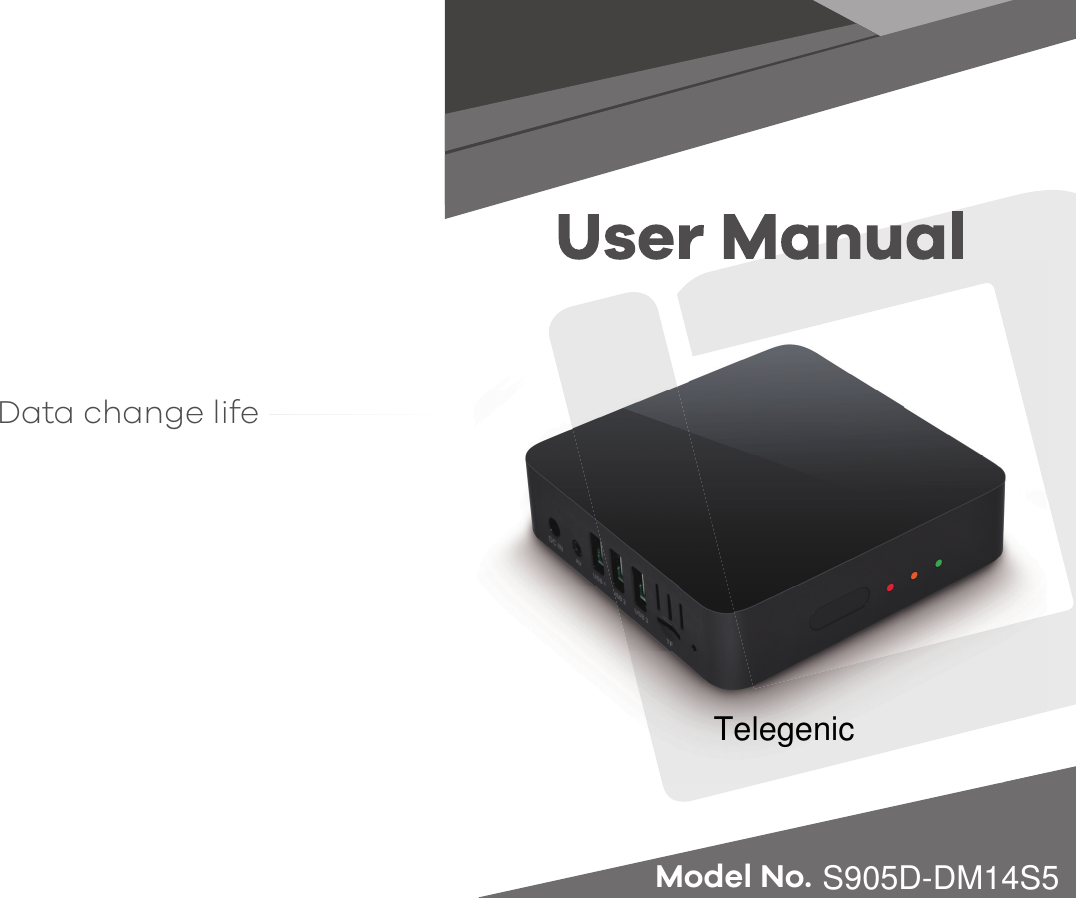
DATAMAX TECHNOLOGY S905D-DM14S5 Telegenic User Manual DM14

SZ datamax Electronic technology Co.,LTD Telegenic DM14

User Manual

Model No.Data change lifeS905D-DM14S5Telegenic
CatalogueChapter 1   OverviewChapter 2  ConnectionChapter 3  Remote ControlChapter 4  Initial ConfigurationChapter 5  Man MenuChapter 6  Local media playChapter 7  About APPChapter 8  SettingChapter 9  DTVChapter 10  UpdateChapter 11   Factory data resetChapter 12  TroubleshootingsChapter 13 Specification Page 1Page 2Page 3Page 4~5Page 6Page 7Page 8~10Page 11~14Page 15~21Page 22Page 23Page 24Page 25FCC Warning:This equipment has been tested and found to comply with the limits for a Class Bdigital device, pursuant to part 15 of the FCC Rules. These limits are designedto provide reasonable protection against harmful interference in a residentialinstallation. This equipment generates, uses and can radiate radio frequencyenergy and, if not installed and used in accordance with the instructions, maycause harmful interference to radio communications. However, there is no guaranteethat interference will not occur in a particular installation. If this equipmentdoes cause harmful interference to radio or television reception, which can bedetermined by turning the equipment off and on, the user is encouraged to tryto correct the interference by one or more of the following measures:o Reorient or relocate the receiving antenna.o Increase the separation between the equipment and receiver.o Connect the equipment into an outlet on a circuit different from that towhich the receiver is connected.o Consult the dealer or an experienced radio/TV technician for help.Caution: Any changes or modifications to this device not explicitly approvedby manufacturer could void your authority to operate this equipment.This device complies with part 15 of the FCC Rules. Operation is subject tothe following two conditions: (1) This device may not cause harmful interference,and (2) this device must accept any interference received, includinginterference that may cause undesired operation.This equipment complies with FCC radiation exposure limits set forth for anuncontrolled environment. This equipment should be installed and operatedwith minimum distance 20cm between the radiator and your body. This transmitter must not be co-located or operating in conjunction with anyother antenna or transmitter.
Chapter1. Overview                                                 Appearance and interface Power indicatorStandby  indicator RC receiverFRONT PANEL  PowerAV output USB slot TF card slotSIDE PANELREAR PANELLNB inputRF input ETHERNETHDMI output  OPTICAL output  1
Chapter2. Connection  SIDE PANELREAR PANELRF cableRF cable Lan          Power adaptorChapter3. Remote controlSHIFT INFOBACKMOUSECHANNELVOLDVBPLAY DELETEPAGE+PAGE-SUBTITLEL/REPG TEXTRECSWITCHMUTEPOWERPLAY STOP12378910111213141516 1718 1920 21232625272224465 1.POWER2.MUTE3.EPG  HOTKEY4.TEXT5.L/R AUDIO SWITCH6.SUBTITLE7. PLAY8.STOP9.SERVICE INFO FOR CHANNEL10.TIMESHIFT11.FBW Button12.FFW Button13.DISPLAY CHANNEL INFO14.RECORD15.DTV FUNCTION Buttons(RED,GREEN YELLOW,BLUE)16.HOME17.BACK18.CURSOR19.OK20.MENU21.MOUSE/REMOTE SWITCH22.VOL+/-23.PAGE UP24.PAGE DOWN25.Channel +/-26.NUNERIC ENTRY27.DTV PLAY HOTKEY32
 STEP 1At the “Welcome” page,click “Next”STEP 3Select output modeSTEP 2Select your favorite languageSTEP 4Adjust the display position on the watch with your TV set STEP 5Set up the wired network if you are using a wired home network STEP 7Press “Finish” to complete the initial configurationSTEP 6Set up the WiFi if you are using a wireless  home networkChapter4. Initial Configuration Chapter4. Initial Configuration54
 5.1 HomePress Left/Right/Up/Down Keys on your remote to select items and Press “ok” button to enter5.3 Smart AppPress Left/Right/Up/Down Keys on your remote to select items and Press “ok” button to enter5.2 APPLICATIONPress Left/Right/Up/Down Keys on your remote to select items and Press “ok” button to enterPress Empty to add your favorite app as a new shortcut, long press shortcut can delete yourfavorite appPress “Application” in main menu to select “file browser”, Press “ok” button to enterClick the video(or music), there would pop up a option menu, Select your favorite video(or music) player to start playing video(or music)Select “Local Disk” or “USB” driverPress “ok” button to enterClick the photos, there would pop up a option menu, Select your favorite photo player to start playing photos5.4 SettingsPress Left/Right/Up/Down Keys on your remote to select items and Press “ok” button to enter Chapter6.  Local Media PlayChapter5.  Man Menu Chapter6.  Local media play76
 7.1 About browser- Press “Application” in main menu select browser.- Use Brower to browse the web and visit your favorite websites.- Open multiple webpages, use the Windows menu to switch.- Create a bookmark in the Brower for quick visit.7.3 About multi screen communication7.3.1 DLNA- Click “Media center” in Apps list.- Turn on “ DLNA DMP ” and “ DLNA DMR ”.- Turn on DLNA in your android mobile device.- Start playing the video,music,photo in your adroid mobile device7.1.1 Open Webpage- Click the address bar to bring up the on screenvirtual key-board.- Type a URL and then click7.1.4 About App installer- Click “AppInstaller” in Apps list- Select the driver which APK allocated- Select the driver which APK allocated7.1.2 Book mark a webpage- Click     on the webpage to make a bookmark.- Click     on the webpage to open a bookmark.7.1.3 Open multipage at one time- Open a new page: click- Open a new page: click Chapter6.  Local Media PlayChapter7. About APP Chapter7. About APP98
 7.3.2 Airplay- Click “Media center” in Apps list.- Turn on “ DLNA DMP ” and “ DLNA DMR ”.- Turn on DLNA in your android mobile device.- Start playing the video,music,photo in your adroid mobile device7.3.3 Miracast- Click “Miracast ” in Apps list- Start searching other android device- Turn on the Mirocast option in your android mobile device- Select STB device name and connect it in your andorid mobile device- Start playing video,music,photos in your andorid mobile device8.1 Network setting8.1.1 Wi-Fi setting- Click ”Network settings”, select Wi-Fi, click Wi-Fi settingsbutton to on or off to open Wi-Fi or close Wi-Fi.8.1.2 Ethernet  setting- Click ”Network settings”, select Ethernet, if Dynamic IP, whenplug Ethernet cable, Ethernetsettings will display “Connected”- Open Wi-Fi, waiting till Wi-Fi scanning finished, select Wi-Finetwork name from the list, inputpassword, click “connect”- You can use setting to re-config your network, display,language…etc. Chapter6.  Local Media PlayChapter7. About APP Chapter8. Setting1110
 8.2 Display setting8.2.1 Auto output mode- Click Auto output mode button to “on”8.3 Time settings 8.3.1 Date and time- keep “use network-provided time” on can keep TV display correct date and time as local date and time.- Close “Use network-provided time” can input new date and new time in “ set date ” and “set time ”.8.4 Language settings 8.4.1 OSD language settings- Click language setting,select the language as OSD language from language list,click “ok” to save and back.8.1.3 Portable Wi-Fi hotspot- This device can provide Wi-Fi hotspot for other network devices including PC,mobile,Pad…etc.They can get Free Wi-Fi sevice from this.Click Wi-Fi hotpot button to on, you can set network SSID name,Securtiy,Password as following,Password must be 8digits at least. Click save.Then you can search SSID name in other network devices with inputting the same password to receive Wi-Fi signal.8.2.3 Display position- Click display position,press “up” or ”down” key on the remote to adjust display position,Click “back” key to save and back- If select Static IP, click “static” in IP settings, revise address in IP address bar,Network gateway barand DNS bar,click save.8.2.2 Select output mode by hand- Click output mode to “off’’ ,Click HDMI output mode setting- Select the mode in the pop-up list- Presss ok to confirm and back8.3.2 Set time zone- Click the select time zone bar,select time zone from the pop-up list,click ok to save and back.Chapter6.  Local Media PlayChapter8. Setting Chapter8. Setting1312
 8.5 System information8.5.1 System information- Click system information to see model No., Android Version, Software Version, Hardware version, Apk version, IP address,Mac Address, Serial number.8.6 More other settings- Click Advanced settings for more other settings.9.2 Channel Manager - Click “Channel Manger”, Manage your Channel list.9.1 DTV model - This device provides ATSC digital singal receiving- Select DTV logo in Home page,Manage Channel List- OK: select a channel- FAV : select a channel as your favorite Channel- Lock: Parents Lock- Edit: move, rename,sort ,delete a channel- Skip: Skip the Channel when switch channels8.4.2 Input method settings- Click input settings,click input method from the list,click “ok” to save and back then you use new input method.8.5.2 Memory information- Click Memory information to see the memory space and internal storage space.9.2.1 Channel List Edit- Click “Channel List Edit”, input default password“0000”Chapter6.  Local Media PlayChapter8. Setting Chapter9. DTV1514Press "Menu" key on remote to enter into the DTV interface,
    9.3 EPG 9.2.3 Delete All Channels- Click “Delete All Channels”.- Input password “0000”.- Press “OK” to confirm.Edit Channel- OK: select a channel- Move: change the sequence of a channel- Rename: change the name of a channel- Sort: Sort of the channel list- Delete: Delete a channel9.3.1 Click “EPG” to watch your EPG list- Press “ok” to book a TV program.- Press blue button on remote to check the book list.9.3.2 Book EPG- Press blue button on remote to check the book list.9.2.2 Favorite List Edit- Click “Favorite List Edit”. - input default password“0000”.- Rename: Press right/left key on remote, select a Favorite group, change Favorite Group Name as you like.- Remove: Press right/left key on remote, select a Favorite Channel, remove the channel from the list.Chapter6.  Local Media PlayChapter9. DTV Chapter9. DTV1716
    9.4 DTV preference9.4.1 General settings- Antenna Power: Press right/left button on remote to set Antenna Power to “on” or “off ”.- Area Setting:Press right/left button on remote to- Chanenel mode: CH3/CH4/LOOP THROUGH- Closed caption:Press "ok" to enterThen set closed caption setting9.4.2 Parental control- Click “Parental control”.- Click “DTV preference”.- Press red button on remote,you can add a new channel   into the timer list.- Menu Lock: Press right/left button on remote to select “on” or” off” to lock or unlock the menu.- Channel Lock: Press right/left button on remote to select “on” or “ off ” to lock or unlock the channel.- Parental rating: Press right/left button on remote to select the  children old from 4-18years.- Set password: set new password.9.4.3 PVR setting- TimeShift Length: 1minute/5minute/30minutes/1hour/user-defined- Record Length: Auto/1minute/10minutes/30minutes/1hours/user-defined- Device Name: Press “ok” to select device name from the listSelect one channel- Press green button on remote,you edit channel EPG infomation.- Set your preferred DTV playing setting.Chapter6.  Local Media PlayChapter9. DTV Chapter9. DTV- Switch Channel mode: Freeze /Blank- First audio language: Press right/left button on remote, select language.- Subtitle language: Press right/left button on remote, select language.-  input password “ 0000 ”.1918- Banner timeout:Press right/left button on remote to set banner timeout from 3seconds,5seconds,7seconds,10seconds options.- Aspect mode: 16:9/4:3/Full stretch/Auto- Tuner Loop-through during Standby: On/Off set  area to "air" or "cable"- Second audio language: Press right/left button on remote, select language.
    9.5 ATSC TV receiving9.4.4 Record list- Press “ok” to play the record.- Press red button on remote to select the record.- Press green button on remote to rename the record.- Press blue button on remote to delete the record.- Press yellow button on remote to lock the record.9.4.5 Timer list- Press red button to add a new channel.- Press green button to edit the channel.- Press Yellow button to delete the chanel.- Press " "ok button on remote to start searching.9.7 DTV data reset- Click DTV data reset, input password “ 0000 ”.- Click “OK” to confirm.Chapter6.  Local Media PlayChapter9. DTV Chapter9. DTV- Click “Auto search” to set scanning type,- Click “Manual Search”.- Press blue button on remote to edit scanning setting.- Click "IInstallation" enter into the ATSC   receiving interface.2120- press start to start searching automaticly
   Local update- Select setting in main menu,click “system upgrade”.- Select “Local Update”,click “ok” to Enter.- Click “select” button, select the new software, press “ok” to back.- Click “Update” button to start update.Chapter6.  Local Media PlayChapter10.  Update Chapter11. Factory data reset- Click “system data reset” ,press “ok” to confirm.- Select settings in main menu, select “System Advance”.2322- Click “Factory data reset”.
   In some region, the digital terrestrial signal may be weak. So you'd better use the antenna inwhich the booster was built, for watching the weak signal channels.Chapter6.  Local Media PlayChapter12. Troubleshootings Chapter13.Specification ProblemStandby light not litNo signal foundNo picture or soundScrambled channelmessageNo response to remotecontrolForgotten channel lockcodeForgotten menu lockcodeThe remote control willnot operate your STBAfter moving the STB toanother room you find youare no longer abletoreceive digital receptionMains lead unpluggedMains fuse blownAerial is disconnectedAerial is damaged/misalignedOut of digital signal areaHDMI/AV is not selected on your TVChannel is scrambledReceiver offHandset not aimed correctlyFront panel obstructedHand set batteries exhausted(1) The batteries inyour remote     control need replacing(2) There is an obstruction     blocking the signal path     between the remote control     and the box.The aerial feed formernew pointmay come through a distributionsystem which may reduce thedigital signal now received bythebox.Check mains leadCheck fuseCheck aerial leadCheck aerialCheck with dealerReduce to another channelSelect alternative channelPlug in and turn onplugAim handset at front panelCheck for obstructionsReplace handset batteriesRe-install channels to cancelchannel lockContact help line(1) Replace the batteries(2) Check that thereis nothing in     the way of the pathbetween     the remote control and the     receiverTry a direct feed from the antenna   Possible cause  What to do      Design and Specifications are  subject to change without  notice.NOTE:CPUGPUMEMORYOSTUNER&CHANNELDECODERVIDEO DECODERPHOTO DECODERVIDEO OUTPUTMODULATIONCONNETIONMAIN POWER CABLETUNERDATA PORTHDMIOPTICALAVETHERNETPOWER SUPPLYINPUT VOLTAGEPOWER CONSUMPTIONAMLOGIC S905D QUAD-CORE 64-BIT CORTEX-A53UP TO 2.0GHzPENTA-CORE MALI4501G DDRIII8G EMMC FLASHANDROID 6.0RF INPUT CONNECTOR x1RF OUTPUT CONNECTOR x1(F-TYPE,FEMALE)UHD 4K 60FPS,FHD 1080P 60FPSH.265 10-BIT, H.264, VC-1, MPEG1/2/4MP3,AAC,WMA,RM,FLAC,OGG4:3/,16:9 SWITCHABLEHDMI, AVQPSK,16QAM,64QAM, 256QAMFIXED TYPERF INPUTx1,RF OUTPUT x1USB X3 TFX1HDMI OUTPUT x1SPDIF x1AV OUTPUTx1R 45x112V/1AMAX. 6W2524(F-TYPE,FEMALE)

Navigation menu