DM Technology DM-AV7 Portable Mulitmedia Player User Manual AV7 ENG 1116
DM Technology Co., Ltd. Portable Mulitmedia Player AV7 ENG 1116
Contents
- 1. USERS MANUAL 1
- 2. USERS MANUAL 2
- 3. USERS MANUAL 3
- 4. USERS MANUAL 4
USERS MANUAL 3

Voice Record
Operation
16
Option
VOICE
VOICE001 . VOC
VOICE001 . VOC
VOICE002 . VOC
VOICE003 . VOC
VOICE004 . VOC
8.0KHz
32Kbps
785KB
0:03:21
0:00:00
REPEAT VOL
USE / TOTAL
IN
178 / 250MB OFF
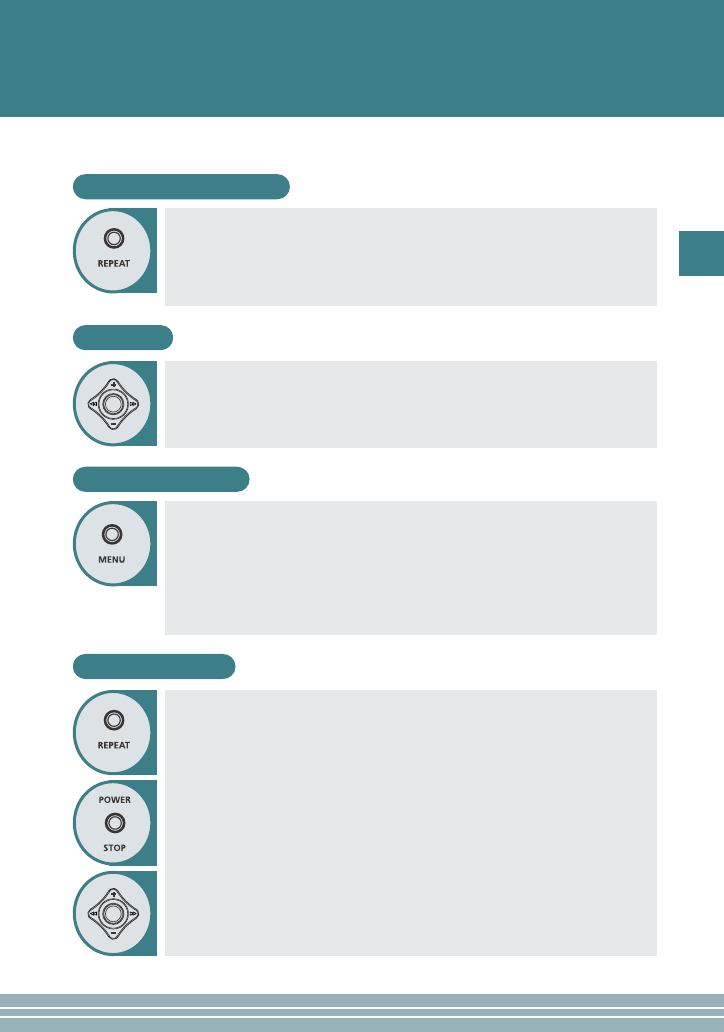
VOICE RECORD
ŒŒAfter moving to "VOICE RECORD LIST" by using the JOG key, press the
JOG key for selection.
´´
Press the REC button to start recording.
- While recording, the current file name and progress time are displayed at the
top of the list.
-When done, press the STOP button to exit the recording.
- The recorded files are displayed in the voice record list by name so that you
can select one from the list and play it.
- All operations are locked while recording.
Press the MENU button to move to the menu screen.
The menu screen will be displayed.
Playback
Move to a file from the voice record list and press the JOG key to select it.
- This plays the voice record file that you selected.
- You can use the JOG key to move to another file during playback.
- Press the STOP button to stop playback and switch to the file list.
17
ENG
Repeating Playback
Search
ŒŒ
Move and hold down the JOG key to the left or right to move the current
file to the previous or next position.
´´
It supports up to 16X search, during which no sound emits.
ˇˇ
Even while searching, you can play a file by pressing the JOG key.
Press the REPEAT button to change modes.
OFF : Automatically plays the next file when the current one is over.
ONE: Plays the current file repeatedly.
ALL: Plays all files in the voice record list repeatedly.
Repeat Section
ŒŒ
This plays a selected section of the current file repeatedly.
´´
Press and hold down the MENU button once to select the start point
(A point) of a section.
ˇˇ
Press and hold down the MENU button again to select the end point (B
point). This will start playing the section (A-B).
¨¨
During the section repetition, press the MENU button again to deactivate
it.
Deletiog a File
ŒŒ
Use the JOG key to select a file that you want to remove from the file list
and press it again for more than 2 seconds.
(When you want to delete all files in the list, press and hold down the REPEAT
button for more than 2 seconds)
´´
Press the Stop button and select OK to delete the files in the list
sequentially.
ˇˇ
You can deselect the selected file for deletion in the same way as for file
selection.
(Press and hold down the JOG key and then the REPEAT button for more than
2 seconds to deselect the file)
Operation
18
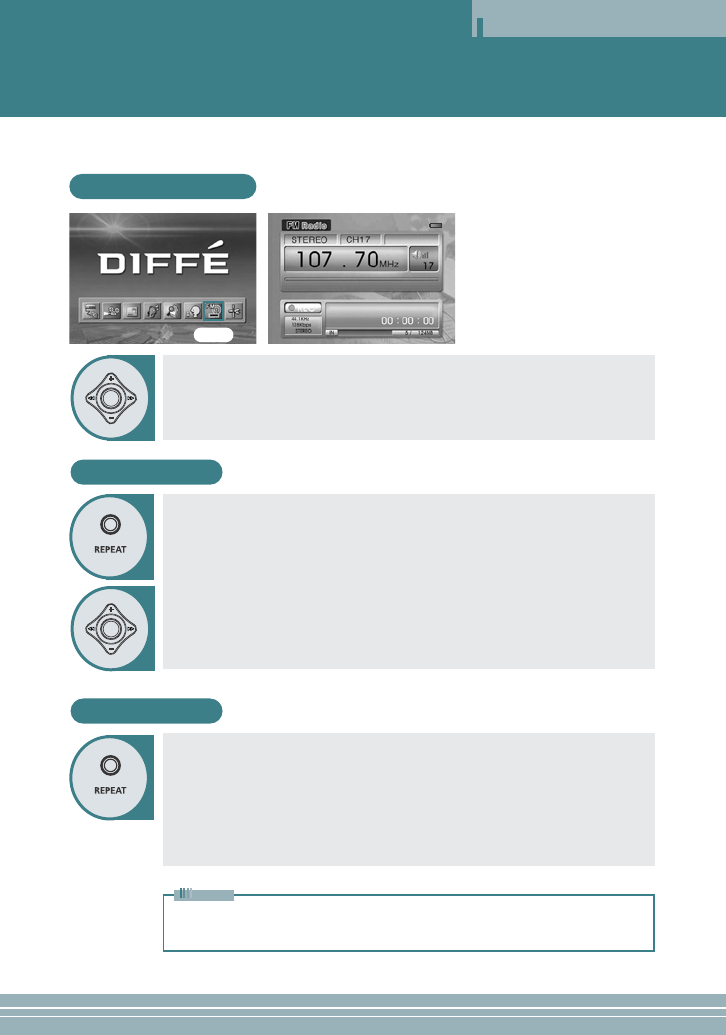
FM RADIO
After moving to "FM RADIO MODE" by using the JOG key, press the JOG key
for selection.
Search Mode
ŒŒ
Press the REPEAT button to enter search mode.
Achannel is not displayed in search mode.
´´
Move the JOG key to the left or right to increase or decrease the radio
frequency.
ˇˇ
Hold the JOG key to the left or to the right to automatically search for the
next or previous channel. (Press the JOG key to stop the operation.)
¨¨
Hold down the JOG key to save a channel to the PRESET LIST.
(A maximum of 20 channels can be saved.)
Preset Mode
ŒŒ
Press the REPEAT button to enter preset mode.
Achannel is displayed in preset mode.
´´
AUTO MEMORY: If you hold down the REPEAT button, channels are
automatically searched for and subsequently saved in the PRESET LIST.
(Press the JOG key to stop the operation.)
ˇˇ
Operate the JOG key to select and listen to a channel.
¨¨
Hold down the JOG key to delete the selected channel from the PRESET LIST.
FM RADIO(Option)
In a weak-electrical field area where propagation is weak, some channels may not
be able to be saved.
Note
Option

19
ENG
Operation
FM RADIO & Memory Setting
ŒŒPress and hold down the MENU button to display a window that enables
you to set the FM broadcasting area and the memory for recording.
´´Use the JOG key to select and set an item and press the STOP button to
start broadcasting.
Recording an FM Program
ŒŒ
Press the REC button to start recording the FM program you are currently
hearing.
´´
During recording, the “REC” mark is red and the name of the currently
recording file and the recording time are displayed at the bottom right.
- Press the STOP button to stop recording.
- The recorded file is saved with the displayed name to the MP3 list. You can
select and play the recorded file in MP3 mode.
- All operations are locked by the REC button.
You can convert MONO sound to STEREO sound by using STOP button.
Note
Operation
20
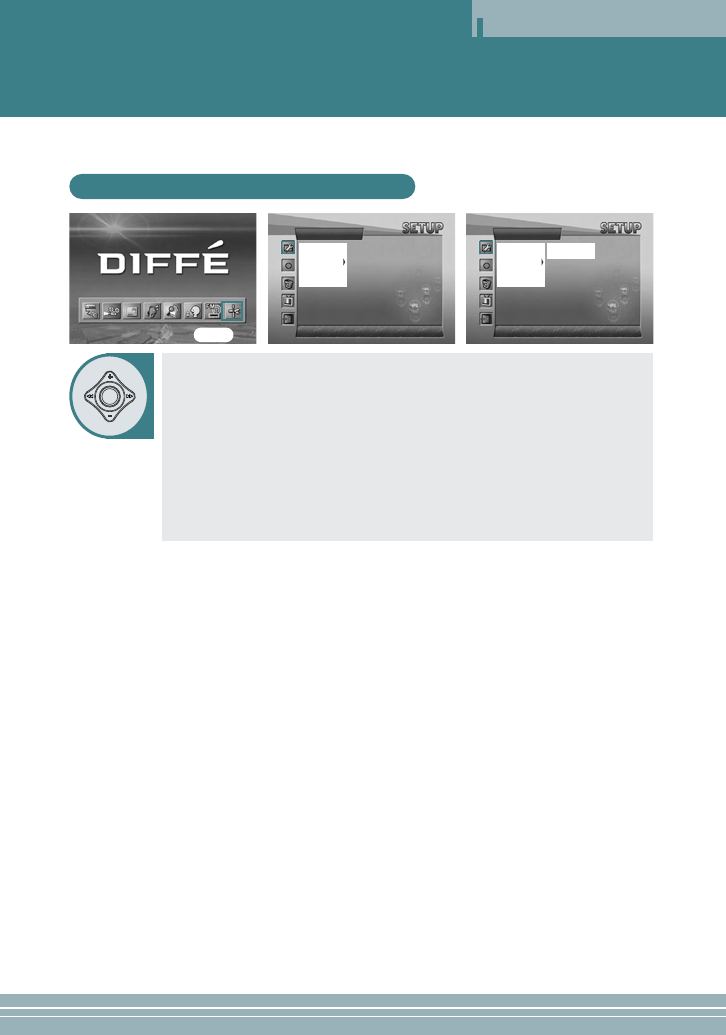
Using a System Setup Menu
How to use a System Setup Menu
ŒŒSelect the item you want to set among GENERAL SETUP, RECORD SETUP,
MEMORY SETUP, DISPLAY SETUP, SETUP EXIT by using the JOG key.
´´Move to a detailed setup item in the selected setup menu by using the JOG
key.
ˇˇAfter moving to a desired menu by using the JOG key, press the JOG key
for selection.
¨¨After moving to or adjusting a desired menu by using the JOG key, press
the JOG key to save the state of setup.
-Press the STOP button to move to the upper menu.
-Press the MENU button to move to the menu screen.
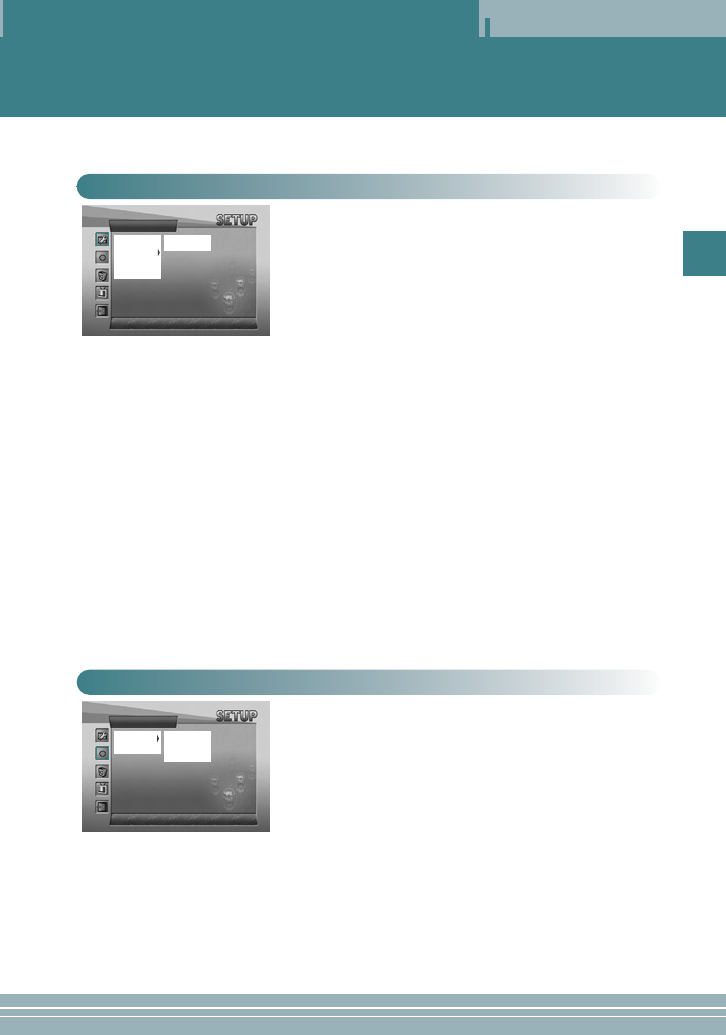
GENERAL SETUP
✓MEMORY
LANGUAGE
POWER SAVE
BATTERY
RESET
UP GRADE
GENERAL SETUP
✓MEMORY
LANGUAGE
POWER SAVE
BATTERY
RESET
UP GRADE
✓INTERNAL
EXTENDED
Option
21
ENG
Operation
•MEMORY
INTERNAL: Use when playing, recording, deleting, and
formatting the contents of the built-in memory. An SD card
cannot be used.
EXTENDED: Use when playing, recording, deleting, and
formatting the contents of an external SD card. The built-in
memory cannot be used.
Note: From the main menu, press and hold down the MENU button to set
the memory for recording.
•LANGUAGE
Use to select a language.
•POWER SAVE
Use to set the power saving function. When the function is set,
power will be shut down after a certain time (five minutes)
elapses in the state of stop.
•BATTERY
ALKALINE: Select this when you want to use an alkaline
battery.
RECHARGE: Select this when you want to use a rechargeable
battery.
Note: The remaining battery capacity is displayed on the screen
•RESET
Use to initialize all settings (factory default).
•UPGRADE
Use to upgrade the firmware that has been downloaded through
USB.
GENERAL SETUP
•MPEG4
Use to select the picture quality of video recording.
S-FINE: Highest quality
FINE: High quality
NORMAL : Normal quality
ECONOMY : Lowest quality
Note: Please refer to the page 34 regarding each recording time.
•MP3
SAMPLE RATE/BIT RATE: Use to select the quality of recording.
CHANNEL: Use to select MONO or STEREO during recording.
•INPUT
Sets the level of the input audio.
RECORD SETUP
RECORD SETUP
✓MPEG4
MP3
INPUT
✓S-FINE
FINE
NORMAL
ECONOMY
GENERAL SETUP
✓MEMORY
LANGUAGE
POWER SAVE
BATTERY
RESET
UP GRADE
✓INTERNAL
EXTENDED
Operation
22
Using a System Setup Menu
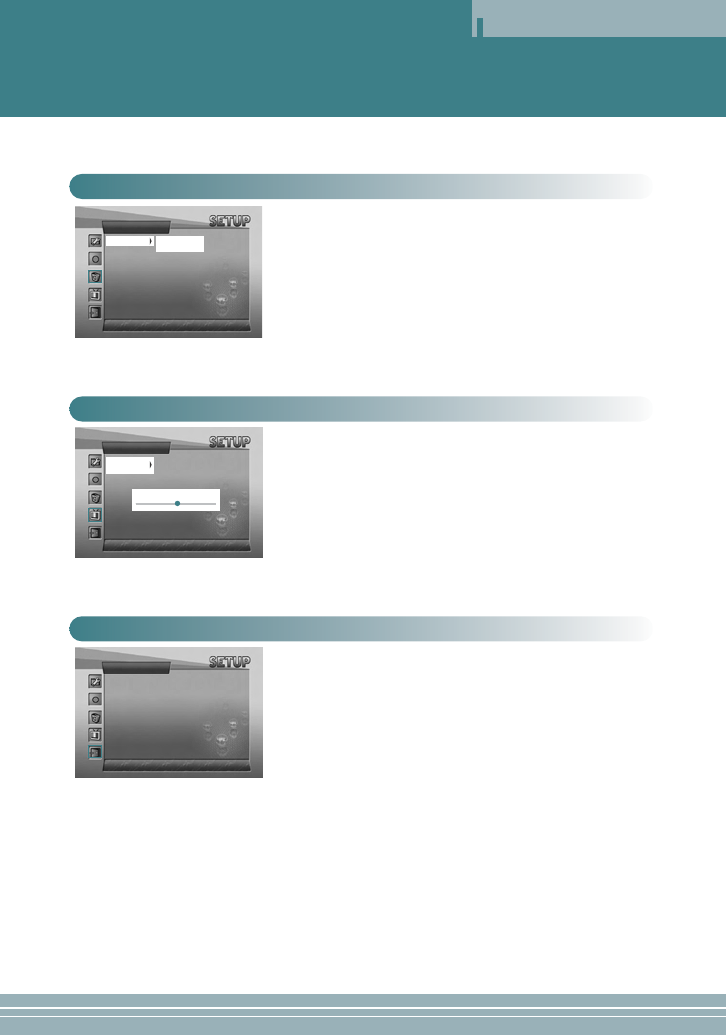
•FORMAT
INTERNAL: Use to delete all the files in the built-in memory.
EXTENDED: Use to delete all the files in the external SD card.
MEMORY FORMAT
•BRIGHTNESS
Use to adjust the brightness of the LCD window.
•CONTRAST
Use to adjust the sharpness of the LCD window.
DISPLAY SETUP
The Setup menu will disappear and the menu screen will be
displayed.
SETUP EXIT
SETUP EXIT
MEMORY FORMAT
✓FORMAT ✓INTERNAL
EXTENDED
DISPLAY SETUP
✓BRIGHTNESS
CONTRAST
LCD BRIGHTNESS SETUP
23
ENG
Connection
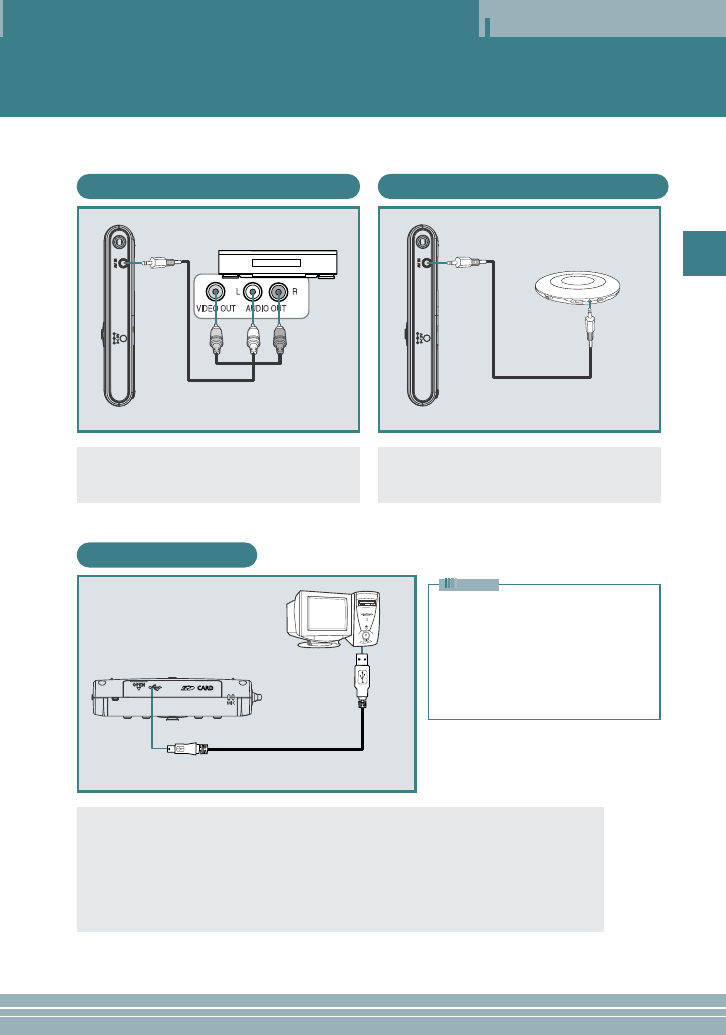
Connecting an External Component and USB
Connecting an AV Component
•Connect a Video/Audio cable between the
A/V component (DVD/VCR) and the player.
•Connect an USB cable between a PC (Windows ME, Windows 2000, Windows XP) and
the player.
•Enter Windows Explorer after USB is recognized by the PC.
•This player is displayed as a portable disc in the list of folders of Windows Explorer.
•Methods of copying or deleting a file with a portable disc are same with the using
methods in Windows.
Connecting an Audio Component
•Connect an Audio cable between the audio
component and the player.
Connecting USB
• When moving, copying, or deleting a
file through USB, remove the USB
after making sure that the USB
connection message window
disappears. During the connection
of USB, all the buttons on this player
do not operate.
Note
A/V component (DVD/VCR)Right side of
the player
Video/Audio cable
Audio component
(Portable CD Player,
Portable Cassette Player,
PC Audio output)
Right side of
the player
Audio cable
PC
Upper part of the player
USB cable