Dell 512ANHMW Intel Wi-Fi Link 5100 Series User Manual book
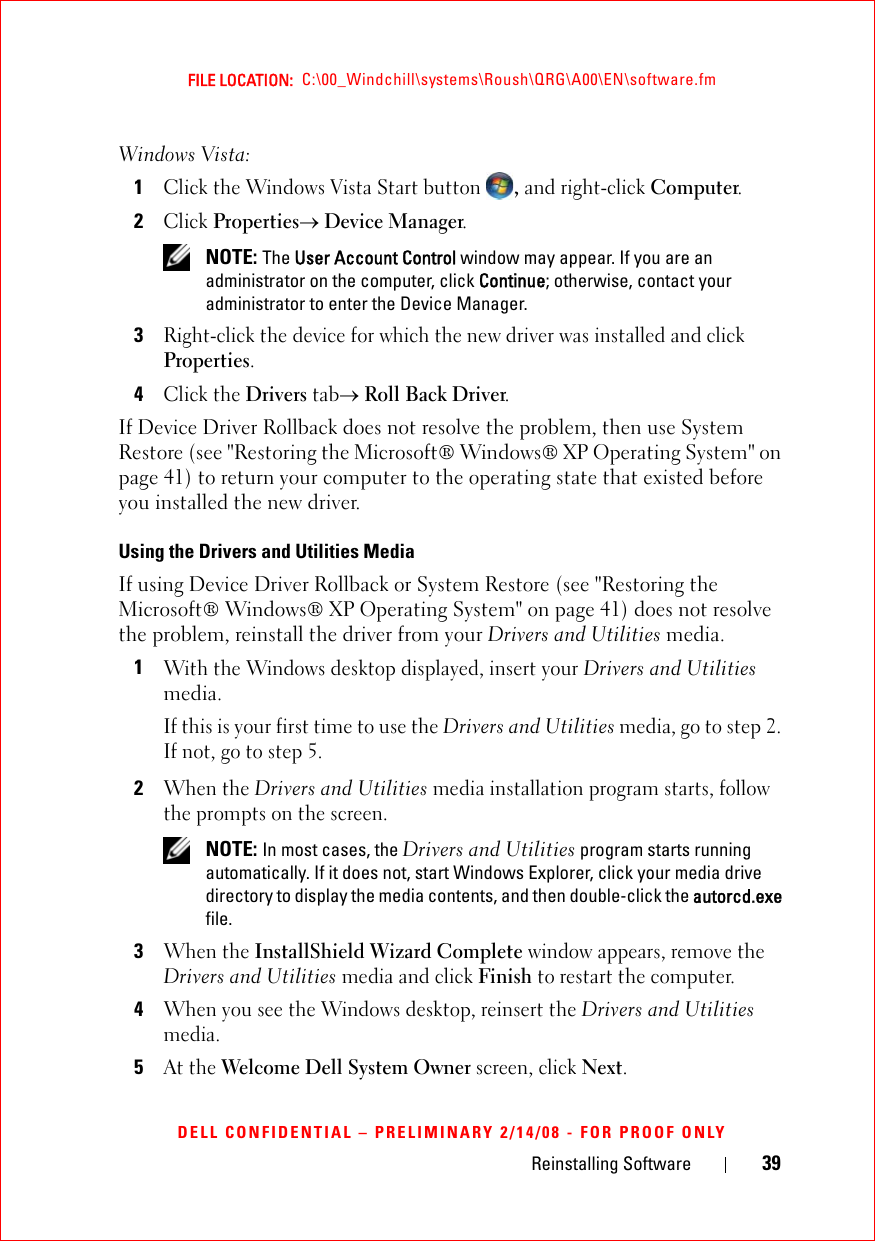
Dell Inc. Intel Wi-Fi Link 5100 Series book
UserManual.wiki
>
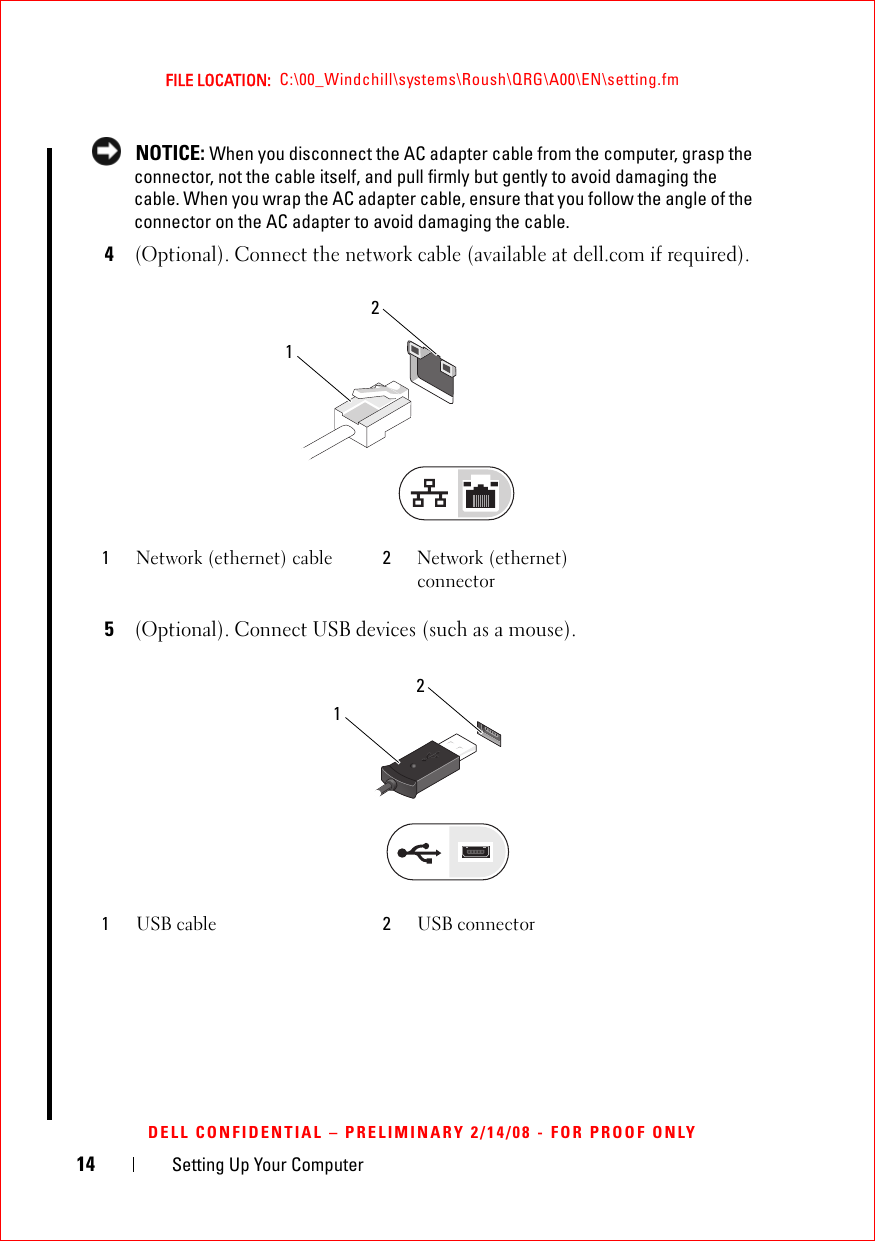
Dell
>
512ANHMW User Manual
>
User Manual 4
Contents
1.
User Guide 1
2.
User Guide 2
3.
User Guide 3
4.
XP User Guide 1 of 3
5.
XP User Guide 2 of 3
6.
XP User Guide 3 of 3
7.
User Manual 1
8.
User Manual 2
9.
User Manual 3
10.
User Manual 4
11.
User Manual
User Manual 4
Navigation menu
Upload a User Manual
Namespaces
Wiki Guide
HTML
PDF
Info
Views
User Manual
Discussion / Help
Navigation


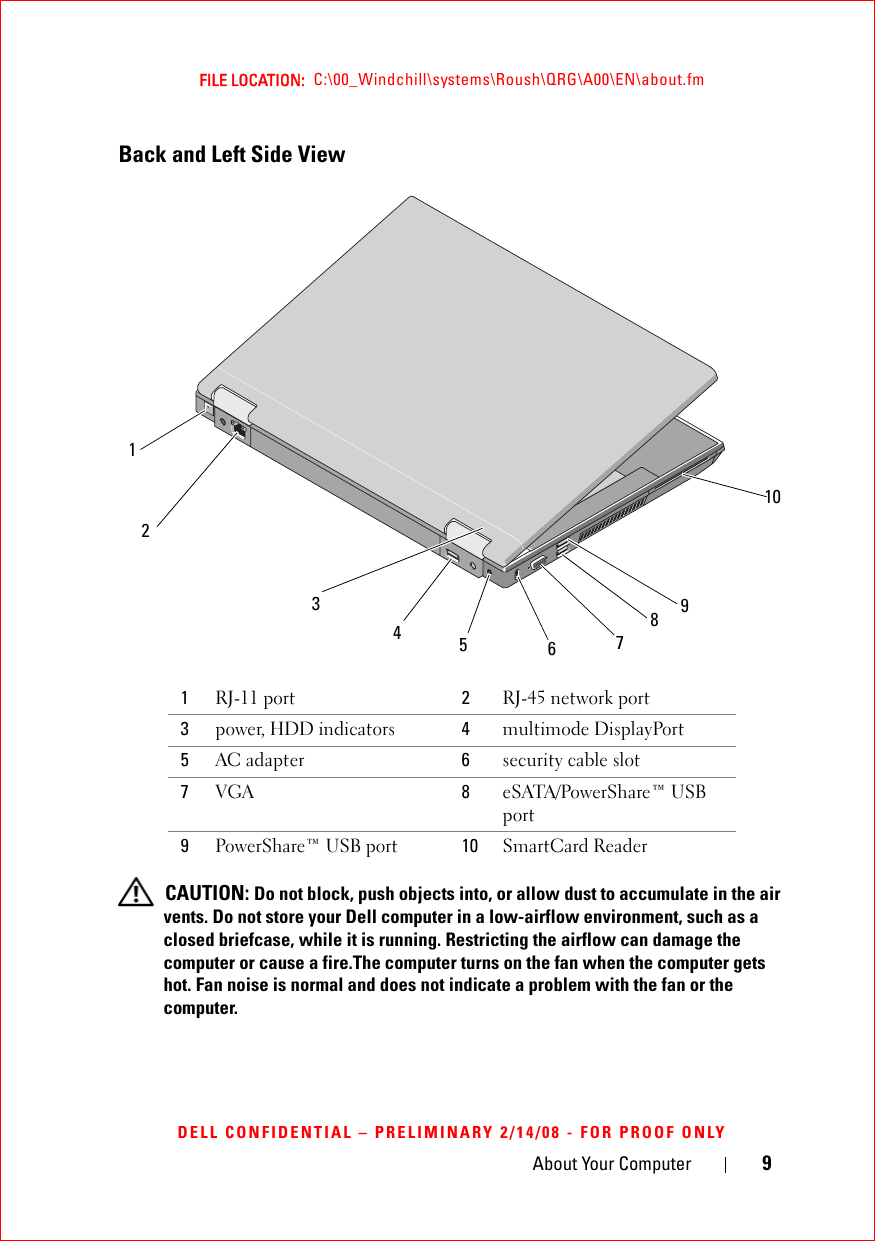

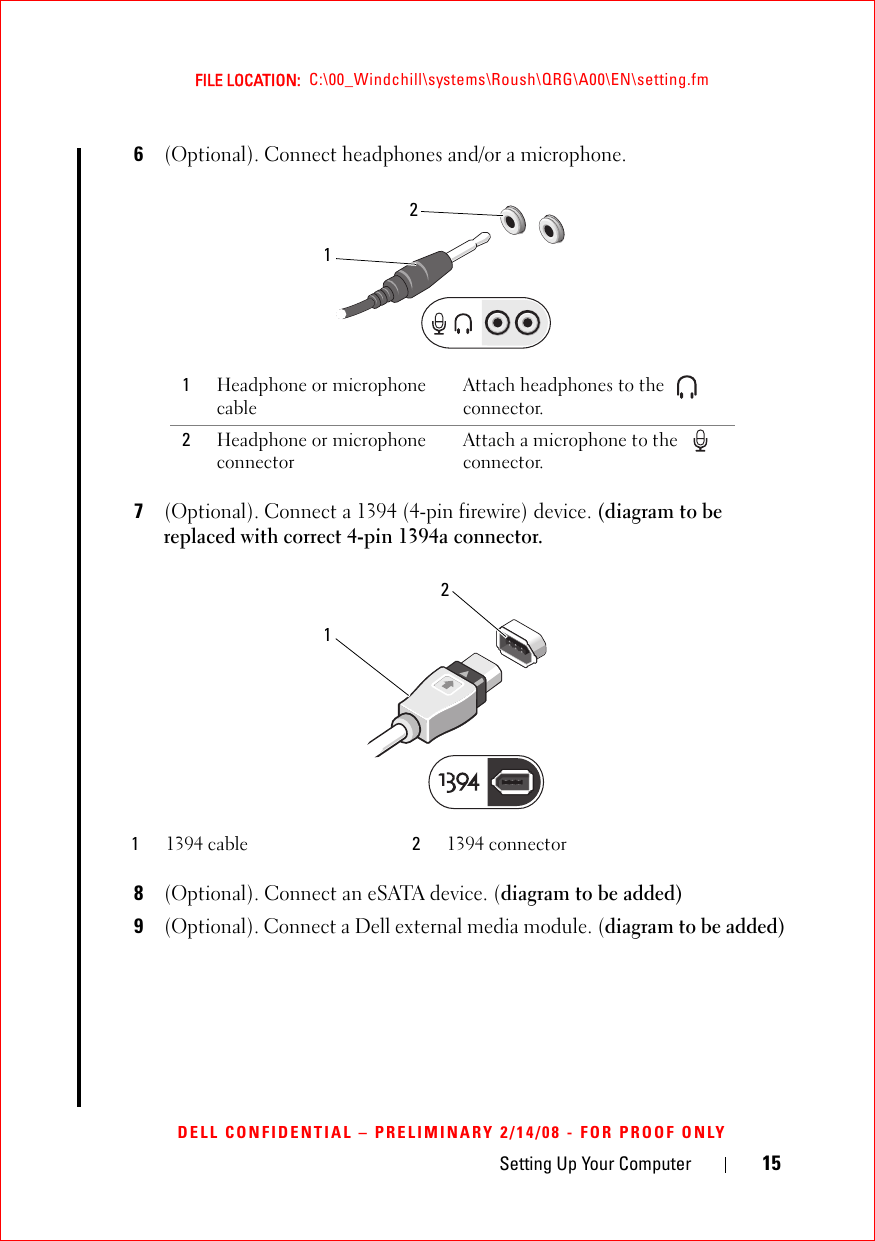


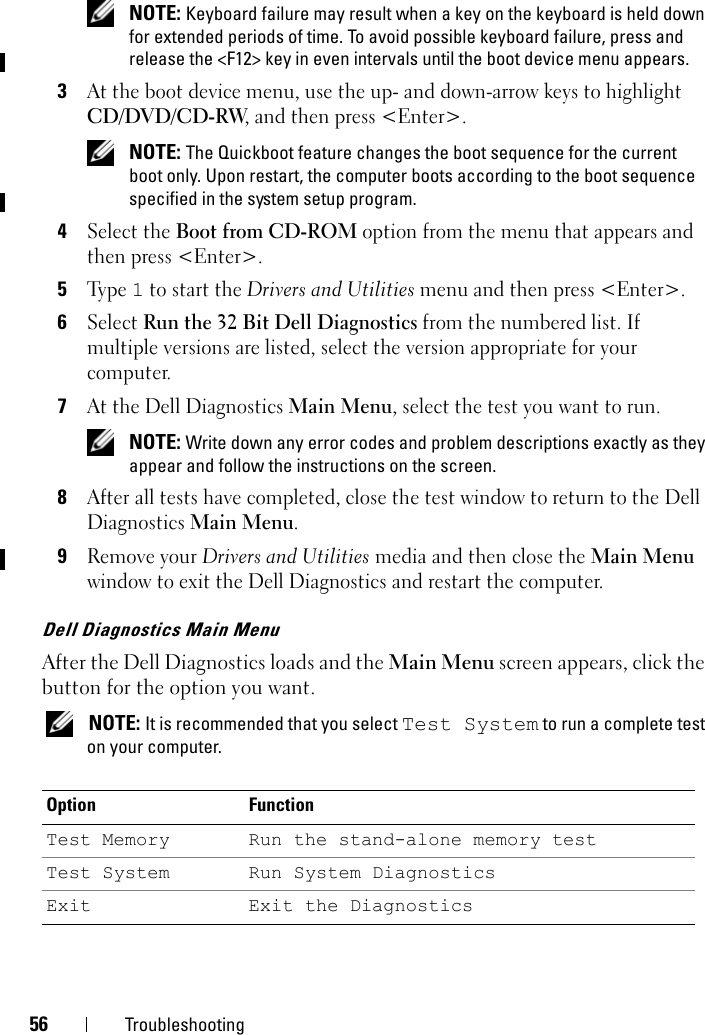
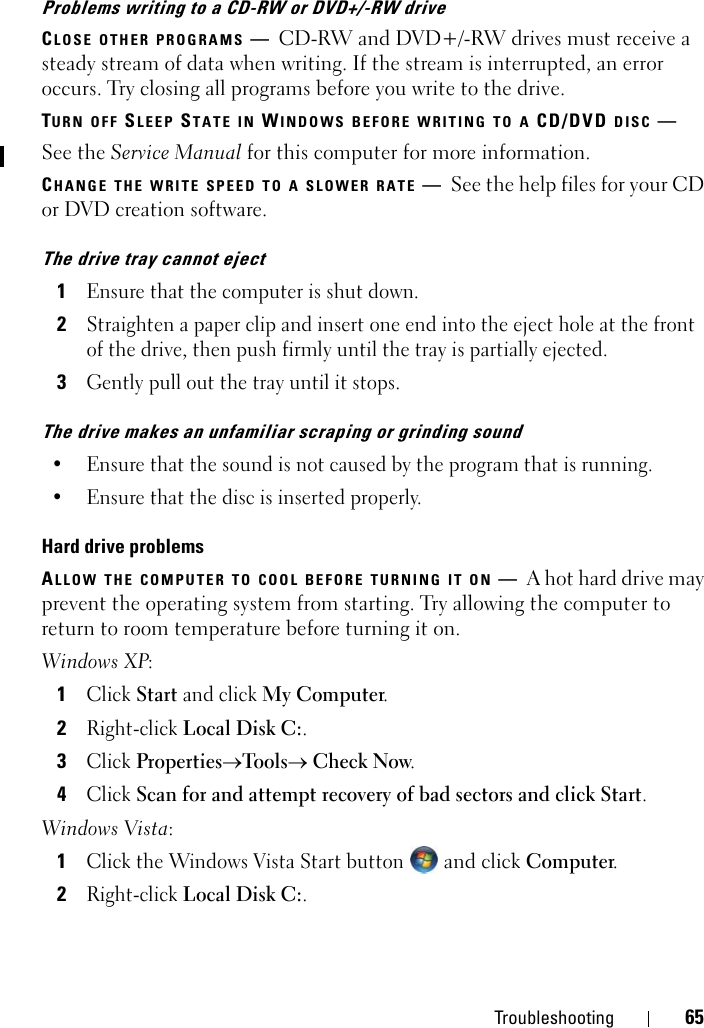
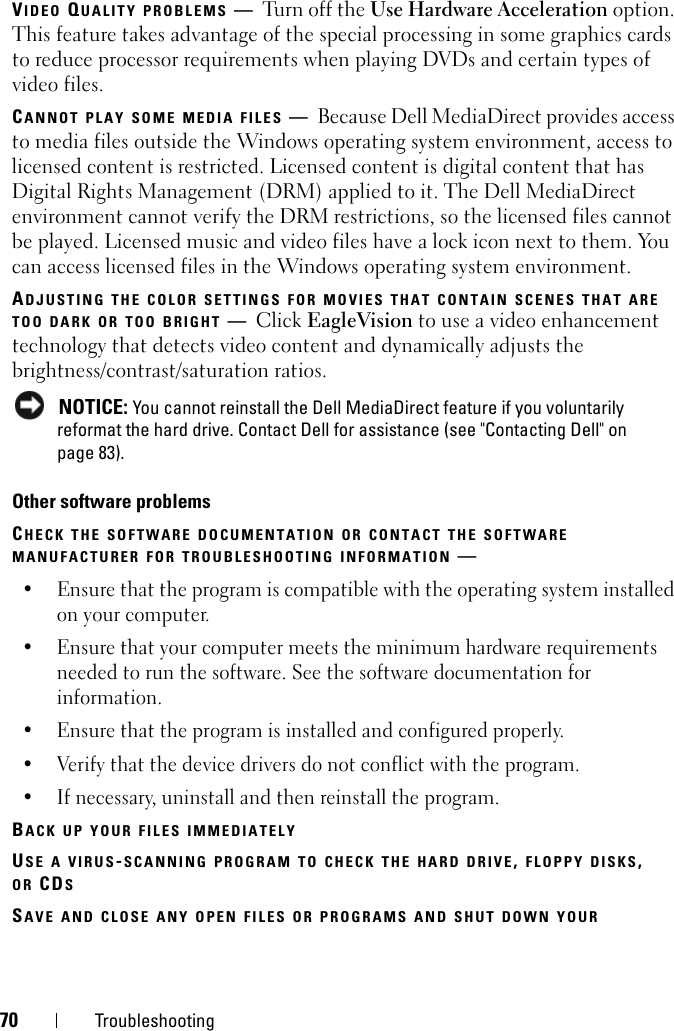
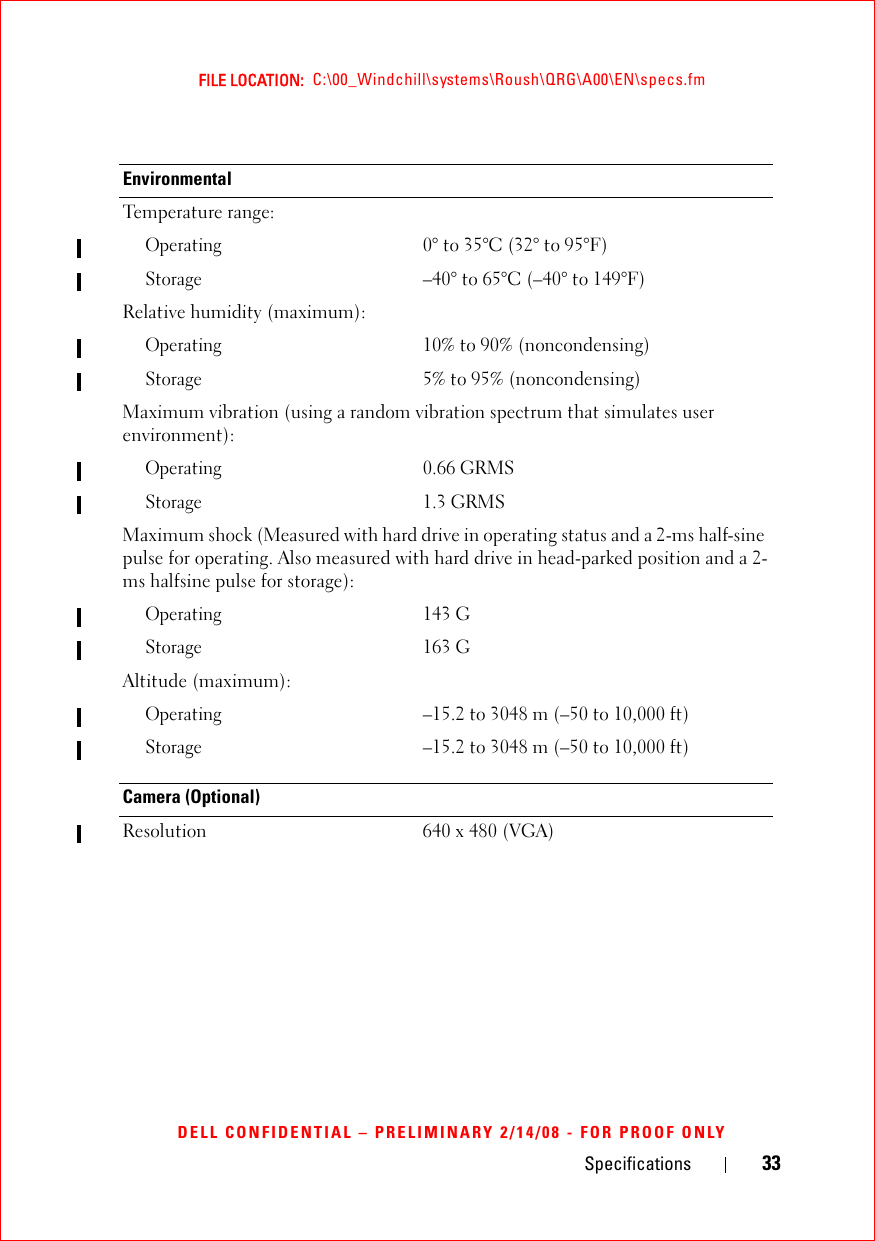
![Specifications 27FILE LOCATION: C:\00_Windchill\systems\Roush\QRG\A00\EN\specs.fmDELL CONFIDENTIAL – PRELIMINARY 2/14/08 - FOR PROOF ONLYPorts and ConnectorsAudio Microphone connector, stereo headphone/speakers connectorIEEE 1394a 4-pin connectorConsumer IRMini-Card Support (internal expansion slots) One dedicated Half-Mini Card slot for WLANOne dedicated Full-Mini Card slot for WWAN (mobile broadband)One dedicated Full-Mini Card slot for WPAN (Bluetooth® or ultra wideband [UWB])The WWAN or WPAN Full-Mini Card slot can also be used for the Intel® Flash CacheModem RJ-11 Network adapter RJ-45 portUSB 1 PowerShare™ USB port2 USB portseSATA eSATA/PowerShare USB portVideo VGADisplayPortCommunicationsModem: internal modem optionalNetwork adapter 10/100 Ethernet LAN on system boardWireless WLAN Half-Mini Card, WWAN, WPAN Full-Mini CardsBluetooth® wireless technologyUWB technologyMobile Broadband Full-Mini CardGPS Supported by Mobile Broadband Full-Mini Card](https://usermanual.wiki/Dell/512ANHMW.User-Manual-4/User-Guide-1100824-Page-27.png)

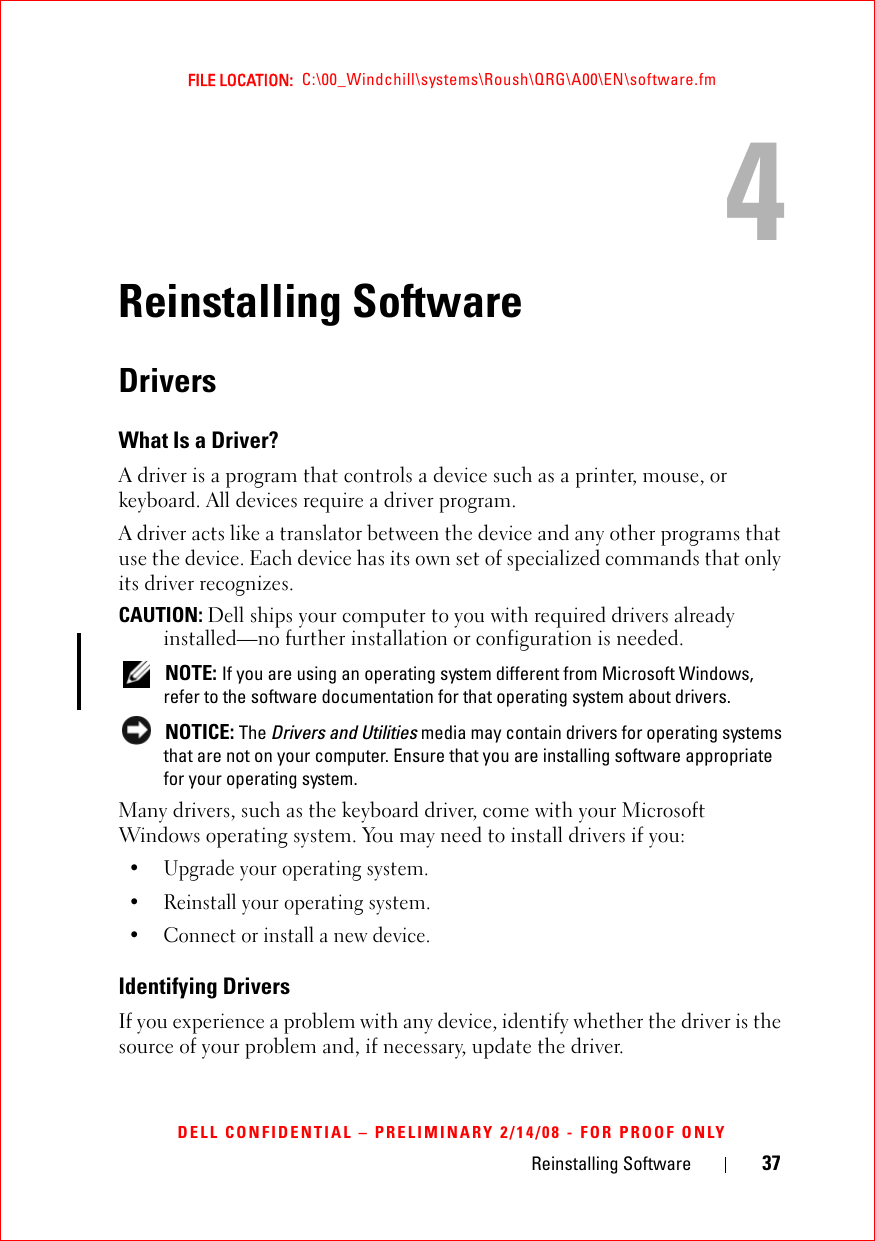
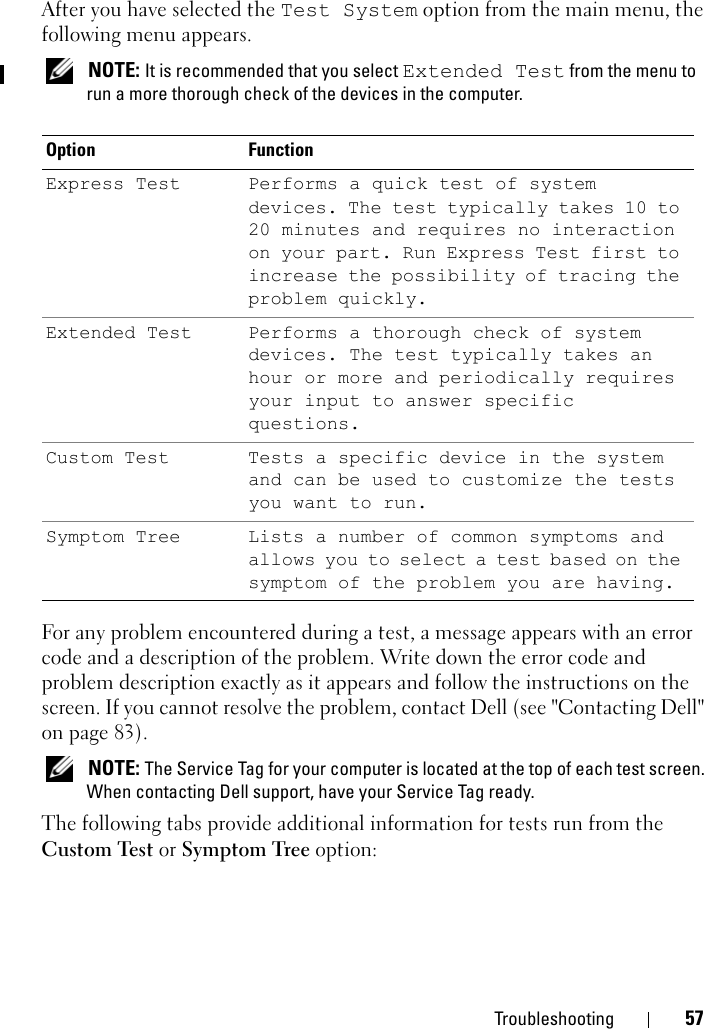
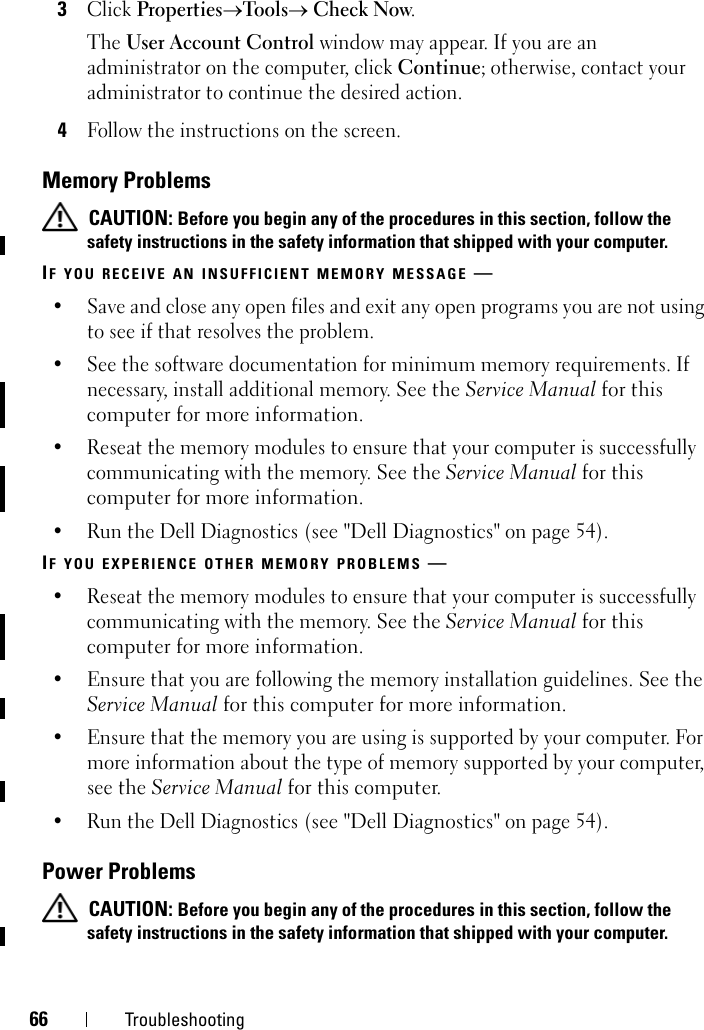
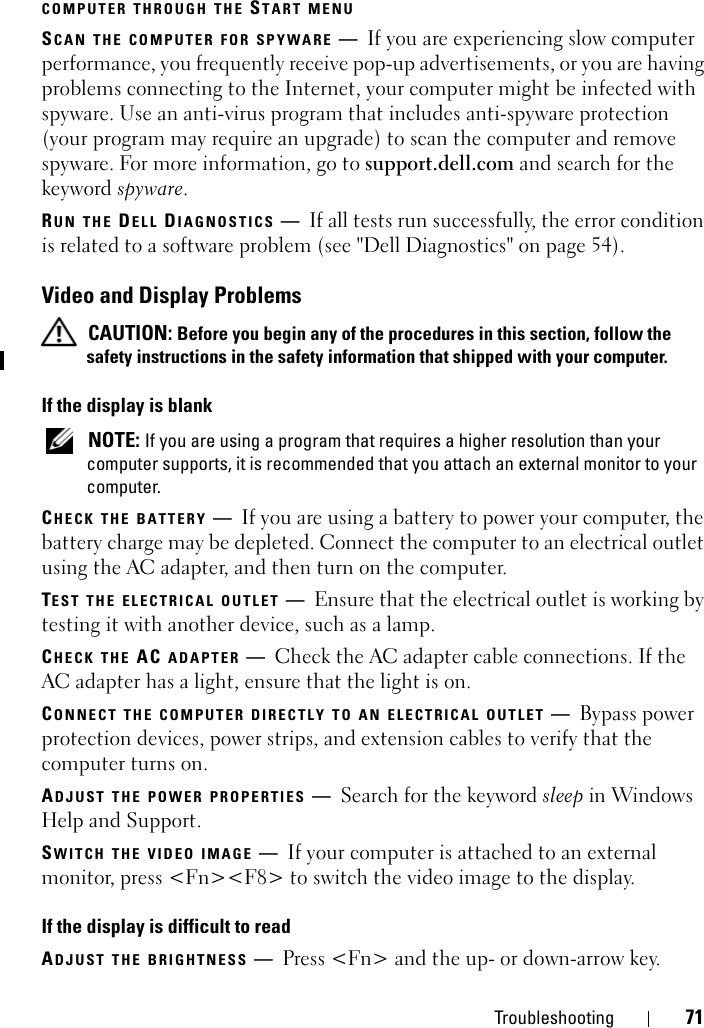
![38 Reinstalling SoftwareFILE LOCATION: C:\00_Windchill\systems\Roush\QRG\A00\EN\software.fmDELL CONFIDENTIAL – PRELIMINARY 2/14/08 - FOR PROOF ONLYWindows XP:1Click Start→ Control Panel.2Under Pick a Category, click Performance and Maintenance, and click System.3In the System Properties window, click the Hardware tab, and click Device Manager.Windows Vista:1Click the Windows Vista™ Start button , and right-click Computer.2Click Properties→ Device Manager. NOTE: The User Account Control window may appear. If you are an administrator on the computer, click Continue; otherwise, contact your administrator to continue.Scroll down the list to see if any device has an exclamation point (a yellow circle with a [!]) on the device icon.If an exclamation point is next to the device name, you may need to reinstall the driver or install a new driver (see "Reinstalling Drivers and Utilities" on page 38).Reinstalling Drivers and Utilities NOTICE: The Dell Support website at support.dell.com and your Drivers and Utilities media provide approved drivers for Dell™ computers. If you install drivers obtained from other sources, your computer might not work correctly.Using Windows Device Driver RollbackIf a problem occurs on your computer after you install or update a driver, use Windows Device Driver Rollback to replace the driver with the previously installed version. Windows XP:1Click Start→ My Computer→ Properties→ Hardware→ Device Manager.2Right-click the device for which the new driver was installed and click Properties.3Click the Drivers tab→ Roll Back Driver.](https://usermanual.wiki/Dell/512ANHMW.User-Manual-4/User-Guide-1100824-Page-36.png)