First Computer T700 Tablet PC User Manual Manual 2
First International Computer Inc Tablet PC Manual 2
UserManual.wiki
>
First Computer
>
T700 User Manual
>
Manual 2
Contents
1.
Manual 1
2.
Manual 2
Manual 2
Navigation menu
Upload a User Manual
Namespaces
Wiki Guide
HTML
PDF
Info
Views
User Manual
Discussion / Help
Navigation
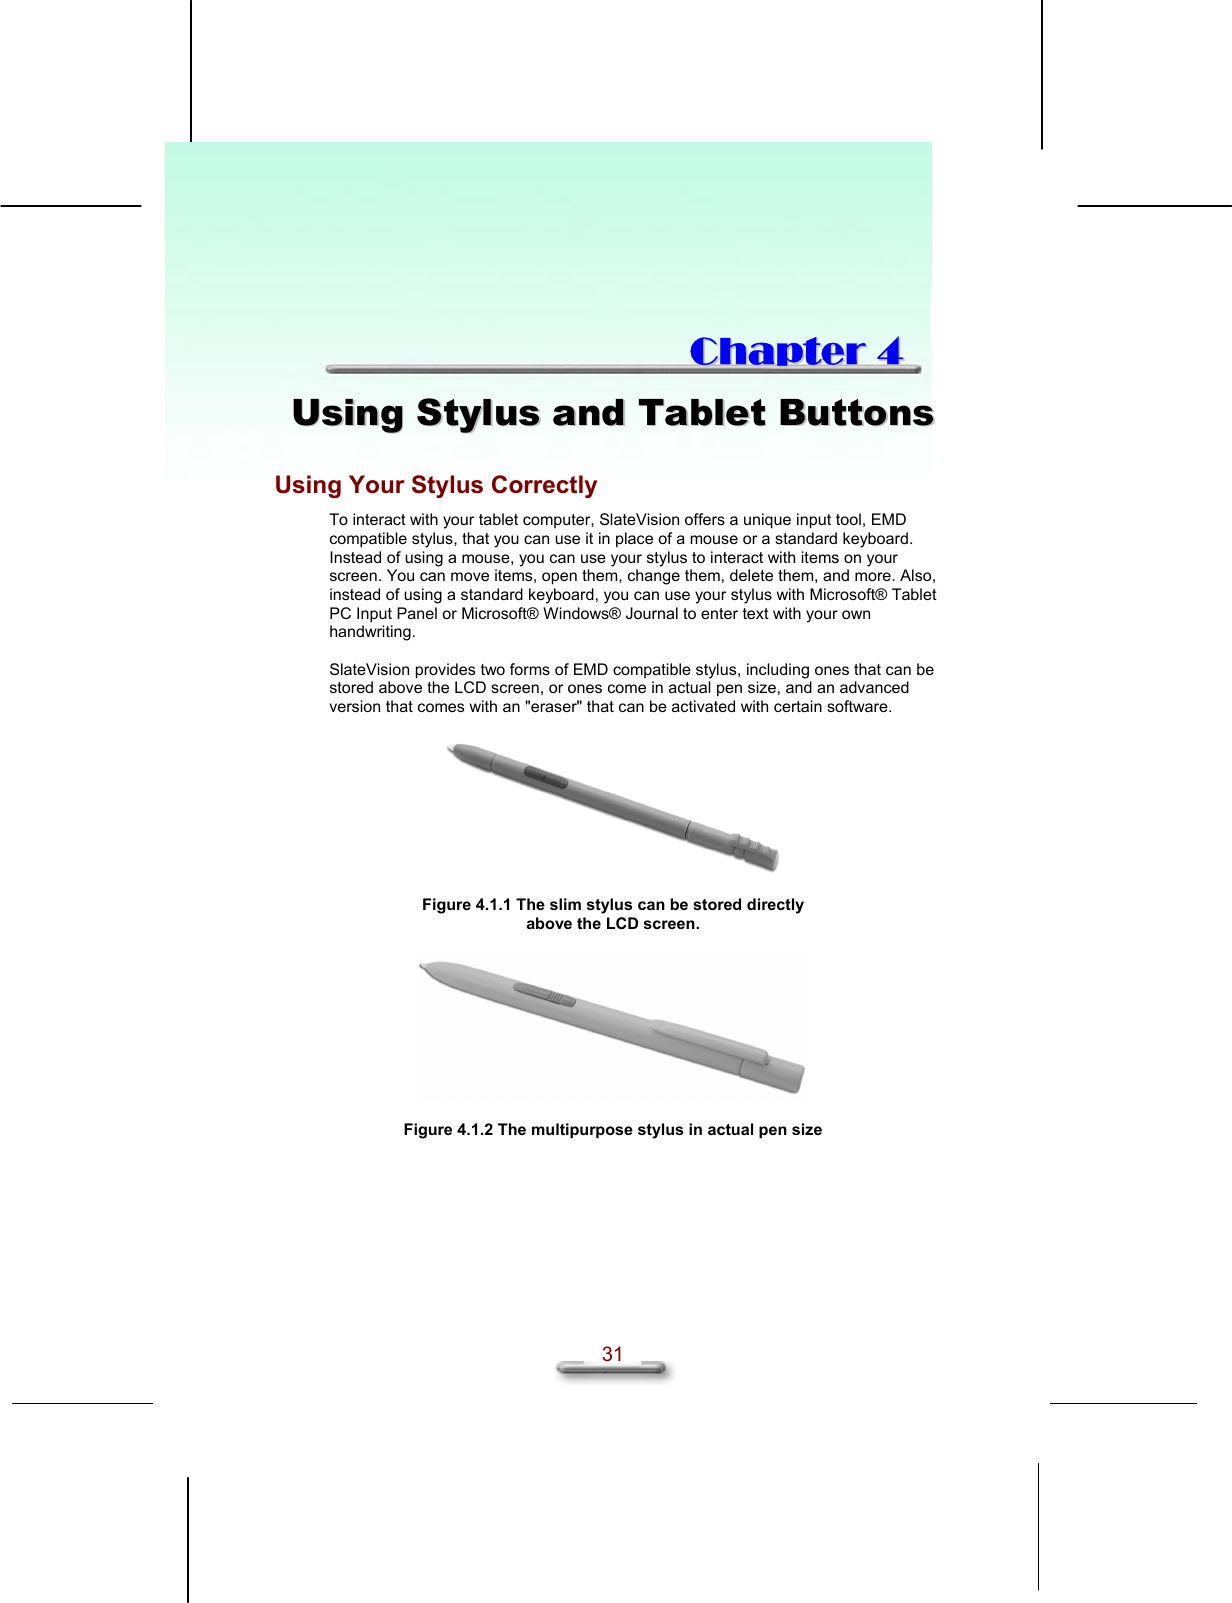
![Getting to Know Your SlateVision 27 Set Up the Docking Station To attach SlateVision to the docking station, place SlateVision over the docking station. Please follow these steps: Find the female connector on the bottom of SlateVision as shown in [Figure. 3.7.1] below. Place the female connector of SlateVision to the male connector on the docking station. Figure 3.7.1 The female connector Figure 3.7.2 SlateVision with the docking station](https://usermanual.wiki/First-Computer/T700.Manual-2/User-Guide-291618-Page-2.png)

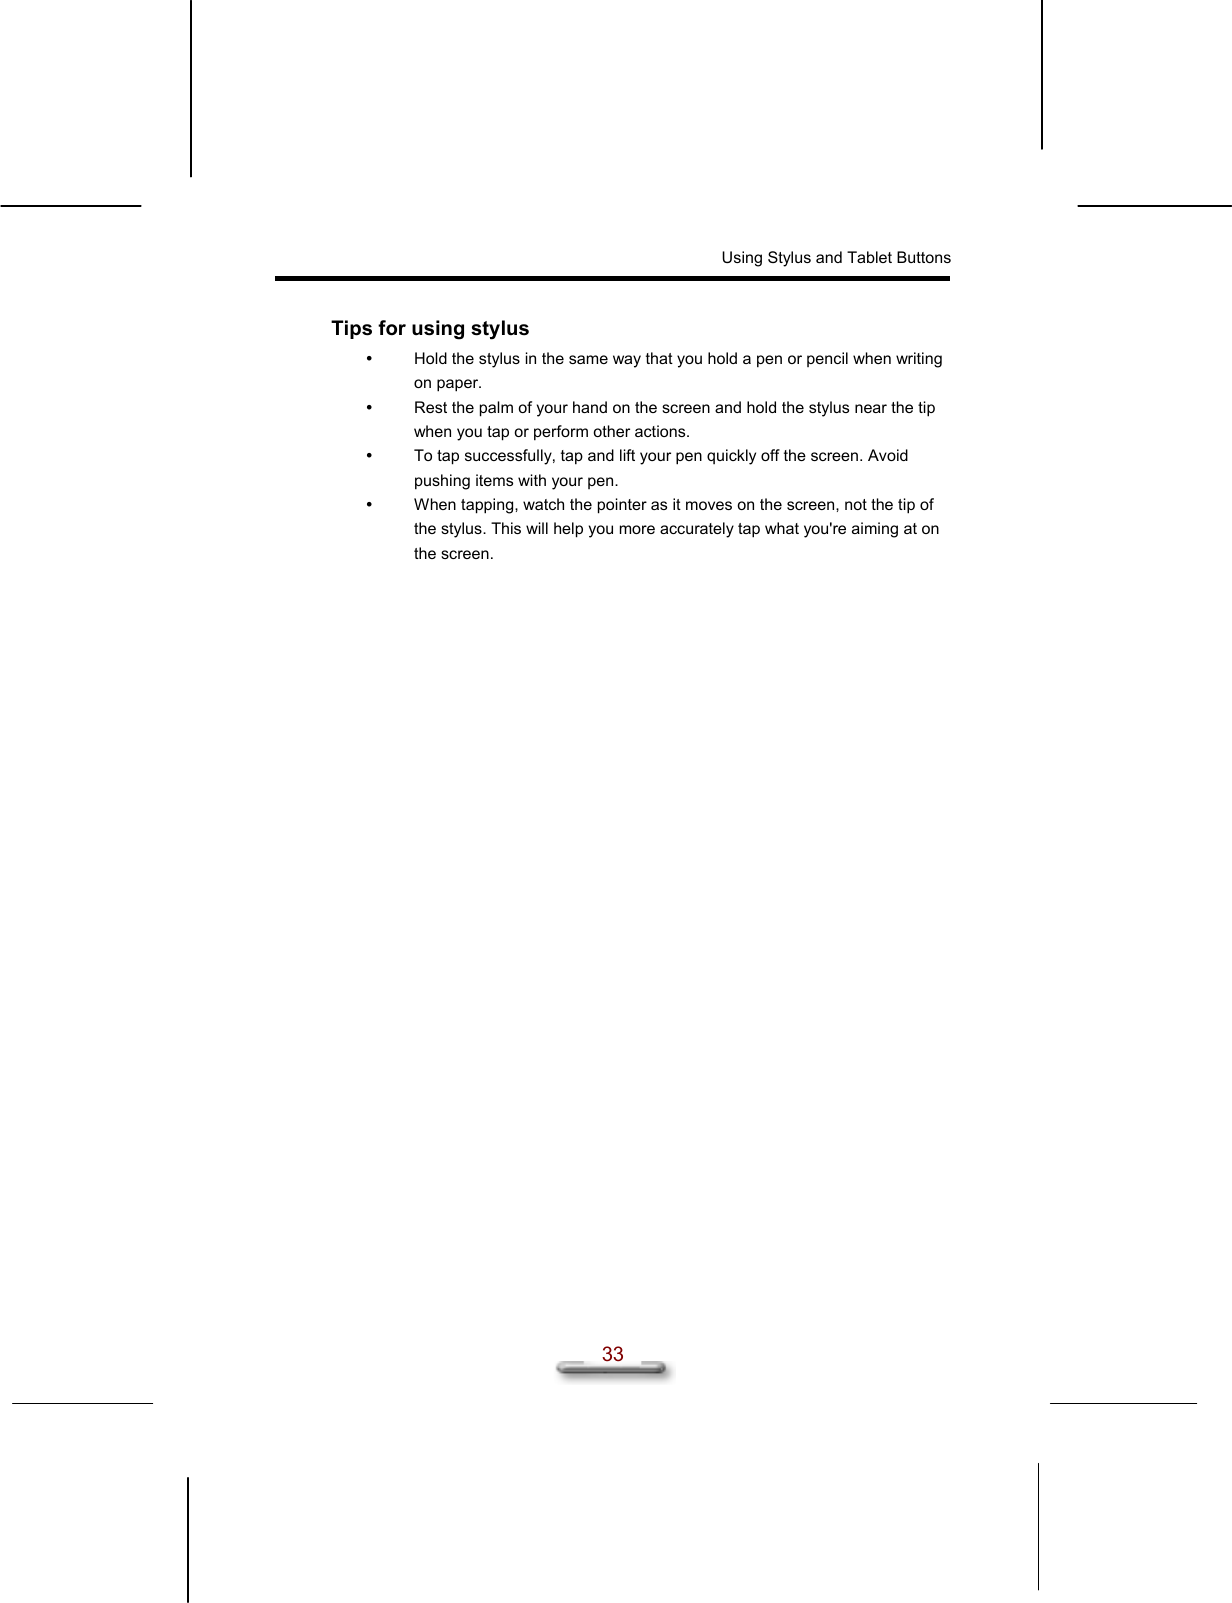
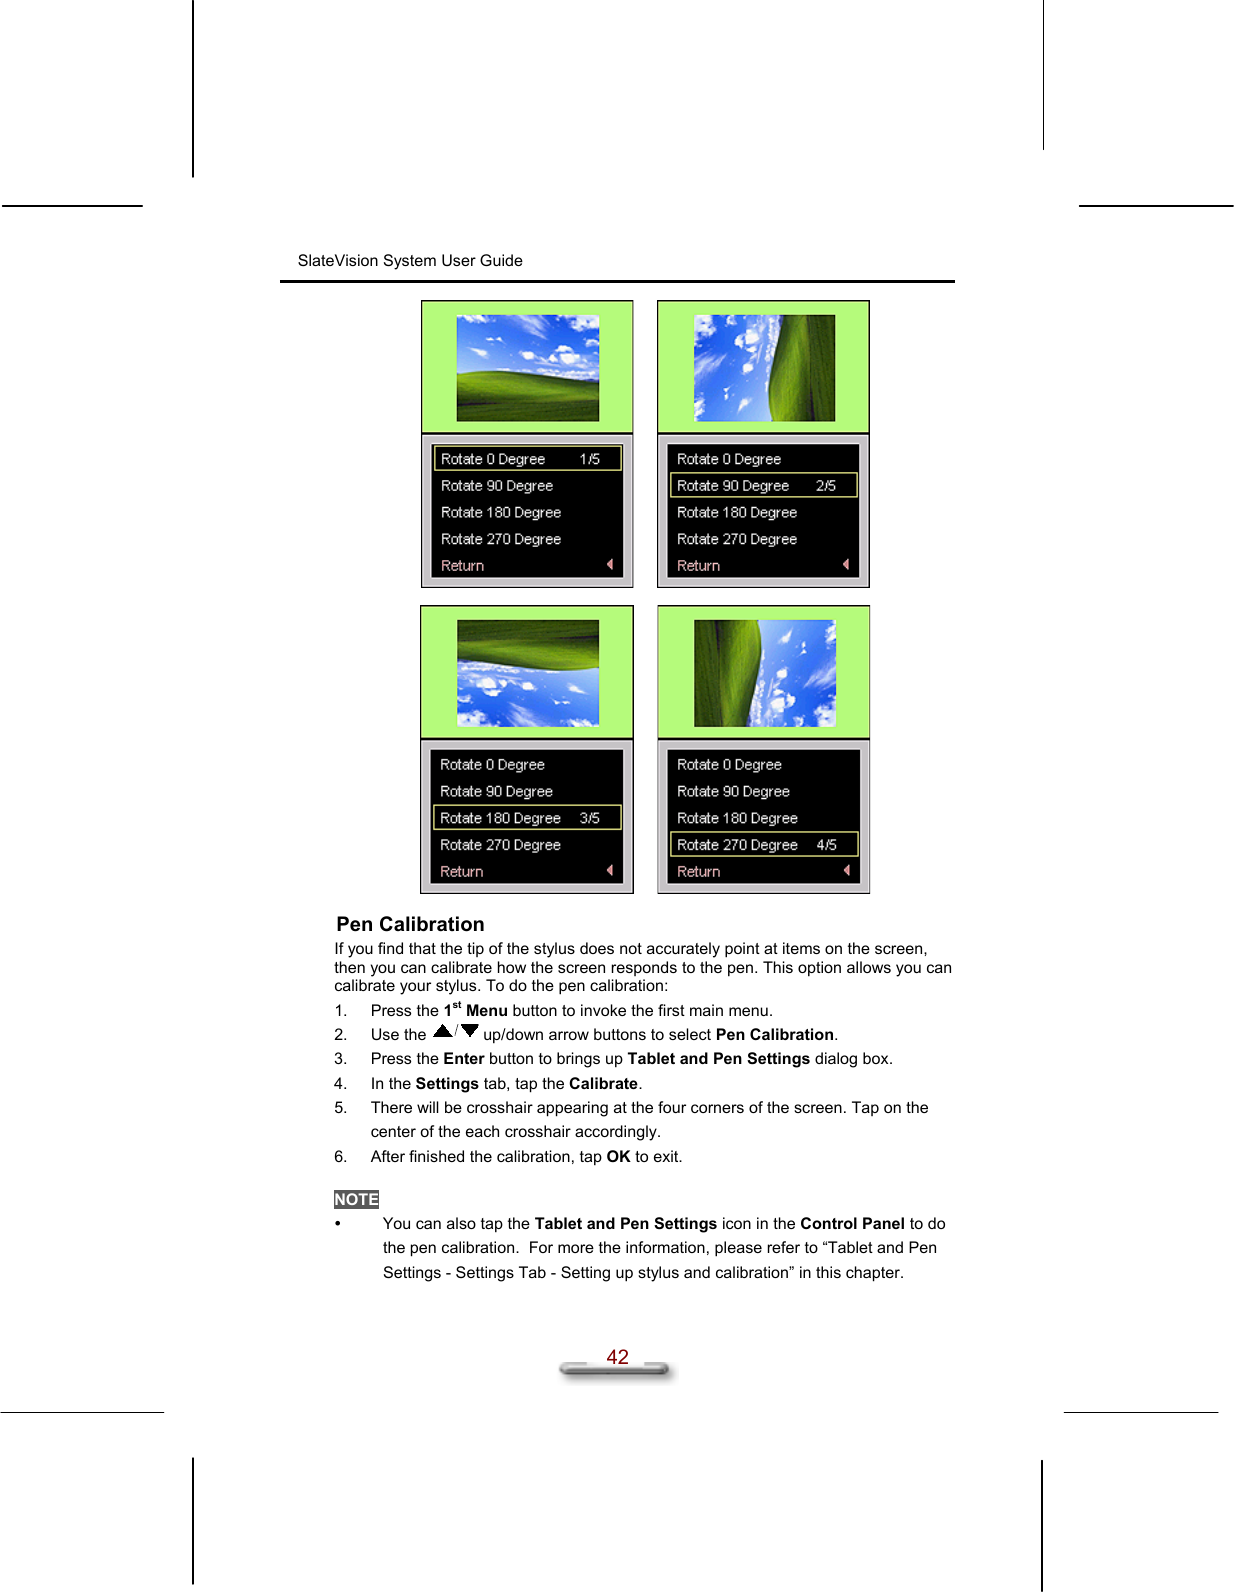
![Using Stylus and Tablet Buttons 35 2. Setting up stylus and calibration If you find that the tip of the stylus does not accurately point at items on the screen, then you can calibrate how the screen responds to the pen. Under Calibration, tap the Calibrate, as shown in [Figure 4.2.1]. There will be crosshair appearing at the four corners of the screen. Tap on the center of the each crosshair accordingly. After finished the calibration, tap OK to exit. Figure 4.2.2 Screen calibration Display Tab Figure 4.3.1 Display tab](https://usermanual.wiki/First-Computer/T700.Manual-2/User-Guide-291618-Page-10.png)
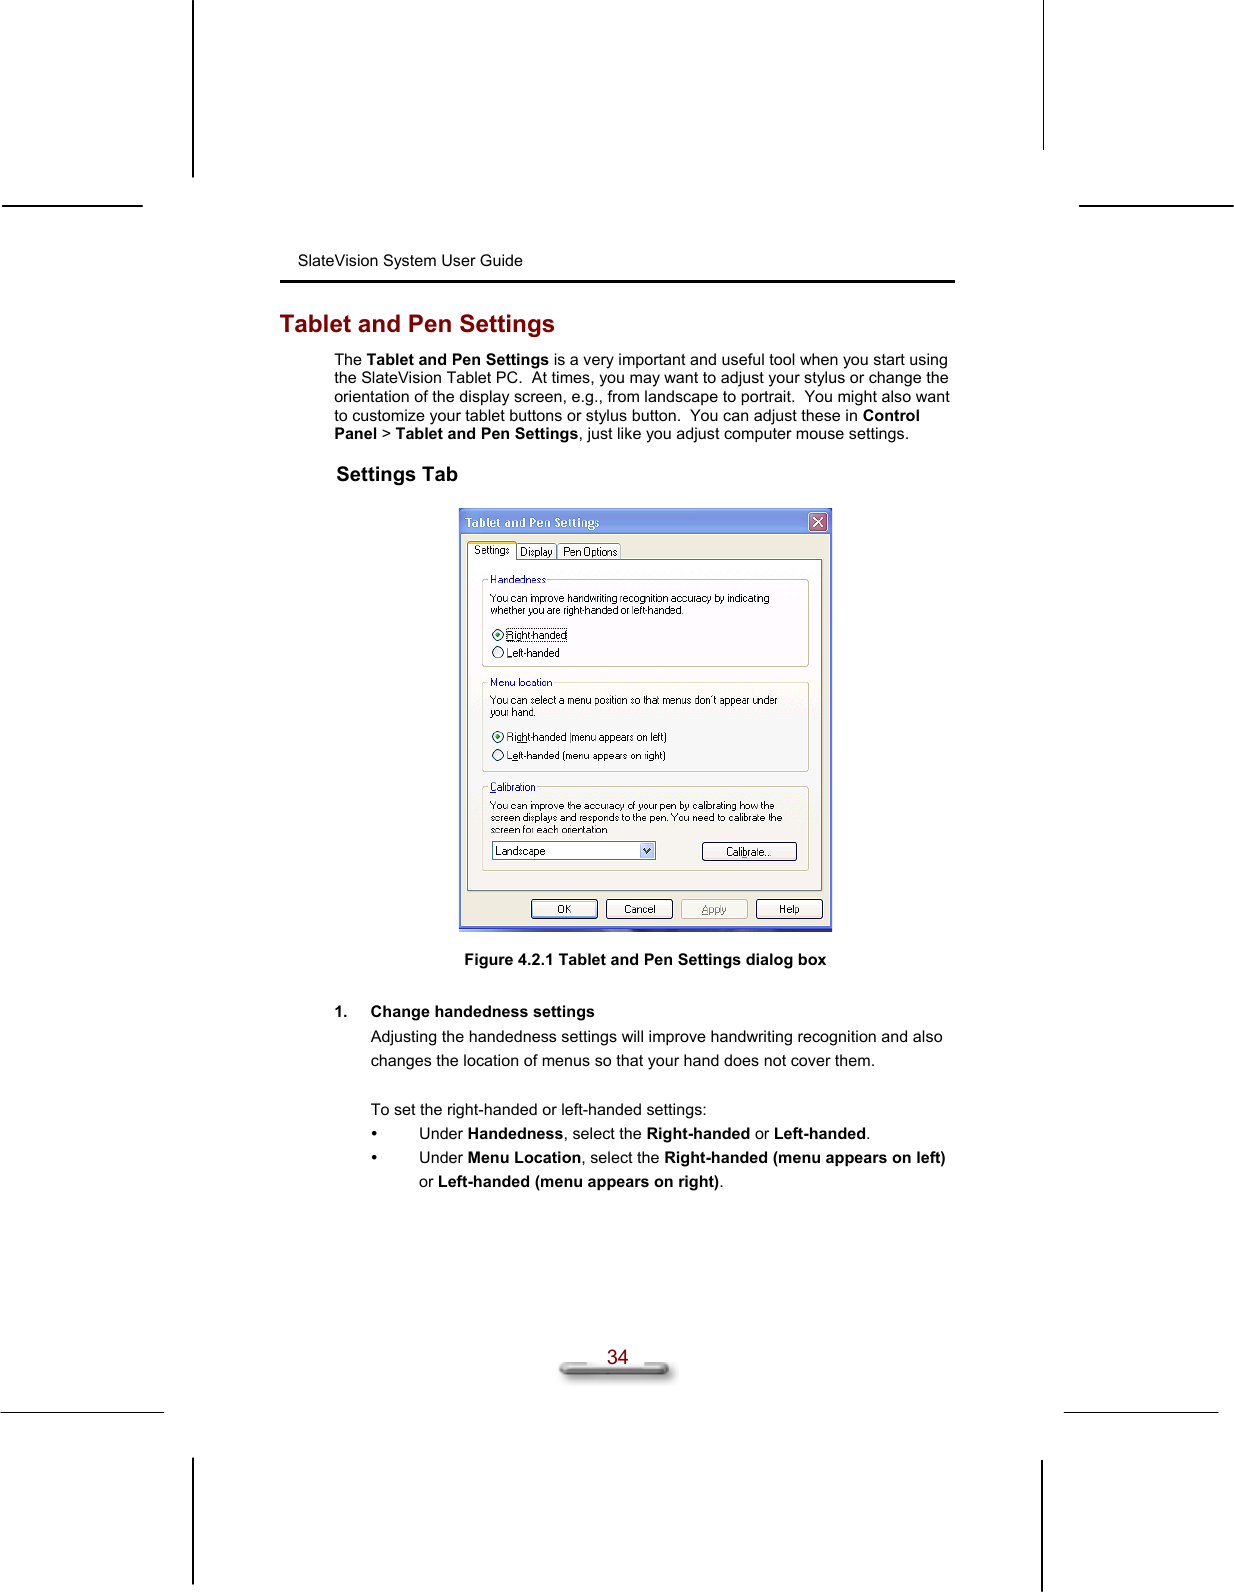
![SlateVision System User Guide 38 Using the CTRL-ALT-DEL Button This button is used to emulate the CTRL+ALT+DEL combination key, which brings the Windows Task Manager dialog box, as shown in [Figure 4.4]. Task Manager provides information about programs and processes running on your computer. It also displays the most commonly used performance measures for processes. You can use Task Manager to monitor key indicators of your computer's performance. You can see the status of the programs that are running and end programs that have stopped responding. You can also assess the activity of running processes using as many as fifteen parameters, and see graphs and data on CPU and memory usage. In addition, if you are connected to a network, you can view network status and see how your network is functioning. If you have more than one user connected to your computer, you can see who is connected, what they are working on, and you can send them a message. Figure 4.4 Windows Task Manager](https://usermanual.wiki/First-Computer/T700.Manual-2/User-Guide-291618-Page-13.png)