Fujitsu Isotec 015M33324A Dot Matrix Printer User Manual FUJITSU DL7400
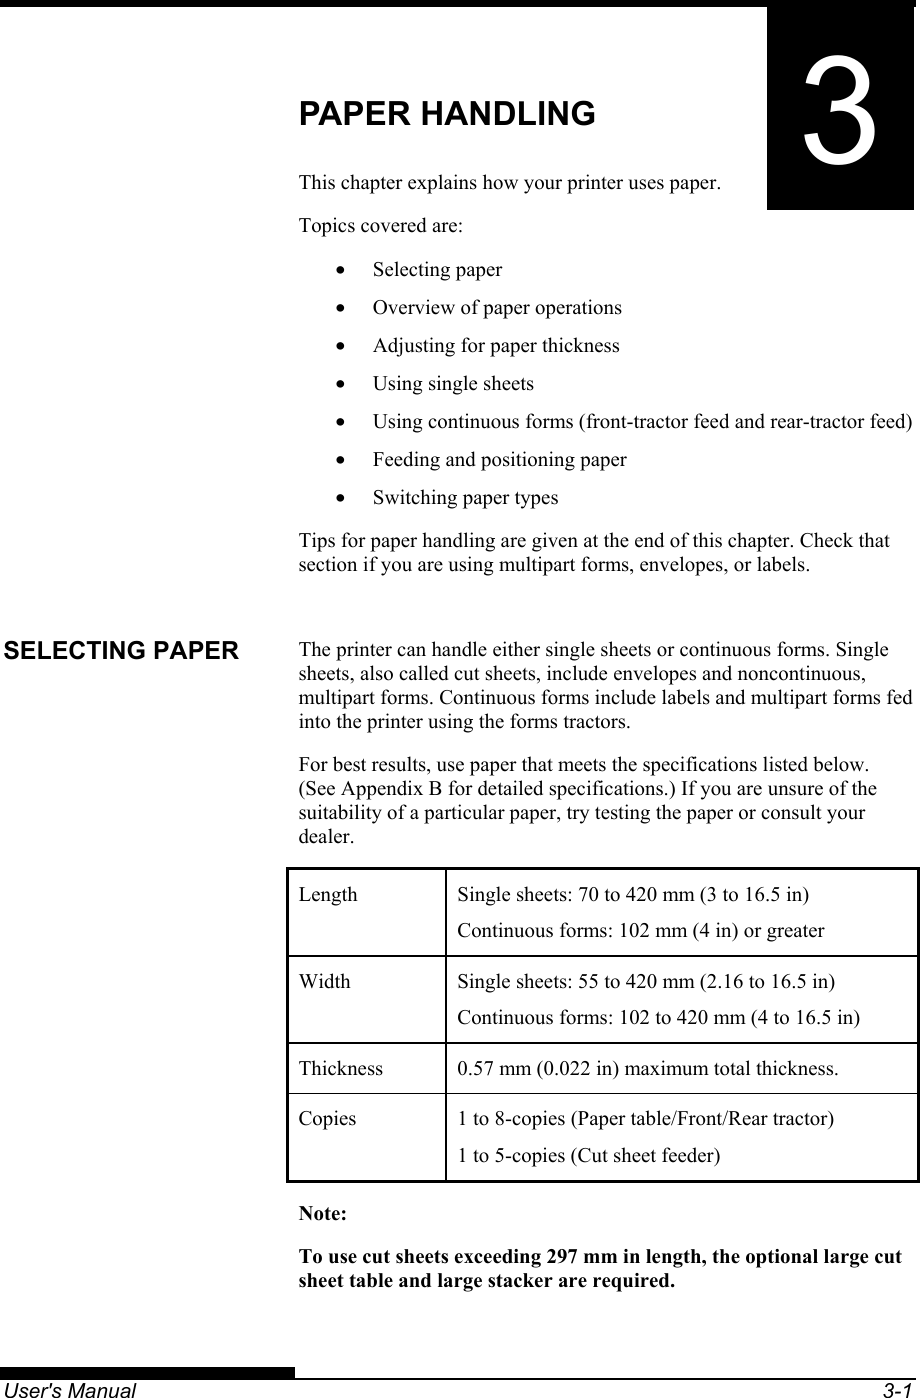
Fujitsu Isotec Limited Dot Matrix Printer FUJITSU DL7400
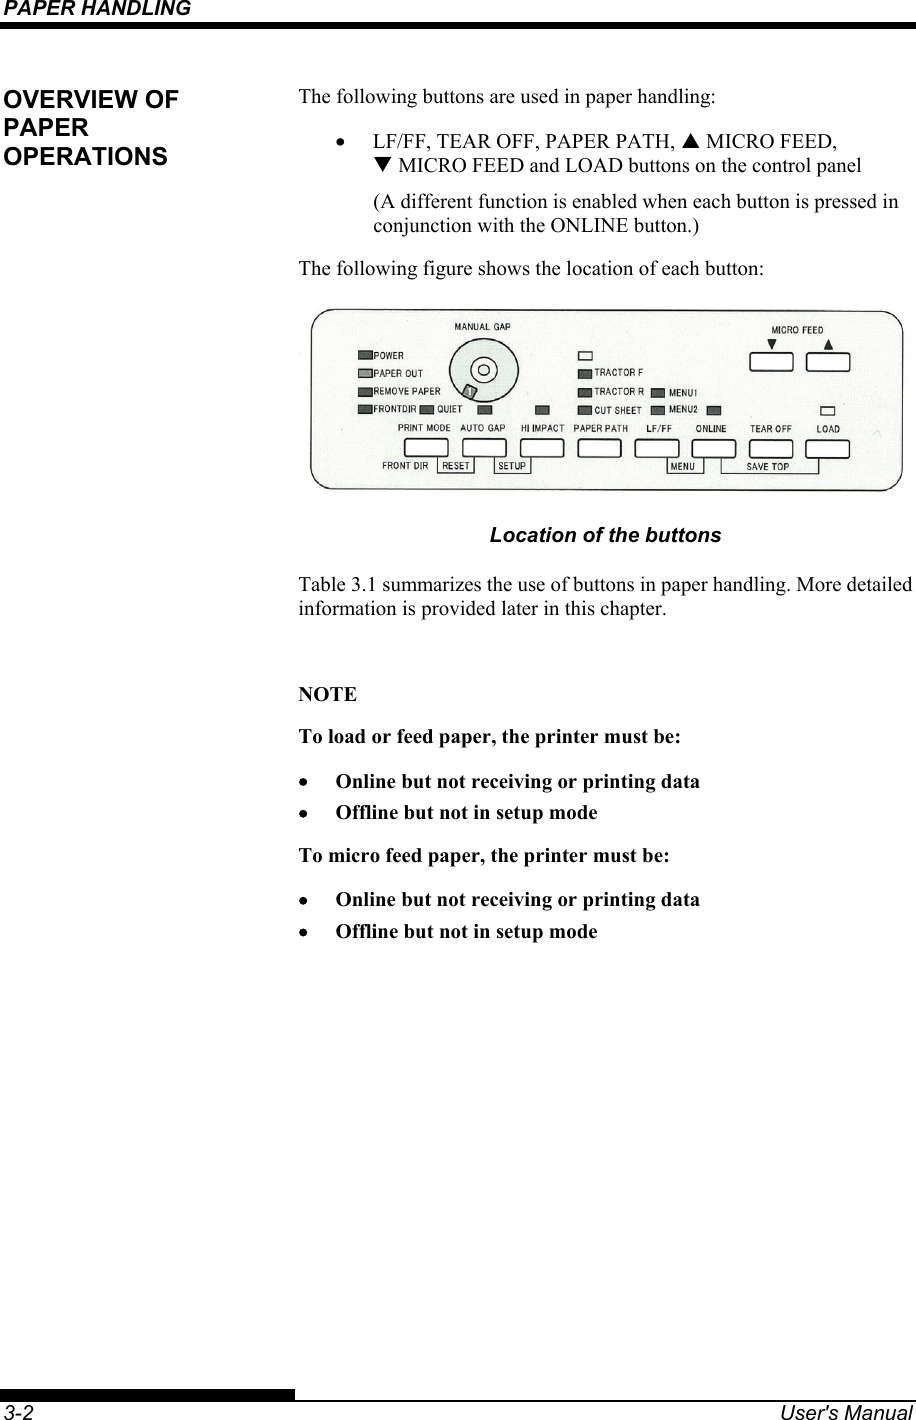
UserManual.wiki
>
Fujitsu Isotec
>
015M33324A User Manual
>
Users Manual 2
Contents
1.
Users Manual 1
2.
Users Manual 2
3.
Users Manual 3
Users Manual 2
Navigation menu
Upload a User Manual
Namespaces
Wiki Guide
HTML
PDF
Info
Views
User Manual
Discussion / Help
Navigation
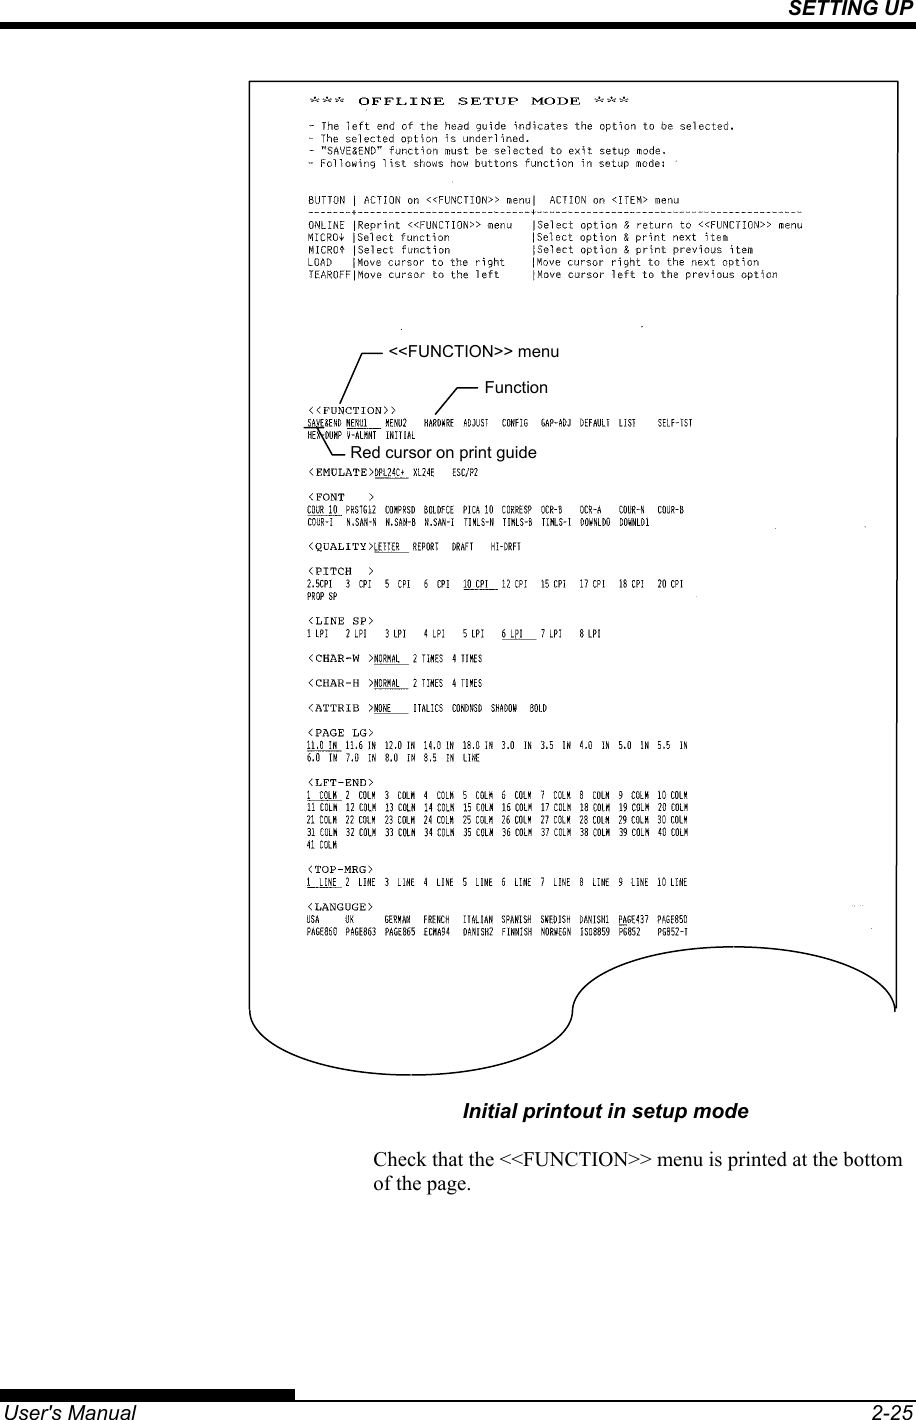
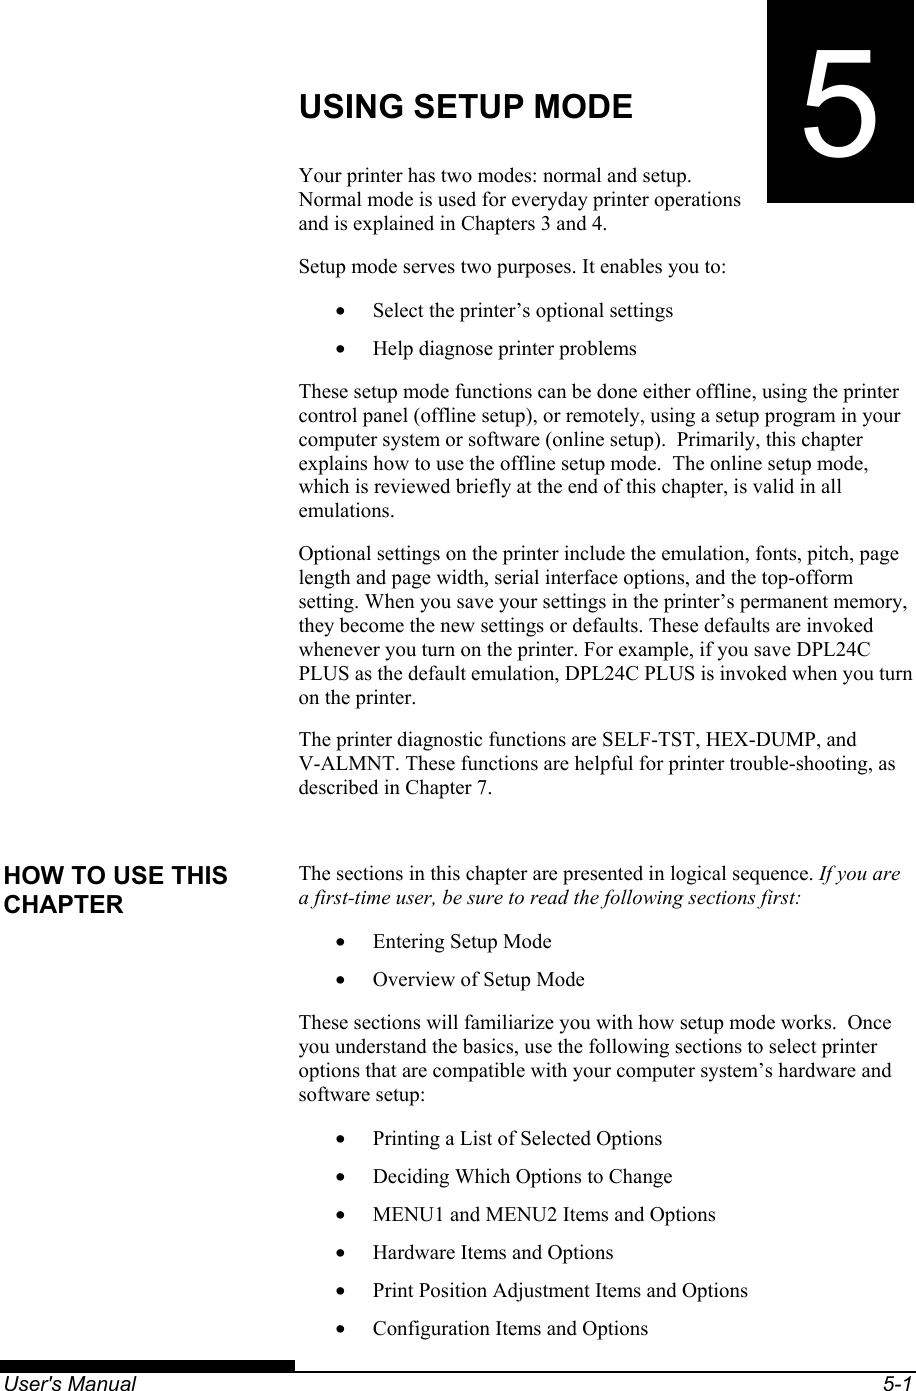
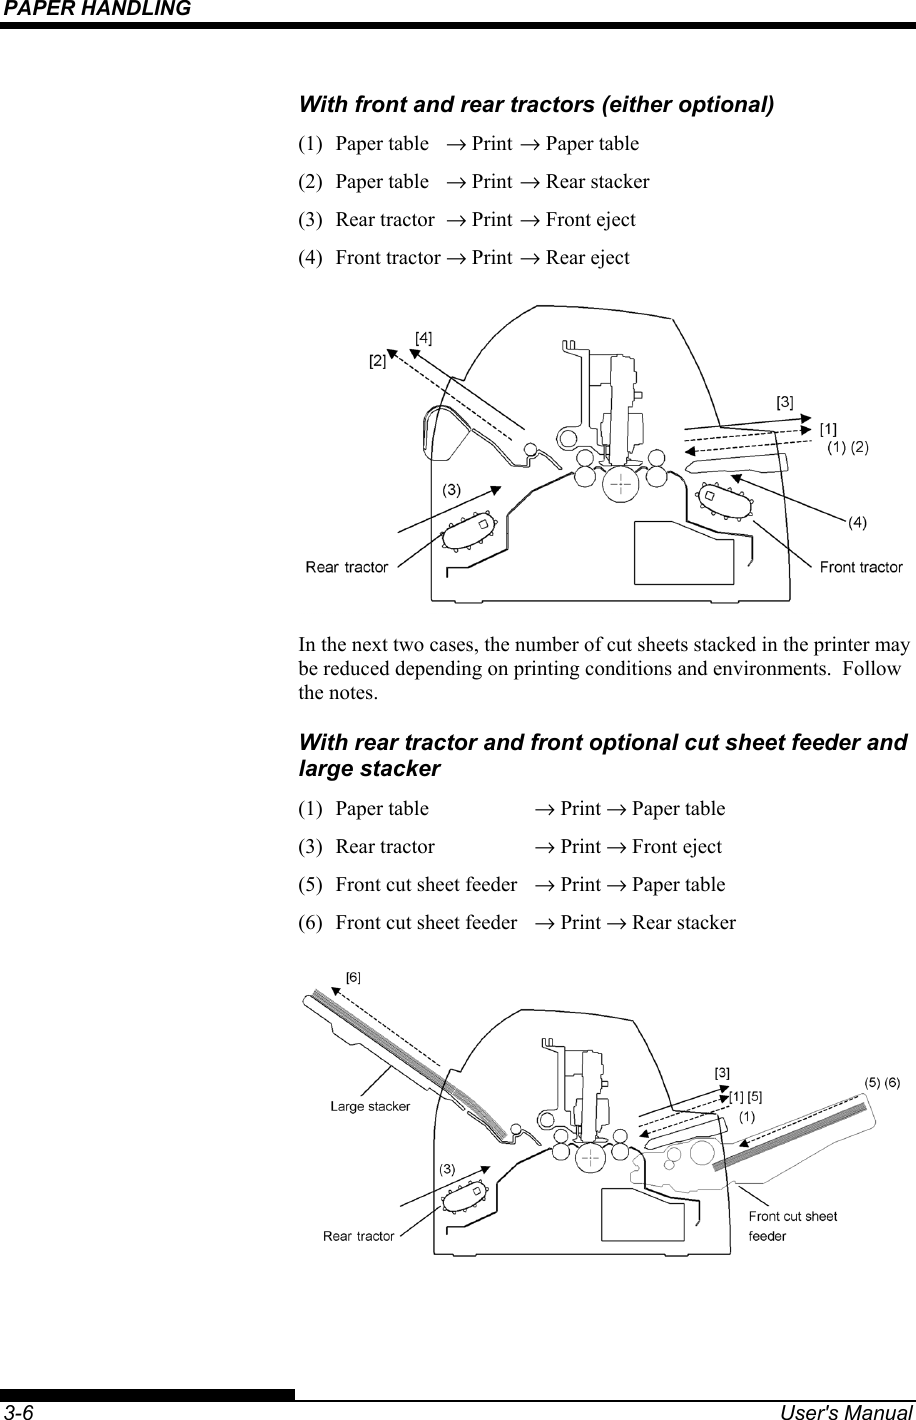
![PAPER HANDLING User's Manual 3-5 This printer has a variety of paper paths and feed directions. Paper Paths and Feed Directions See the following five cases. : Cut sheet : Continuous forms (n) : Input [n] : Output With rear tractor (1) Paper table → Print → Paper table (2) Paper table → Print → Rear stacker (3) Rear tractor → Print → Front eject With front tractor (1) Paper table → Print → Paper table (2) Paper table → Print → Rear stacker (4) Front tractor → Print → Rear eject SELECTING PAPER PATH](https://usermanual.wiki/Fujitsu-Isotec/015M33324A.Users-Manual-2/User-Guide-709504-Page-13.png)

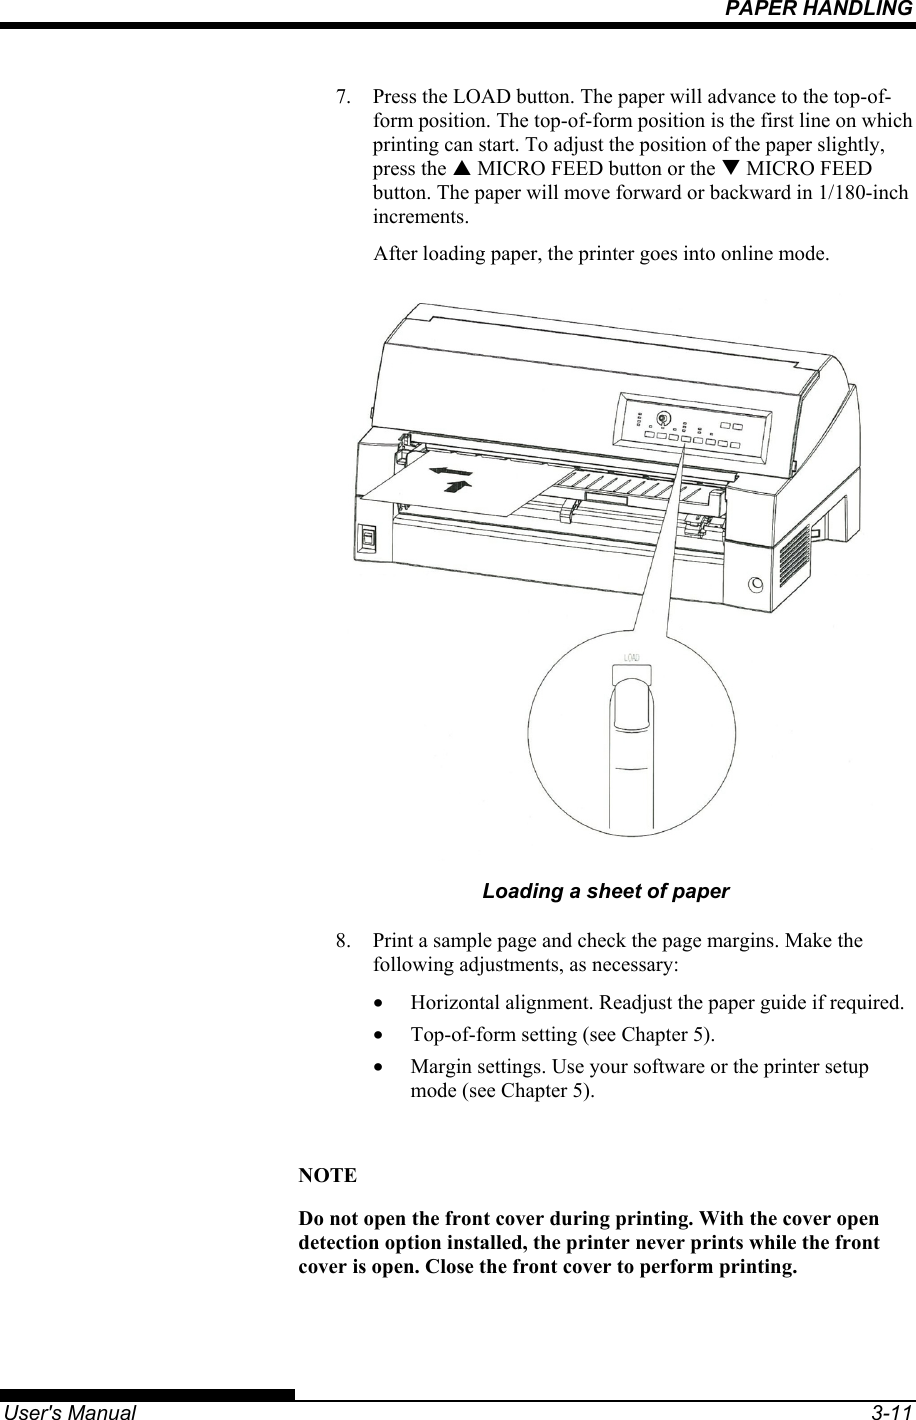
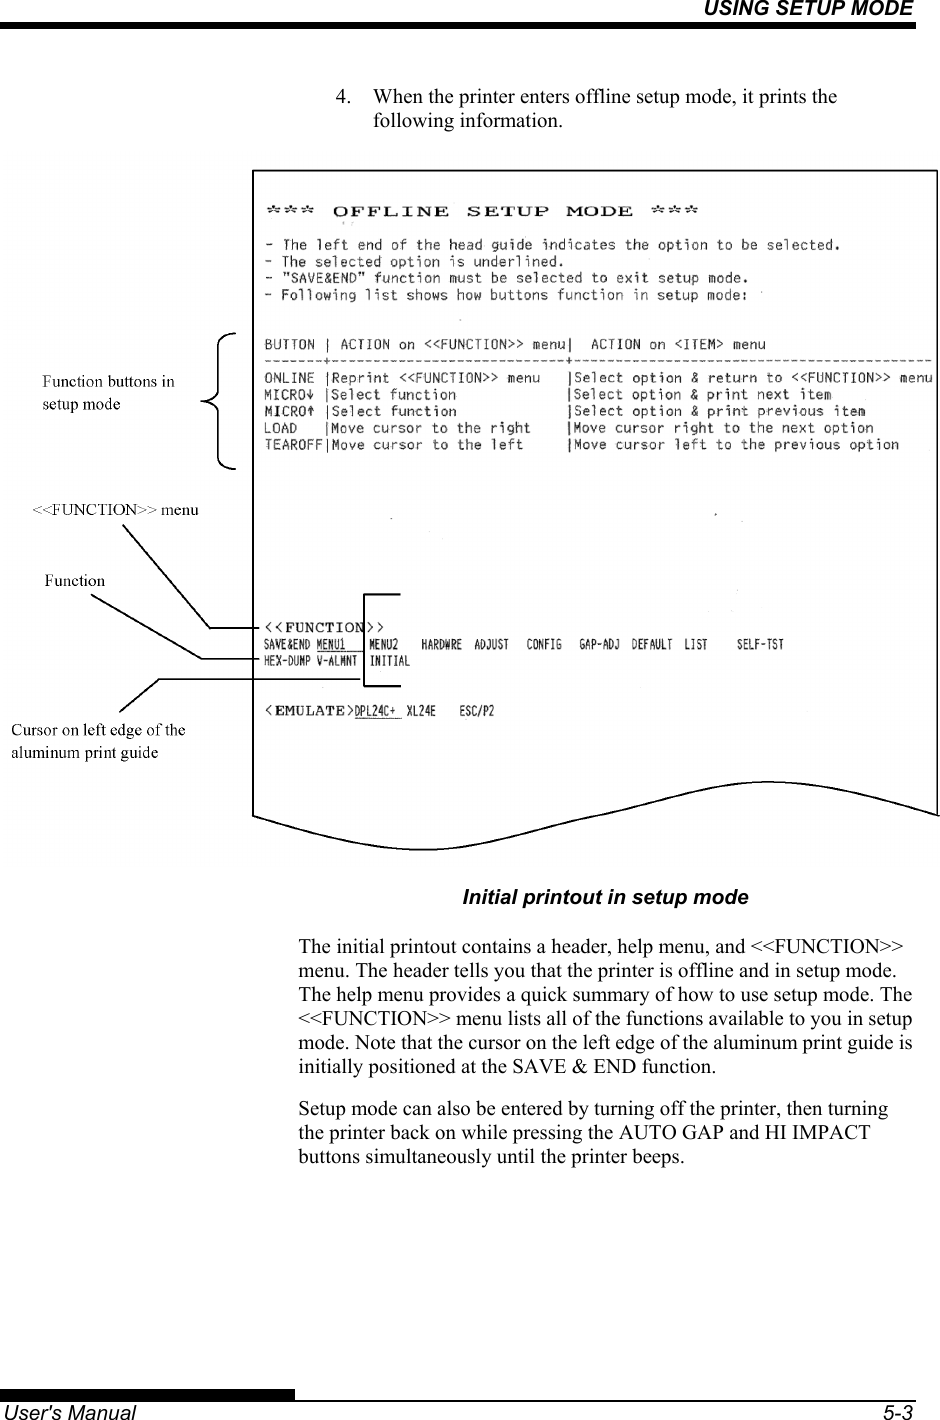
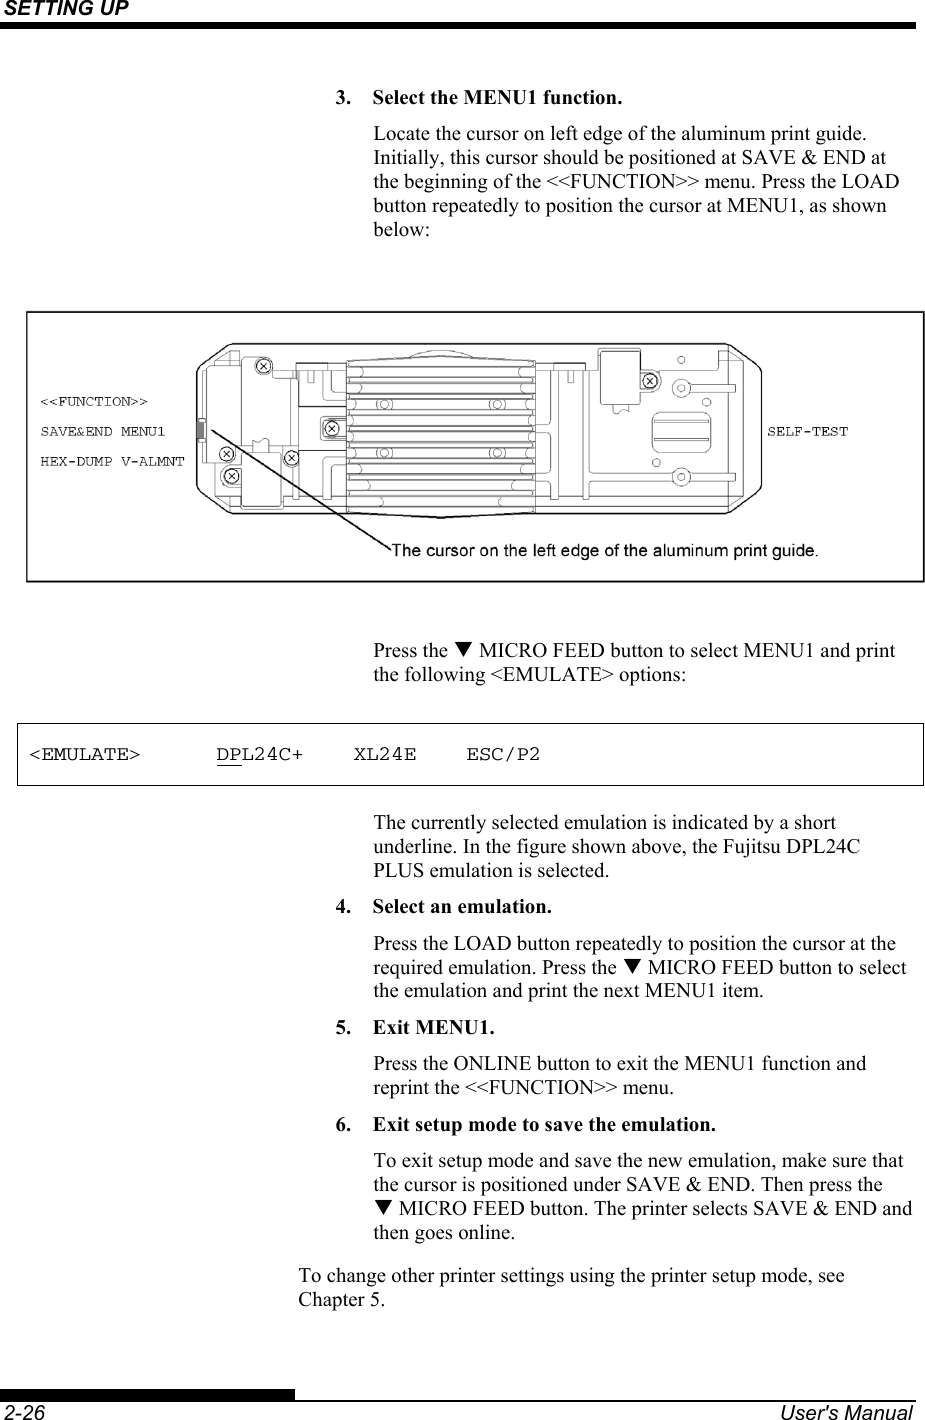
![PAPER HANDLING 3-10 User's Manual 4. Adjust the left margin. On the left hand side of the paper table, a scale graduated in units of 1 [mm]. When the paper guide is positioned at scale 0 [mm], the left margin is 5 mm (0.2 inch). Push the lock lever down to secure the guide. 5. Pull the subguide out as required to accommodate the paper size. NOTE When using the paper whose width is under 100 mm (4 inch), position the paper guide at scale 0 [mm]. Preparing to load a sheet of paper 6. Insert a sheet of paper into the paper table. Make sure that the front edge of the paper engages snugly with the feed roller. NOTE If paper skews when it is loaded, the printer does not print and ejects the paper. (This function can be disabled by a setting in setup mode.)](https://usermanual.wiki/Fujitsu-Isotec/015M33324A.Users-Manual-2/User-Guide-709504-Page-18.png)