Gospell Smarthome Electronic U5826Y-T5826Y HD WiFi Camera User Manual 10705012453 U5826Y manual 2
Shenzhen Gospell Smarthome Electronic Co., Ltd. HD WiFi Camera 10705012453 U5826Y manual 2
15_T5826Y UserMan.pdf
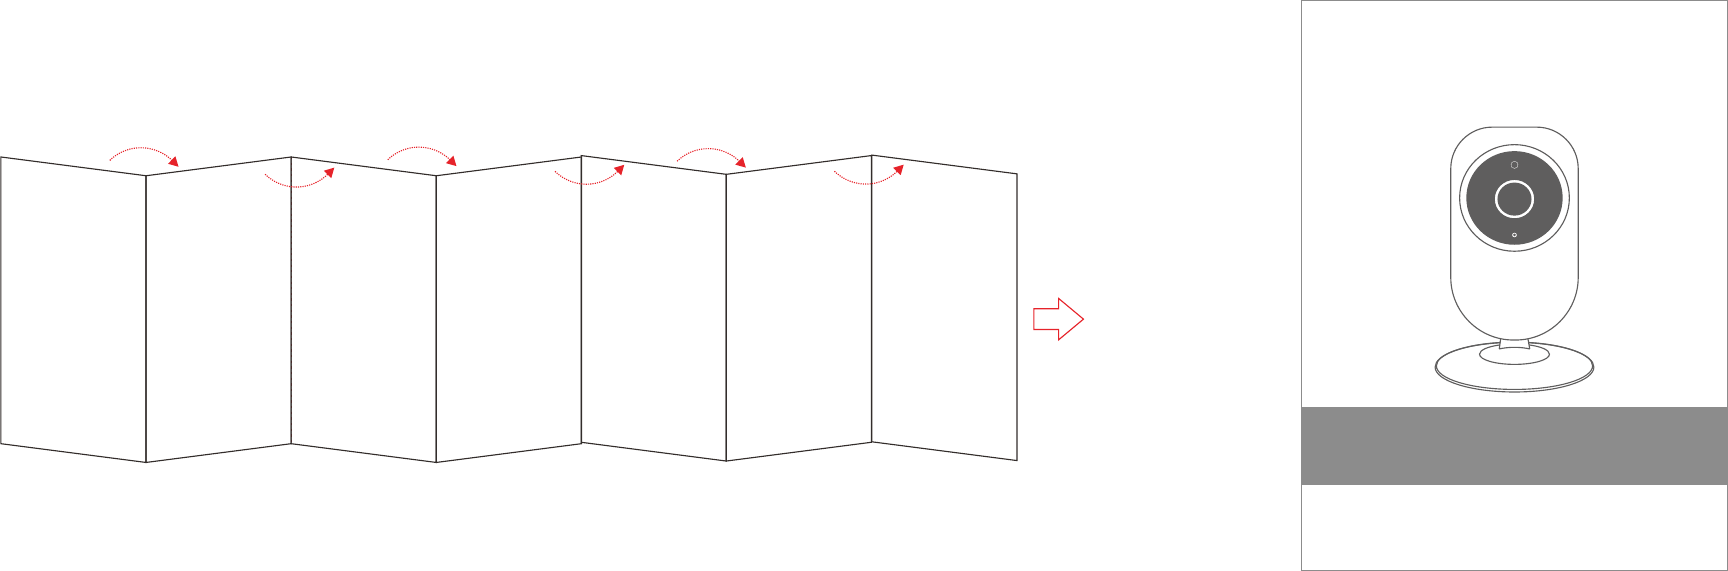
Folding Schematic Front side
HD WiFi Camera
Model: U5826Y
Product Quick Guide
Version No.: 1.1
Before using the product, please read the guide carefully to avoid
any damages to the product in virtue of faulty operation or misuse.
1
35 87
12345
78 9 10 11
6
HD WiFi Camera
Model: U5826Y
Product Quick Guide
Version No.: 1.1
Before using the product, please read the guide carefully to avoid
any damages to the product in virtue of faulty operation or misuse.
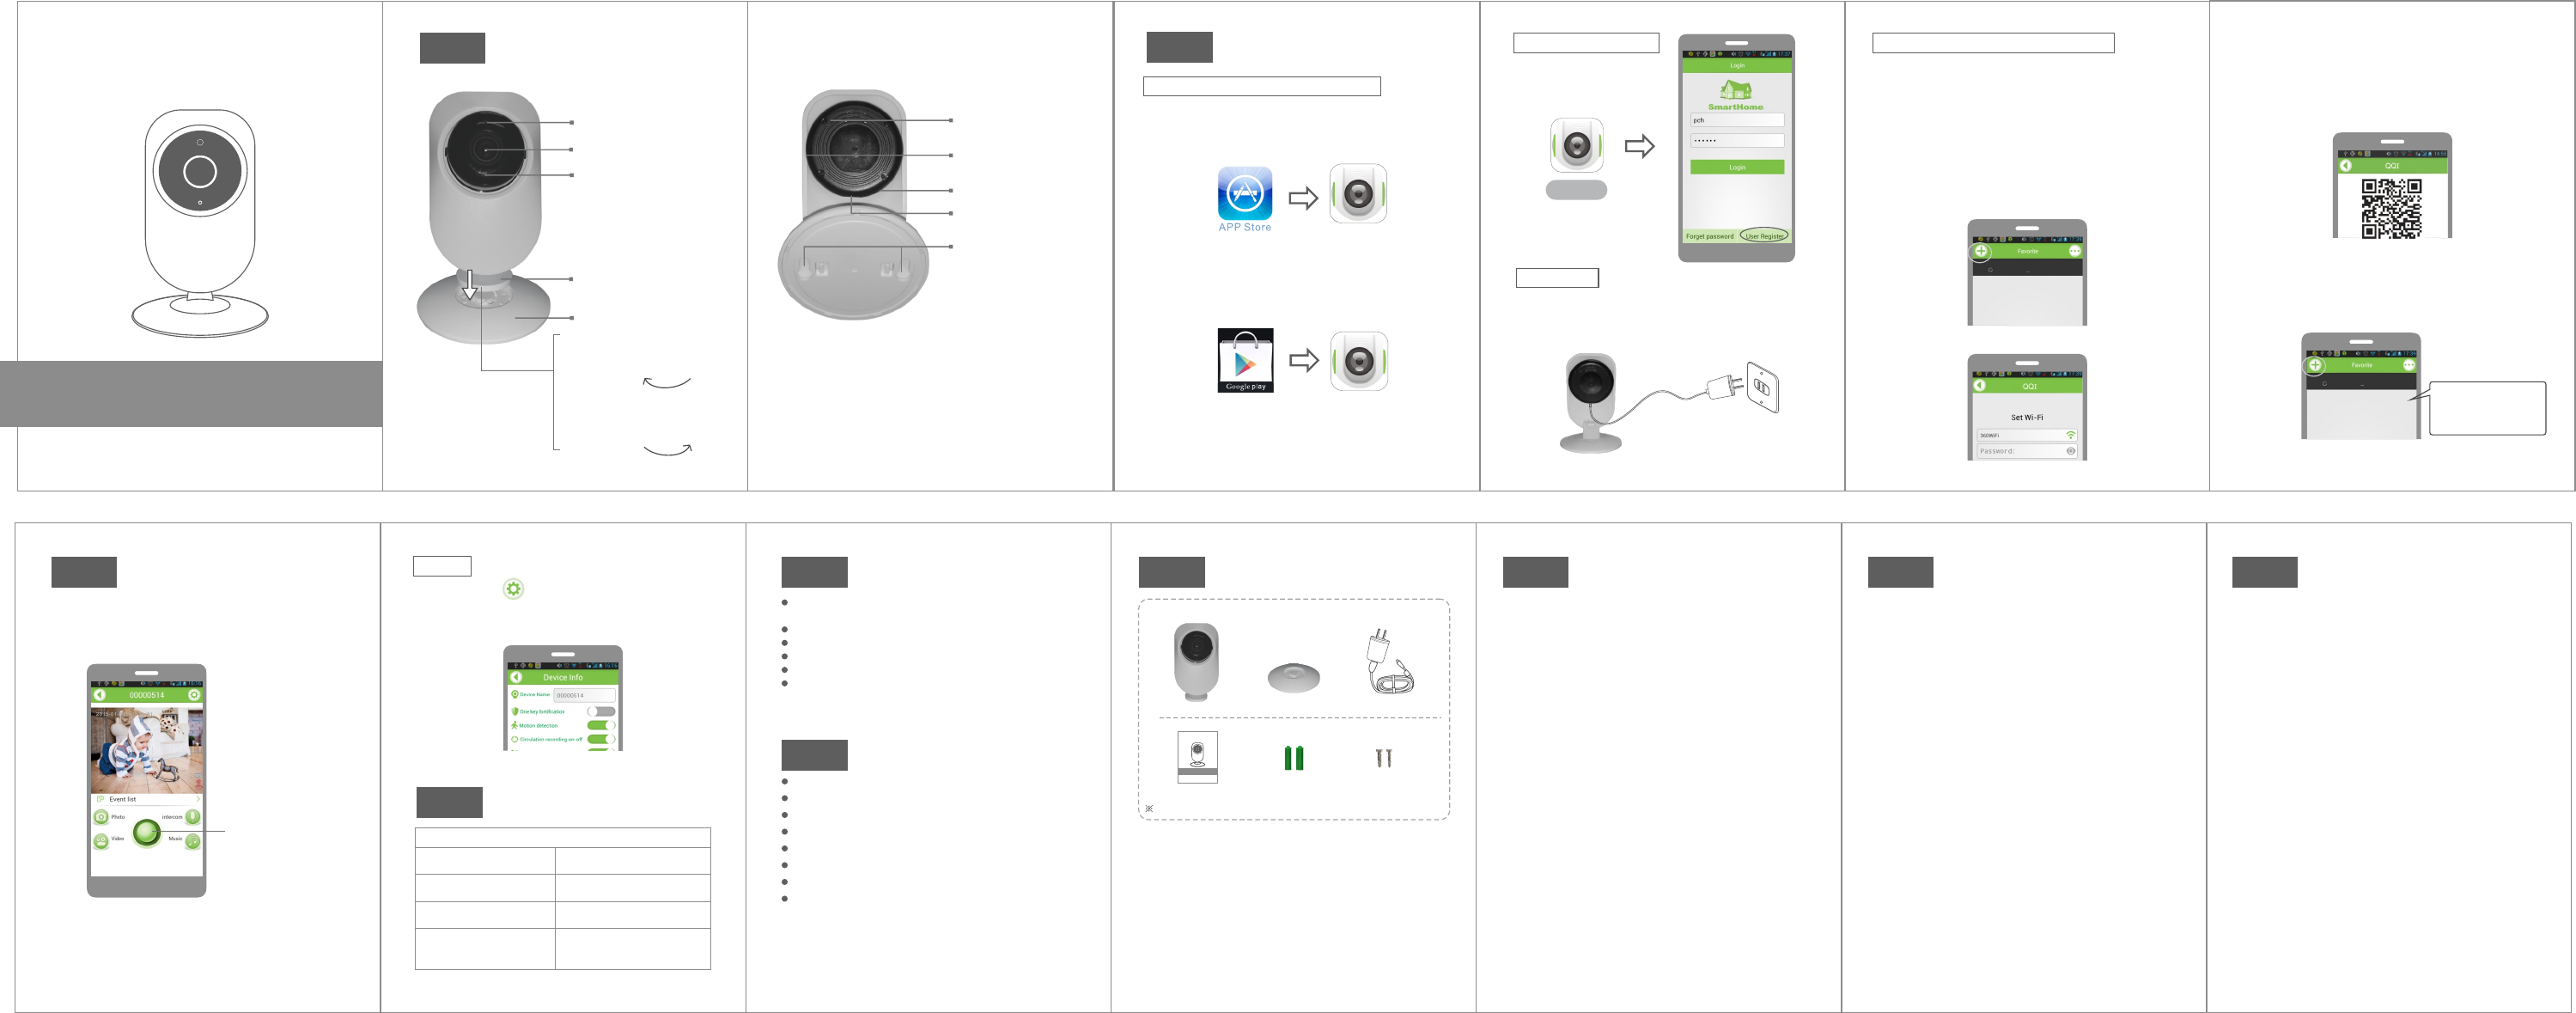
Appearance
(The front)
Setup(Press 'SET'
button by a needle)
Micro SD card slot
MIC hole
DC5V power socket
Screw hanger hole
(first nail the screw
on the wall and then
hanger the camera
on the screw.)
(The back)
2 Installation Instructions
Download and install client-end APP
1.For iPhone/iPad client-end: open App Store,search
for “QQI”, click Download Link for downloading and
installation.
2. For Android client-end: enter “Google Play” Store,
search for “QQI”, click Download Link for
downloading and installation.
QQI
QQI
QQI
User registration
Please register after
installing the APP.
Link power
Please adopt standard DC5V power adapter for
connection of power supply. The red light is on after
being powered on, keep on after 5 flickers, and ding
–dong indicates completion of starting up.
Camera Network Connecting Device
(Before connection: wireless router normally connects
to the network and then connect the WiFi of cellphone
to this router. When connecting to the camera, it
should be within the scope of this wireless router.)
※ take the client of Android cellphone as the example.
For iOS client, please refer to Android client.
1.Upon ding –dong of starting up, short press the
setting button of the camera, it beep, the red light
flickers, enter smart connection mode. Then log in
APP, click “+” for addition of device, and operate
following prompts:
3.When the mobile phone is in the interface of QR
code, it is necessary to put the camera aside the
mobile phone for the time being.
4. After connected to the network platform, pull down
the client to refresh the device list. Click the camera
lens and enter monitoring video interface and have
the various manipulations of the camera lens.
If new lens does not
appear, please click
here to pull down and
refresh.
Check Video and Manipulate
1. After successfully connected to, enter into the
connected camera lens and check video etc.
2. Shoot, recording, setup or check event list in the
intelligent client.
Note: 1.Pictures taken manually with intelligent client-
end are saved on the intelligent client-end.
2.Automatic photographing and video files of manual
vide and motion detection are saved on the micro SD
card of camera.
Setting
1 Click the icon on the real-time monitoring
interface to enter the setting menu of camera. Users
may change relevant parameters.
Function Characteristics
High-definition, intelligent and remote real-time
monitoring.
Camera network connection
IOS and Android system can be used.
Shooting/recording/storage/playback
Motion detection function
32GB micro SD card cyclic recording can be used
in maximum.
6 Technical Parameters
Imaging sensor: 1/4 inch CMOS
Camera resolution: 720P high definition
Visual angle: level 70°
Night visual range: ≤5m
Working voltage: DC +5V /1A
Working temperature: 0℃ ~+40℃
Dimension (LxWxH): 80x80x118mm
Weight:104g
※Any small changes to all parameters will be done
without prior notice.
Package List
Please confirm the following fittings after unpacking
Camera Power adapter
Instruction manual Wall nails Screws
The picture is only for reference and the real object shall prevail
HD Wi Fi Came ra
Model: U5826Y
Produ ct Quic k Guide
Version No.: 1.0
Before using the product, please read the guide carefully to avoid
any damages to the product in virtue of faulty operation or misuse.
Warm prompt
1. After successful connection to camera network, the
user ID is bounded to the camera.
2. After your user ID is bounded to the camera, other
ID cannot be added unless you unbind the bounded ID.
3. After your user ID is bounded to the camera, you can
check the monitoring by remote and real time network
on the smart client-end with this ID.
4. In the starting up state of the camera, press
extendedly the 'set-up 'button by a needle until the
pilot lamp is put out. Then the device can be removed
from the account, leading to successful release of the
binding.
FCC Certification Information
10
Base
Photosensitive
induction
Lens
Pilot lamp
Base
Support
After the holder is put in the
lampstand, twist downward;
twist the holder to the left,
then it closes. close
After the holder is put in the
lampstand, twist downward;
twist the holder to the right,
then it opens. open
2.Please input the name and password of your WiFi:
4Definition of status
of indicator light
Kindly Remind:
Due to the software used
is a general-purpose
software, this function
has no effect.
Definition of status of video camera's indicator light
Course of powering
on start
Link red light keeps on after
flashing 5 times
Course of intelligent
scanning of QR code Link red light flashing
Link green light flashing
Setting of WiFi status
Successful connection
to network platform (In
network connection mode)
Link green light keeps on
1.The red light is on normally, indicating networking
fails.
Method①: Check whether input SSID and the
password are correct or not.
Method ②: Guarantee that the network is usable, and
the equipment is moved near the router.
2.The green light flashes normally, indicating
connection to the server fails.
Method ①: (wifi signal is weak or the bandwidth is not
enough) Please move to the position where wifi signals
are stronger or the bandwidth is increased.
Method ②: Check whether there is 2.4G interference
all round.
3.While adding, the system indicates that the operation
is successful, but it is not found in the list.
Method ①: Exit from the APP and the log in again.
Solutions to common
problems:
4.Unable to bind, and be bound by other users
Method ①: Press SET key until the light goes out. Install
again after auto reboot, and bind successfully.
12 13
9
※This product adopts the general APP, and actual
functions are subject to the equipment terminal.
Two beeps are made upon successful Smart scanning,
and when the green light keeps on, it shows successful
connection to network platform.
NOTE: This equipment has been tested and found to comply with the limits for a Class B digital
device, pursuant to part 15 of the FCC Rules. These limits are designed to provide reasonable protection
against harmful interference in a residential installation. This equipment generates, uses and can radiate
radio frequency energy and, if not installed and used in accordance with the instructions, may cause
harmful interference to radio communications. However, there is no guarantee that interference will not
occur in a particular installation. If this equipment does cause harmful interference to radio or television
reception, which can be determined by turning the equipment off and on, the user is encouraged to try to
correct the interference by one or more of the following measures:
—Reorient or relocate the receiving antenna.
—Increase the separation between the equipment and receiver.
—Connect the equipment into an outlet on a circuit different from that to which the receiver is
connected.
—Consult the dealer or an experienced radio/TV technician for help.
This device complies with part 15 of the FCC rules. Operation is subject to the following two
conditions:
(1) this device may not cause harmful interference, and
(2) this device must accept any interference received, including interference that may cause
undesired operation.
Changes or modifications to this unit not expressly approved by the party responsible for
compliance could void the user's authority to operate the equipment.