HARRIS TR-399-A2 Dual mode dual band cell phone User Manual users manual
HARRIS CORPORATION Dual mode dual band cell phone users manual
HARRIS >
Contents
- 1. users manual
- 2. Users manual update
- 3. Updated Manual
- 4. Users Manual
users manual


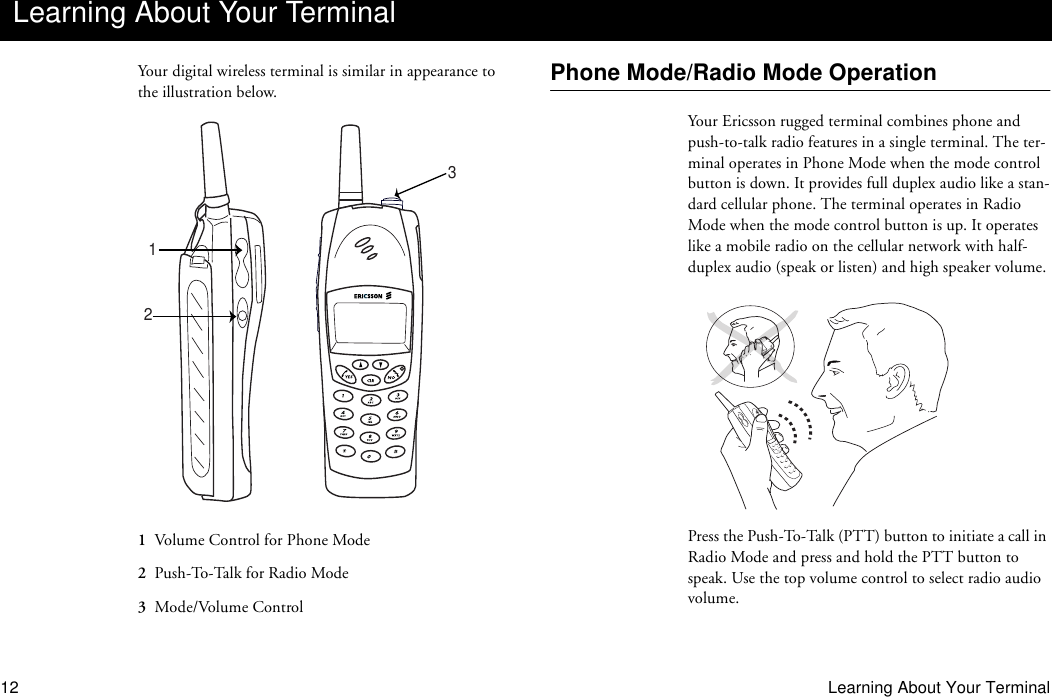
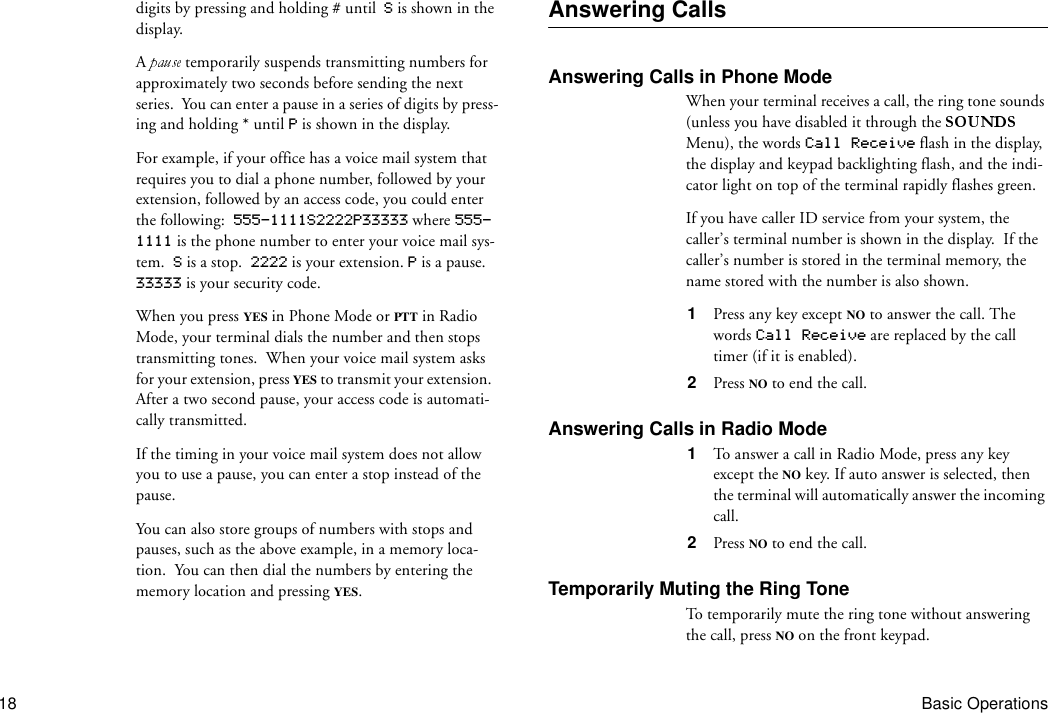
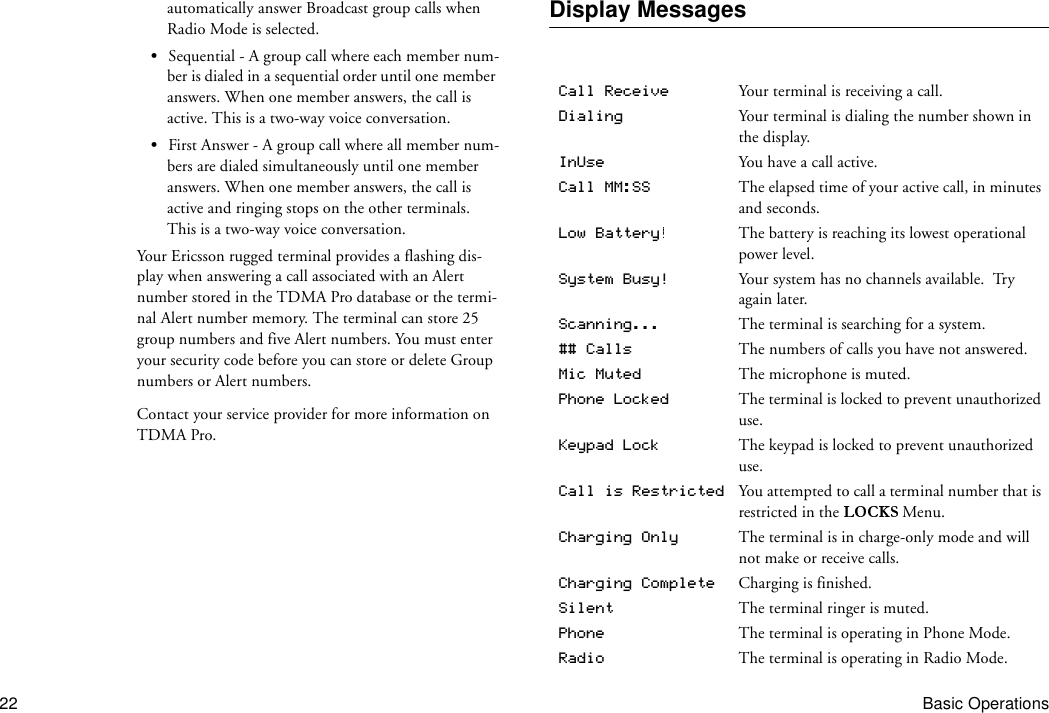
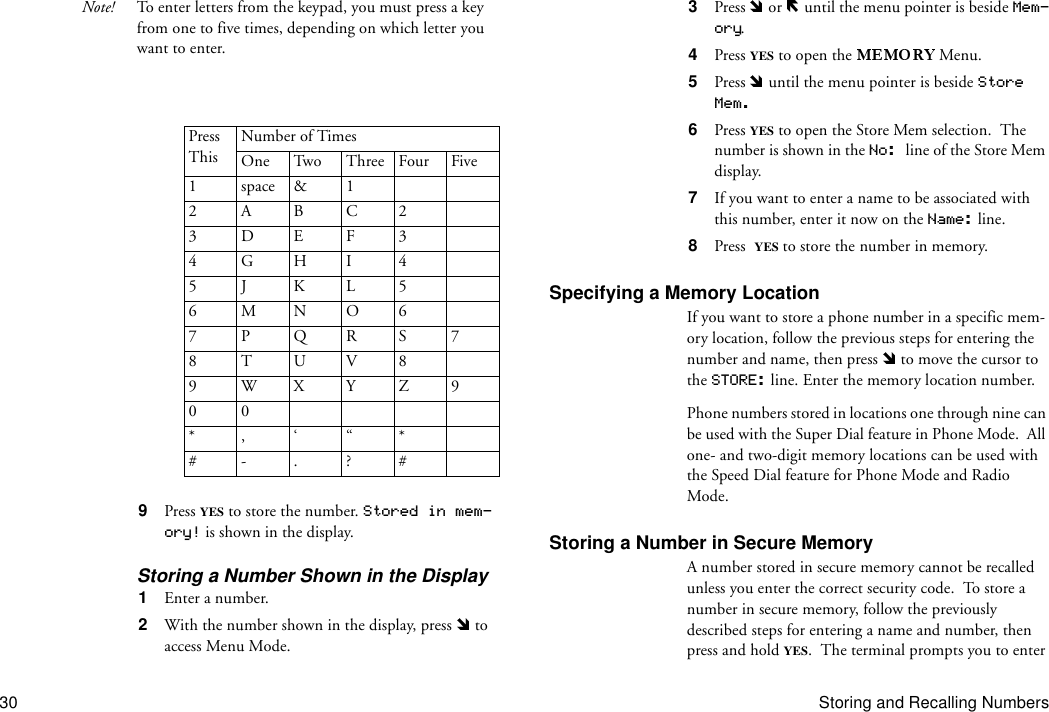
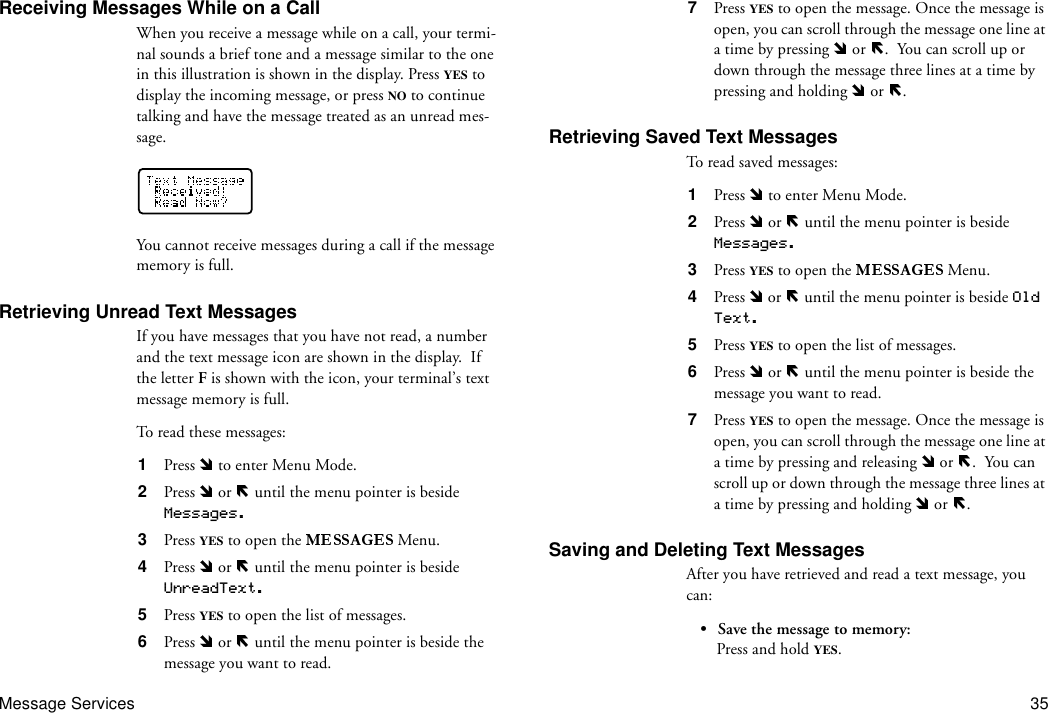
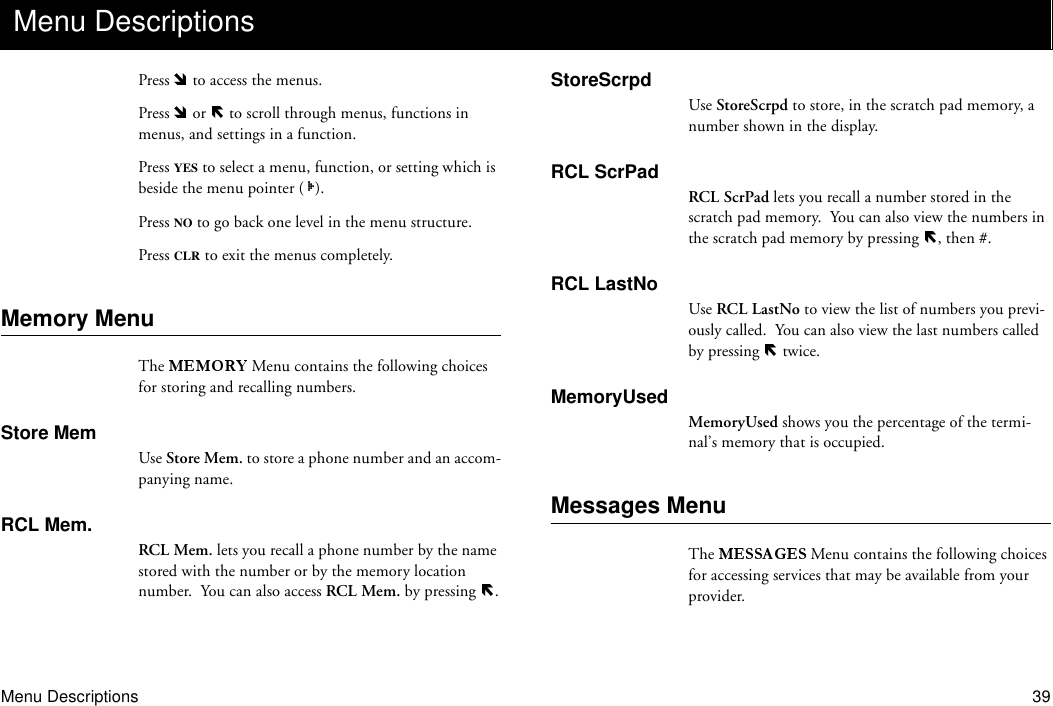
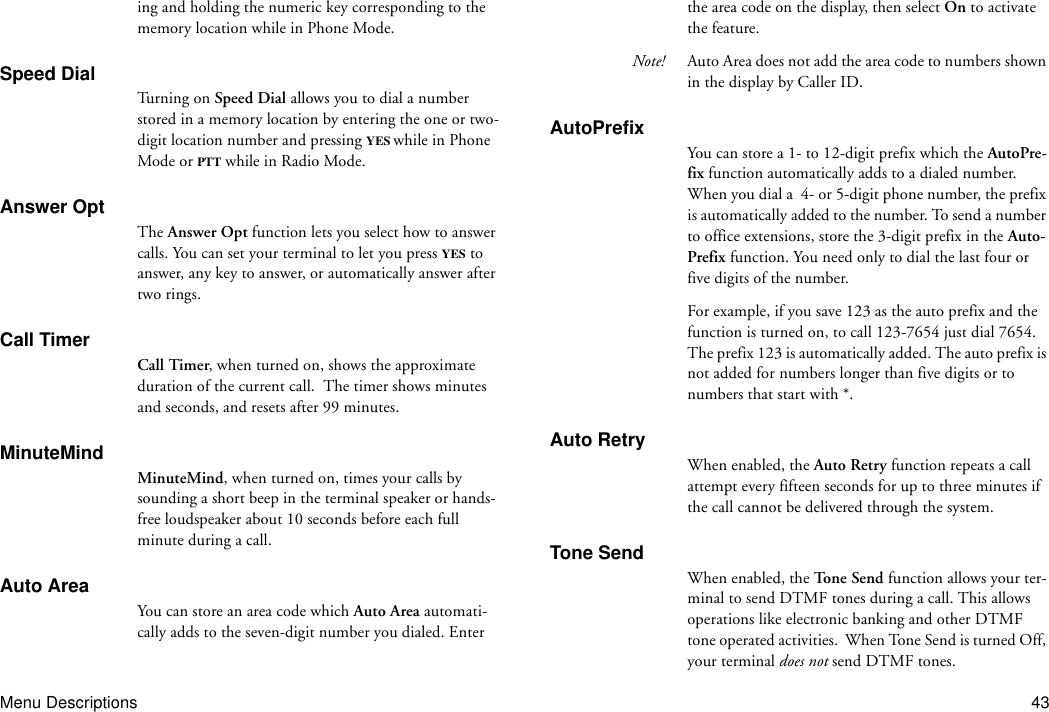
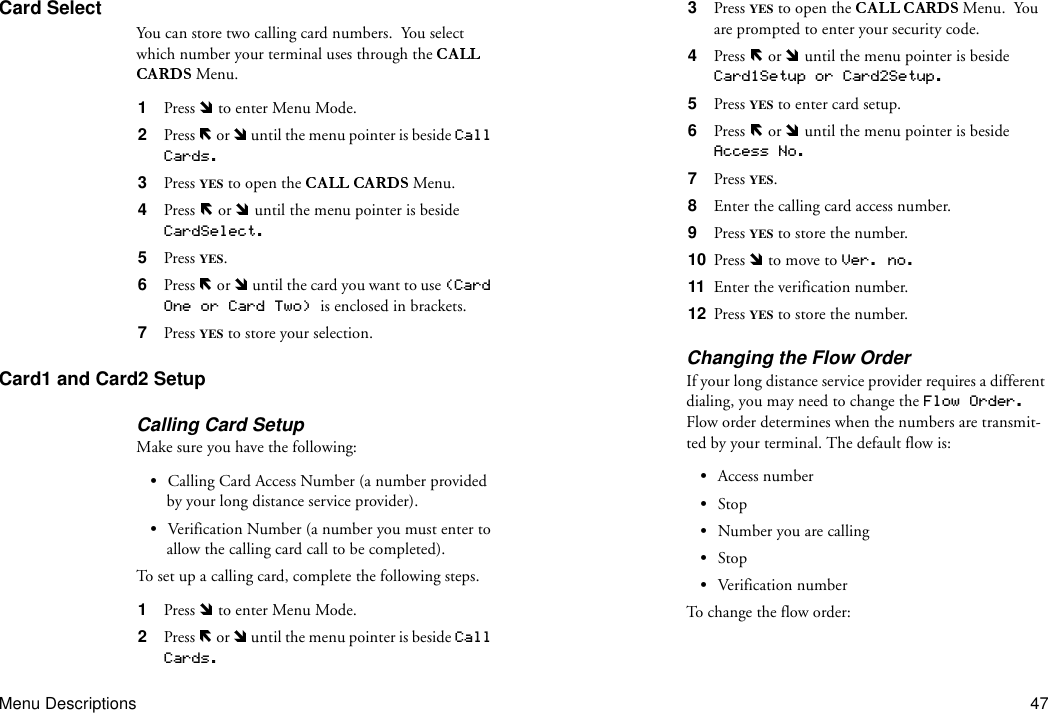
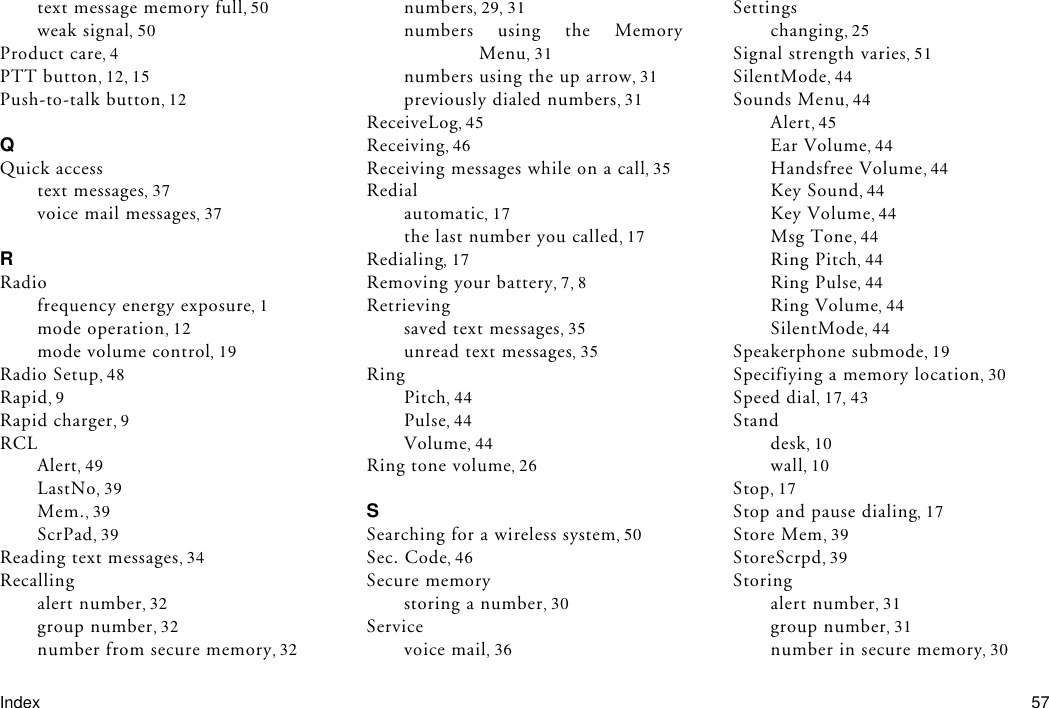
![26 Using Menuschanges, the words SELECTION STORED! are shown briefly in the display. The list of settings is then shown in the display.Exiting Menu ModePress NO at any menu level to go back one level. Press CLR to exit menu mode.Note! If your terminal receives a call while it is in Menu Mode, the terminal automatically exits menu mode to allow you to answer the call.Quickly Accessing MenusIf you know the numbers associated with the submenu and setting you want to change, you can quickly access that submenu and setting by pressing , followed by the number of the submenu and then the number of the set-ting. For example, suppose you want to change the sound the keys on your terminal make when you press them. Since submenu is number 6, and the Key Sounds setting is number 3, you could press , then 6, then 3 to go directly to the choices for Key Sounds.Examples of Using MenusTurning Minute Minder ON1 Press . The main menu list is shown in the dis-play.2 Press or until the menu pointer ( ) is beside Call Setup.3 Press YES. The Menu settings are shown in the display.4 Press or until the menu pointer is beside Min-uteMind.5 Press YES. The choices for MinuteMind (ON and OFF) are shown in the display.6 Press or until [ON] is enclosed in brackets.7 Press YES. SELECTION STORED! is shown briefly in the display, then the settings list for the Menu is shown.8 Press CLR to exit Menu Mode.Changing the Volume of the Ring Tone in Phone Mode1 Press . The main menu list is shown in the dis-play.2 Press or until the menu pointer ( ) is beside Sounds.](https://usermanual.wiki/HARRIS/TR-399-A2.users-manual/User-Guide-59284-Page-30.png)
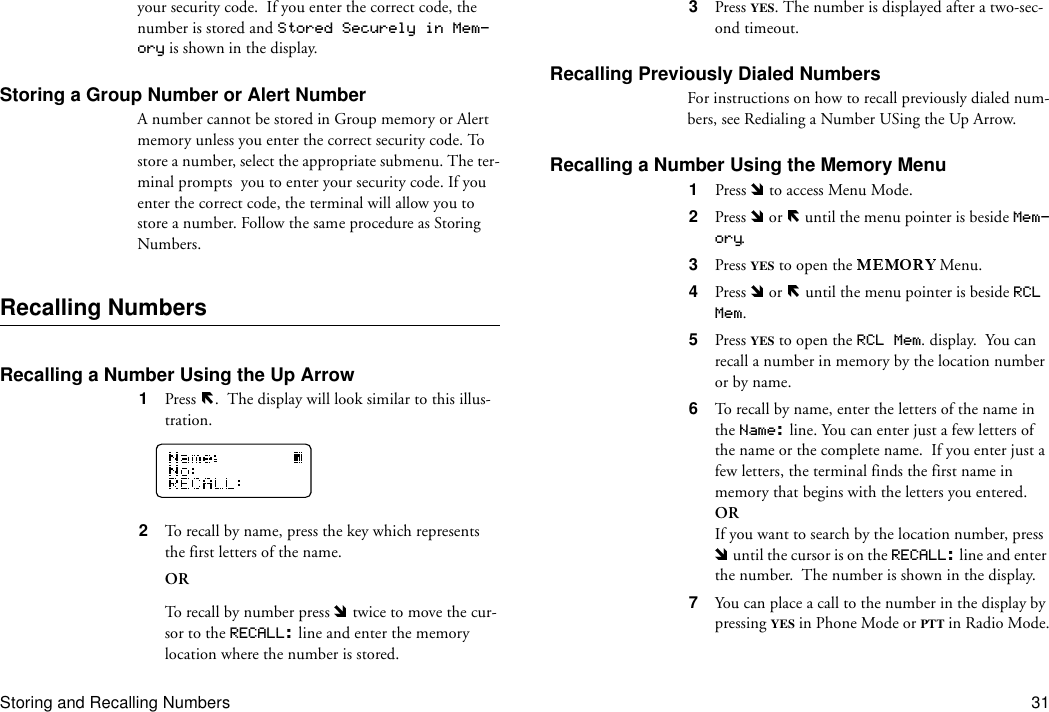
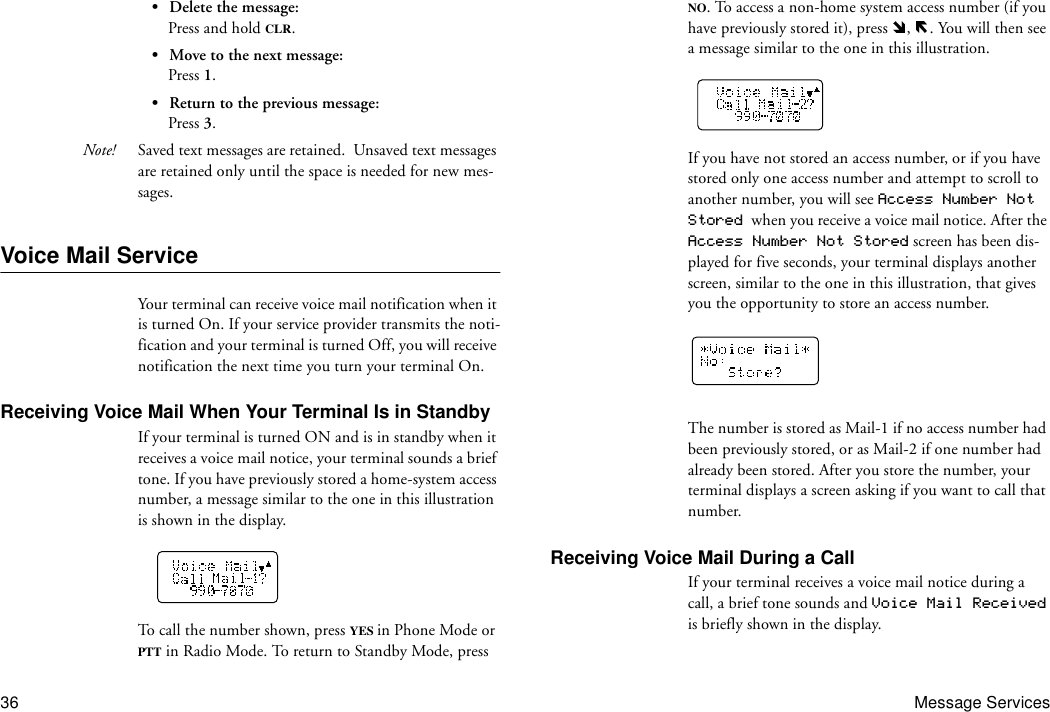
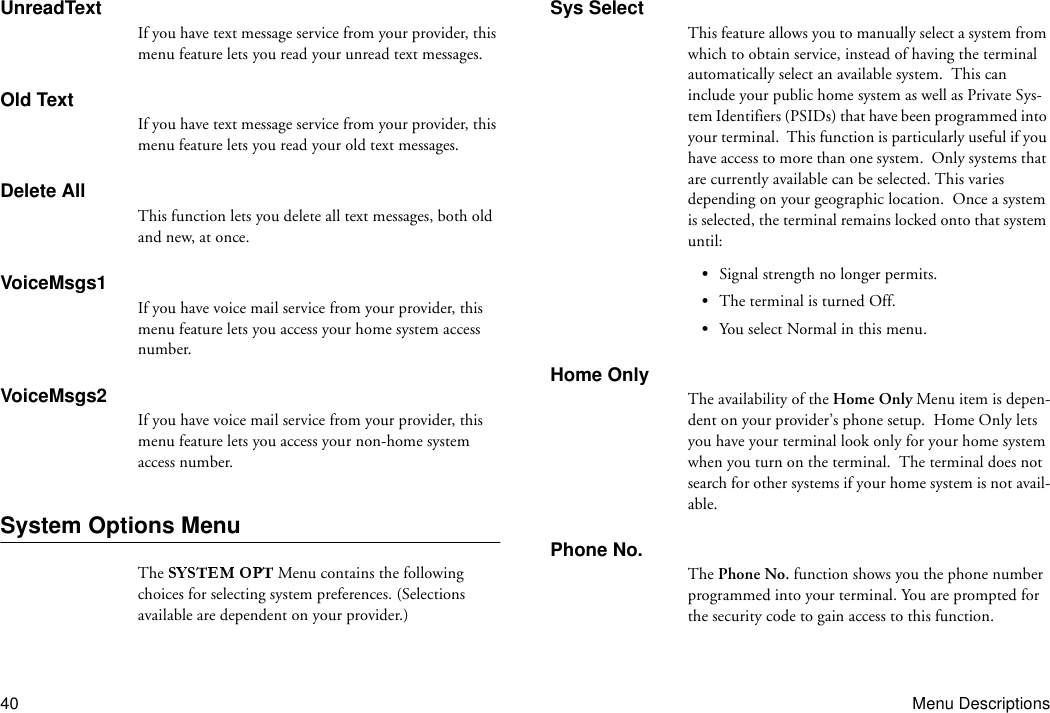
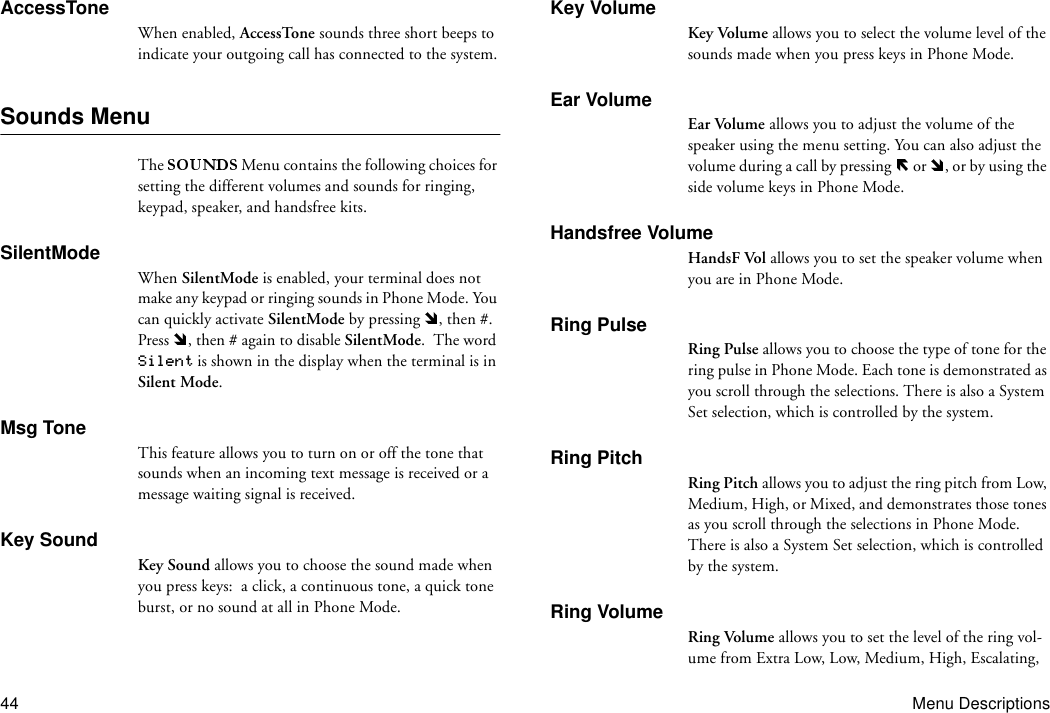
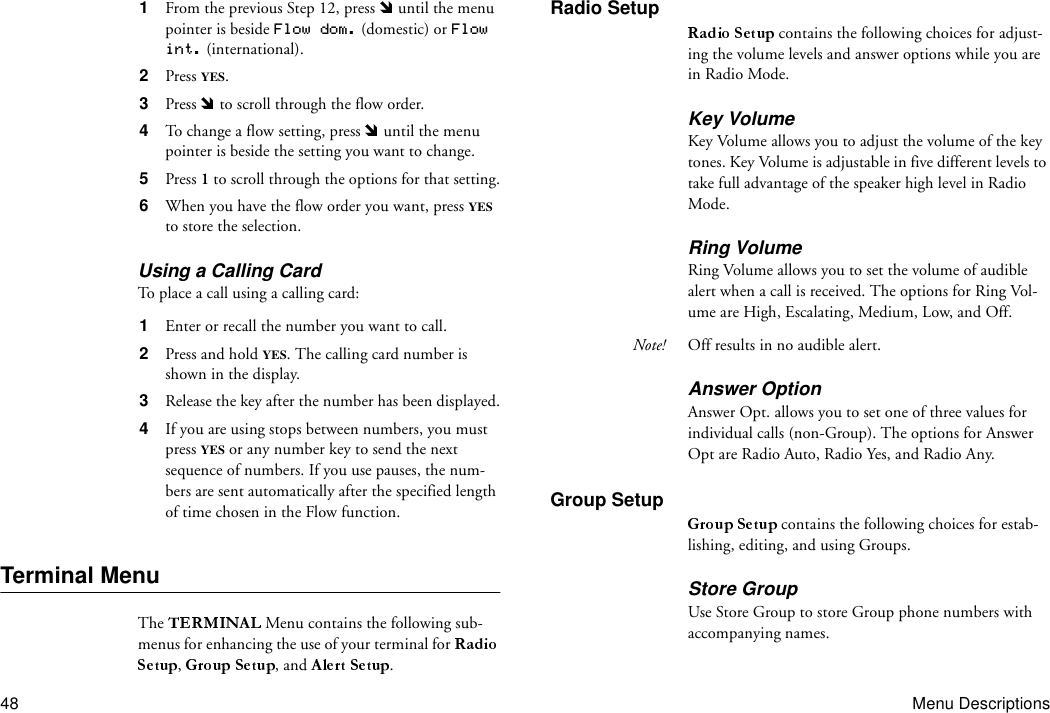


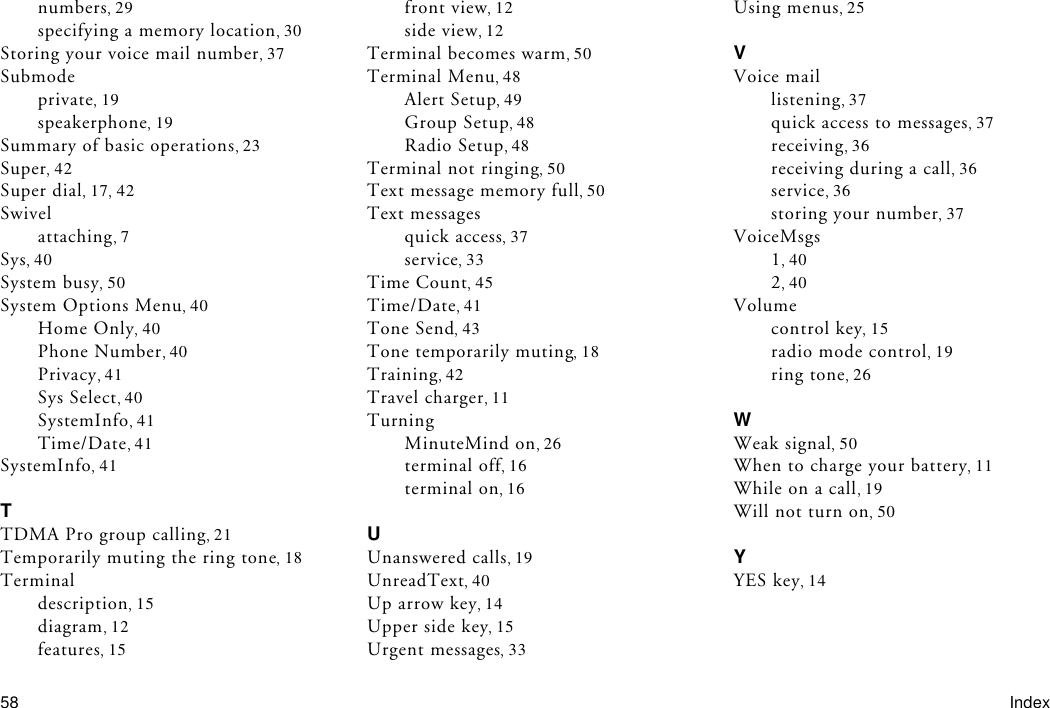
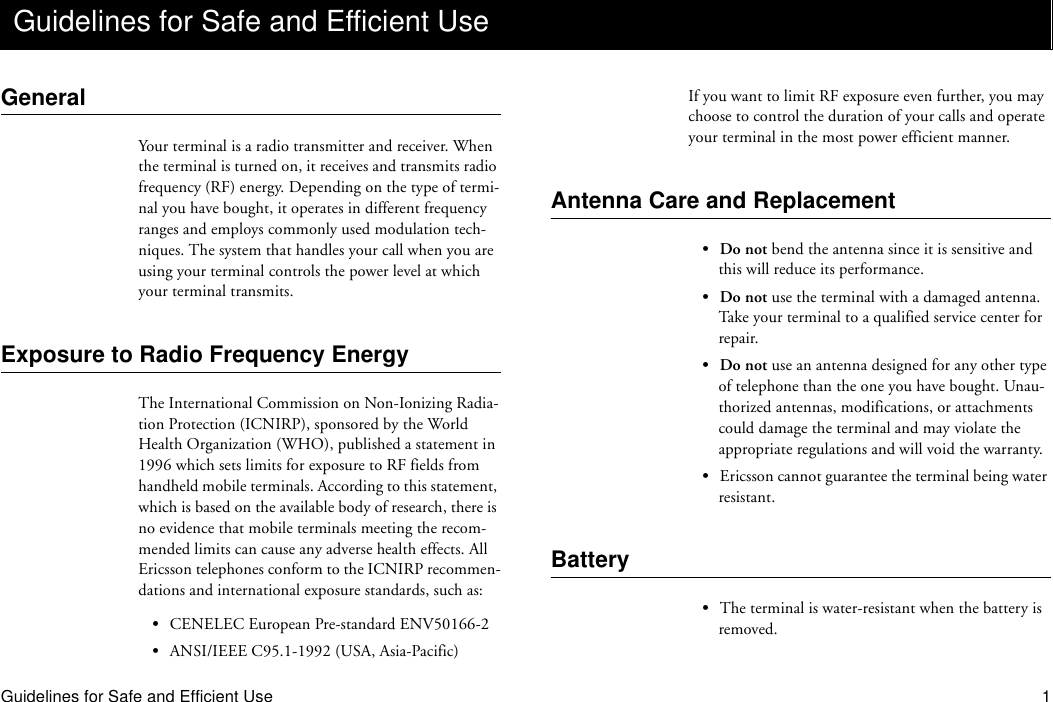
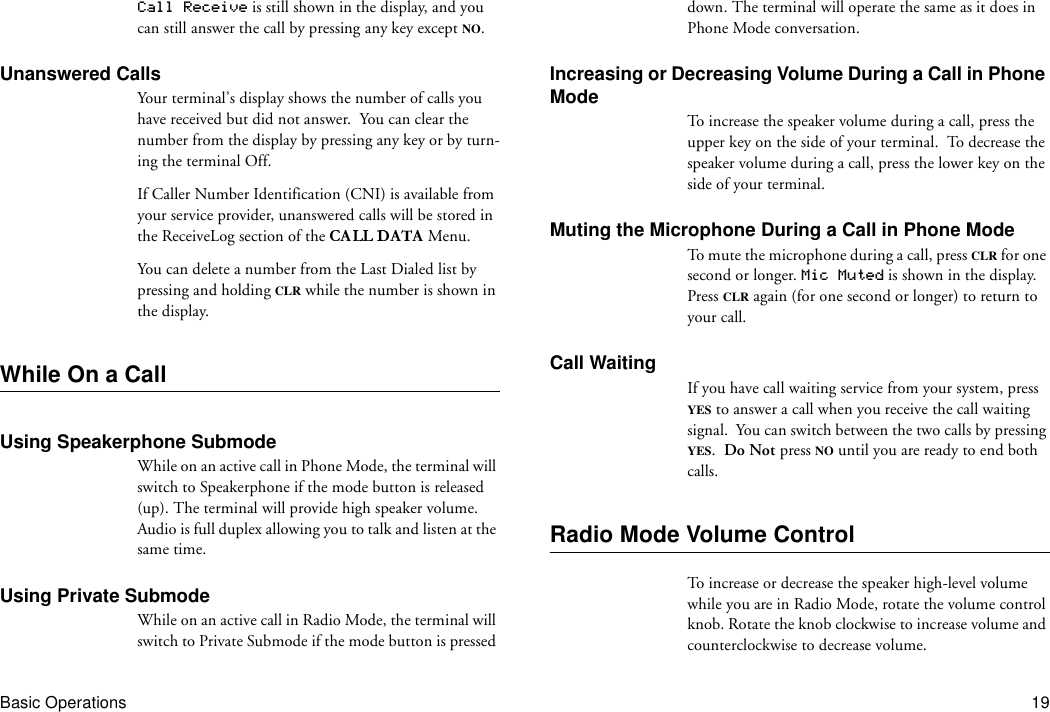
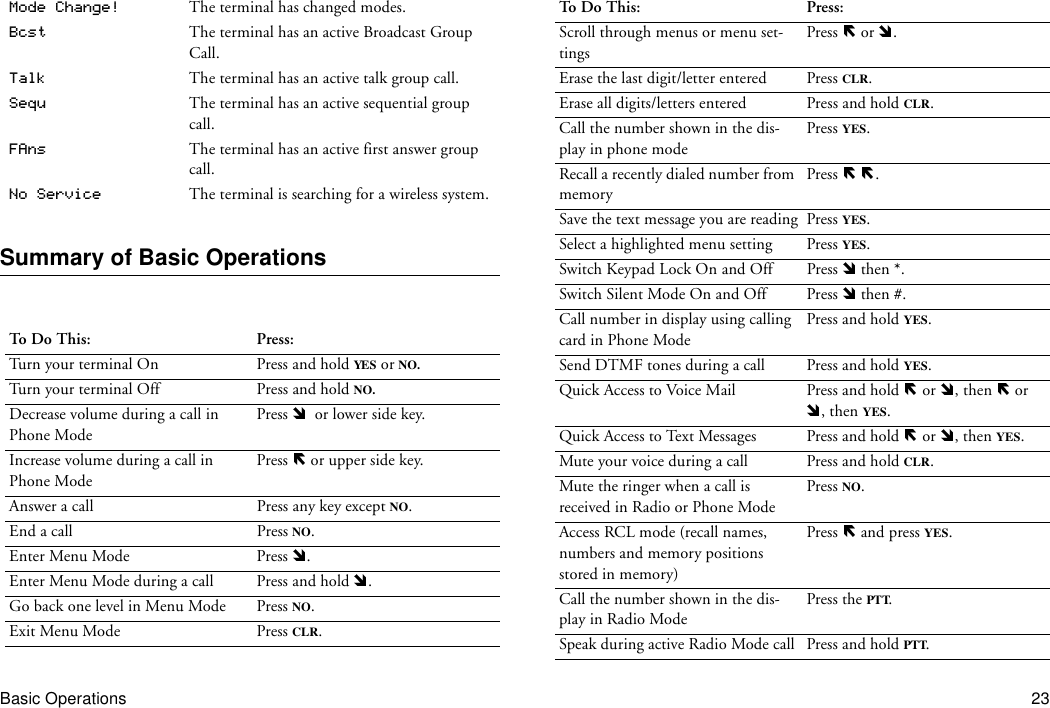
![R250d Quick Reference CardAE/LZT 123 5170 R1Turn Phone ON/OFF Press and hold NOEnter Menu Mode Press During a call, press and hold CallingAnswer a Call Press YESEnd a Call Press NORecall Last Dialed No. or upper side keyNO to exitRecall a No. from Memory or upper side key (enter name or to scroll list)Speed Dial No. fromMemory Enter memory location No. and press YES(Activate Speed Dial: 5 2 [On])Super Dial No. from Memory Press and hold memory location No. (Activate Super Dial: 5 1 [On])Store Displayed No. inScratch Pad 1 3Recall No. from Scratch Pad 1 4IndicatorsCall Timer 5 4 [On] or [Off]Minute Minder 5 5 [On] or [Off]Access Tone 5 0 [On] or [Off]DisplayContrast 4 3Back Light 4 2Language 4 5 (requires security code, default code is 0000)SoundsMute Microphone On Press and hold CLRMute Microphone Off Press and hold CLRMute Ringer Press a side key or NORing Pulse 6 7Ring Pitch 6 8Ring Volume 6 9Silent Mode On/Off #Earpiece Volume 6 5 (during a call) Press upper side key to increase or lower side key to decreaseSpeaker Volume 6 6Message Tone 6 2Dialing CodesPause Dialing PPress and hold *Stop Dialing SPress and hold #Message ServicesQuick Access to Voice Mail and Text Messages Press and hold to switch between voice mail and text message displaysPress YES to callSecurityLock Keypad *Unlock Keypad *Locks Settings 8](https://usermanual.wiki/HARRIS/TR-399-A2.users-manual/User-Guide-59284-Page-64.png)