HARRIS TR-414-A2 GSM portable cell phone User Manual R380World
HARRIS CORPORATION GSM portable cell phone R380World
UserManual.wiki
>
HARRIS
>
TR-414-A2 User Manual
>
Exhibit 8
Contents
1.
Exhibit 8
2.
Exhibit 8 addendum
3.
Exhibit 8 new manual
4.
Exhibit 8 vehicle manual
Exhibit 8
Navigation menu
Upload a User Manual
Namespaces
Wiki Guide
HTML
PDF
Info
Views
User Manual
Discussion / Help
Navigation


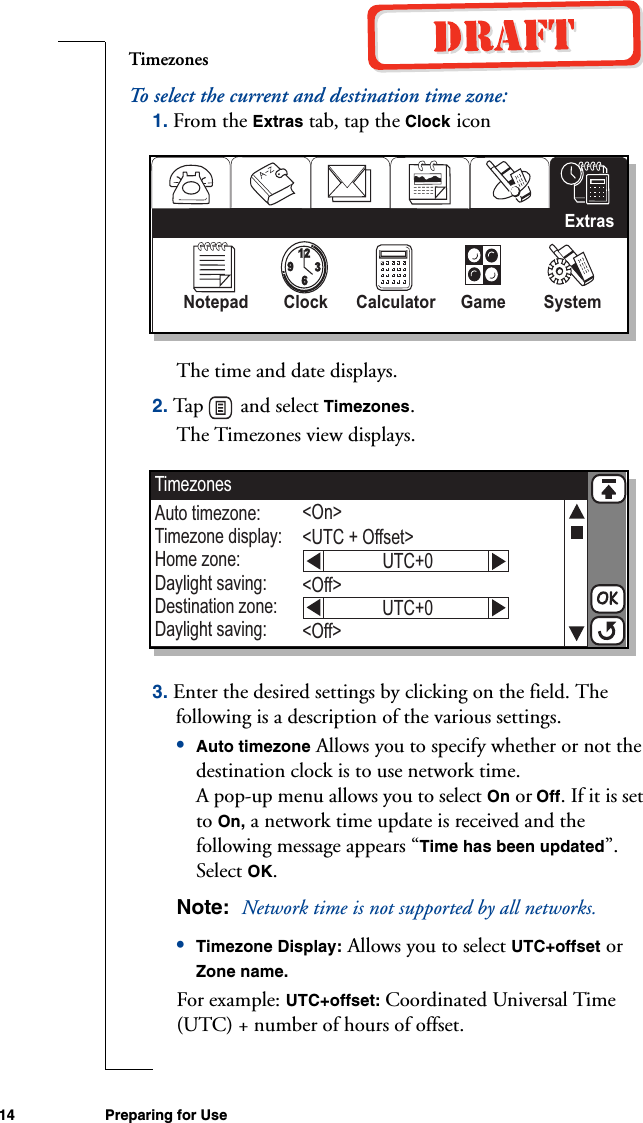

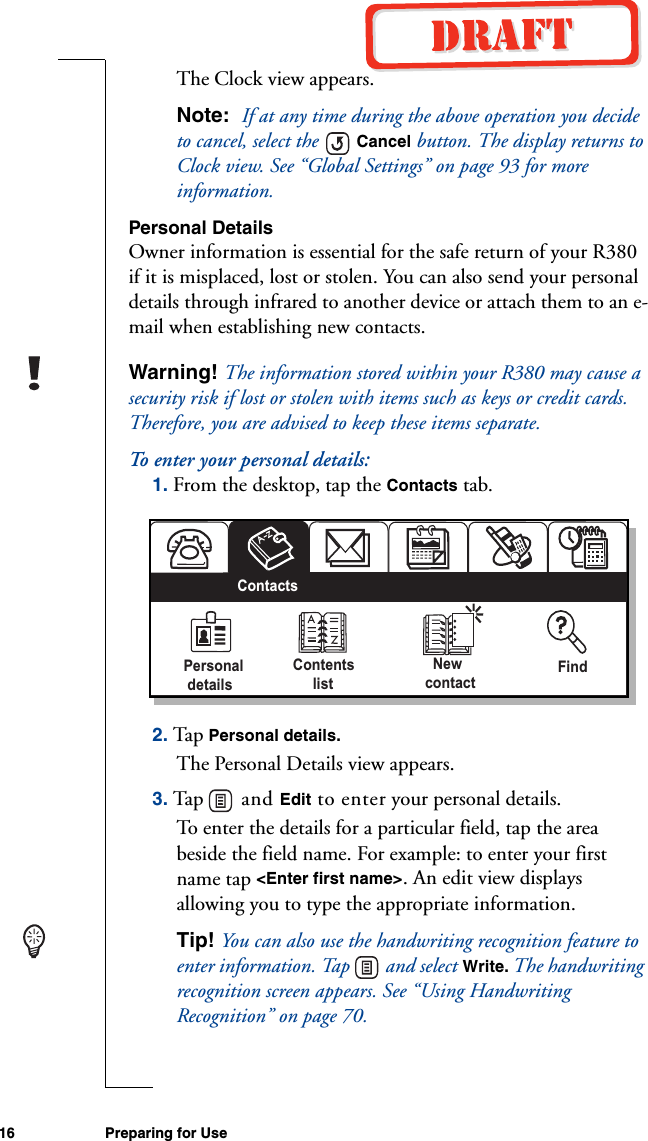
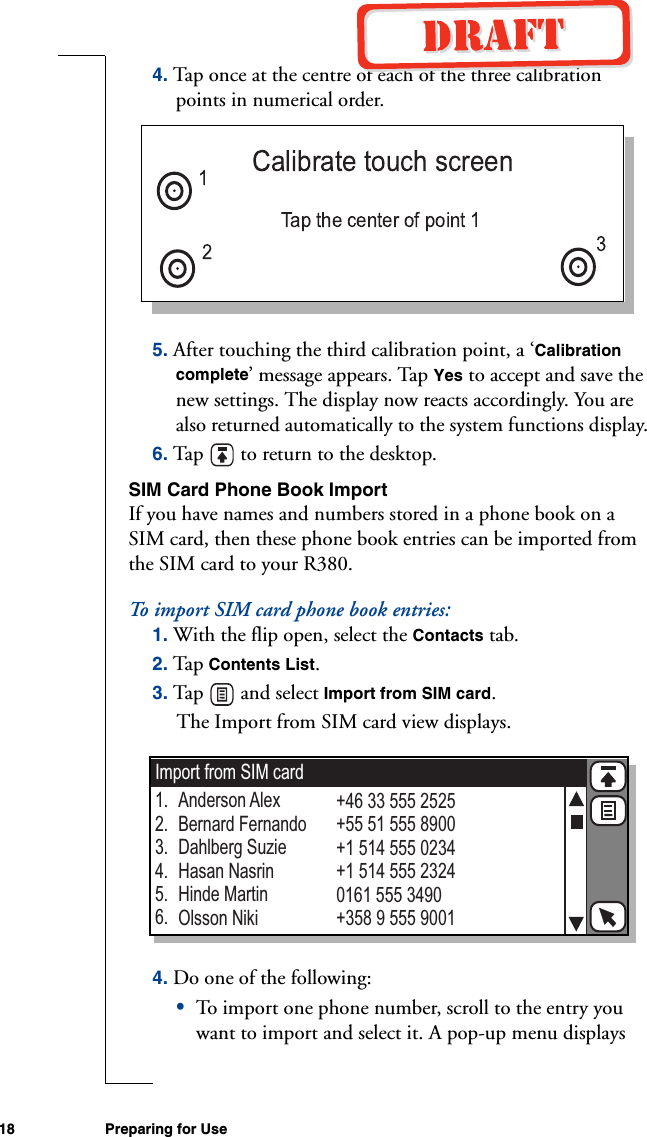


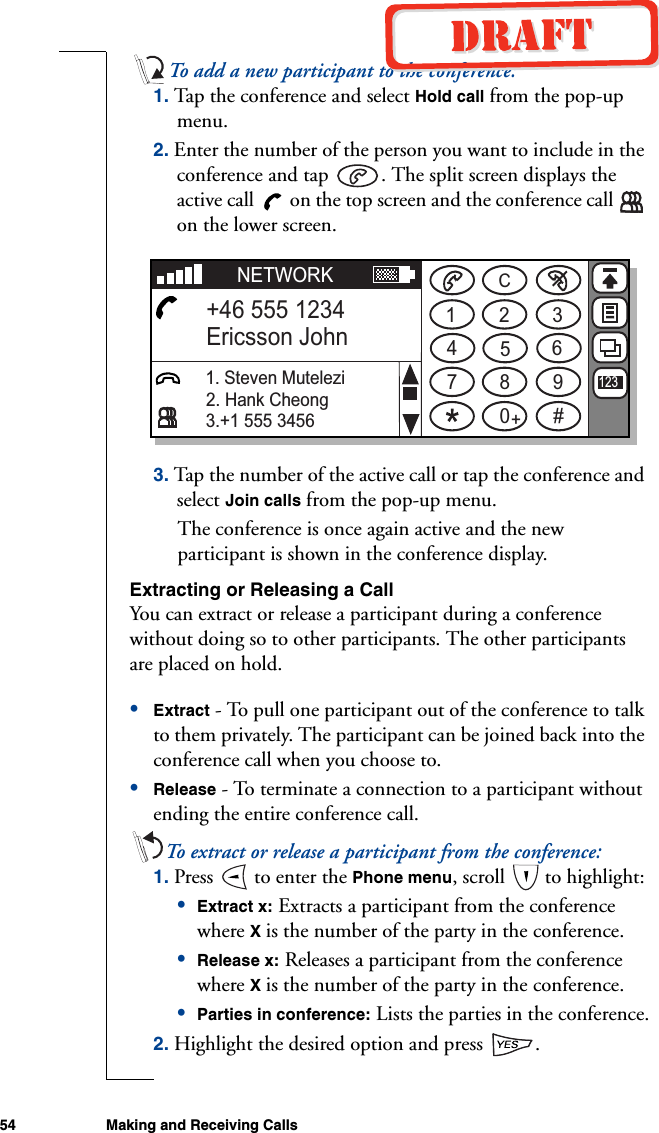
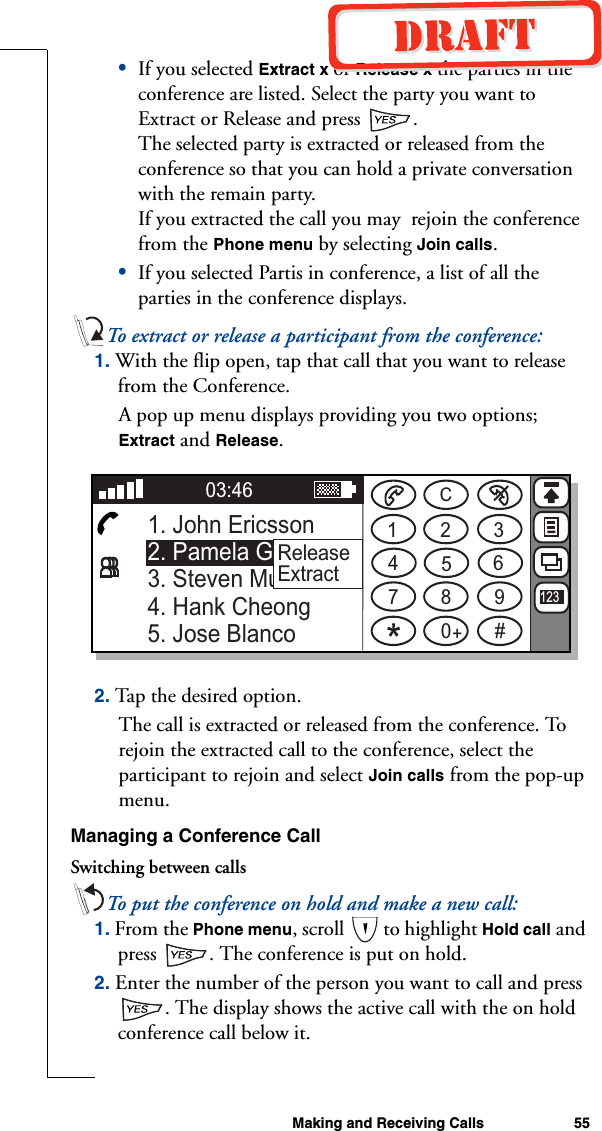
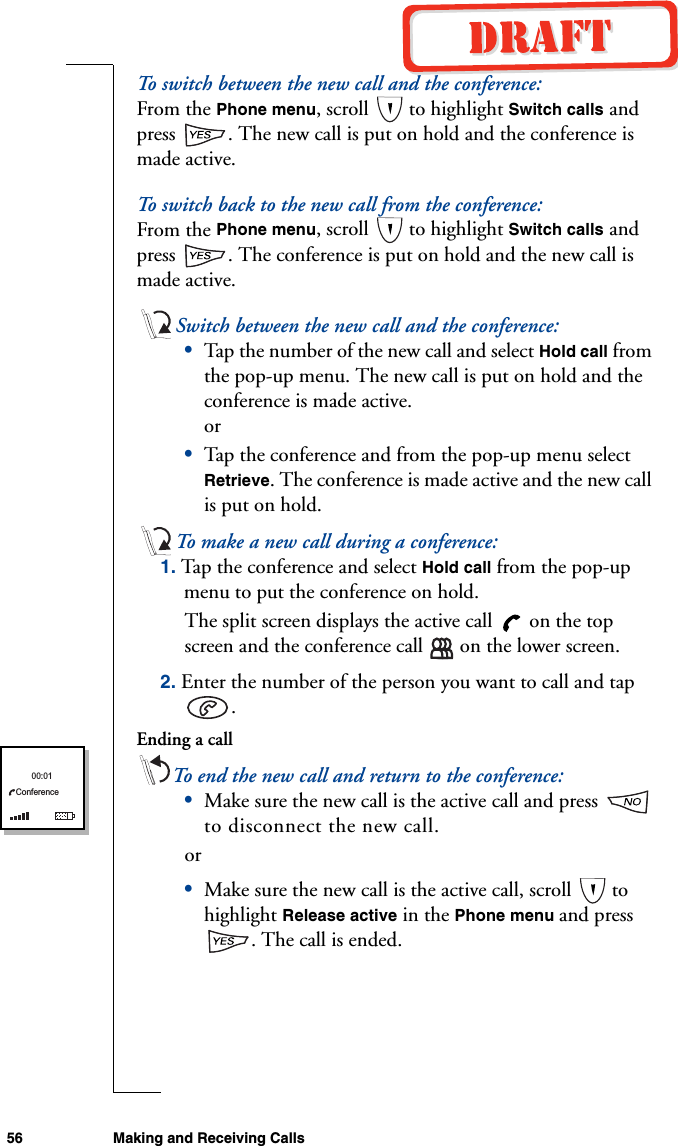
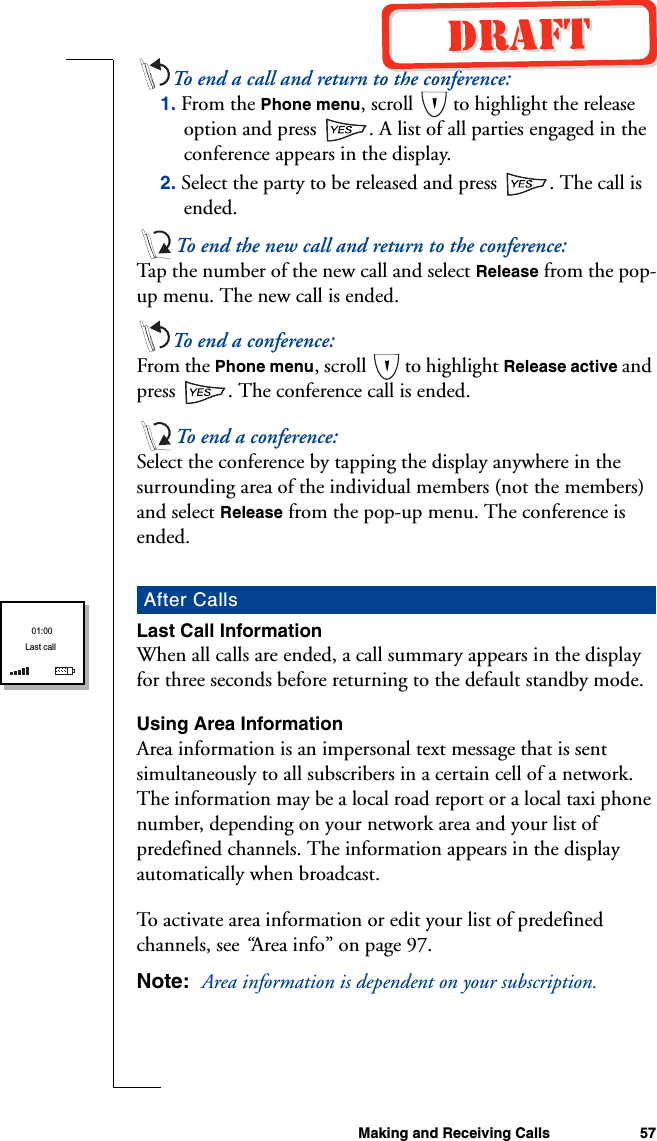
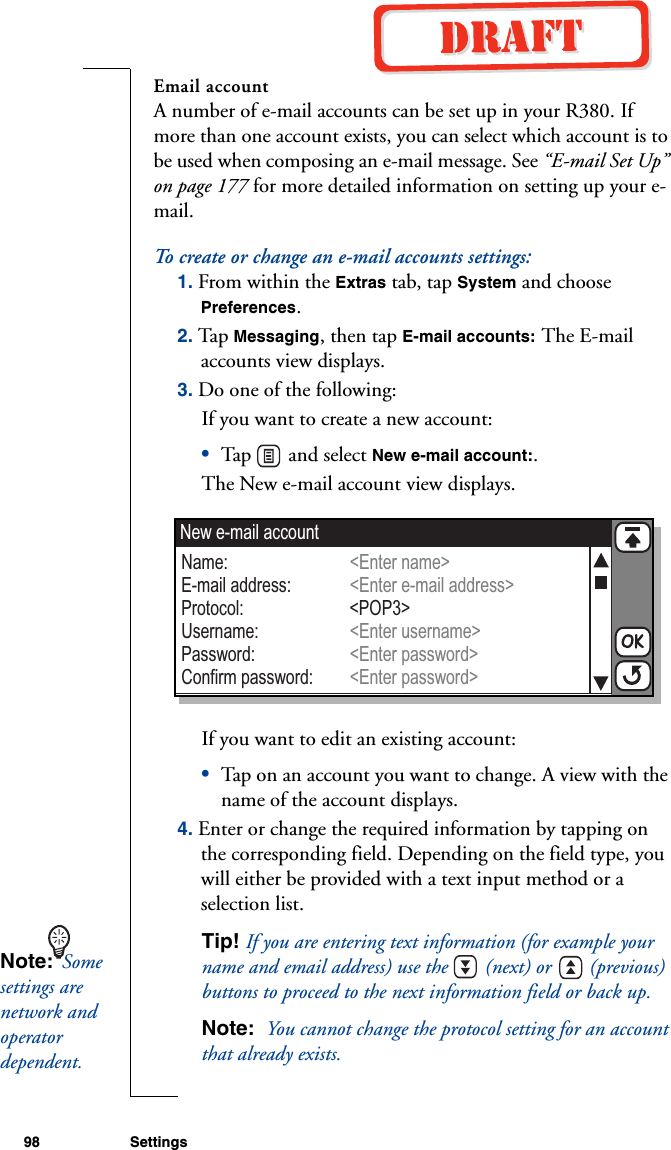
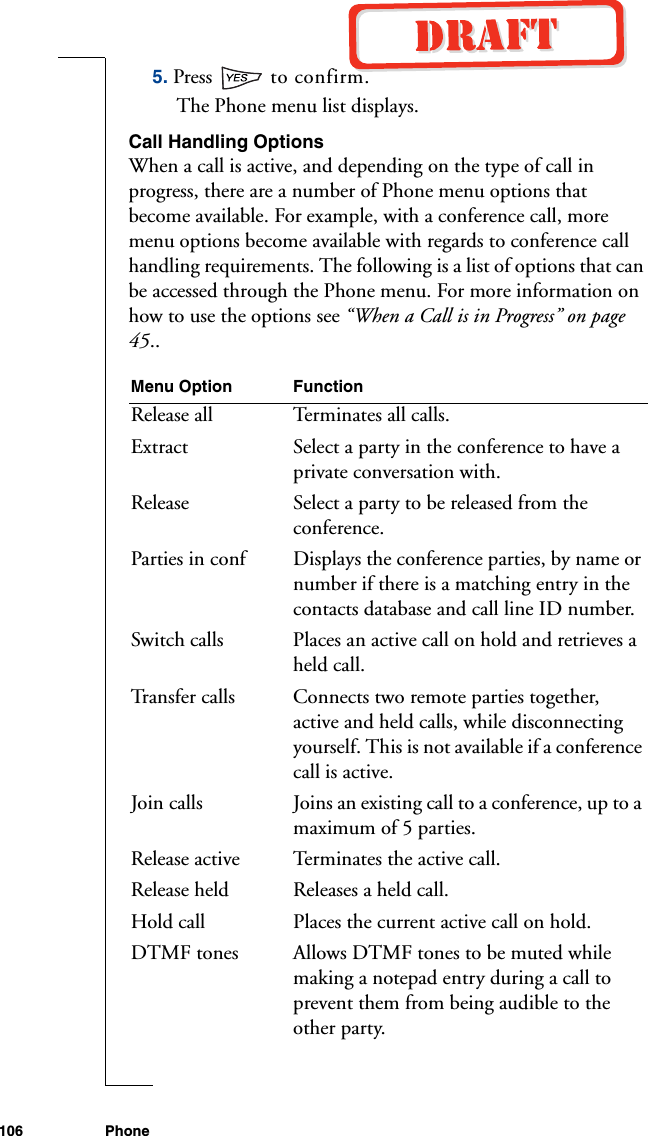
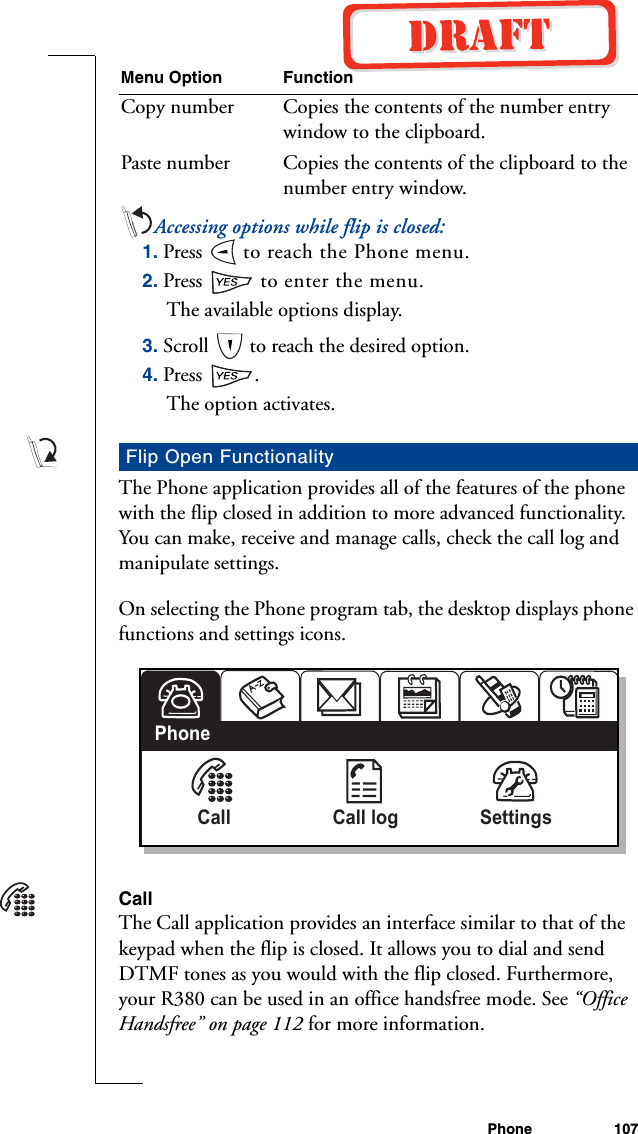
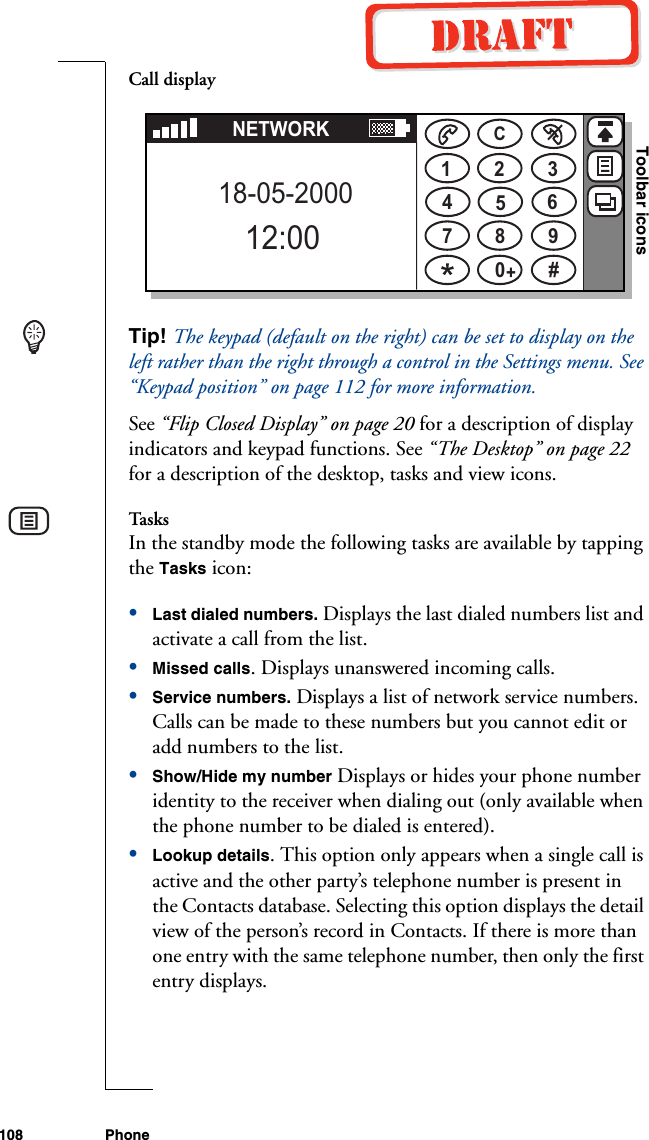
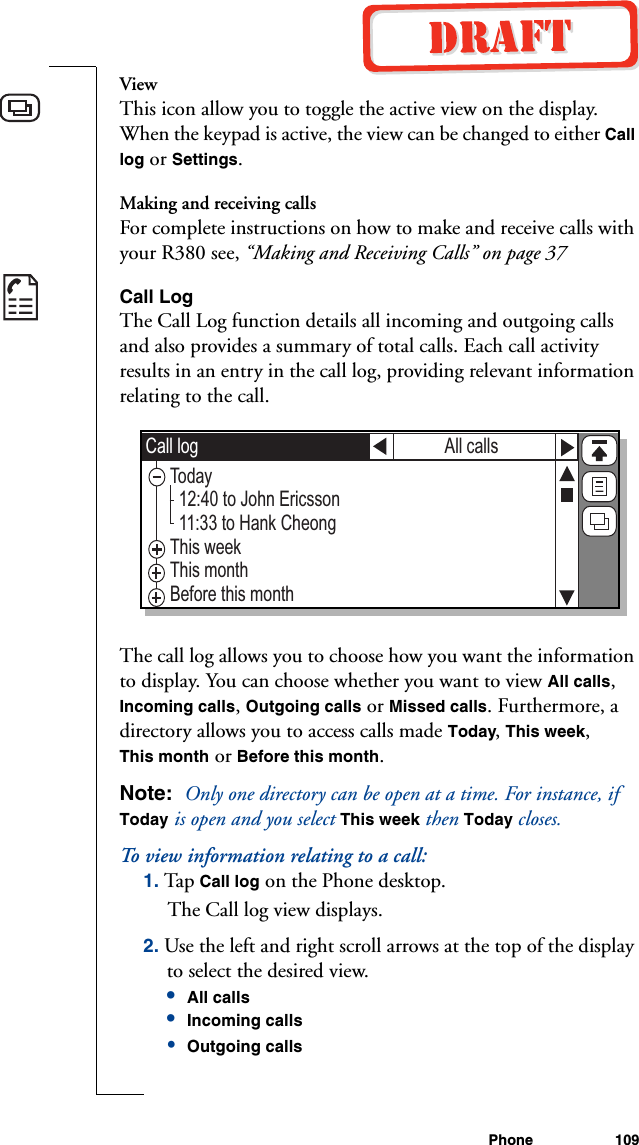
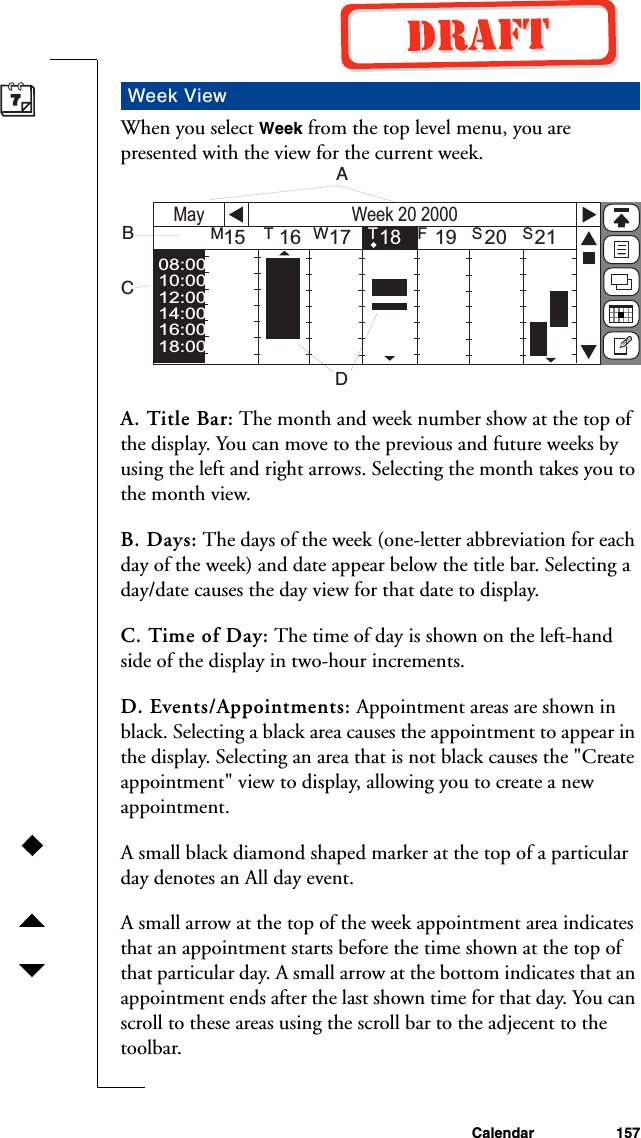
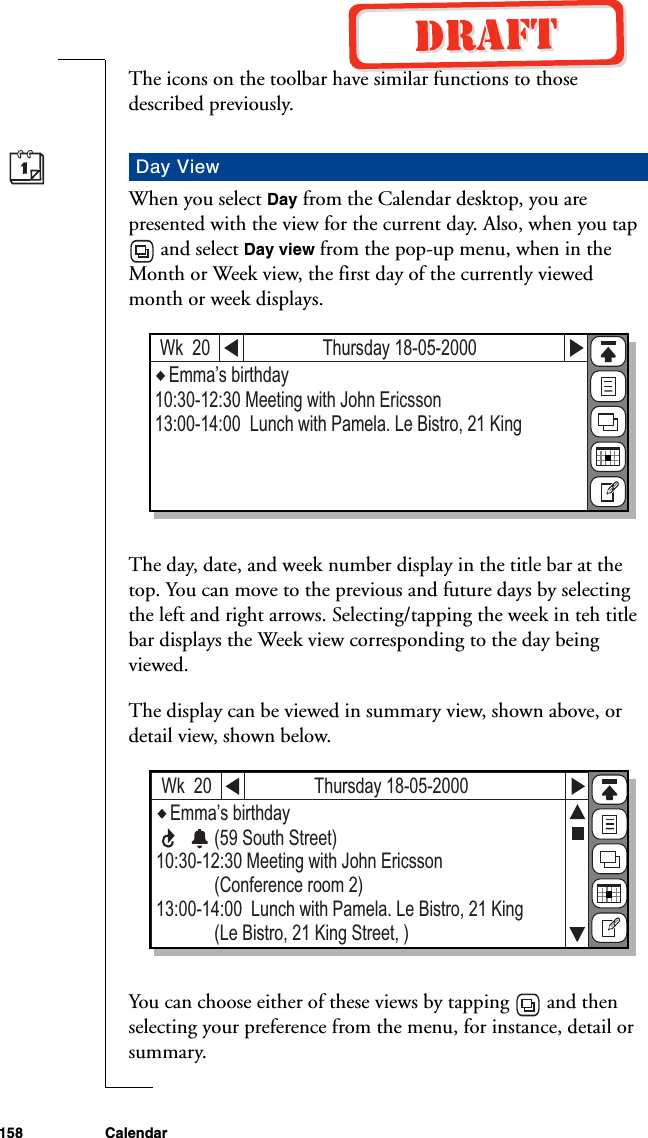
![60 Entering InformationText KeyboardNumeric KeyboardSpecial Characters KeyboardTo ente r i n f o r m a t i o n :1. Tap out the required information with the stylus.Switch between keyboards by tapping the text, numbers or special characters icons.2. Tap to enter more information in the next field or back to view all entered information.3. Tap to save the information.abcq w e t y u r i p - =oa f g h j s d k l ; : ’z c v , . ? x b n m" \/( ) &!@capsabc123aeoEnter first name:Emma123‹ ‘[ ] <>abc123aeoEnter street:591 2 3 4 5 6 7 8 9 0! " £ $ % ^ &*( )@’\, . ; : /#~- =_ +x:_{ }+_?..aeocapsabc123aeoEnter last name:Agrena a a a e e e ea a a e ec o o o o o n u u u y nuyooo?!+<<<<abc 123aeo](https://usermanual.wiki/HARRIS/TR-414-A2.Exhibit-8/User-Guide-118834-Page-60.png)