HTC JDV GSM/GPRS/EDGE PDA phone with WLAN and Bluetooth User Manual 1
HTC Corporation GSM/GPRS/EDGE PDA phone with WLAN and Bluetooth 1
HTC >
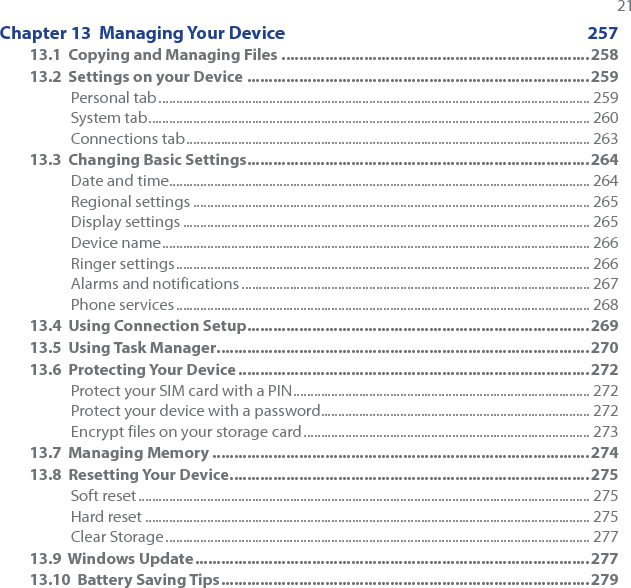
Contents
- 1. User Manual 1
- 2. User Manual 2
- 3. User manual1
- 4. User Manual2
- 5. User manual 2
User Manual 1


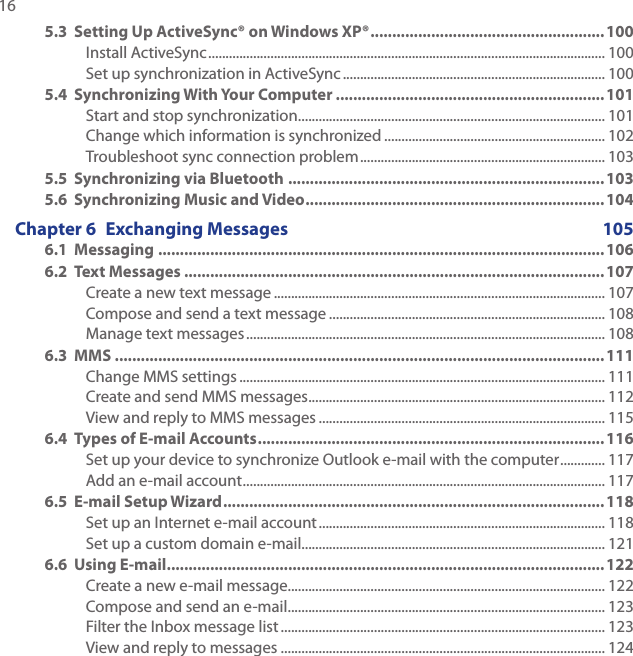
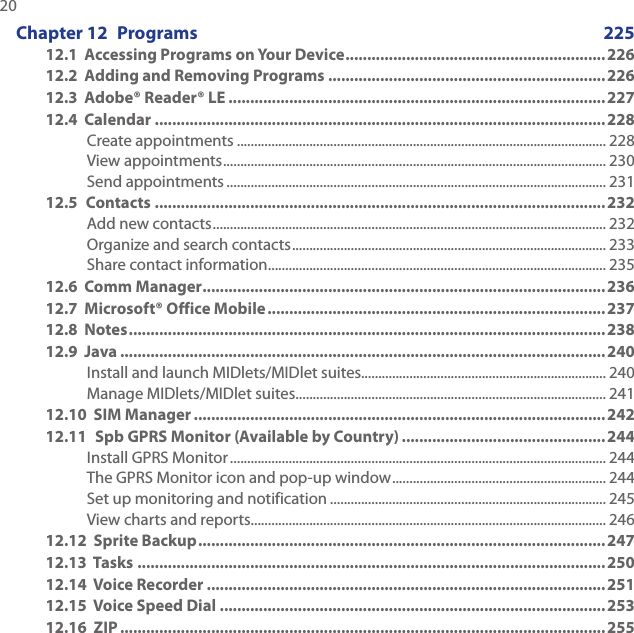


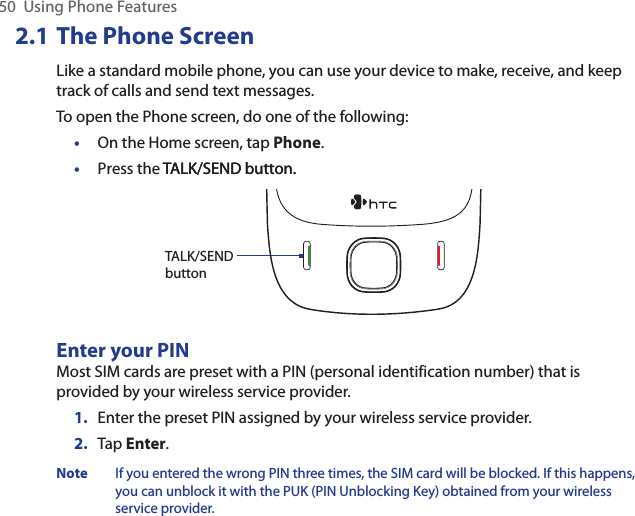
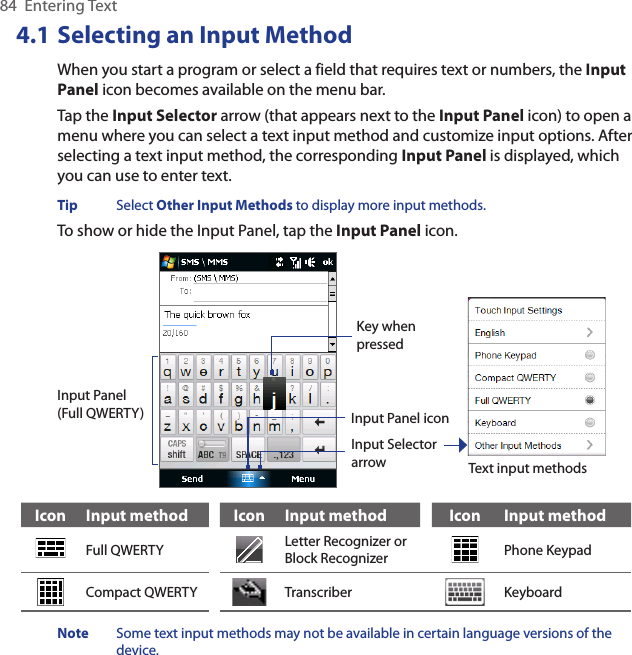
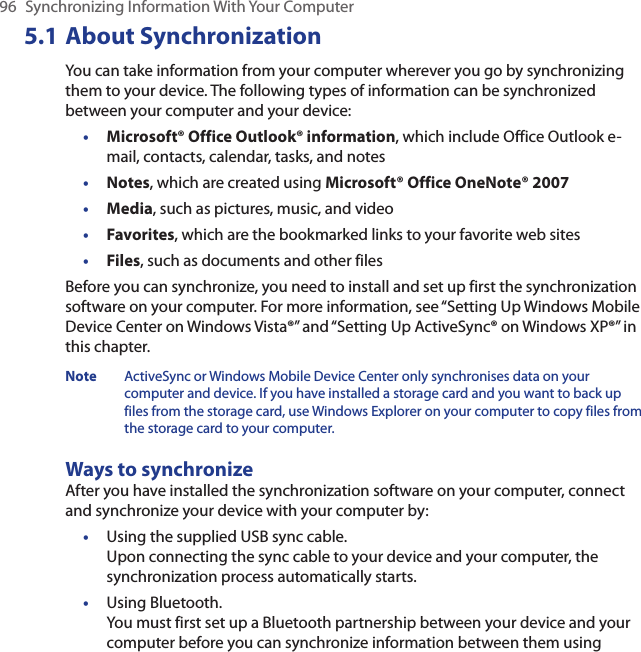
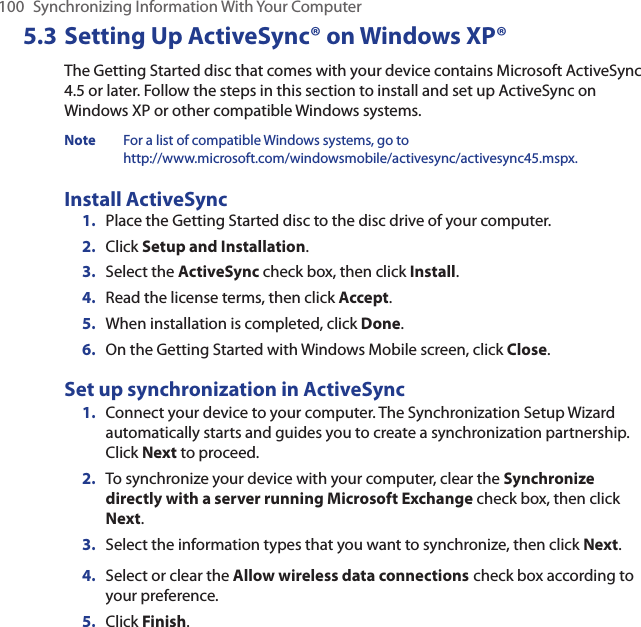
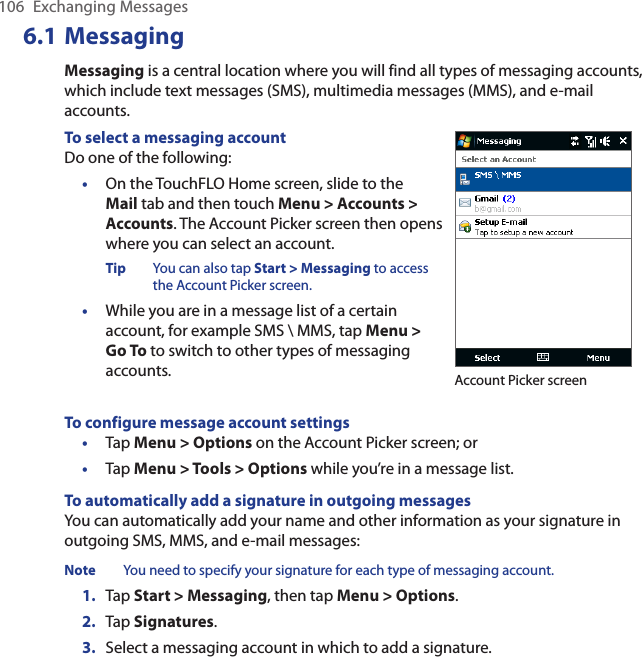
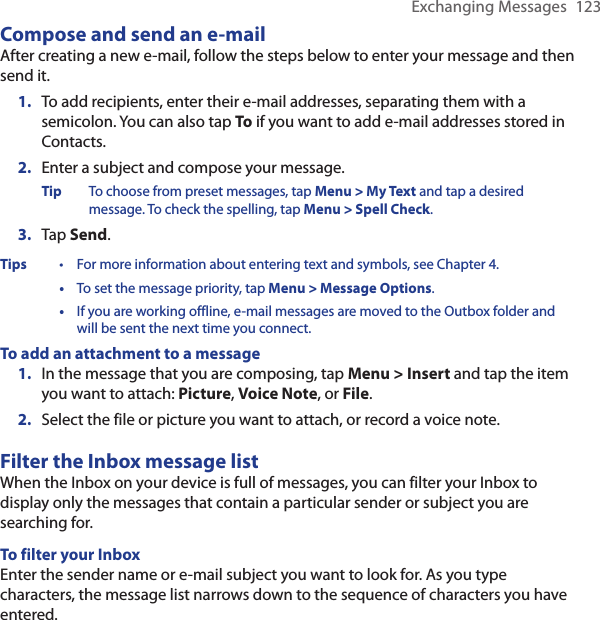
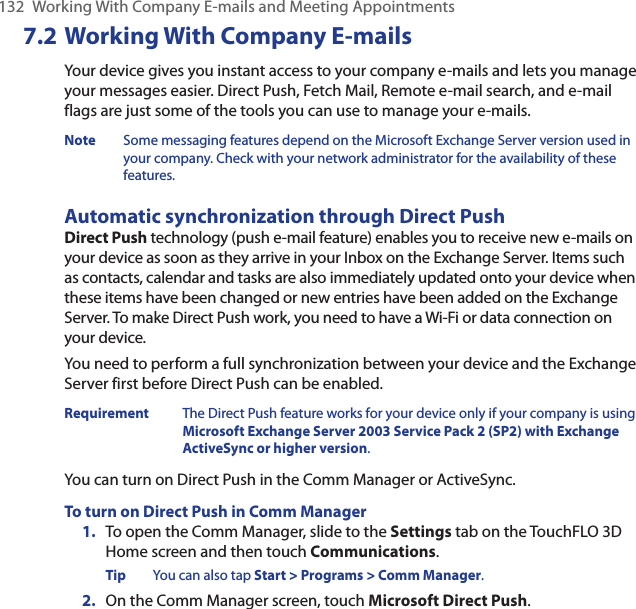
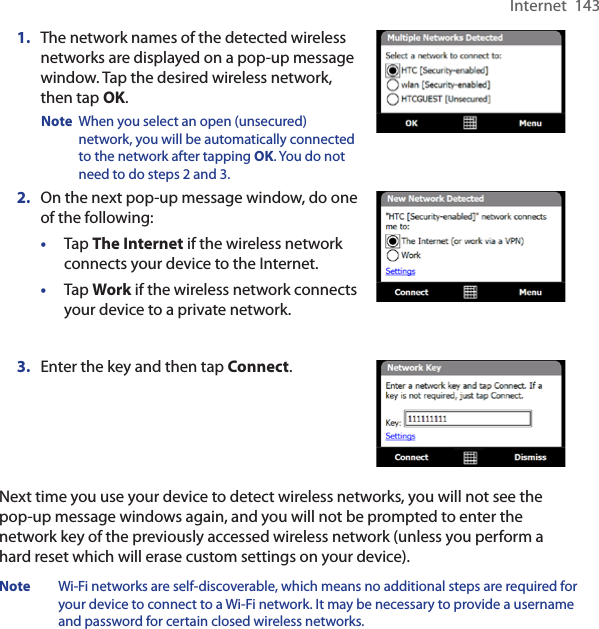
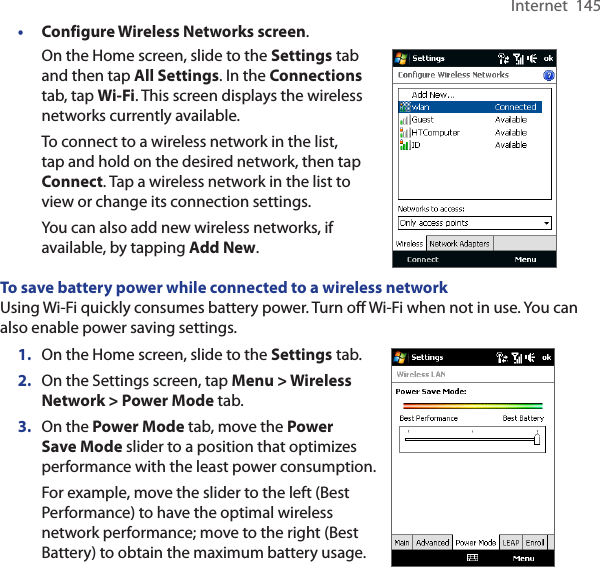
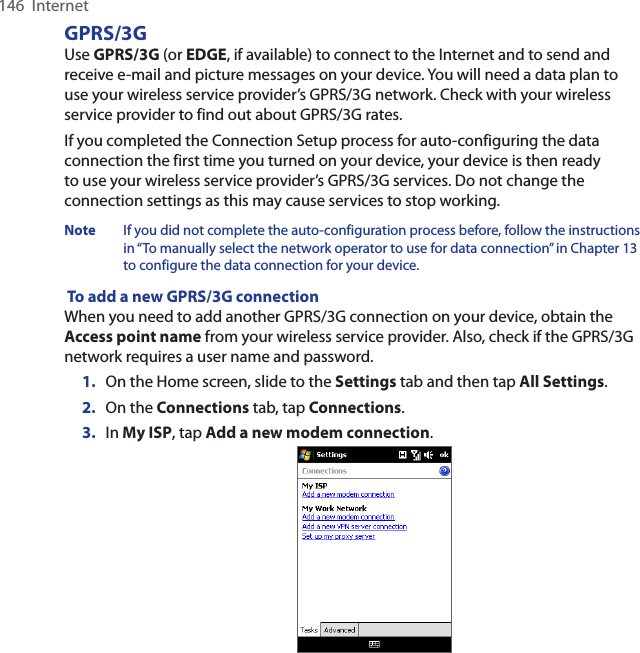
![Using Phone Features 512.2 Making CallsTo make a call, you can either dial a number or select a contact you want to call. Make a call from the Phone screenThe Phone’s Smart Dial feature makes it quick and easy for you to place a call. When you start entering a phone number or contact name, Smart Dial automatically searches and sorts the contact entries on the SIM card, in Contacts, and the phone numbers in Call History (including incoming, outgoing, and missed calls). You can then select the desired number or contact from the filtered list.You can just enter the first letter of the name or number of a contact. Smart Dial will search for contact phone numbers and the first character of a contact name as well as from the character that appears after a space, dash, or underscore in a contact name. For example, if you tap number “2” on the phone keypad, which is associated with [a, b, and c] on the Phone keypad, contact names such as the following will be considered matches: “Ben Miller”, “George Adams”, “John-Carter”, “Carter, Ellen”, “Dixon, Allan”, “Thomas_Clark”, “JaneCampbell”.If the matching list is long and you want to narrow down the search further, enter another letter. Using the same example above, if you continue to tap “3” which is associated with [d, e, f], the matching list will be narrowed down to the following names: “Ben Miller”, “George Adams”, “Carter, Ellen”, “Dixon, Allan”.To call a phone number or contact1. Press the TALK/SEND button or tap Phone on the Home screen.2. Begin entering the first few numbers or characters by tapping the keys on the Phone keypad. As you enter numbers or letters, the Smart Dial panel will display matches found.If you tapped a wrong number or character, tap to erase each subsequent digit or character. To erase the entire entry, tap and hold .](https://usermanual.wiki/HTC/JDV.User-Manual-1/User-Guide-1003302-Page-51.png)
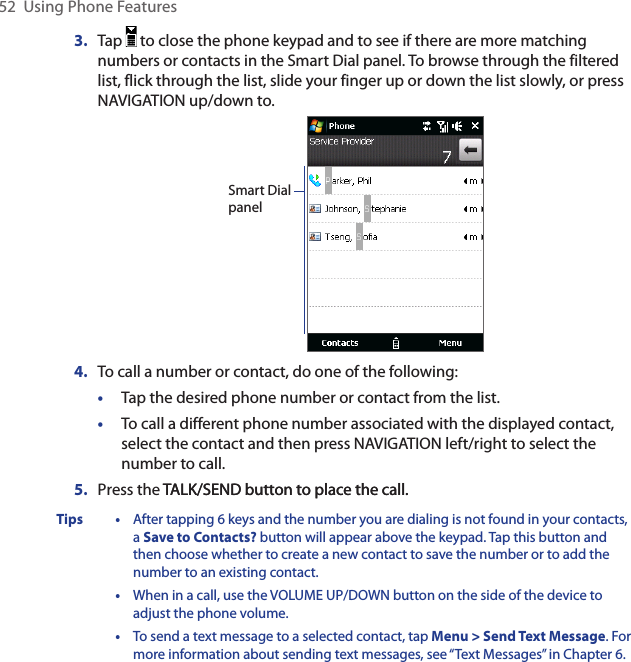

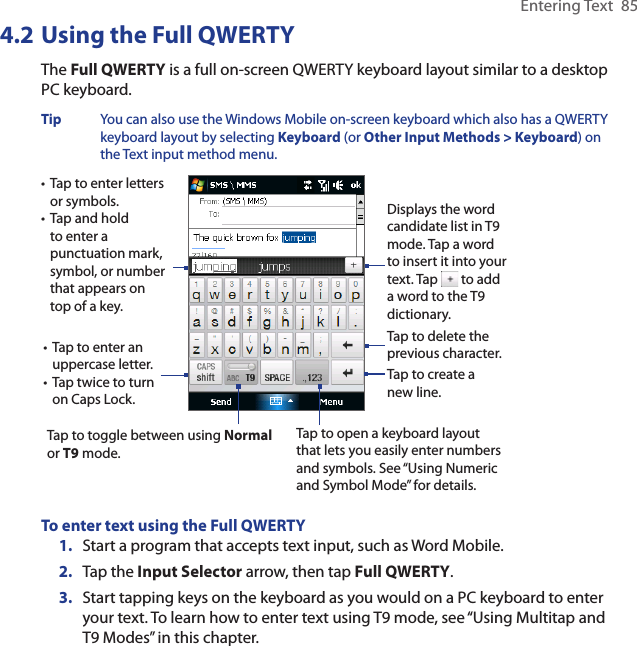
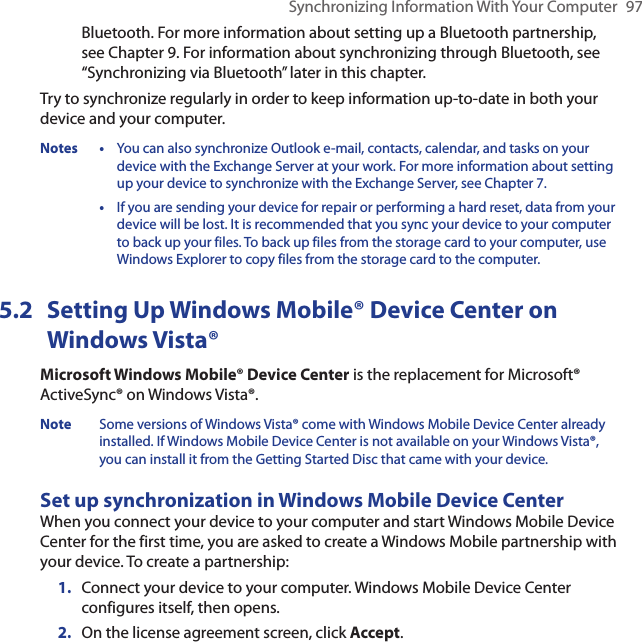
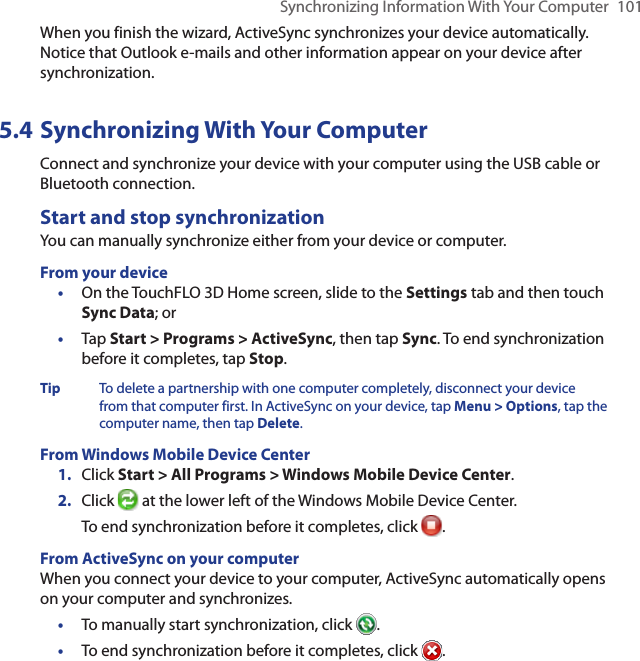
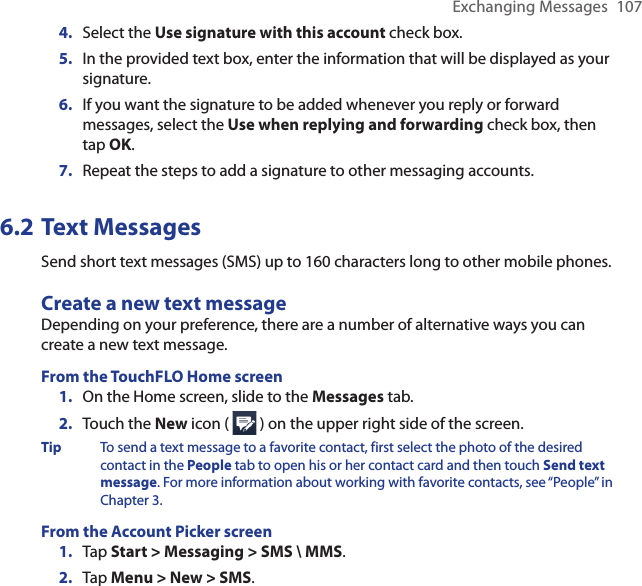
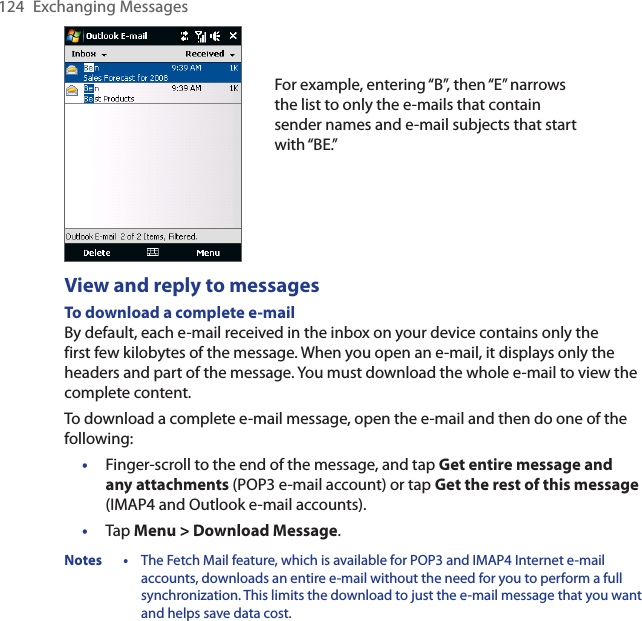
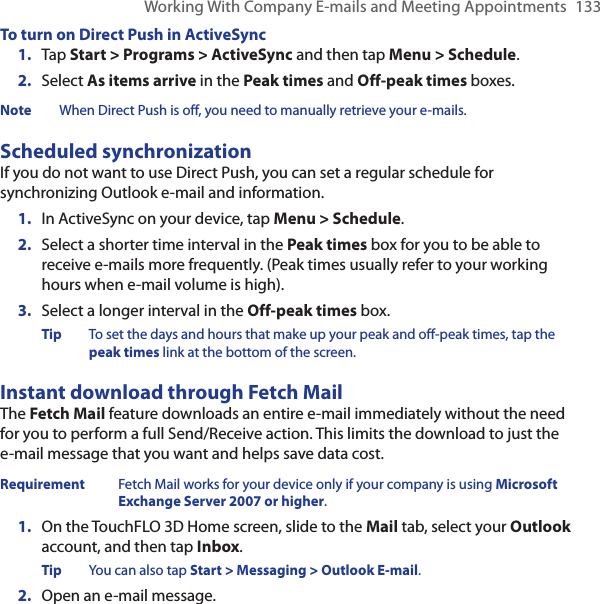
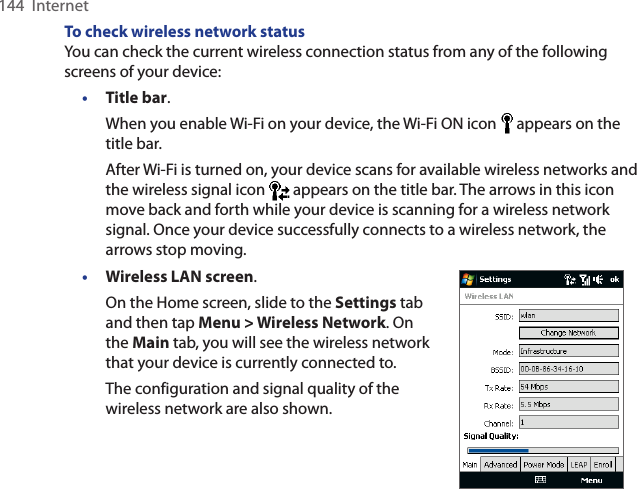
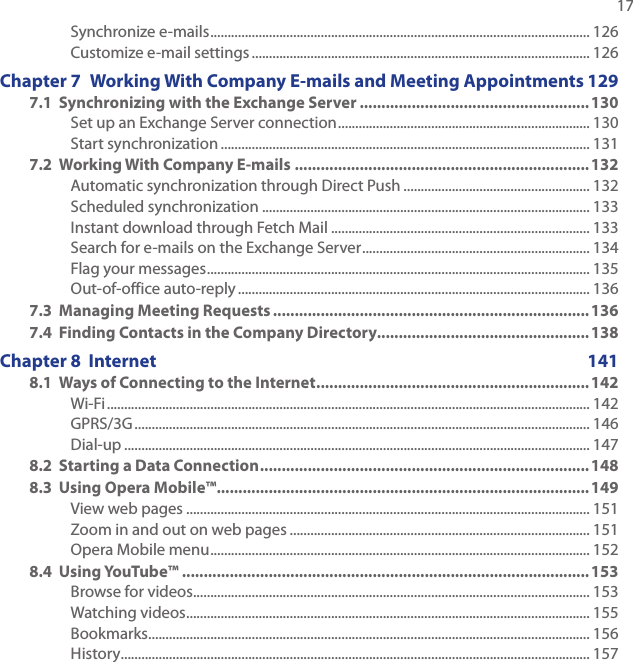
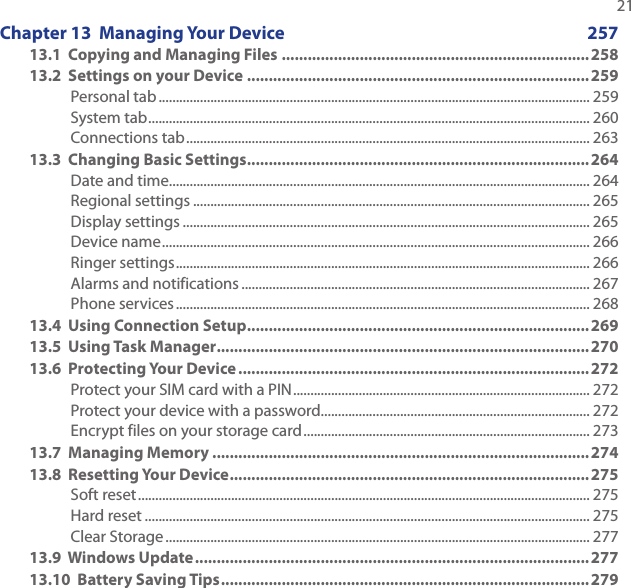
![74 TouchFLO™To set repeat and shuffle modesTouch Menu > Repeat to loop the songs. To toggle shuffle mode on and off, touch Menu > Shuffle.The icons on the upper-right side of the Music tab show whether repeat and shuffle modes are enabled.Repeat [On] Shuffle [On]To select music from the LibraryAccessing the Library from the Music tab opens the Audio Manager since the Music tab shares the same Library as the Audio Manager.The Library organizes music into categories, such as Artists, Album, Genre, All Songs, and more. After you have added more albums or music tracks to your device, go to the Library to choose the new albums or music tracks that you want to play.On the Music tab, touch Library to open Audio Manager.Audio Manager displays the All Songs category which lists all the song tracks found on your device. Touch any song in the list. When Audio Manager starts to play the song, close Audio Manager to return to the Music tab of the Home screen.The song that you have selected, along with the other songs that are under the All Songs category, will appear in the Music tab.For more information about selecting other categories in the Library, creating playlists, and using the Audio Manager, see Chapter 11.1.2.](https://usermanual.wiki/HTC/JDV.User-Manual-1/User-Guide-1003302-Page-74.png)