HTC VX smartphone User Manual Book VOX HTC English Manual indb
HTC Corporation smartphone Book VOX HTC English Manual indb
HTC >
Contents
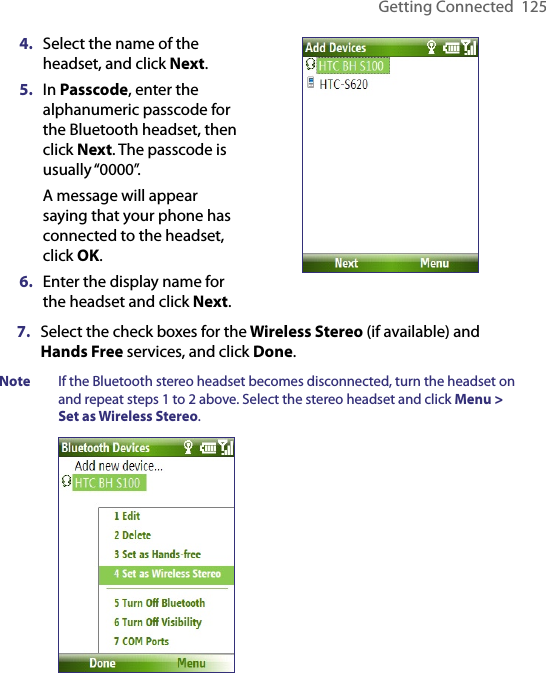
- 1. User Manual 1
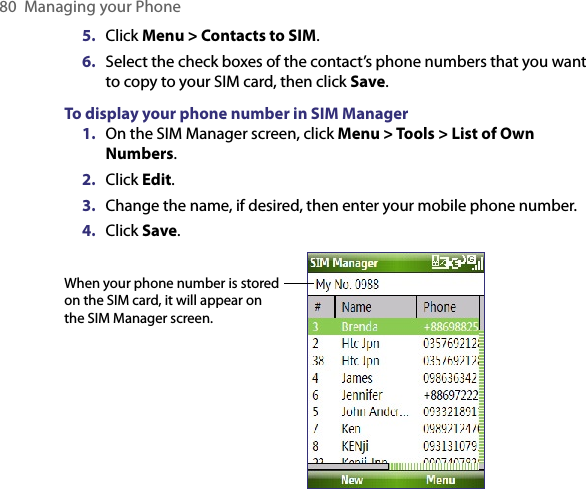
- 2. User Manual 2
- 3. Manual Revised 0710
- 4. User Manual Revised 0710 2
Manual Revised 0710
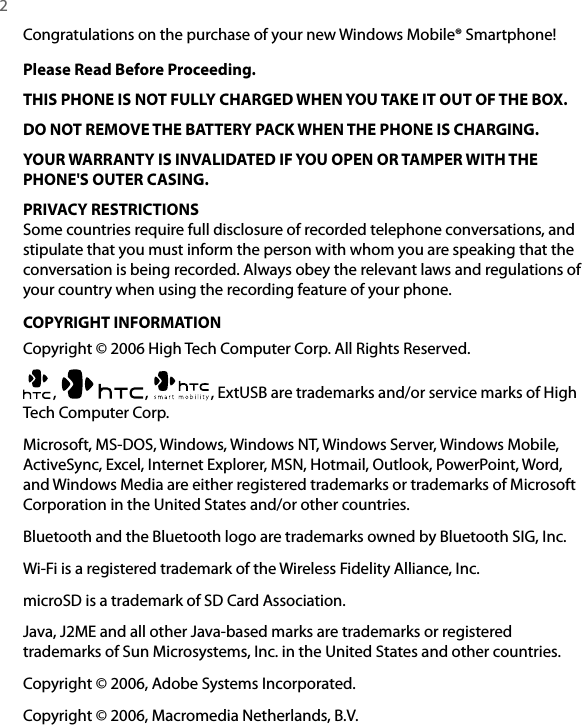
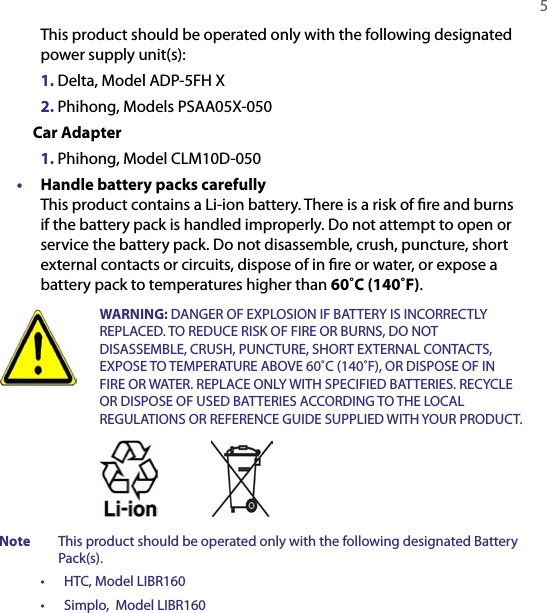
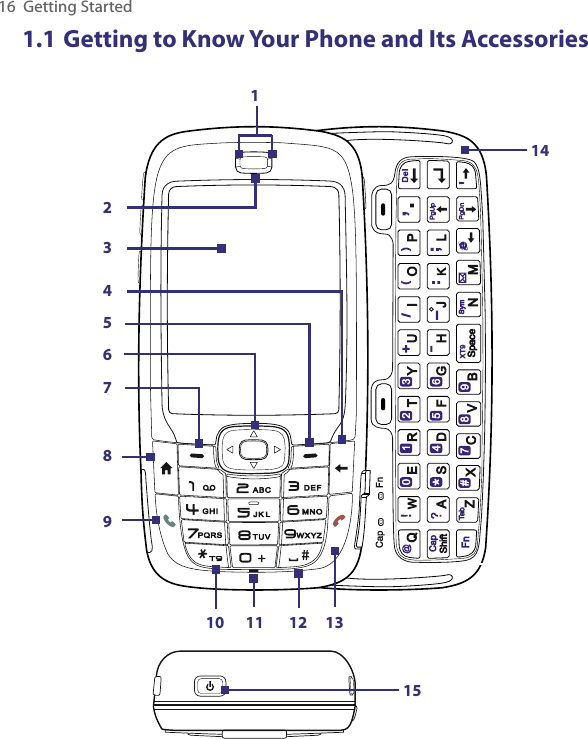
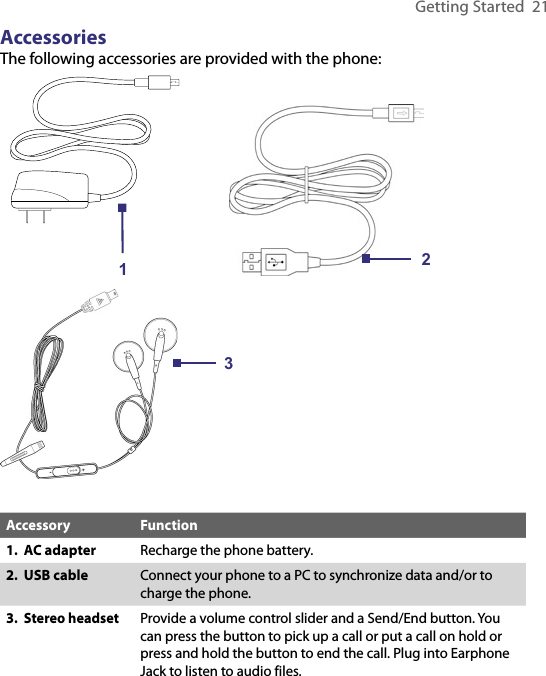

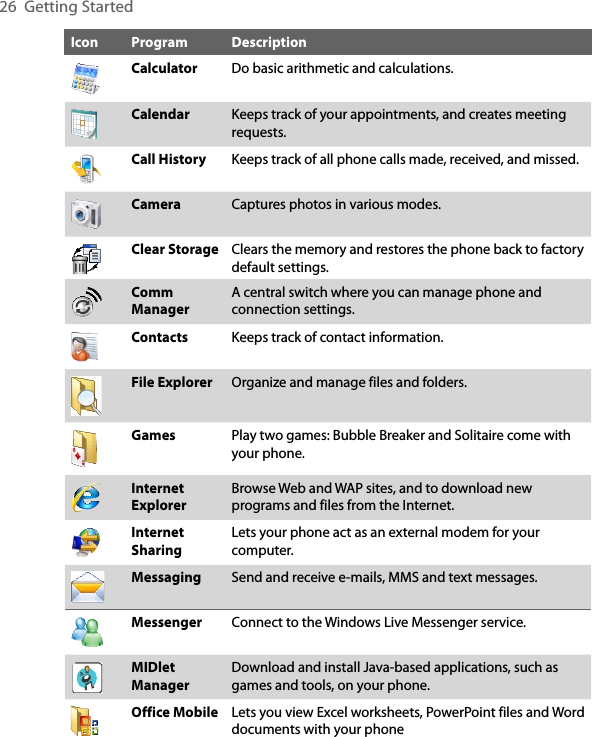
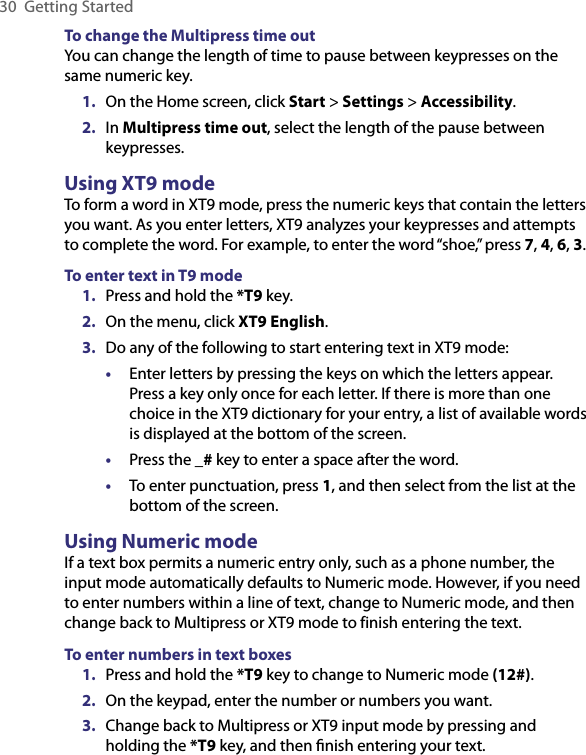
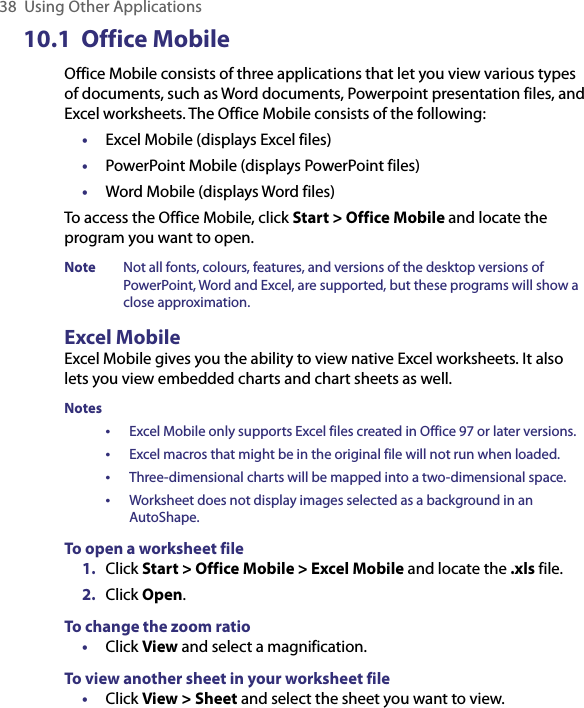
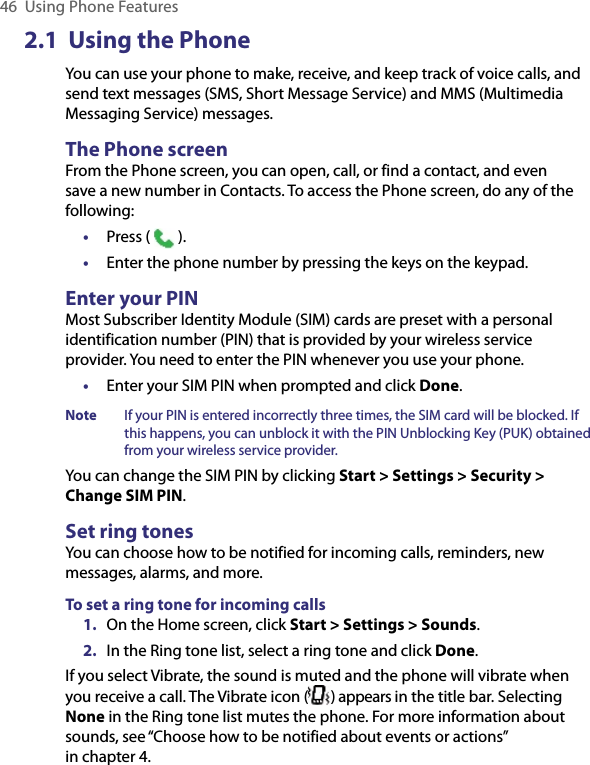


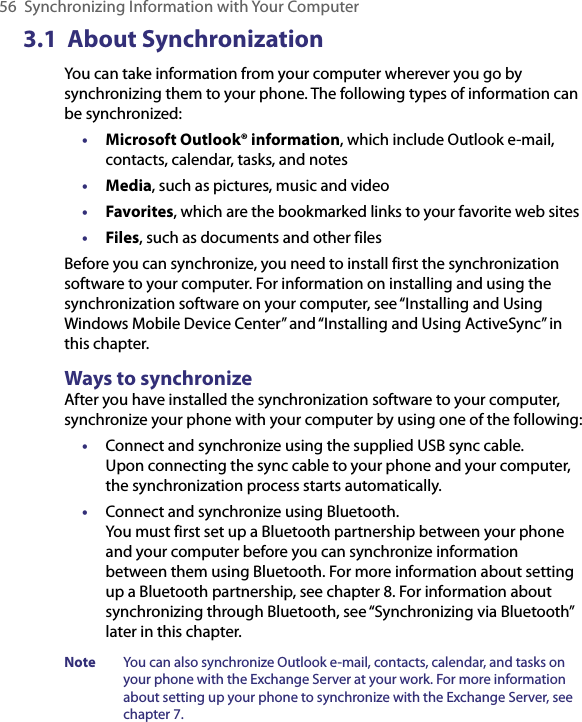

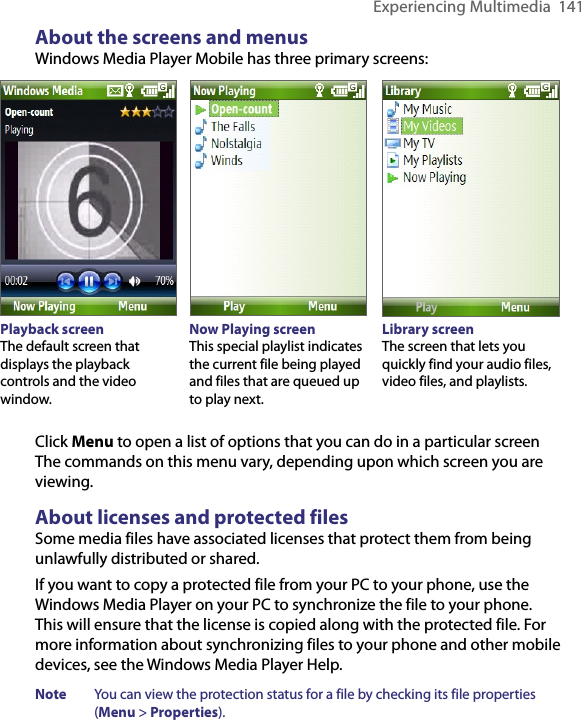
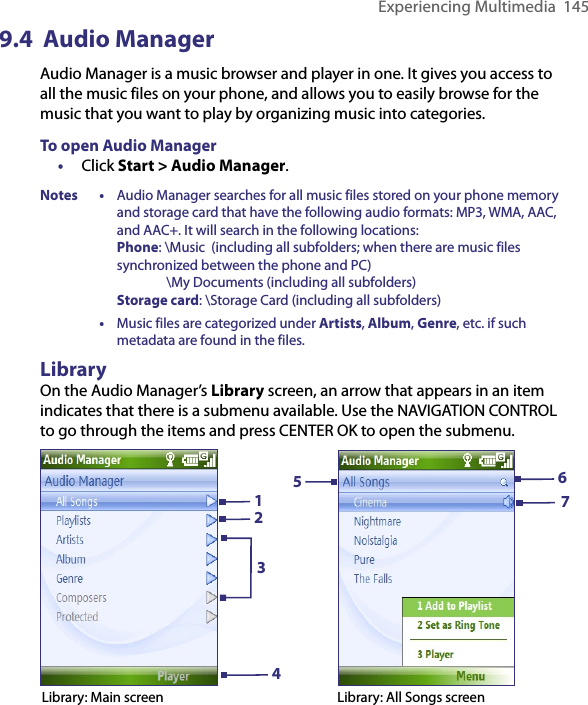
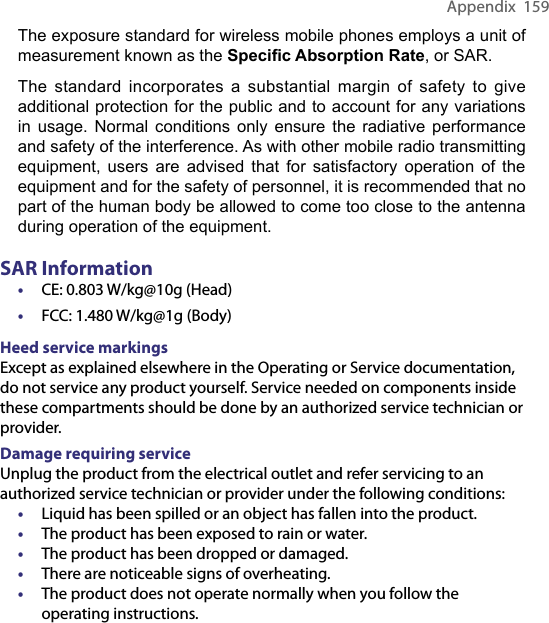
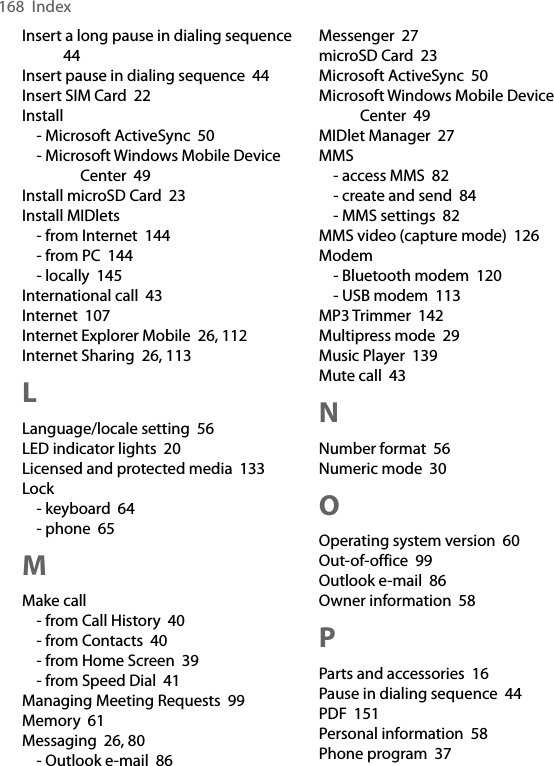
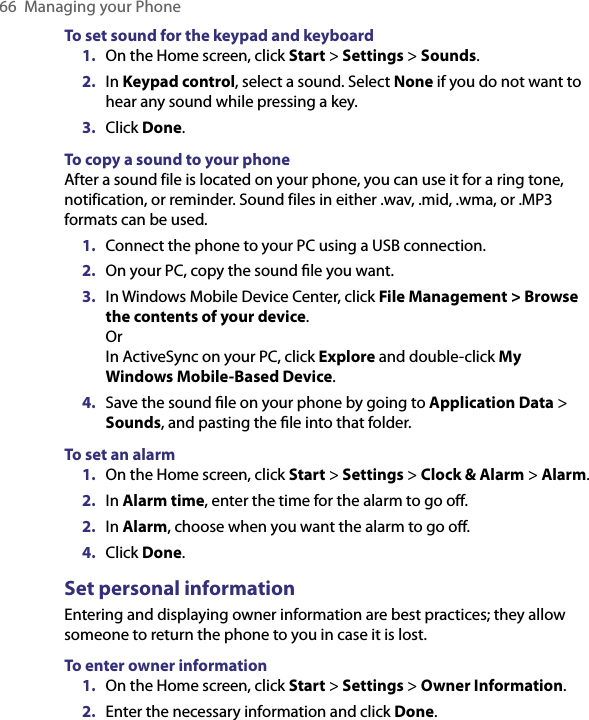
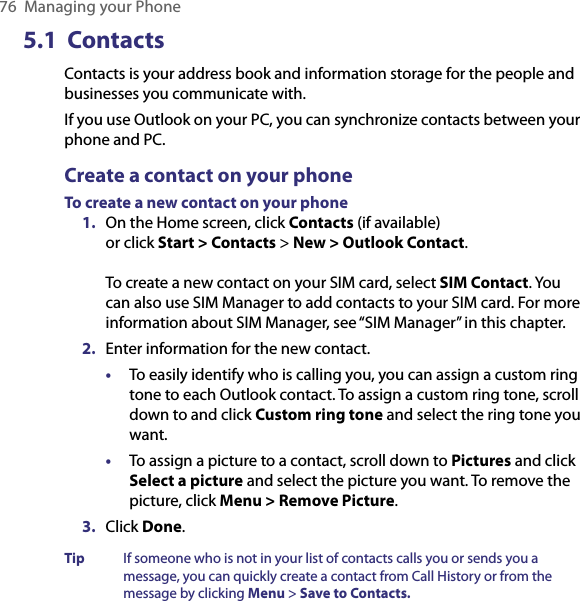
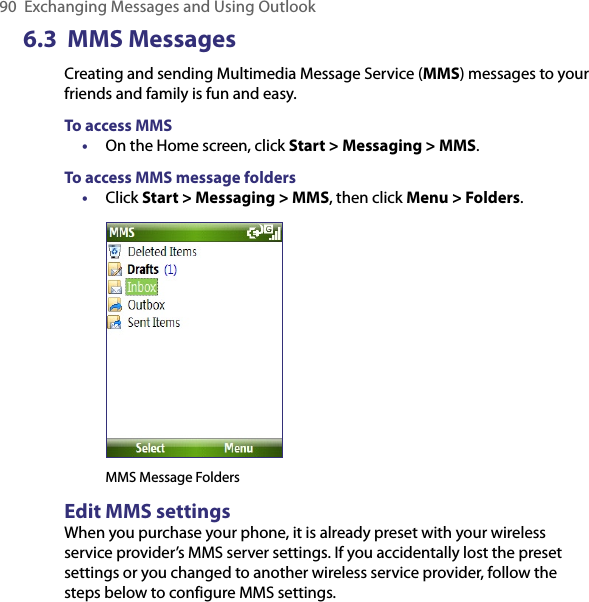
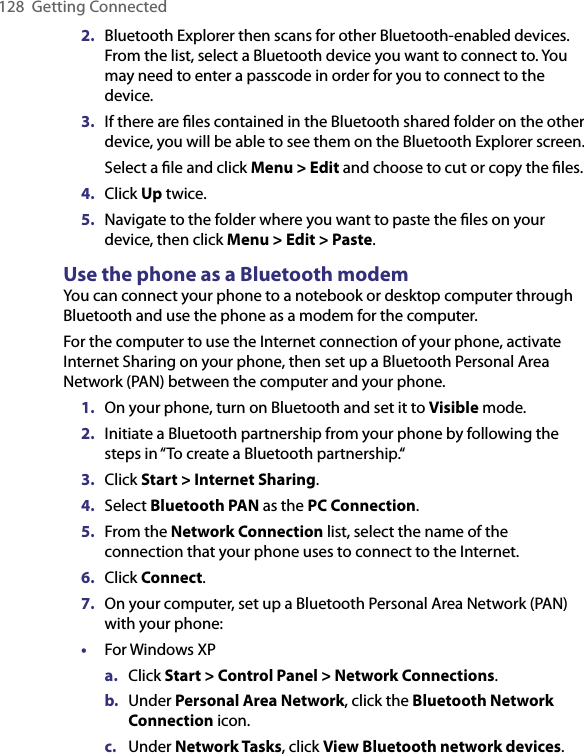
![Managing your Phone 65To set the date and time1. On the Home screen, click Start > Settings > Clock & Alarm > Date and Time.2. Set the Time zone, Date, and Time, and then click Done.Choose how to be notified about events or actionsA profile is a group of settings that determine how your phone will alert you to phone events such as incoming calls and notifications. To change the current profile1. On the Home screen, click Profile [Type]. Example: Profile Normal.2. Choose a new profile, and click Done.Tip To quickly change the profile, briefly press POWER to display the Quick List, and choose a profile.To edit a profile1. On the Home screen, click Profile [Type]. Example: Profile Normal.2. Select the profile to edit.3. Click Menu > Edit.4. Modify the settings, and click Done. To cancel without saving changes, click Cancel.Tip To revert to the default profile settings, click Menu > Reset to default.To specify the sound for an event1. On the Home screen, click Start > Settings > Sounds.2. For the desired event, select a sound. Select None if you do not want to hear a sound.3. Click Done.Note For ring tones, you can use sound files in either the .wav, .mid, .wma, or .mp3 file format. For notifications or reminders, you can use .wav or .mid files.Tip When you select a sound, the sound plays. To hear it again, select Menu > Play.](https://usermanual.wiki/HTC/VX.Manual-Revised-0710/User-Guide-813822-Page-65.png)
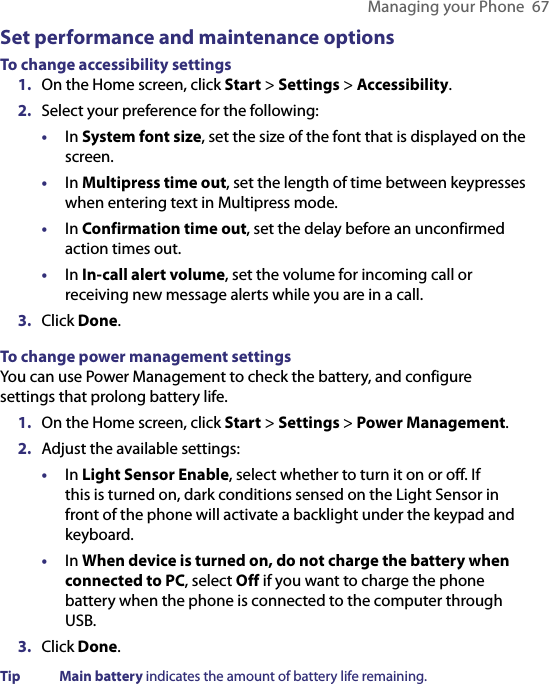
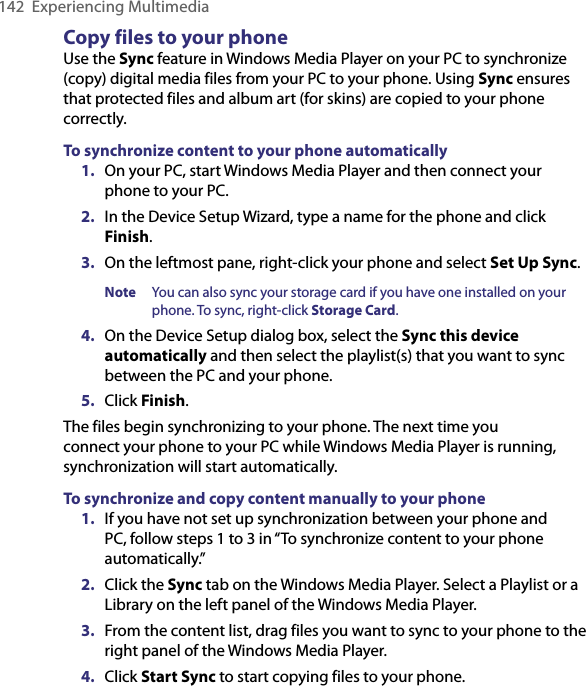
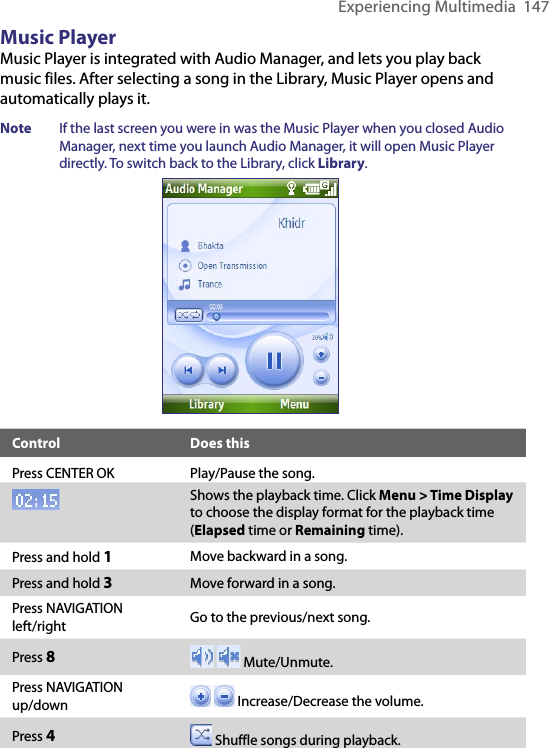
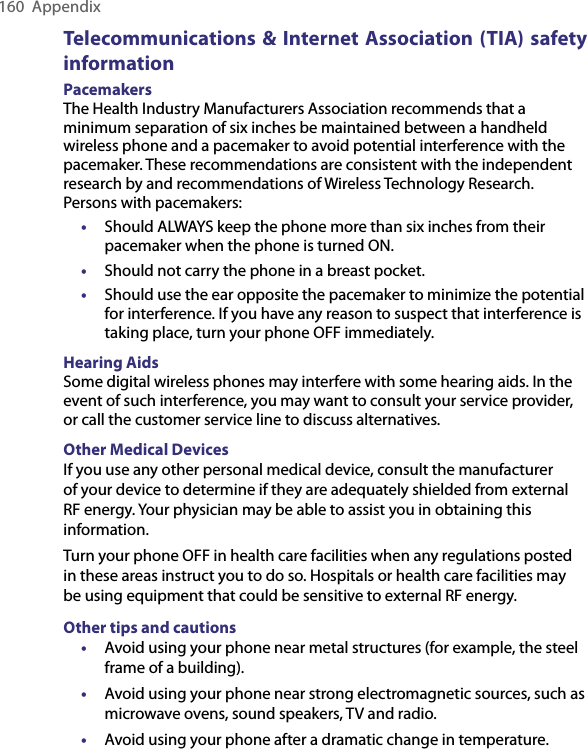
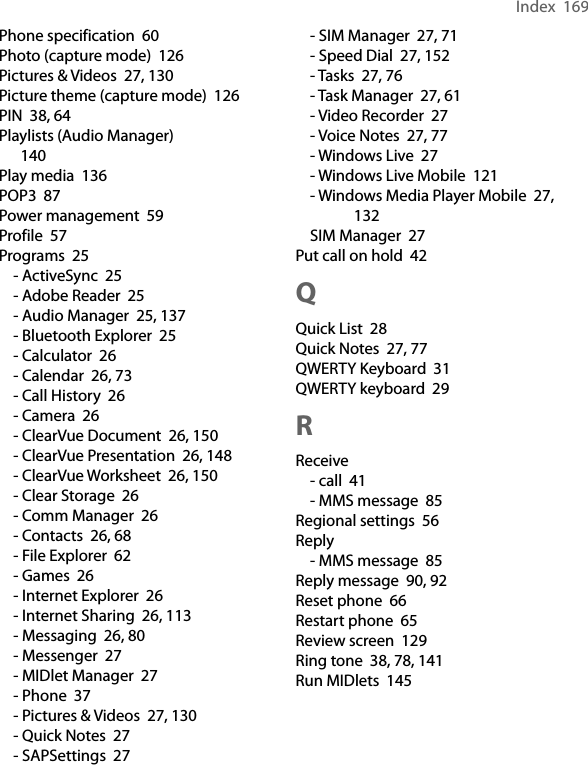
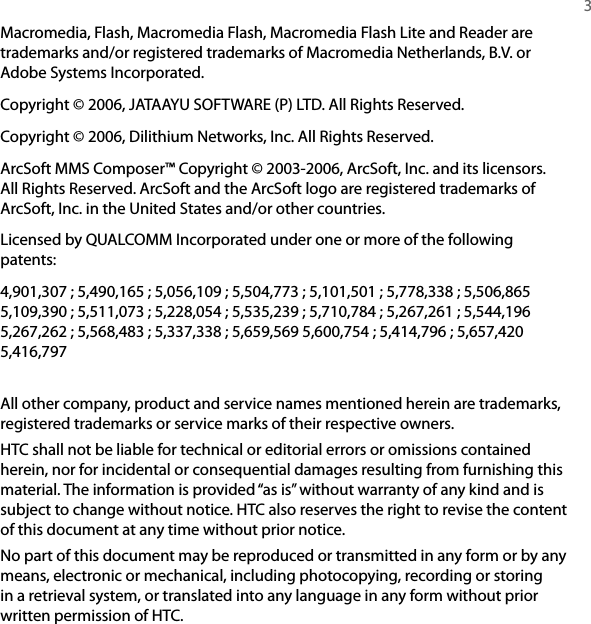
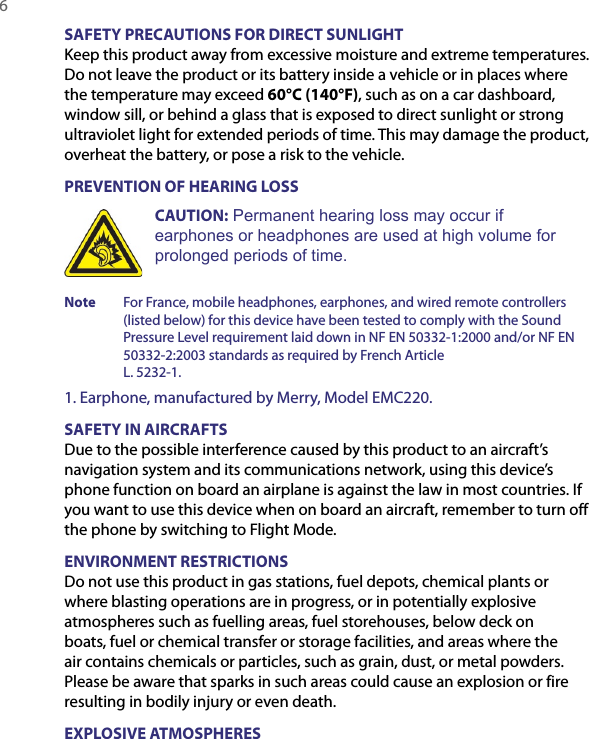
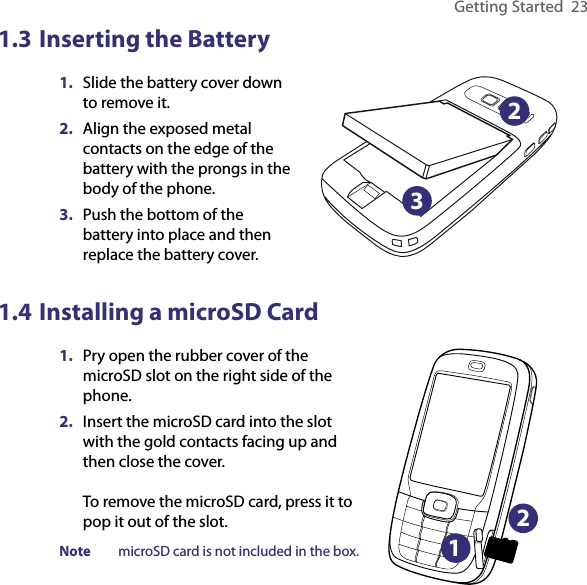
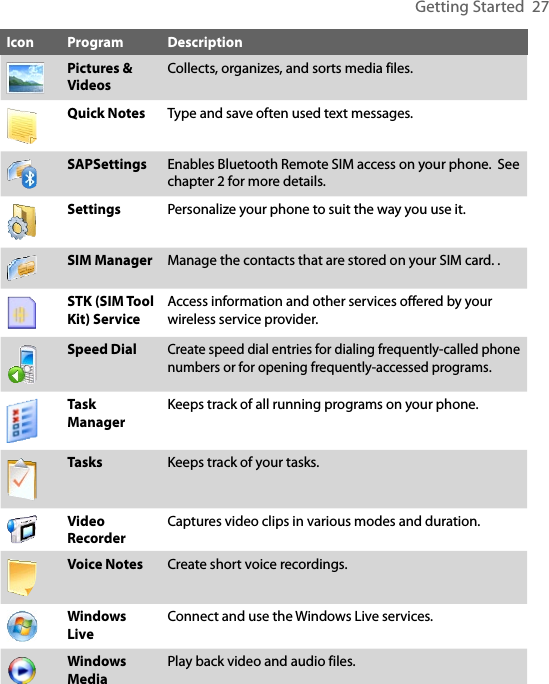
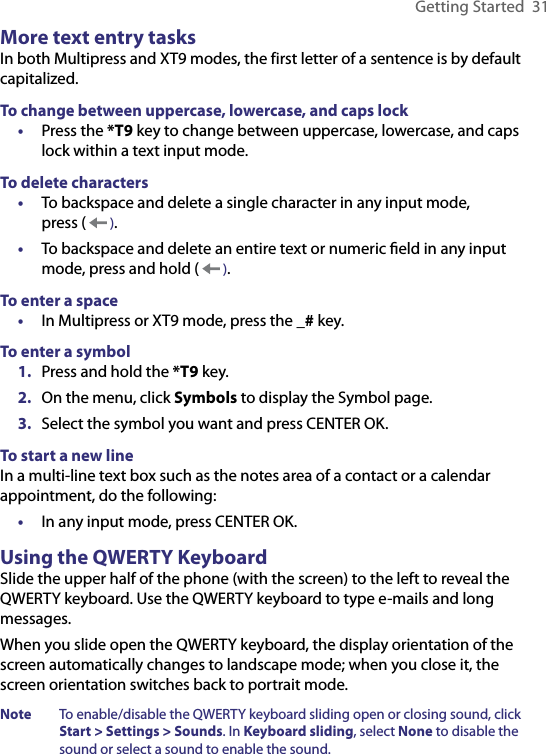
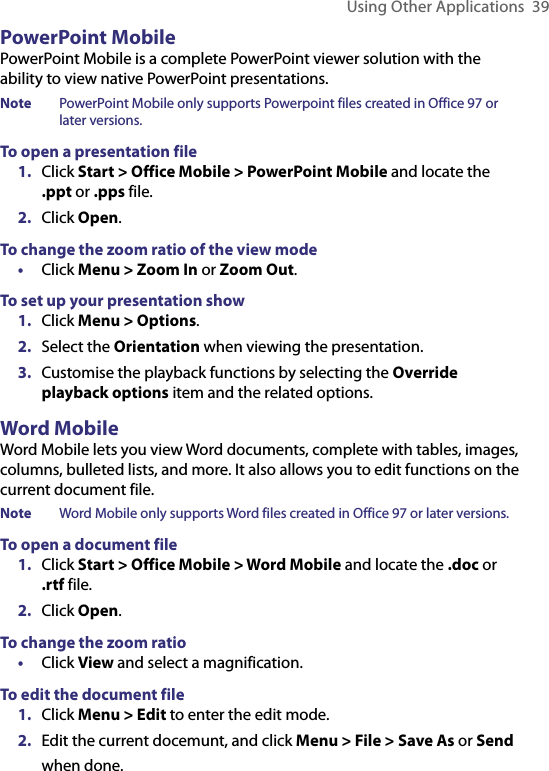
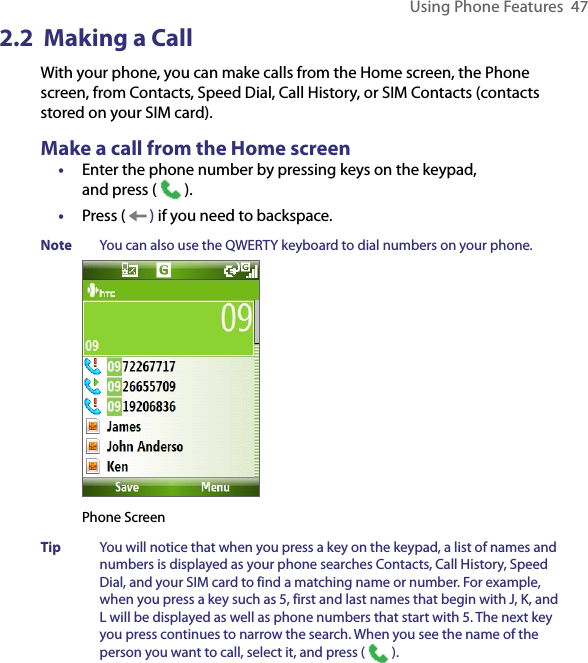
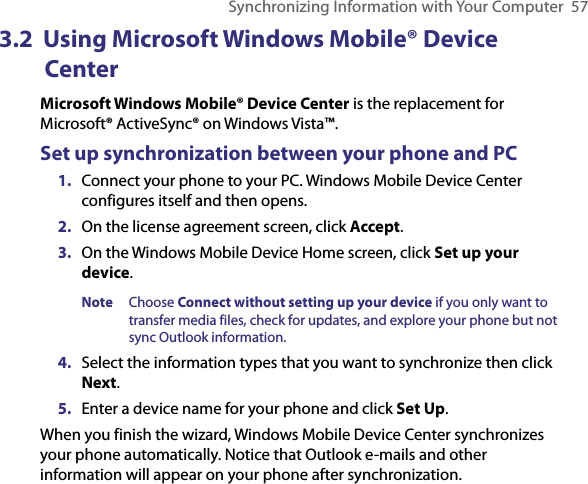
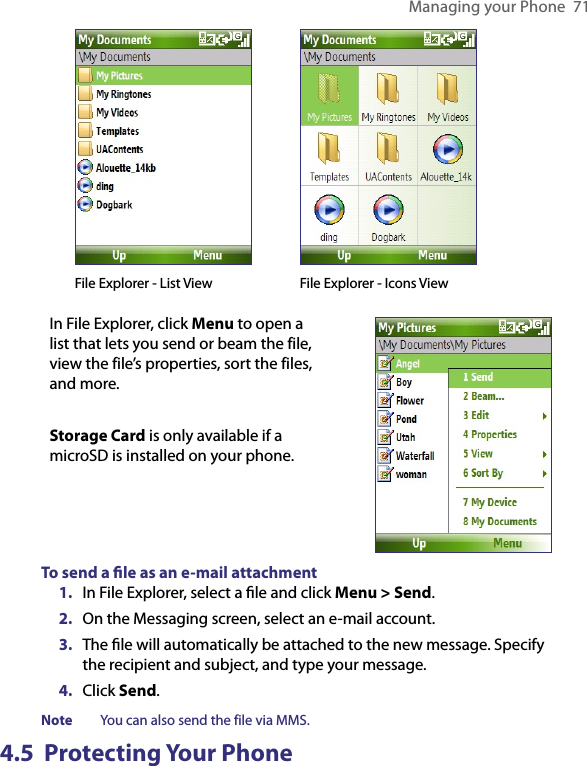
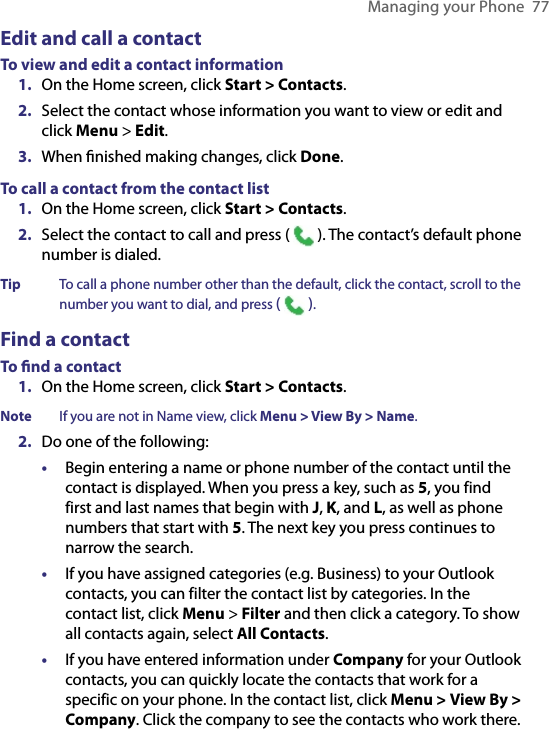
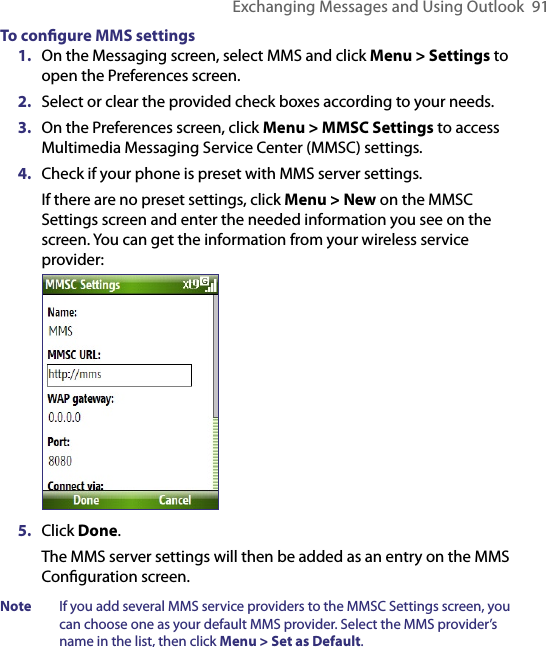
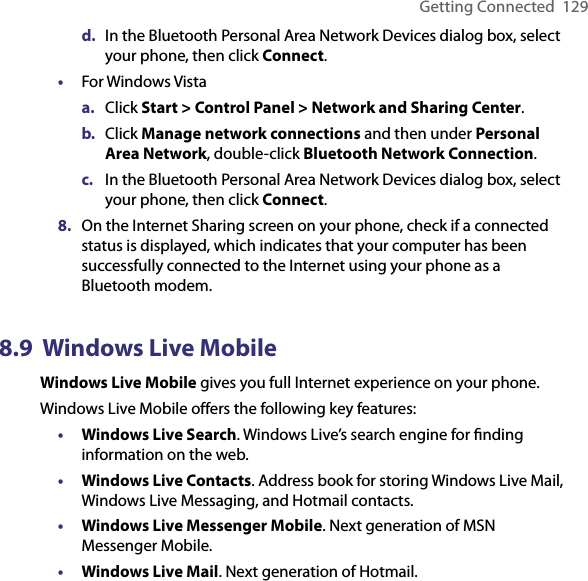
![70 Managing your Phone4.4 Managing and Backing Up FilesYou can back up files to your PC using Windows Mobile Device Center or ActiveSync or copy files to a storage card that is installed on your phone. You can also efficiently manage your files and folders using File Explorer installed on your phone.To copy files using Windows Mobile Device Center/ActiveSync to the PC1. Connect your phone to your PC. 2. In Windows Mobile Device Center, click File Management > Browse the contents of your device. Or In ActiveSync on your PC, click Explore. This opens the Mobile Device folder for your phone. 3. Browse your phone for files that you want to copy to your PC.4. Select and copy the files [Ctrl + C] and then paste them [Ctrl+V] to the destination folder in the PC.Copying a file results in separate versions of a file on your phone and PC. Changes made to one file will not affect the other since the files are not synchronized. Use File ExplorerFile Explorer provides many easy-to-use features for file and folder management.To start File Explorer• On the Home screen, click Start > File Explorer.File Explorer operates in the following two views: • List View • Icons ViewFile Explorer displays the entire file structure in your phone’s memory. The functions focus primarily on folder management. When initially started, File Explorer is in List View by default. To switch between views, click Menu > View > Icons or List.](https://usermanual.wiki/HTC/VX.Manual-Revised-0710/User-Guide-813822-Page-70.png)


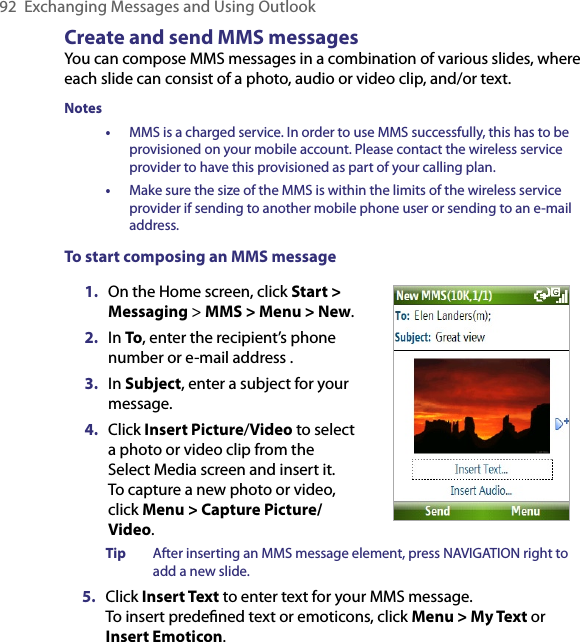

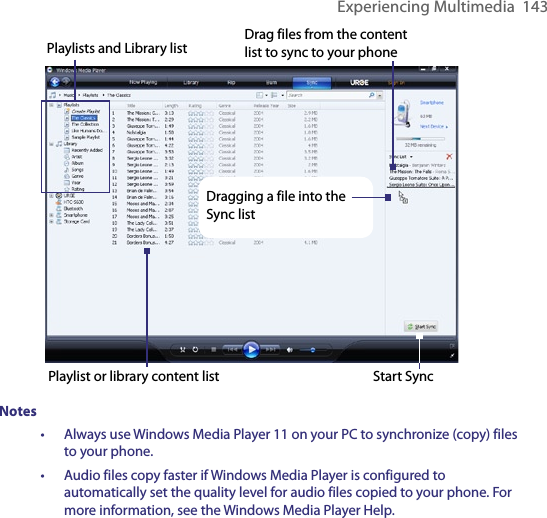
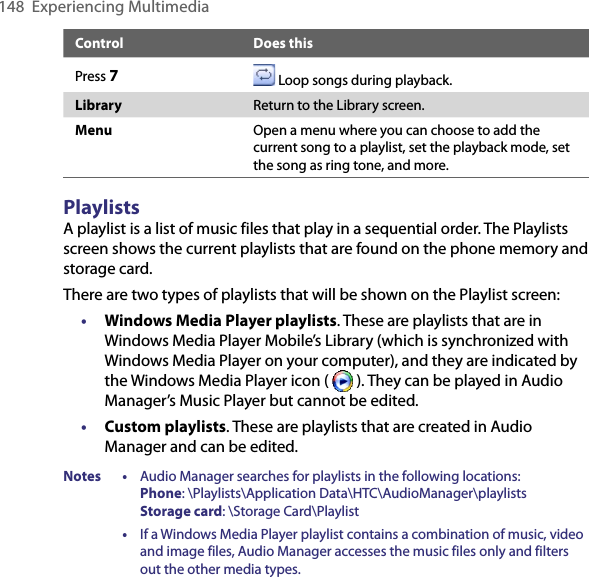
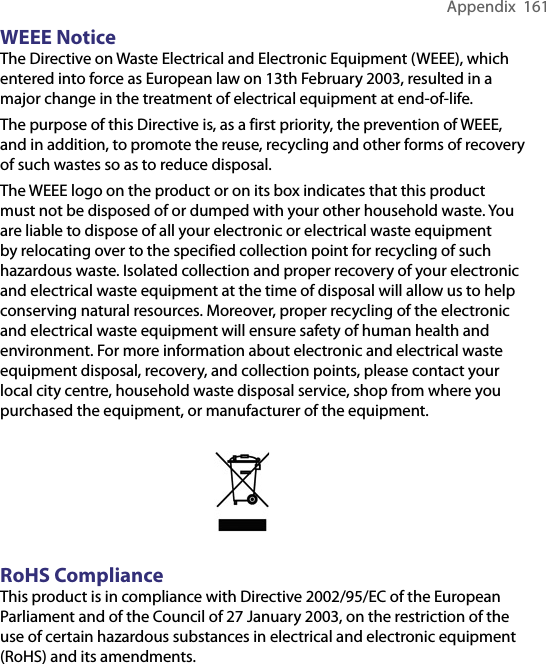
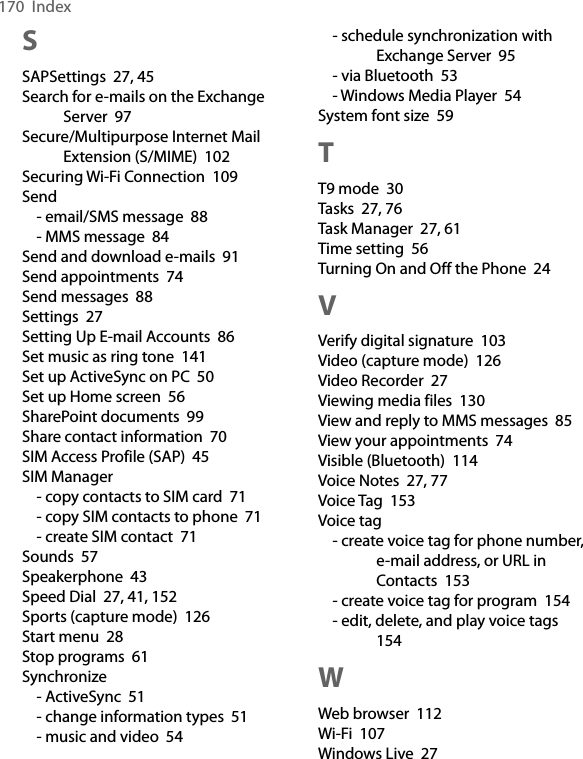
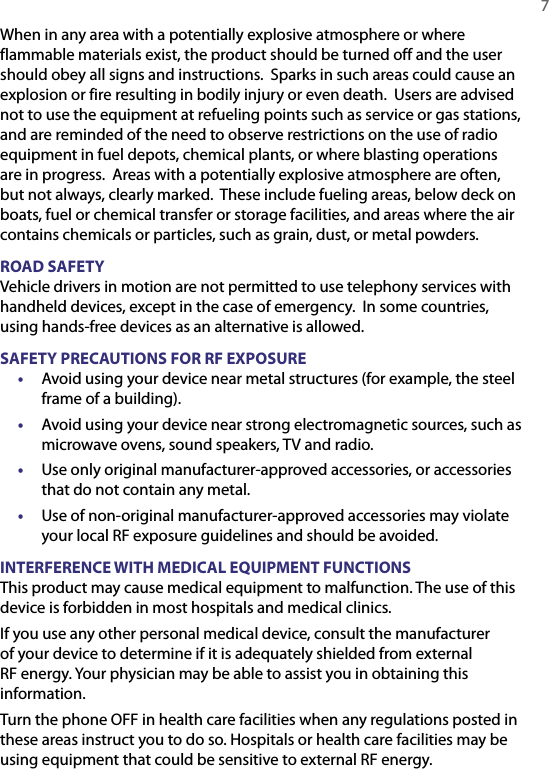
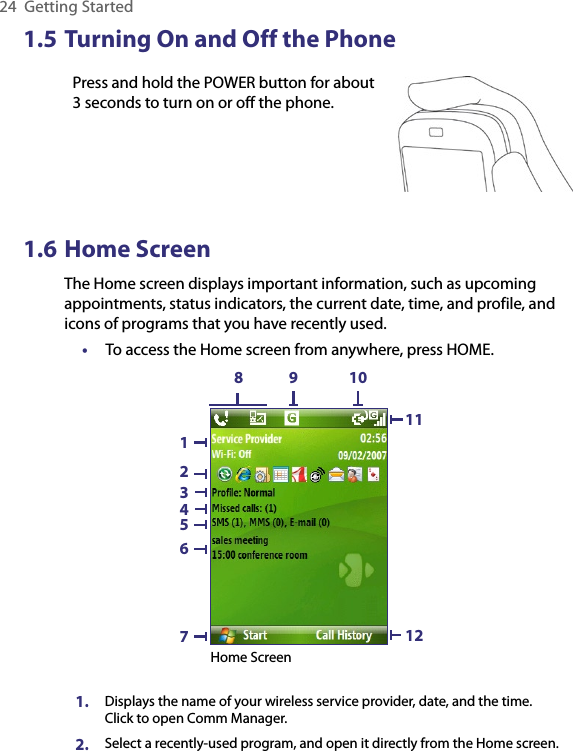
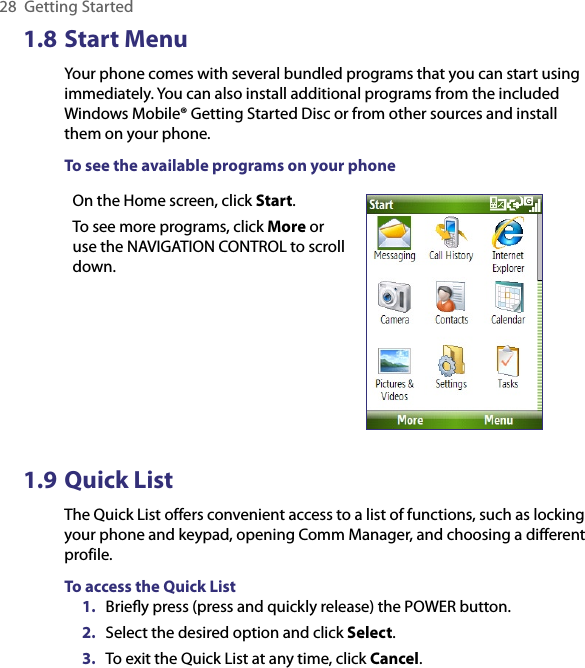
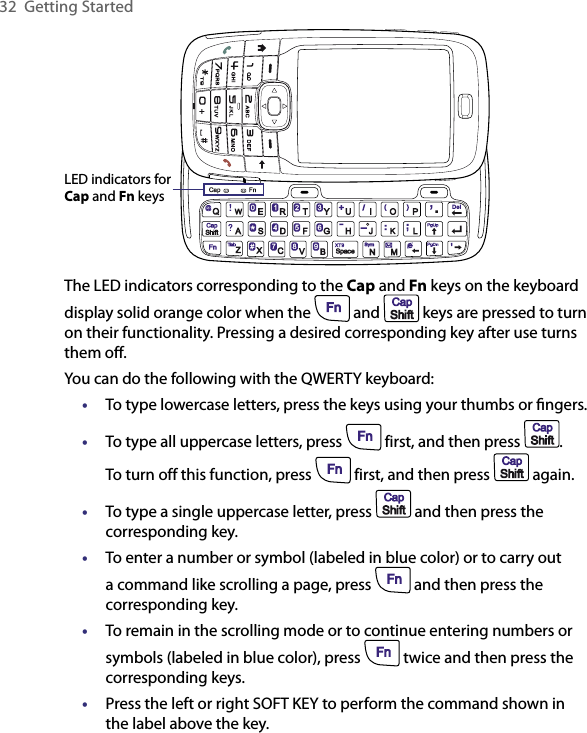
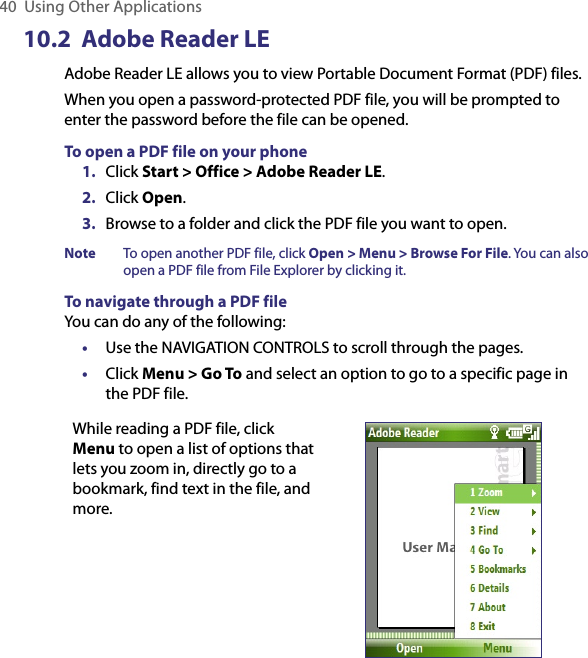
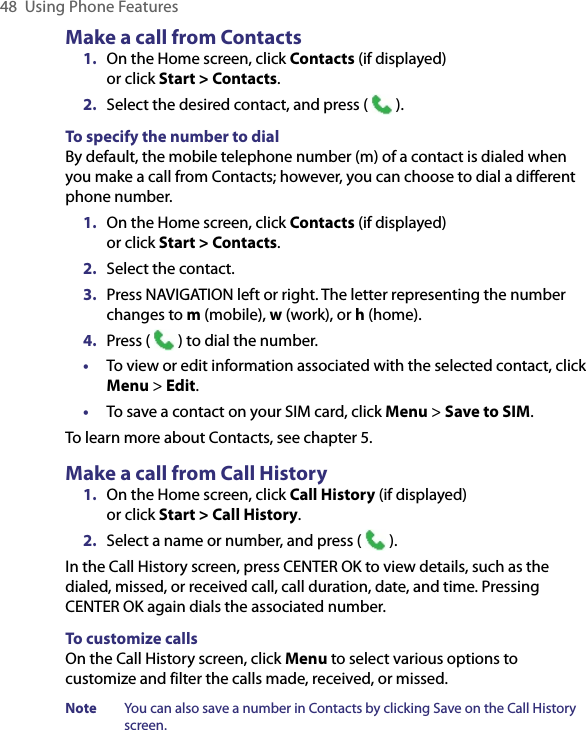
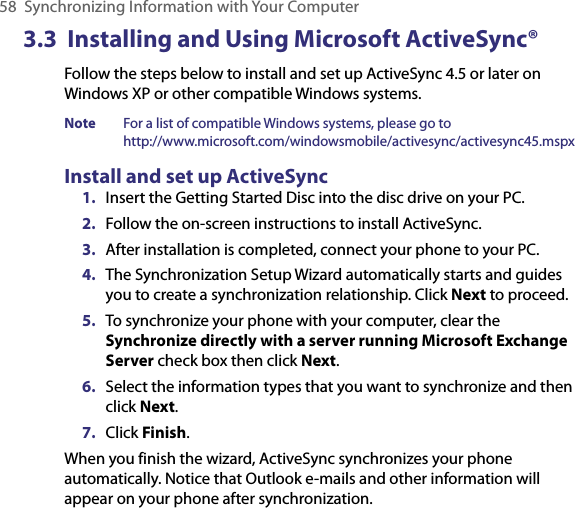
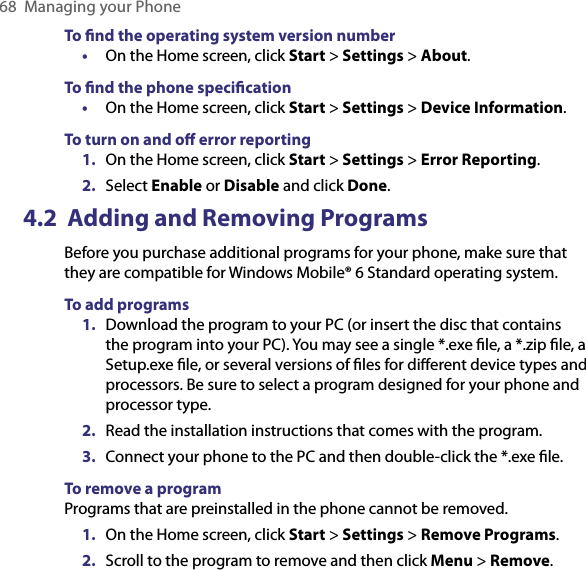
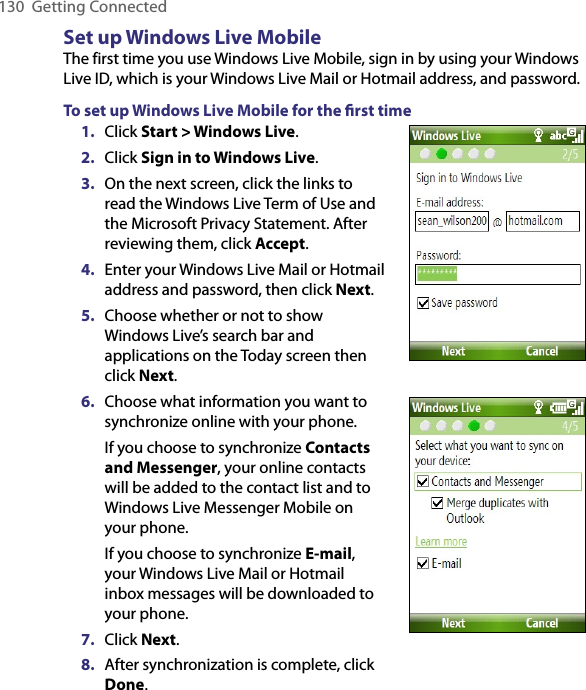
![Getting Connected 1273. Now you are ready to beam. On your phone, select an item to beam. The item can be an appointment in your calendar, a task, a contact card, or a file.4. Click Menu > Beam [type of item].5. Select the device name to which you want to beam to.6. Click Beam.7. If you beamed a calendar, task, or contact item to your computer and it is not automatically added to Outlook, click File > Import and Export to import it to Microsoft Outlook on your computer.To beam information to a Bluetooth-enabled device such as another phone, create a Bluetooth partnership then do steps 3 to 6 in the above procedure.Tip The default folder on your computer where beamed items are stored may be Windows XP: C:\Documents and Settings\your_username\My Documents Windows Vista: C:\users\your_username\My DocumentsBluetooth Explorer and Bluetooth file sharingBluetooth Explorer searches for other Bluetooth devices that have file sharing enabled and lets you access their Bluetooth shared folder. You can copy files from and to their shared folder, and create subfolders in it. When you enable Bluetooth file sharing on your device, other Bluetooth-enabled devices will also be able to access your Bluetooth shared folder.To enable Bluetooth Explorer and Bluetooth file sharing on your phone 1. Click Start > Settings > Connections > Bluetooth > FTP.2. Select the Enable Bluetooth Explorer check box. This makes the /Bluetooth phone folder visible in File Explorer.3. Select the Enable File Sharing check box. Click Browse to change the folder to share.To use Bluetooth Explorer1. Bluetooth Explorer is integrated with the File Explorer program. You can open it by clicking Start > Programs > Bluetooth Explorer or by clicking the Bluetooth folder under the My Device folder in File Explorer.](https://usermanual.wiki/HTC/VX.Manual-Revised-0710/User-Guide-813822-Page-127.png)
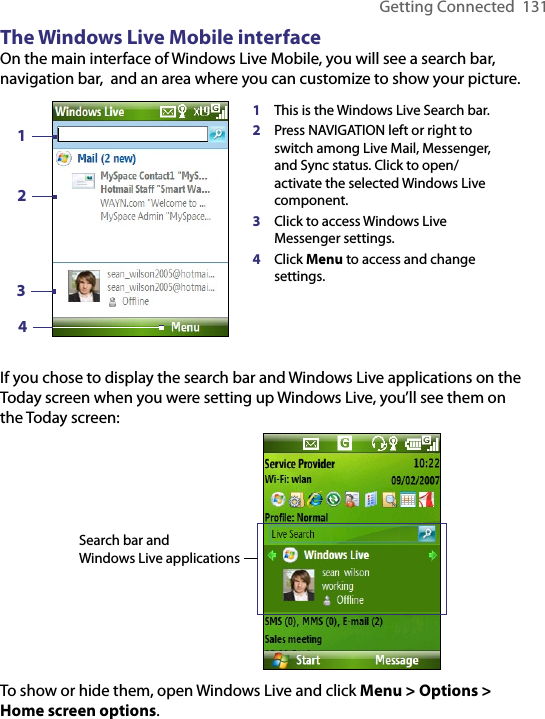
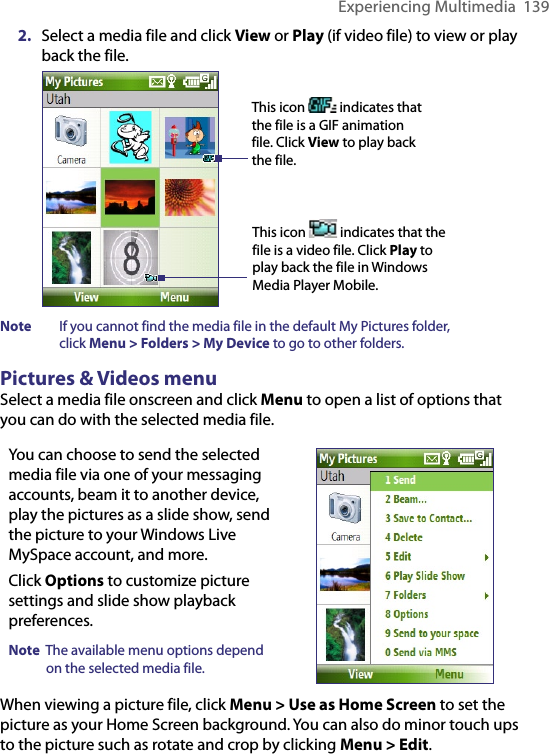
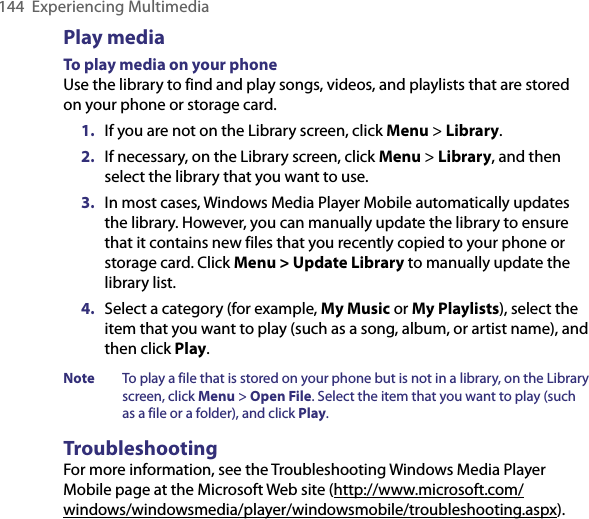
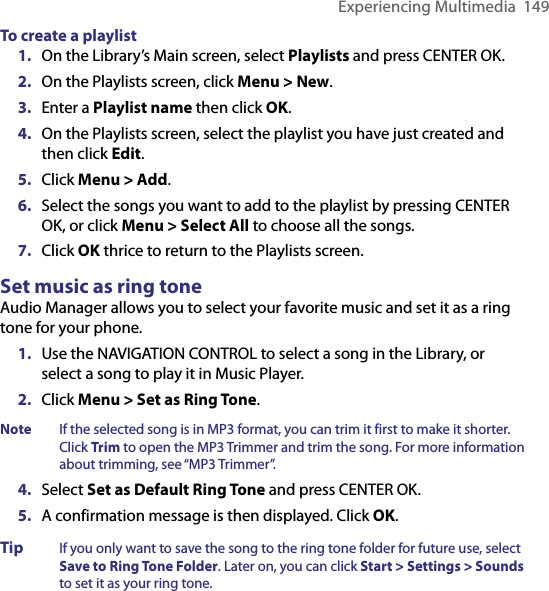
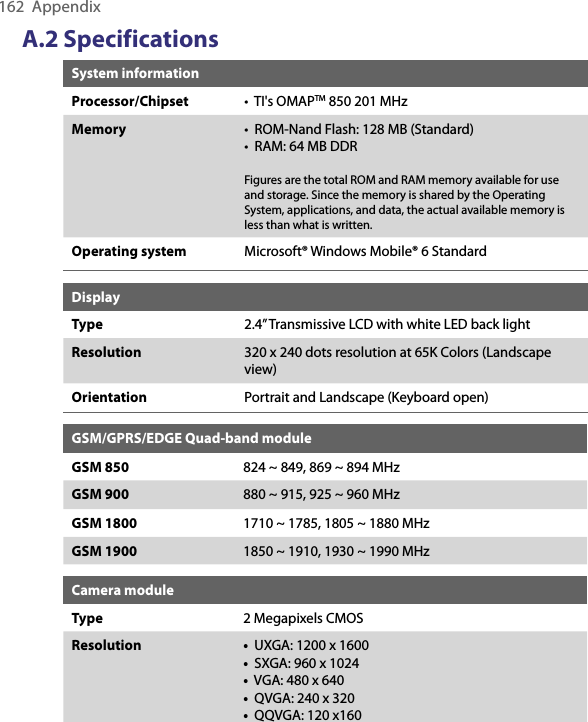
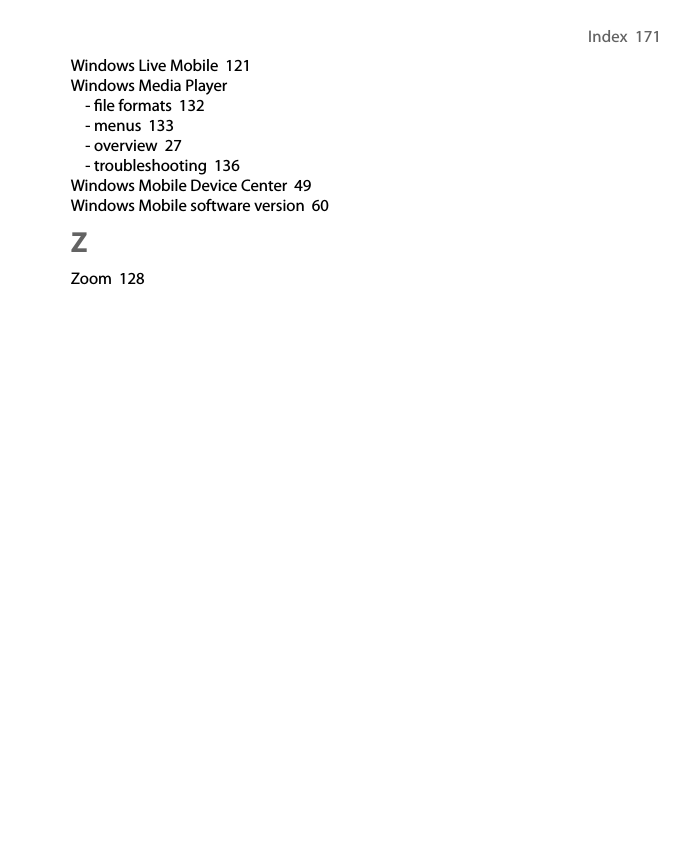
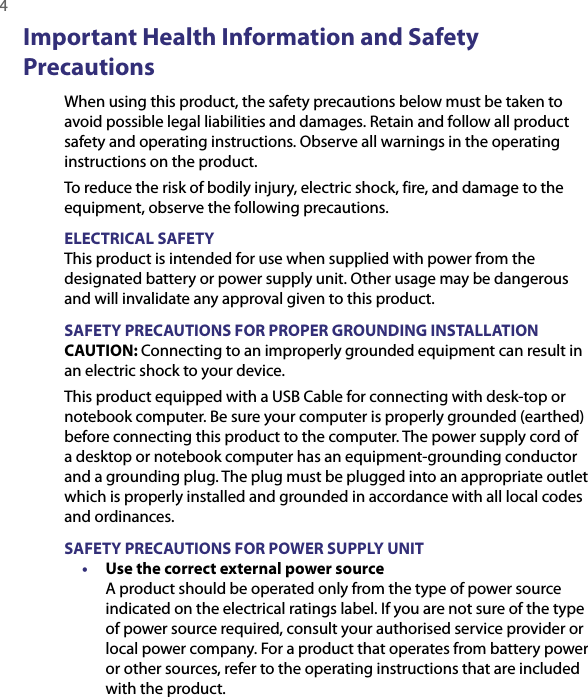
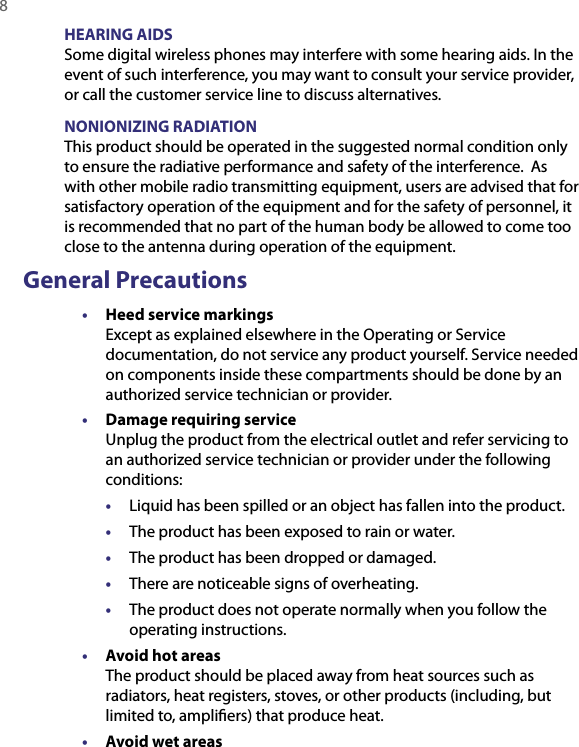
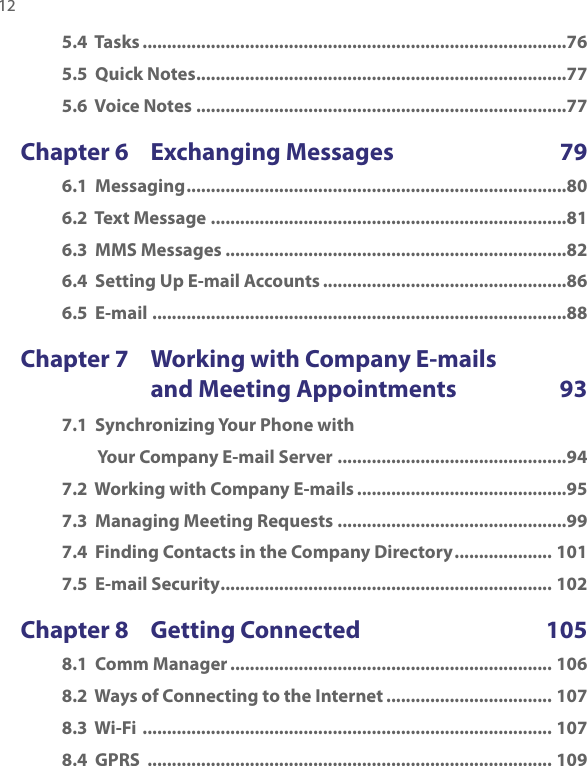
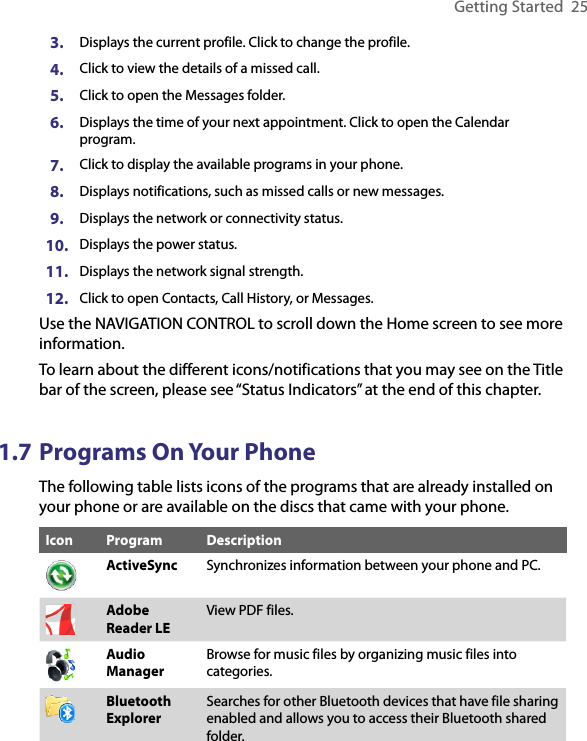
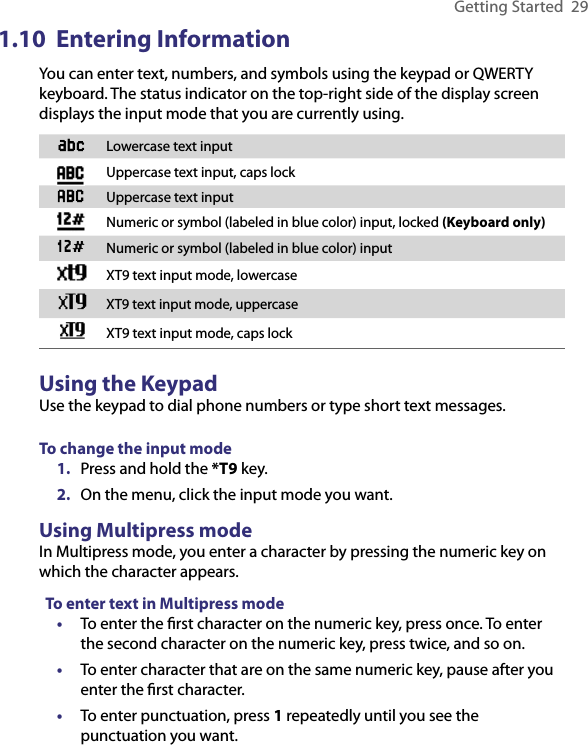
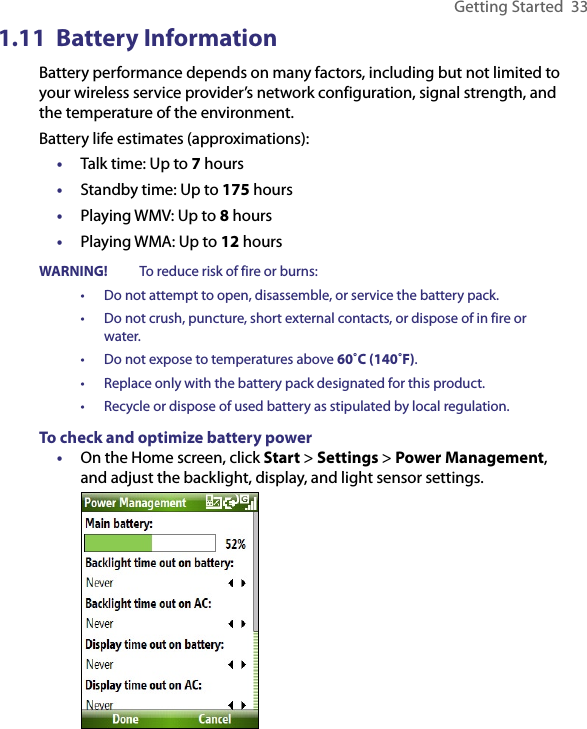
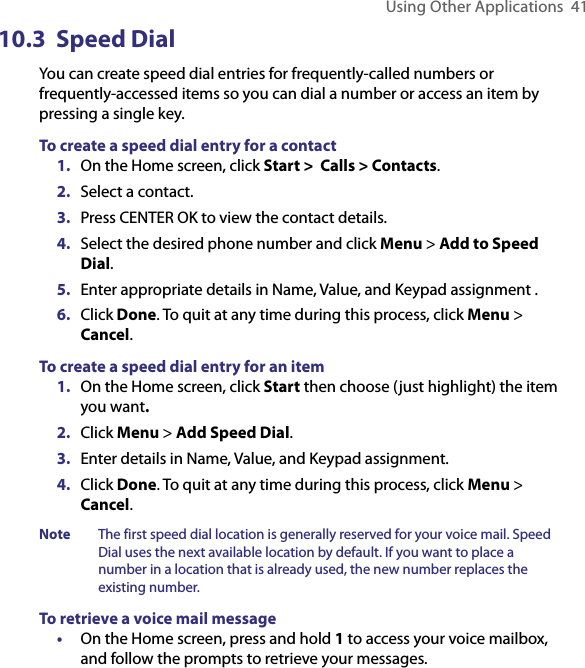
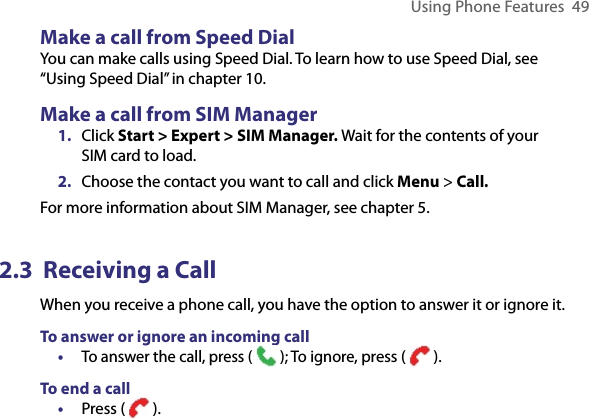
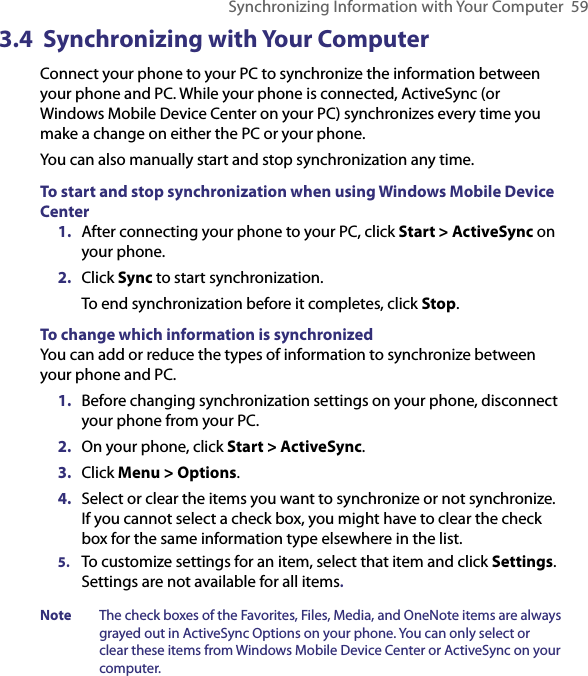
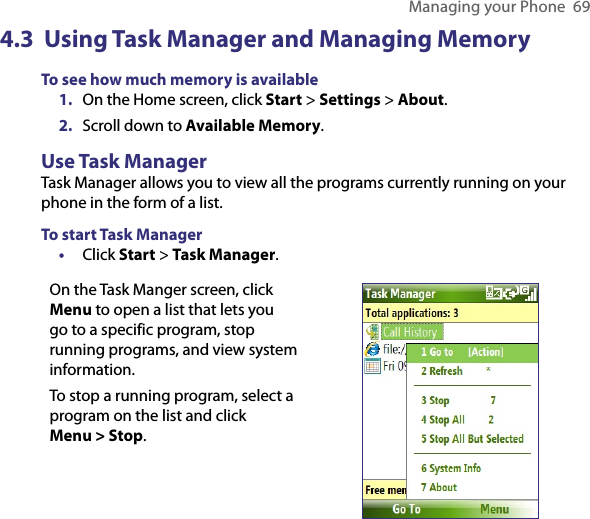
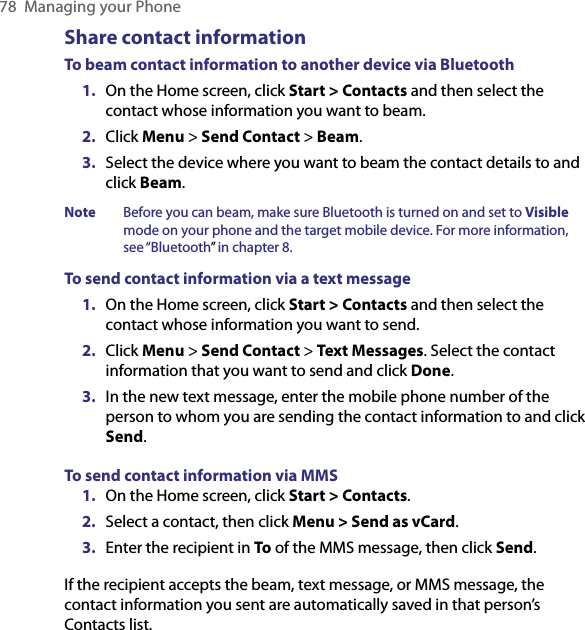
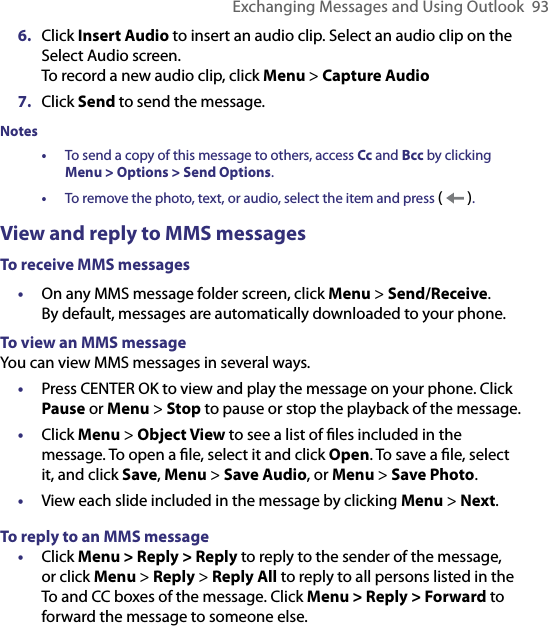
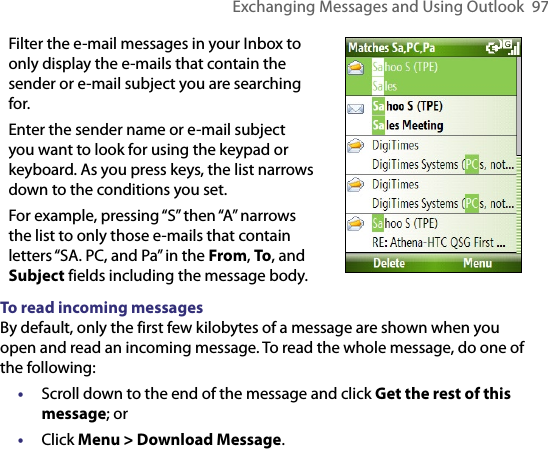
![Experiencing Multimedia 135Using the above capture modes, the camera captures files in the following formats:Capture type FormatStill Image JPEGVideo Motion-JPEG AVI (.avi)MPEG-4 (.mp4)H.263 baseline (.3gp)MMS Video MPEG-4 (.mp4)H.263 baseline (.3gp)To change the capture mode1. On the Camera screen, click and then keep clicking Next Setting to select . 2. Press NAVIGATION right to open the Mode list. 3. Click a capture mode from the list and then click OK.Camera mode icons and indicatorsThe Camera [Photo] screen1 Indicates the current capture mode.2 Indicates the current zoom ratio. Press NAVIGATION up or down to increase or decrease the zoom level.3 Indicates the current image or video size based on the resolution you chose. 4 Indicates where the captured images and video clips will be saved. 1 42 3 5678 9 10 11](https://usermanual.wiki/HTC/VX.Manual-Revised-0710/User-Guide-813822-Page-135.png)
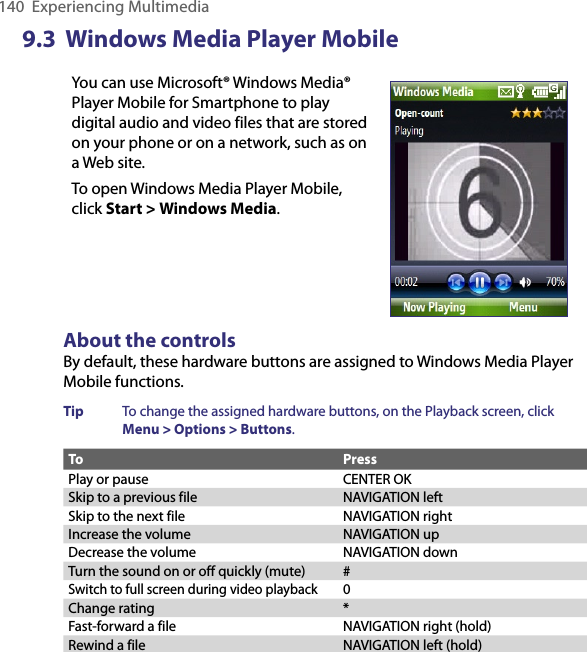
![136 Experiencing Multimedia5 Depending on the capture mode, this shows the remaining, available shots of pictures that you can take or remaining duration that can be recorded. While recording video, this shows the recorded duration.6 Click to open the Camera Settings screen.7 Indicates the current Metering mode being used, either Center Area ( ) or Average ( ).8 Adjust the exposure value from -2 EV to +2 EV (increments of 0.5) by pressing NAVIGATION left or right.9 Indicates the current white balance setting.10 Indicates the current self-timer setting while capturing images. 11 Click to view the picture or video in Pictures & Videos.The Camera [Video] screen The Camera [Picture Theme] screenThe Recording Status indicator blinks while video recording is in progress.Displays the current and total number of photos that can be taken using the selected template.Use zoomingBefore capturing a still image or a video clip, you can first zoom in to make the object in focus move closer, and you can zoom out to make the object move farther away. In all capture modes, press NAVIGATION up on your phone to zoom in, NAVIGATION down to zoom out.](https://usermanual.wiki/HTC/VX.Manual-Revised-0710/User-Guide-813822-Page-136.png)